Introduction
Welcome to the world of macOS High Sierra! If you’re looking to upgrade your Mac operating system, you’ve come to the right place. macOS High Sierra is the successor to Sierra, and it brings a host of new features and enhancements to improve your overall Mac experience.
Whether you’re a seasoned Mac user or new to the world of Apple, this article will guide you through the process of downloading and installing macOS High Sierra. From system requirements to data backup, we’ll cover all the essential steps to ensure a smooth and successful upgrade.
macOS High Sierra introduces several exciting features, including a new file system, enhanced graphics, improved performance, and advanced security features. With a sleek and user-friendly interface, it’s designed to make your Mac even more powerful and intuitive to use.
Before diving into the upgrade process, it’s important to familiarize yourself with the system requirements to ensure that your Mac is compatible with macOS High Sierra. Additionally, backing up your data is crucial to avoid any potential loss during the installation process.
So, sit back, relax, and join us on this journey to learn how to download and install macOS High Sierra. By the end of this article, you’ll be equipped with the knowledge and confidence to seamlessly upgrade your Mac and take full advantage of everything this new operating system has to offer.
System Requirements
To ensure a successful installation of macOS High Sierra, it’s essential to check if your Mac meets the necessary system requirements. Here’s what you need:
- A compatible Mac model: macOS High Sierra is compatible with a range of Mac models, including iMac (Late 2009 or newer), MacBook (Late 2009 or newer), MacBook Air (Late 2010 or newer), MacBook Pro (Mid 2010 or newer), Mac mini (Mid 2010 or newer), and Mac Pro (Mid 2010 or newer).
- Sufficient storage space: Your Mac should have at least 15 GB of free disk space for the installation. It’s advisable to make sure you have enough space available before proceeding.
- Memory (RAM): At least 4 GB of RAM is recommended, but having more will contribute to a smoother and faster experience.
- Internet access: A stable and reliable internet connection is necessary to download macOS High Sierra from the official Apple website.
While these are the minimum requirements, keep in mind that some features and functionalities may require additional specifications. Therefore, it’s always a good idea to check Apple’s official website or consult the documentation for further details.
If your Mac doesn’t meet the system requirements for macOS High Sierra, it may be time to consider upgrading your hardware or sticking with your current operating system version. However, if your Mac meets these requirements, you’re well on your way to enjoy the benefits of macOS High Sierra.
Now that you know the system requirements, let’s move on to the next step: checking compatibility.
Check Compatibility
Before embarking on the journey of upgrading to macOS High Sierra, it’s crucial to ensure that your apps and devices are compatible with the new operating system. This step will help you avoid any potential compatibility issues and ensure a smooth transition to macOS High Sierra.
To check the compatibility of your apps, it’s recommended to visit the official websites of the software developers. Most reputable developers provide information regarding compatibility with the latest macOS versions on their websites or support pages. You can search for your essential apps and check if they are compatible with macOS High Sierra. If an app is not compatible, you may need to look for alternative solutions or contact the developer for possible updates.
In addition to apps, it’s essential to ensure that your external devices and peripherals are also compatible with macOS High Sierra. This includes printers, scanners, cameras, and other devices that you regularly use with your Mac. Visit the manufacturers’ websites to check for compatibility and download any necessary drivers or software updates required for macOS High Sierra.
Compatibility is not just limited to third-party software and devices; it also extends to Apple’s own applications. Some older versions of Apple software may not be fully compatible with macOS High Sierra. Thus, it’s recommended to update your Apple apps, such as Pages, Numbers, Keynote, and Safari, to their latest versions to ensure optimal performance and compatibility.
By taking the time to check compatibility with your apps, devices, and Apple software, you can minimize the chances of encountering issues after upgrading to macOS High Sierra. It’s always better to be proactive and ensure that everything is compatible before proceeding with the installation process.
Once you’ve verified the compatibility of your apps and devices, it’s time to move on to the crucial step of backing up your data.
Backup Your Data
Before installing macOS High Sierra, it’s essential to create a backup of your data to ensure that you don’t lose any important files or documents. While the upgrade process is generally smooth, unforeseen circumstances can occur, and having a backup will give you peace of mind.
There are several ways to backup your data, and the method you choose depends on your preferences and the amount of data you have. Here are a few options:
- Time Machine: If you have an external hard drive, you can use Apple’s Time Machine feature to create a full backup of your Mac. This allows you to easily restore your data if anything goes wrong during the upgrade process. Simply connect your external hard drive, go to System Preferences, and set up Time Machine.
- Cloud storage: Another option is to back up your important files and documents to a cloud storage service, such as iCloud, Google Drive, or Dropbox. This ensures that your data is stored securely and can be accessed from any device with an internet connection.
- Manual backup: If you prefer more control over your backup process, you can manually copy your important files and folders to an external hard drive or flash drive. This method requires you to select and copy the specific files you want to back up.
Regardless of the method you choose, it’s crucial to double-check that your backup is complete and accessible. Verify that all your important files are included and that you can easily restore them if needed.
By taking the time to back up your data before installing macOS High Sierra, you can ensure that your valuable information is protected and that you can easily restore it if anything goes wrong during the upgrade process. With your data safely backed up, you’re now ready to move on to the next step: verifying your hardware compatibility.
Verify Your Hardware
Before proceeding with the installation of macOS High Sierra, it’s important to ensure that your hardware is in good shape and ready for the upgrade. Verifying your hardware compatibility will help prevent any potential issues or setbacks during the installation process.
Start by performing a basic checkup of your Mac’s hardware components. Inspect the physical condition of your computer, ensuring that there are no visible damages or hardware malfunctions. Check for any loose cables or connections and fix them if necessary. It’s also a good idea to clean the dust or debris accumulated in the vents or ports to prevent overheating.
Next, make sure that your Mac’s battery is functioning properly. If you’re using a MacBook, verify that the battery holds a charge and is not nearing the end of its lifespan. Upgrading to macOS High Sierra with a faulty battery may lead to unexpected power issues during the installation process.
If you’re using an iMac or a Mac Pro, check the condition of your display and any connected peripherals, such as keyboards, mice, or graphic tablets. Ensure that they are in good working order and that there are no compatibility issues with the upcoming macOS upgrade.
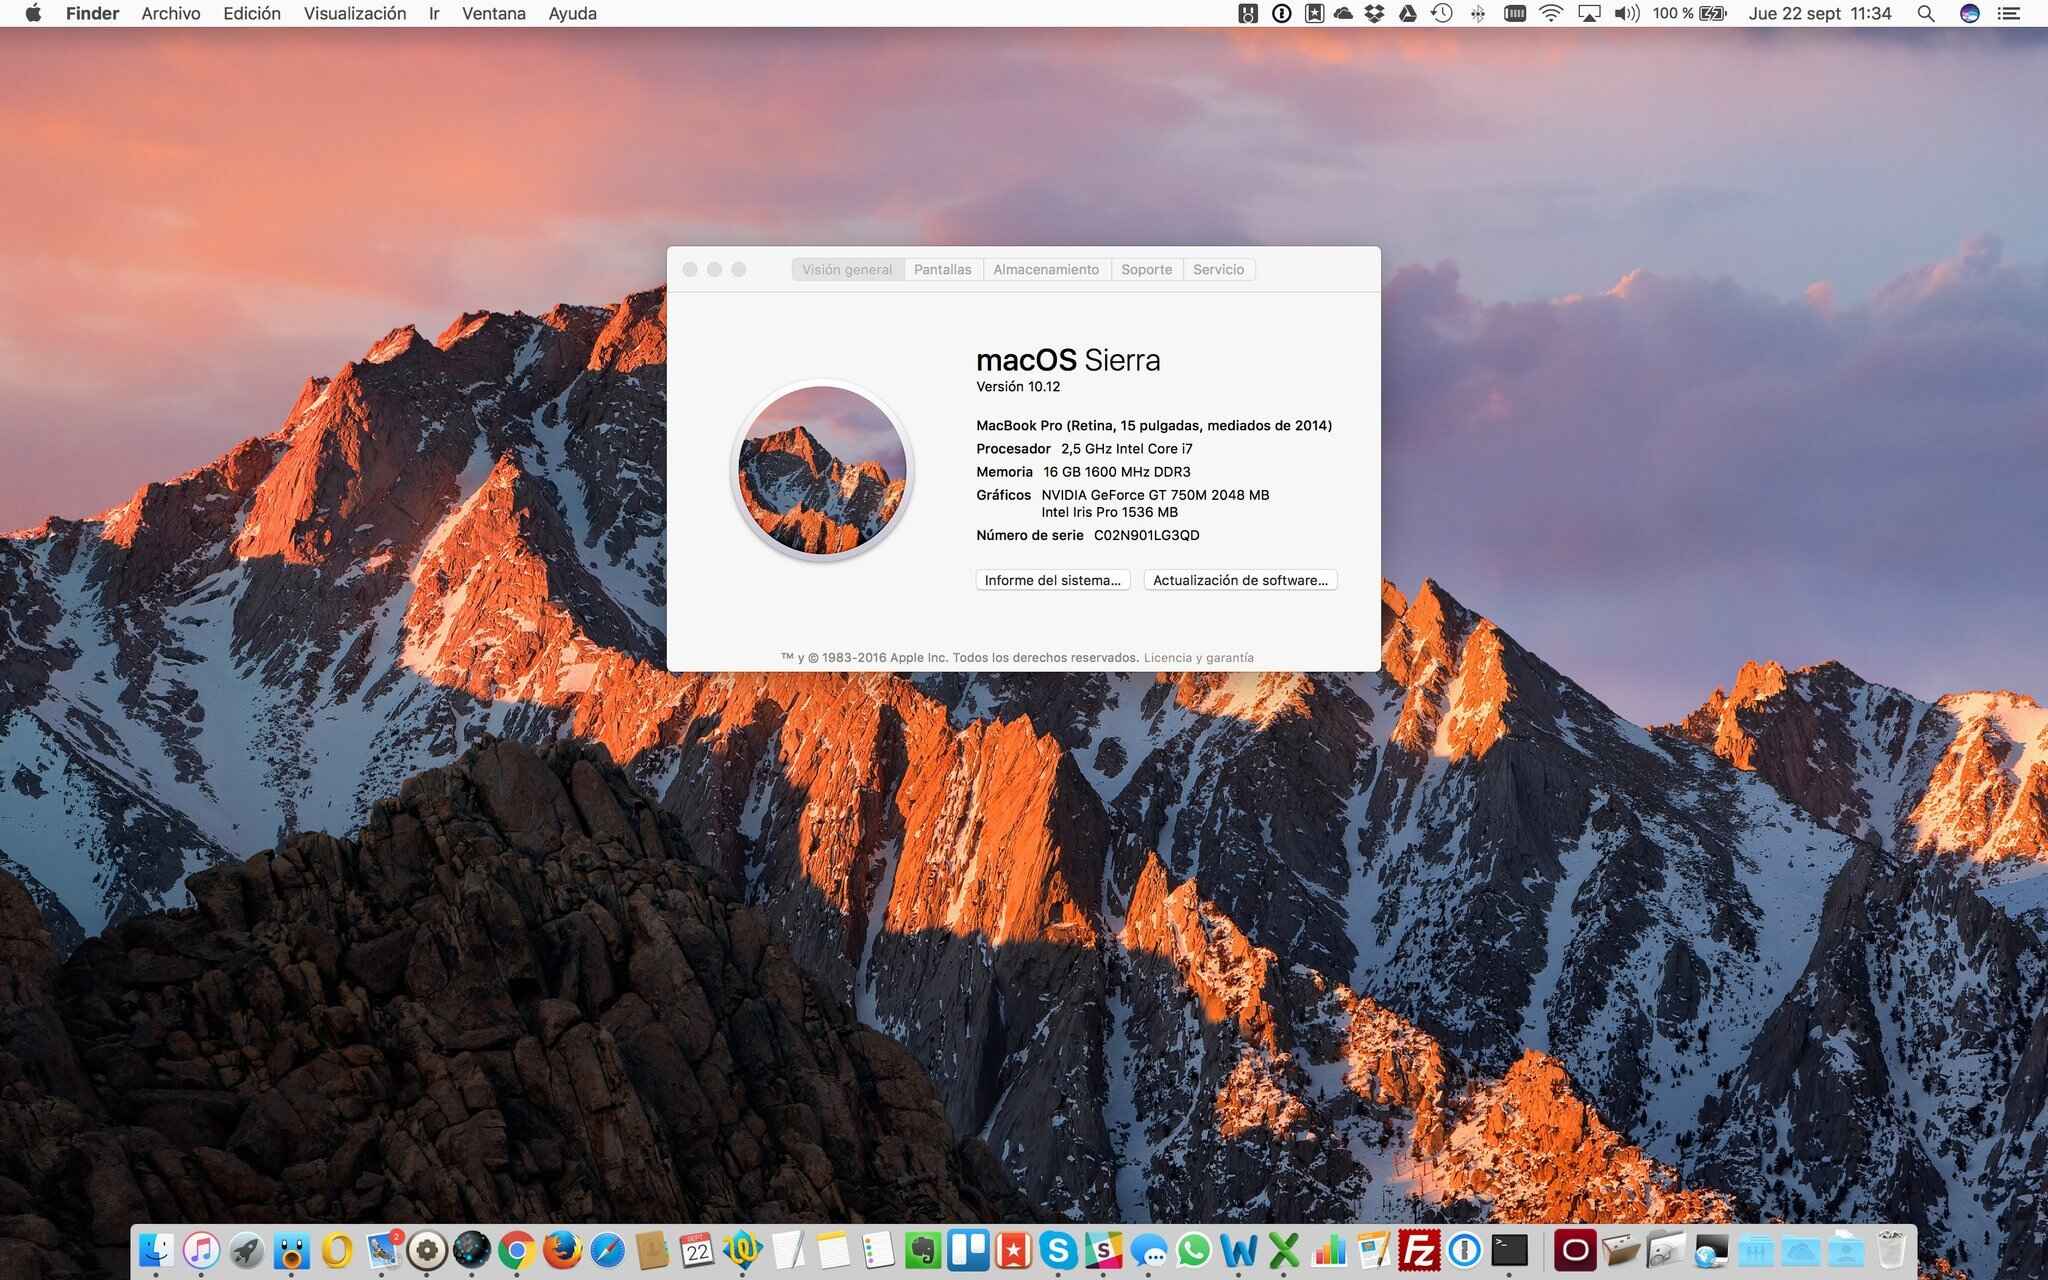
Additionally, it’s recommended to update your Mac’s firmware before installing macOS High Sierra. Check for available firmware updates by going to the Apple menu, selecting “About This Mac,” and clicking on “Software Update.” Installing the latest firmware ensures that your Mac is up to date and ready for the new operating system.
Finally, if you have any specialized hardware devices connected to your Mac, such as audio interfaces, printers, or scanners, visit the respective manufacturers’ websites to verify their compatibility with macOS High Sierra. Download and install any necessary drivers or updates to ensure that they will work seamlessly with the new operating system.
By verifying your hardware and ensuring its compatibility with macOS High Sierra, you can minimize the risk of encountering compatibility issues or hardware-related problems during the installation process. Once you’ve completed this step, you’re ready to proceed with downloading macOS High Sierra.
Download macOS High Sierra
Now that you’ve confirmed your hardware compatibility and prepared your Mac for the upgrade, it’s time to download macOS High Sierra. Follow these steps to ensure a successful download:
- Connect to a stable and reliable internet network. A high-speed connection is recommended to expedite the download process.
- Open the App Store on your Mac. You can access it through the Dock or by searching for “App Store” in Spotlight.
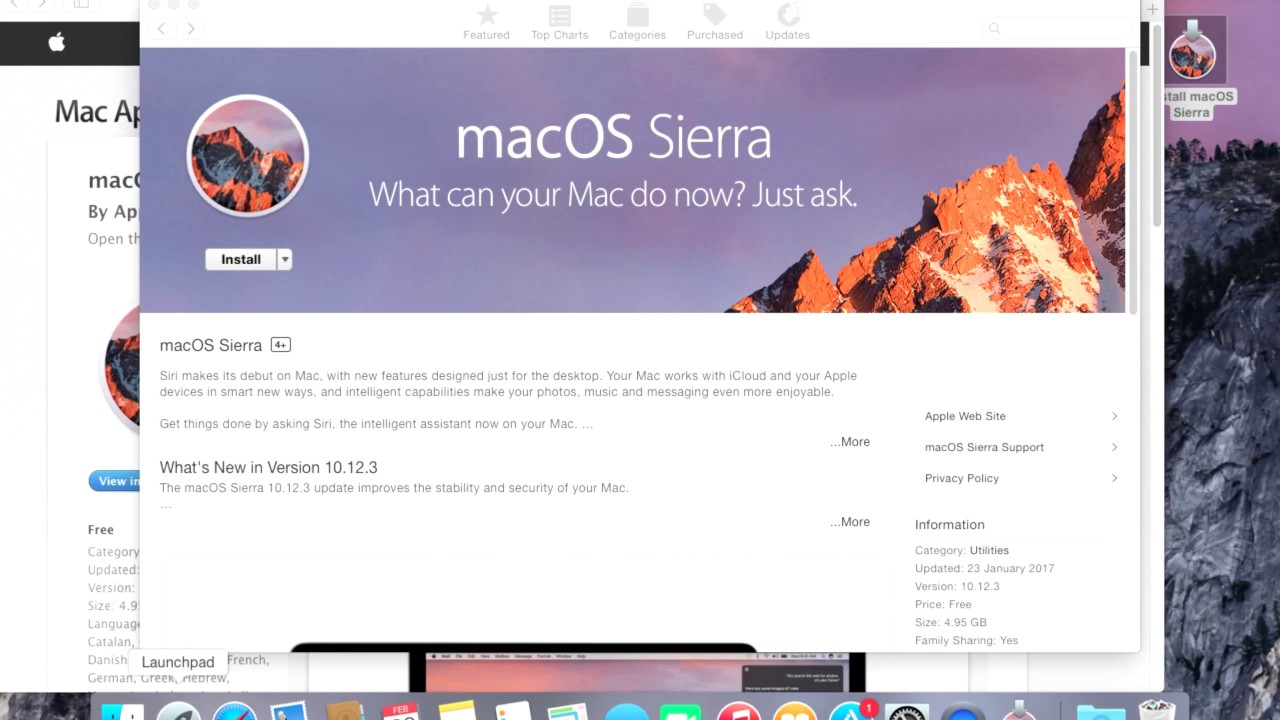
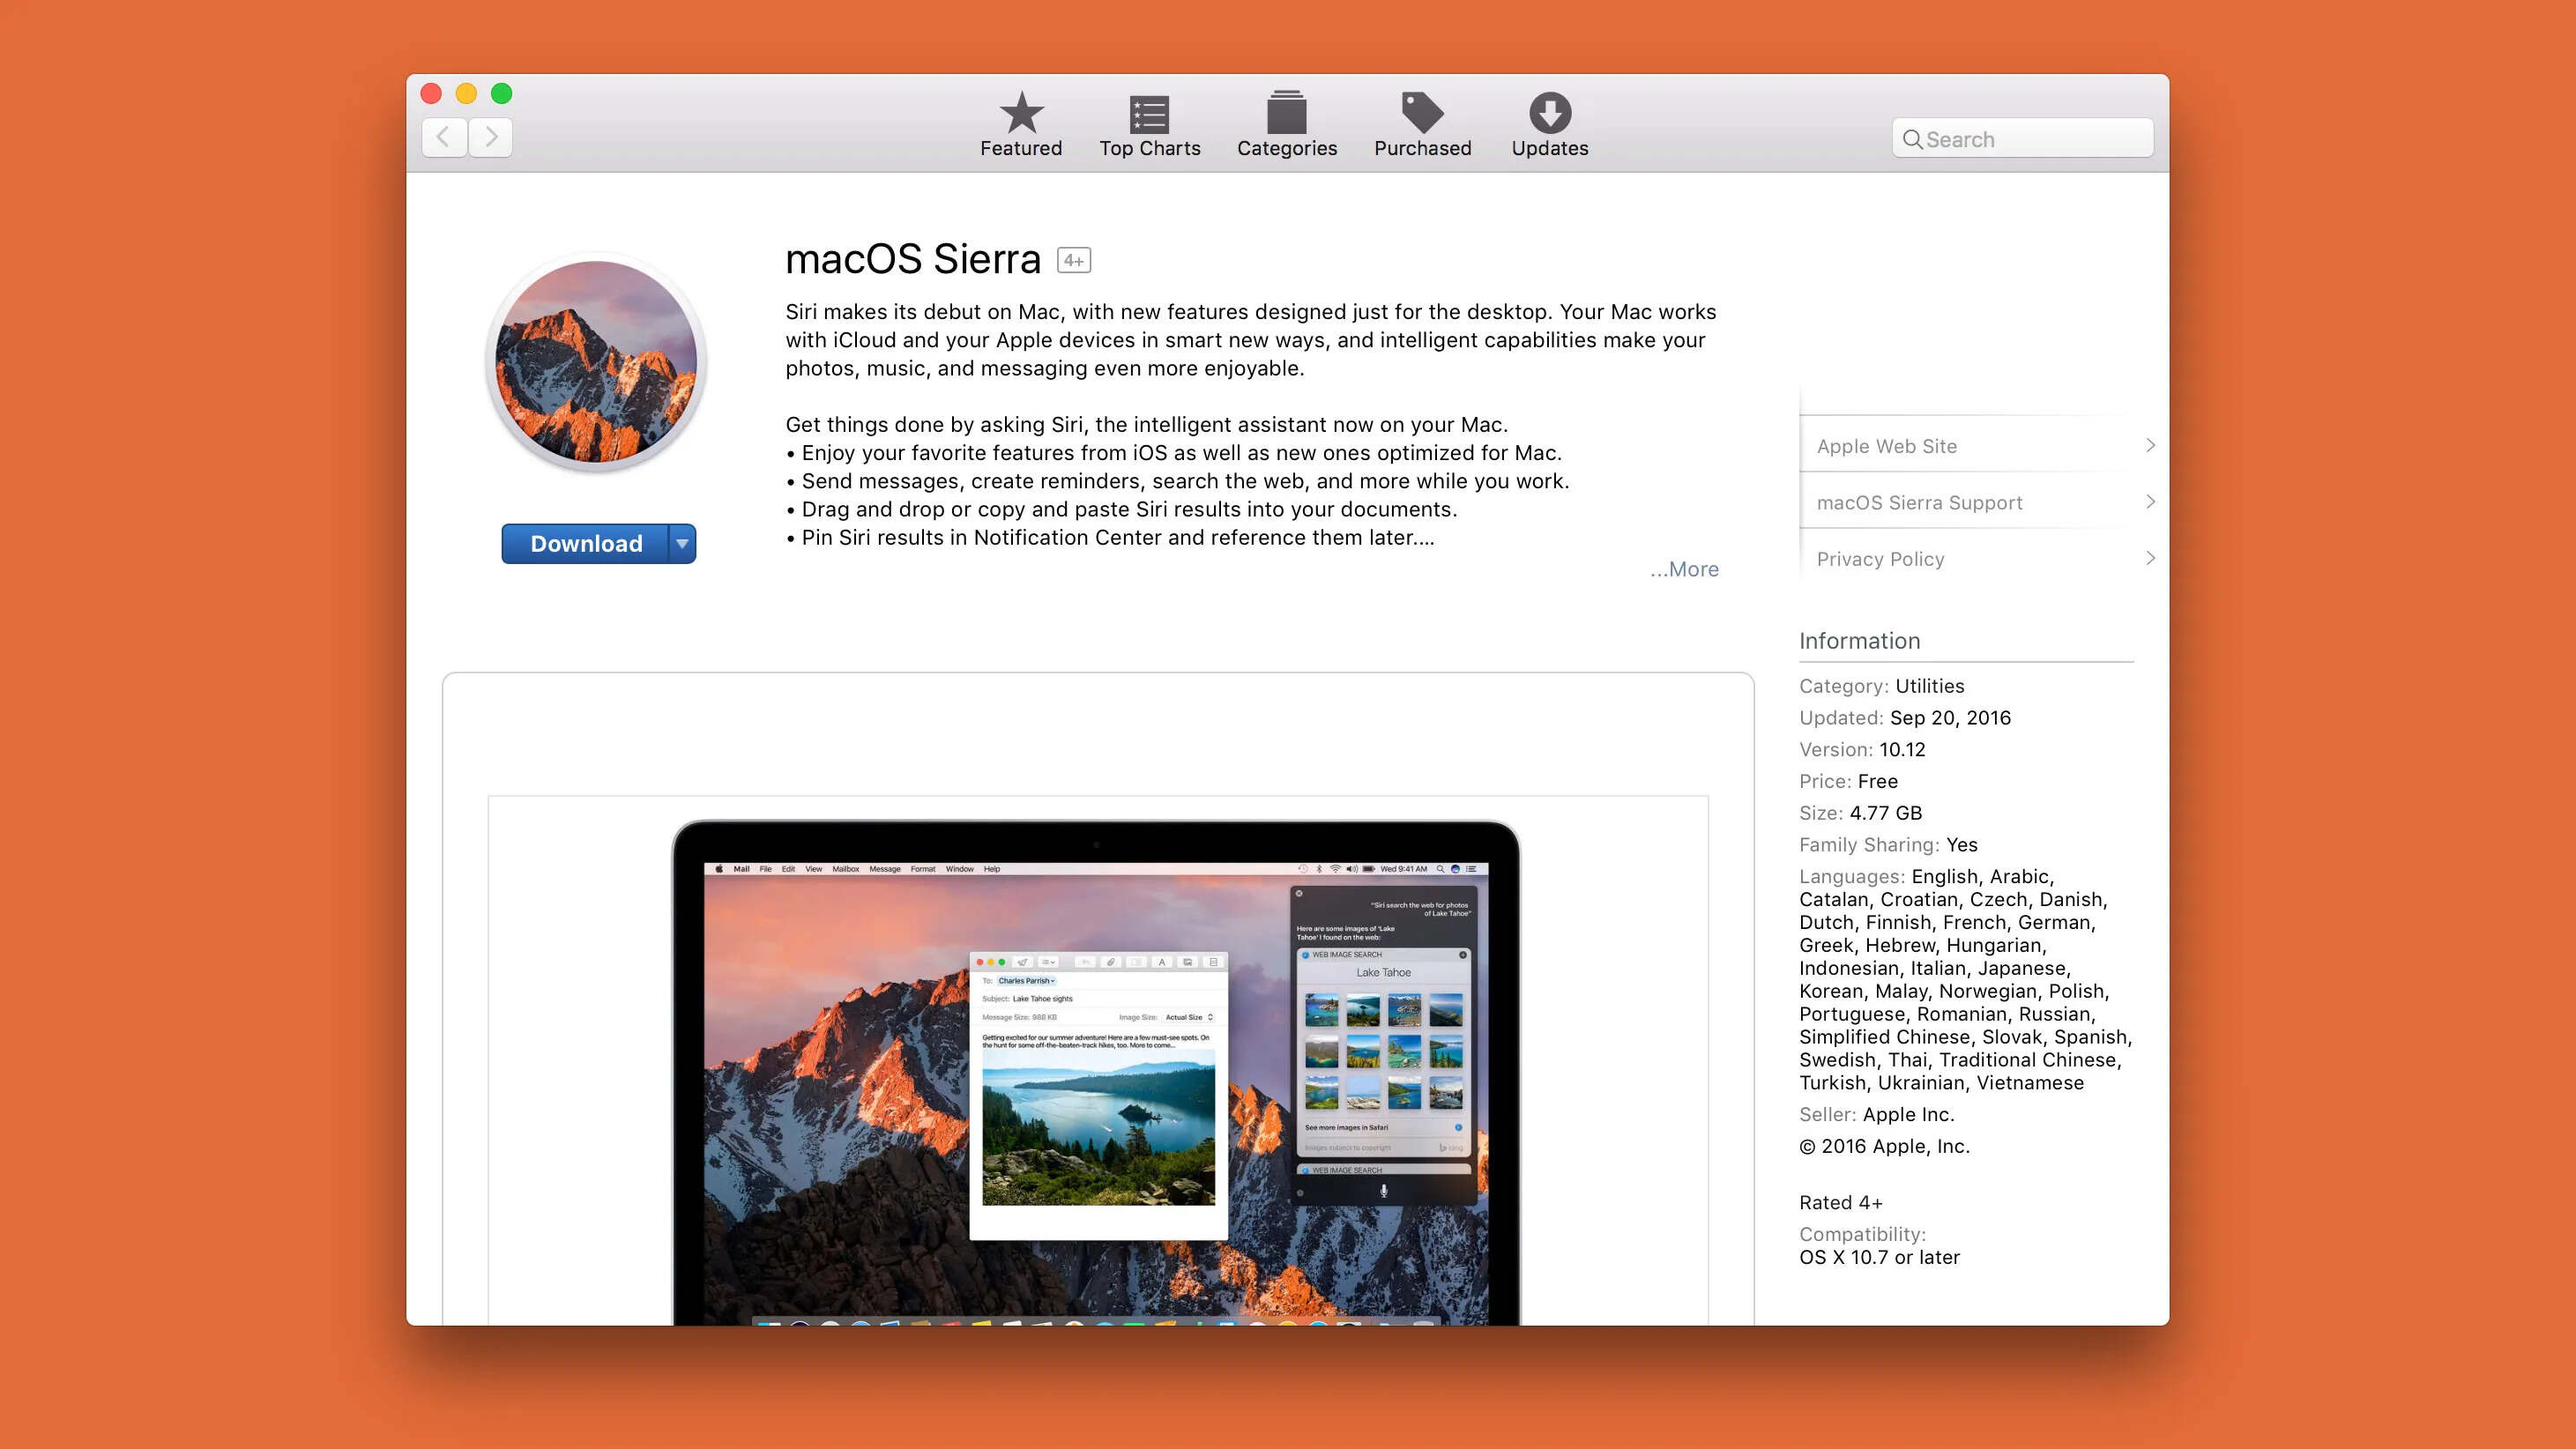
- In the App Store, search for “macOS High Sierra.” The official macOS High Sierra page should appear.
- Click on the “Get” or “Download” button to start the download process. The size of the macOS High Sierra installer is around 5 GB, so it may take some time depending on your internet speed.
- Once the download is complete, the macOS High Sierra installer will automatically launch. If it doesn’t, locate the installer in your Applications folder and double-click on it to start the installation.
During the download process, it’s recommended to avoid using your Mac for other resource-intensive tasks to ensure a faster and smoother download experience. You may also want to consider connecting your Mac to a power source to prevent any interruptions in case your battery runs low during the installation.
It’s worth mentioning that downloading macOS High Sierra from the App Store ensures that you get the official and verified version of the operating system. Avoid downloading the installer from third-party websites, as they may provide modified or compromised versions that could potentially harm your Mac.
With macOS High Sierra successfully downloaded, you’re now ready to move on to the next step: installing the operating system.
Install macOS High Sierra
With the macOS High Sierra installer downloaded and ready to go, it’s time to proceed with the installation process. Follow these steps to install macOS High Sierra on your Mac:
- Ensure that you have closed all open applications and saved any important work.
- Locate the macOS High Sierra installer, which is usually found in your Applications folder, and double-click on it to start the installation.
- A welcome screen will appear. Click on the “Continue” button.
- Read and agree to the terms and conditions by clicking on the “Agree” button.
- Select the destination disk where you want to install macOS High Sierra. This is typically your Mac’s internal hard drive. Click on the “Install” button.
- Enter your administrator password when prompted and click on the “Install Software” button.
- The installation process will begin, displaying a progress bar indicating the time remaining.
- Once the installation is complete, your Mac will automatically restart with macOS High Sierra.
During the installation process, it’s important to refrain from interrupting or shutting down your Mac to avoid any potential issues. Allow the installation to complete uninterrupted, and your Mac will restart with the new operating system.
After your Mac restarts, you’ll be greeted with the setup assistant, which will guide you through the process of setting up macOS High Sierra, including selecting your language, signing in with your Apple ID, and configuring your preferences.
Once you’ve completed the setup assistant, you’re ready to explore and enjoy all the new features and enhancements that macOS High Sierra has to offer.
Congratulations! You have successfully installed macOS High Sierra on your Mac. Now it’s time to set up your Mac and make it truly yours.
Set up your Mac
After installing macOS High Sierra, it’s important to take a few additional steps to set up your Mac and personalize it according to your preferences. Here are some key tasks to complete during the setup process:
- Sign in with your Apple ID: If you have an Apple ID, sign in during the setup process to access iCloud, the App Store, and other Apple services. This will allow you to sync your data, manage your purchases, and enable features like Find My Mac.
- Customize your preferences: macOS High Sierra offers various options to customize your Mac to suit your preferences. Explore the System Preferences panel to configure settings such as display, sound, trackpad, and more.
- Restore your data: If you backed up your data before the installation, you can now restore your files and documents. Use Time Machine or your chosen backup method to transfer your data back to your Mac.
- Install your essential apps: Begin by reinstalling your essential apps from the App Store or downloading them from the developers’ websites. Check for any available updates to ensure they are compatible with macOS High Sierra.
- Set up security features: macOS High Sierra offers advanced security features such as FileVault, Gatekeeper, and Safari Privacy. Take the time to enable and configure these features to protect your Mac and personal information.
- Explore new features: macOS High Sierra introduces new features like the Apple File System, improved graphics performance, and updates to apps like Mail and Safari. Take some time to explore and familiarize yourself with these new additions.
During the setup process, it’s advisable to connect your Mac to a stable internet network to ensure that it can download necessary updates and sync your data seamlessly. Also, consider enabling automatic software updates to keep your Mac up to date with the latest security patches and bug fixes.
Setting up your Mac is an exciting opportunity to tailor it to your needs and preferences. Take the time to configure your settings, install your preferred apps, and explore the new features of macOS High Sierra. Enjoy the enhanced performance and functionality that this operating system brings to your Mac.
Conclusion
Congratulations! You have successfully learned how to download and install macOS High Sierra on your Mac. By following the steps outlined in this guide, you have taken a significant step towards enjoying the new features and enhancements that macOS High Sierra offers.
We started by understanding the system requirements and ensuring that your Mac meets the necessary specifications. Compatibility checks were then performed to ensure that your apps and devices are compatible with the new operating system. Next, data backup was emphasized as a crucial step to safeguard your important files and documents.
We then moved on to verifying your hardware compatibility to ensure a smooth installation process. Once everything was in order, we guided you through the download process, urging you to obtain macOS High Sierra only from the official Apple App Store for security and reliability.
With the download complete, we proceeded to the installation stage, providing step-by-step instructions to help you install macOS High Sierra successfully. Finally, we covered the importance of setting up your Mac and personalizing it according to your preferences, including signing in with your Apple ID, customizing preferences, restoring data, installing essential apps, and exploring new features.
Now, armed with the latest version of macOS, you can enjoy the enhanced performance, new capabilities, and security improvements that macOS High Sierra brings to your Mac. Remember to regularly update your system and apps to stay up to date with the latest features and security patches.
We hope this guide has been helpful in guiding you through the process of downloading and installing macOS High Sierra. If you have any further questions or need additional assistance, explore the Apple Support website or seek help from their customer support channels.
Thank you for choosing macOS High Sierra, and we wish you an enjoyable and productive Mac experience!