Introduction
Welcome to the world of macOS 11, the latest and greatest operating system from Apple. With its sleek design, improved performance, and exciting new features, macOS 11 is a must-have for Mac users. Whether you’re a longtime Mac enthusiast or a newbie to the Apple ecosystem, this guide will walk you through the process of downloading macOS 11. So, get ready to upgrade your Mac and unlock a whole new level of productivity, innovation, and enjoyment.
Upgrading to a new operating system can seem daunting, but fear not! we will break down the process into simple, easy-to-follow steps that anyone can follow. But before we dive in, it’s important to make sure your system is compatible with macOS 11 and to take the necessary precautions to protect your data. By following this guide, you can ensure a smooth and successful transition to macOS 11.
Throughout this guide, we’ll cover everything from checking system compatibility to preparing a bootable USB installer and finally installing macOS 11. So, grab your Mac, take a deep breath, and let’s get started on this exciting journey of upgrading to macOS 11.
Step 1: Check System Compatibility
Before diving into the macOS 11 download process, it’s crucial to ensure that your Mac is compatible with the latest operating system. Apple has specific requirements for running macOS 11, so let’s check if your system makes the cut.
To check your Mac’s compatibility, follow these simple steps:
- Click on the Apple menu in the top-left corner of your screen and select “About This Mac.”
- In the window that appears, you’ll see an overview of your Mac’s specifications. Look for the “Model Identifier” and write it down.
- Visit the Apple Support website and search for “System Requirements for macOS 11.”
- In the search results, find the article that matches your Mac’s model identifier.
- Click on the article to open it and verify if your Mac is listed as compatible with macOS 11.
If your Mac is listed as compatible, congratulations! You can proceed with the download process. However, if your Mac is not compatible, don’t fret. Although you won’t be able to upgrade to macOS 11, there may be other ways to optimize your system or consider upgrading your hardware.
It’s worth noting that upgrading to macOS 11 may require additional hardware requirements or specific software installations. Make sure to follow the guidelines provided by Apple to ensure a smooth installation process.
By verifying your Mac’s compatibility, you can ensure that your system will be capable of running macOS 11 and avoid any potential issues during the installation process. Once you’ve confirmed compatibility, it’s time to move on to the next step: backing up your data.
Step 2: Backup Your Data
Before you proceed with any major updates or installations, it’s essential to back up your data to ensure its safety. While the upgrade process is usually smooth, it’s always better to be safe than sorry. By backing up your data, you can avoid any potential loss or corruption during the installation of macOS 11.
Here are a few methods to back up your data:
- Time Machine: If you have an external hard drive or a Time Capsule, you can use Apple’s built-in backup solution, Time Machine. Simply connect the drive to your Mac, and follow the on-screen instructions to set up and perform a backup.
- Cloud Storage: Another option is to utilize cloud storage services like iCloud, Google Drive, or Dropbox. Upload your important files, documents, and photos to the cloud and ensure they are synced and up to date.
- External Hard Drive: If you prefer a physical backup, you can manually copy your important files to an external hard drive. Simply connect the drive to your Mac, locate your files, and drag them to the external hard drive.
- Clone Your Mac: For extra security, consider creating a clone of your entire Mac using software like Carbon Copy Cloner or SuperDuper! A clone creates a bootable backup of your entire system, allowing you to easily restore it if needed.
Whichever method you choose, make sure to verify the integrity of your backup before proceeding. Double-check that all your important files, applications, and settings are included in the backup before you begin the macOS 11 installation.
By backing up your data, you can have peace of mind knowing that your files are safe and protected from any unforeseen circumstances. Now that your data is secure, it’s time to move on to the next step: downloading the macOS 11 installer.
Step 3: Download macOS 11 Installer
Now that you’ve ensured your Mac’s compatibility and backed up your data, it’s time to proceed with downloading the macOS 11 installer. The installer contains all the necessary files required to upgrade your Mac’s operating system to the latest version.
Follow these steps to download the macOS 11 installer:
- Open the App Store on your Mac. You can find it in the Applications folder or by clicking the Apple menu and selecting “App Store.”
- In the App Store, search for “macOS 11” or “Big Sur.”
- You should see the macOS 11 installer in the search results. Click on it to open the macOS 11 product page.
- On the product page, click on the “Get” or “Download” button to start the download process.
- The installer will begin downloading and will appear in your Applications folder once the download is complete.
Downloading the macOS 11 installer may take some time, depending on your internet connection speed. It’s recommended to have a stable and reliable internet connection to avoid any interruptions during the download process.
Once the download is complete, you’re ready to move on to the next step: preparing a bootable USB installer.
Note: If you’re planning to install macOS 11 on multiple Macs or want to have a backup installer, creating a bootable USB installer is a convenient option. It allows you to install macOS 11 on any compatible Mac without the need for downloading it multiple times.
By following these steps, you’ll have the macOS 11 installer ready to proceed with the installation process. Stay tuned for the next step, where we’ll guide you through preparing a bootable USB installer.
Step 4: Prepare a Bootable USB Installer
Preparing a bootable USB installer is a convenient way to install macOS 11 on multiple Macs or have a backup installer readily available. This method allows you to perform a clean installation or upgrade your Mac’s operating system without the need for an internet connection.
Here’s how you can create a bootable USB installer for macOS 11:
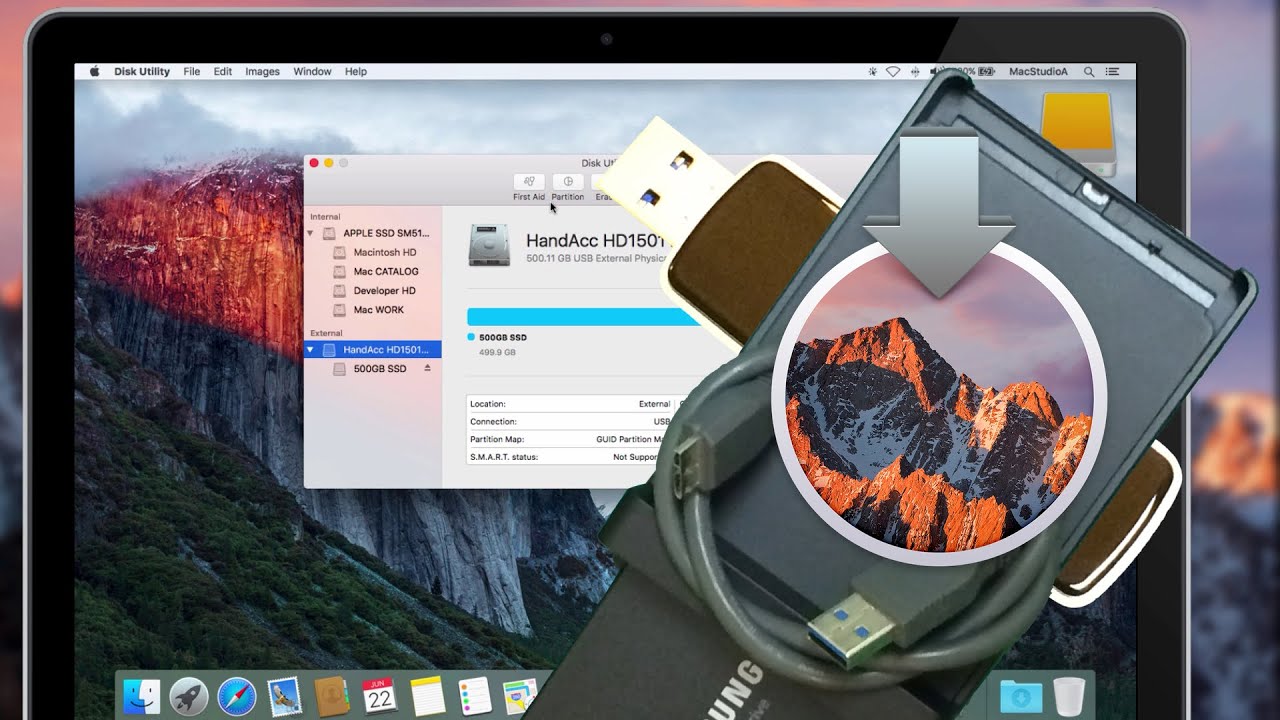
- Connect a USB drive with at least 16GB of storage capacity to your Mac.
- Open the Disk Utility application, which you can find in the Utilities folder within the Applications folder.
- Select your USB drive from the list of available drives in Disk Utility.
- Click on the “Erase” button and choose a name for your USB drive, ensuring the format is set to “Mac OS Extended (Journaled).” Click “Erase” to format the drive.
- Once the formatting is complete, open the Terminal application, located in the Utilities folder within the Applications folder.
- Type the following command into Terminal, replacing “MyVolume” with the name you assigned to your USB drive in Disk Utility:
sudo /Applications/Install\ macOS\ 11.app/Contents/Resources/createinstallmedia --volume /Volumes/MyVolume - Press “Enter” on your keyboard and enter your administrator password when prompted.
- Terminal will now create the bootable USB installer, which may take a few minutes.
- Once the process is complete, you will have a bootable USB installer for macOS 11 ready to use.
With your bootable USB installer prepared, you can now proceed with the installation of macOS 11 on your Mac. Remember to keep the USB drive in a safe place for future use.
Creating a bootable USB installer gives you the flexibility to install macOS 11 on multiple Macs or have a backup installer on hand. With the USB drive ready, it’s time to move on to the final step: installing macOS 11 on your Mac.
Step 5: Install macOS 11
Now that you have completed the previous steps of checking system compatibility, backing up your data, downloading the macOS 11 installer, and preparing a bootable USB installer, it’s time to proceed with the installation of macOS 11 on your Mac.
Follow these steps to install macOS 11:
- Ensure that your Mac is connected to a reliable power source to avoid any interruptions during the installation process.
- If you’re using a bootable USB installer, insert the USB drive into your Mac.
- Restart your Mac and hold down the Option (⌥) key while it’s starting up. This will launch the Startup Manager.
- In the Startup Manager, select the bootable USB installer (if available) and click on the arrow to proceed.
- The macOS Utilities window will appear. Select “Install macOS” and click “Continue.”
- Follow the on-screen instructions to select your installation preferences, agree to the terms and conditions, and choose the disk on which you want to install macOS 11.
- Click “Install” and wait patiently for the installation process to complete. This may take some time, so grab a cup of coffee and relax.
- Once the installation is finished, your Mac will restart, and you’ll be greeted with the welcoming setup process for macOS 11.
- Follow the instructions to set up your Mac, including signing in with your Apple ID, configuring system preferences, and migrating your data if needed.
Congratulations! You have successfully installed macOS 11 on your Mac. Take some time to explore the new features, interface, and enhancements that macOS 11 brings. Enjoy the seamless performance and improved functionality that the latest operating system offers.
Remember to reinstall any third-party applications or software that you had on your Mac before the installation, ensuring compatibility with macOS 11.
Now that you’ve completed the installation process, feel free to remove the bootable USB installer if you used one, as it is no longer needed for future operations.
That concludes our steps for installing macOS 11. Enjoy your upgraded Mac experience and make the most of all the exciting features that macOS 11 has to offer!
Conclusion
Congratulations! You’ve successfully navigated through the process of downloading and installing macOS 11 on your Mac. By following the steps outlined in this guide, you’ve ensured compatibility, backed up your important data, downloaded the macOS 11 installer, prepared a bootable USB installer, and completed the installation process.
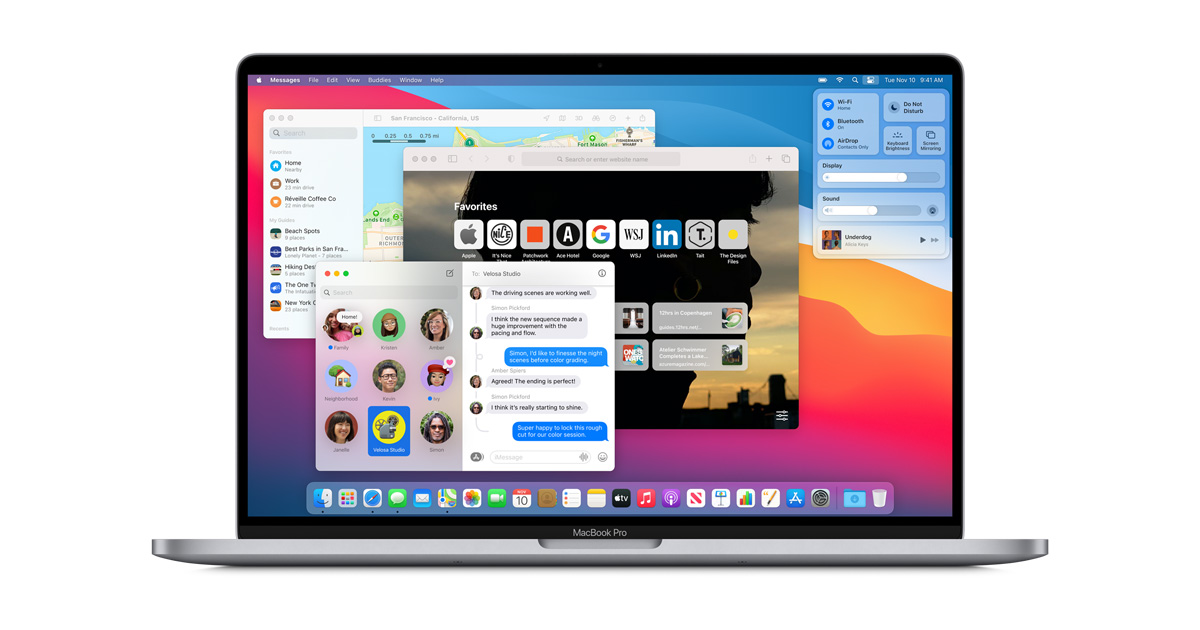
With macOS 11 installed on your Mac, you can now enjoy its sleek design, improved performance, and exciting new features. Explore the updated interface, take advantage of enhanced privacy settings, experience the power of the new Safari browser, and make use of the innovative messaging and productivity features that macOS 11 offers.
Remember to keep your Mac up to date by regularly installing updates and security patches released by Apple. These updates will not only provide new features but also ensure the stability and security of your system.
Now that you’re familiar with the process of upgrading to macOS 11, you can stay ahead of the curve and make the most out of your Mac experience. Embrace the new possibilities and possibilities that macOS 11 has to offer, and let it empower you to achieve more with your Mac.
Thank you for following this guide, and we hope that you enjoy your journey with macOS 11! Should you have any questions or encounter any issues along the way, don’t hesitate to seek assistance from Apple support or the vast online community of Mac enthusiasts.