Introduction
Welcome to the world of portable computing! If you’re looking to expand the storage and versatility of your Mac system, installing macOS on an external Solid State Drive (SSD) is an excellent option. Not only does it give you the freedom to take your operating system and data with you wherever you go, but it also frees up valuable space on your internal drive.
Whether you’re a digital nomad, a content creator, or simply seeking a reliable backup solution, installing macOS on an external SSD provides numerous benefits. You can enjoy a seamless macOS experience with the added advantage of improved performance and lightning-fast data transfer speeds.
In this guide, we’ll take you through the step-by-step process of installing macOS on an external SSD. From preparing the SSD to partitioning it and finally installing macOS, we’ll cover everything you need to know to get started. So, let’s dive in!
Please note that before proceeding with the installation, it’s important to back up all your important data. While the installation process should not affect your files, it’s always better to be safe than sorry.
Additionally, make sure you have a USB drive with at least 16GB of storage capacity and a stable internet connection, as you’ll need to download the macOS installer during the process.
Now, let’s get started on this exciting journey of installing macOS on an external SSD!
Preparing the External SSD
Before we can begin the installation process, we need to make sure that the external SSD is properly prepared. Follow the steps below to ensure that everything is in order:
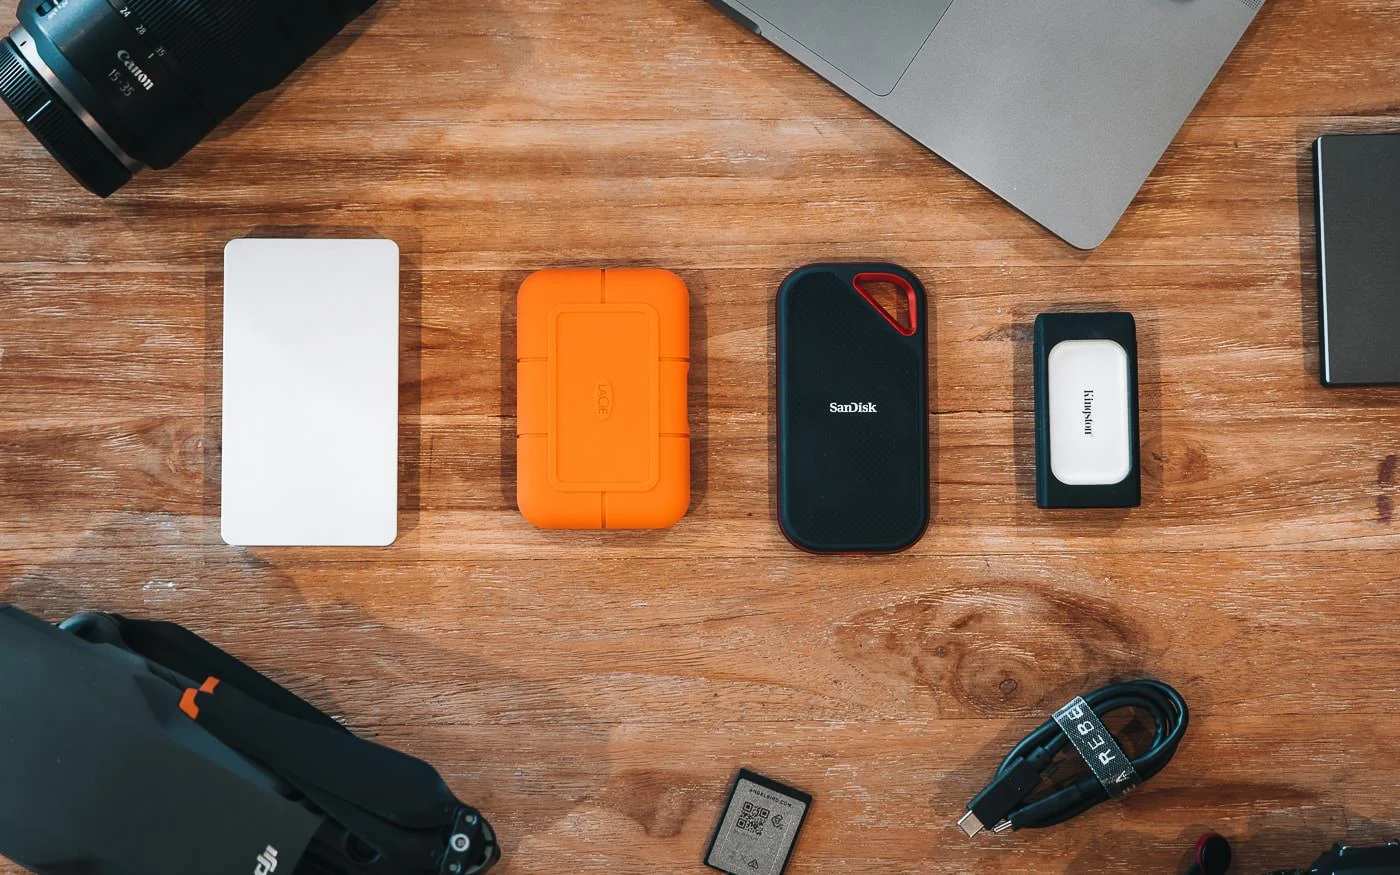
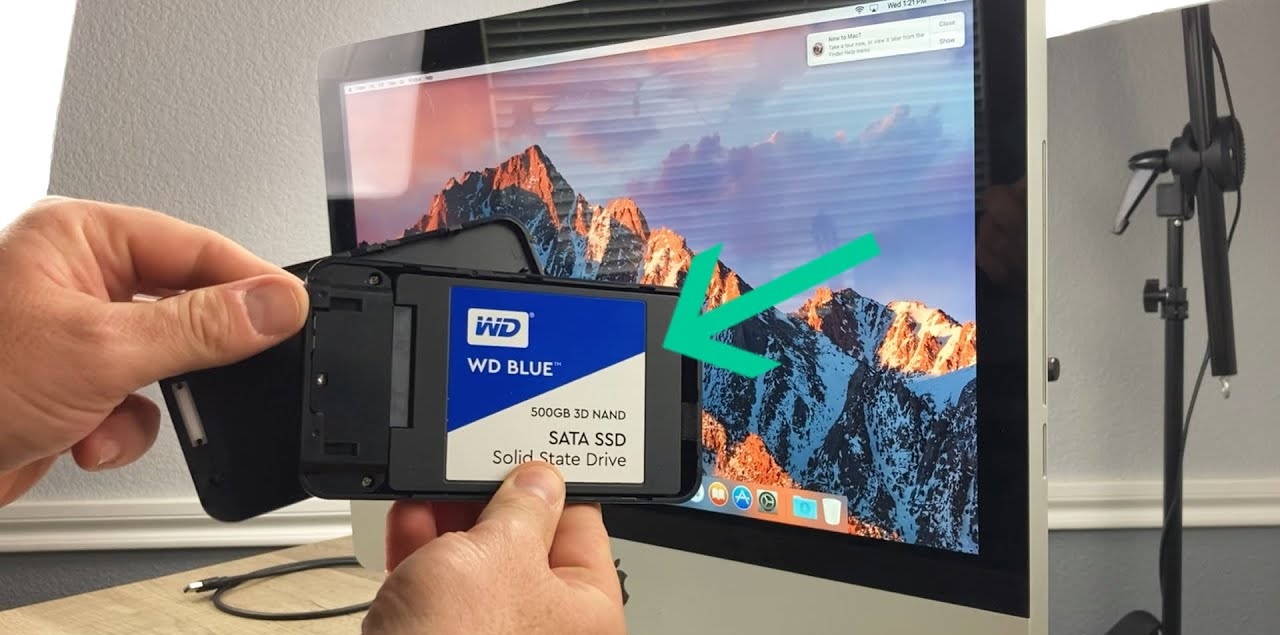
Step 1: Check Compatibility: Ensure that your external SSD is compatible with your Mac system. Check the manufacturer’s specifications or consult the user manual to confirm compatibility.
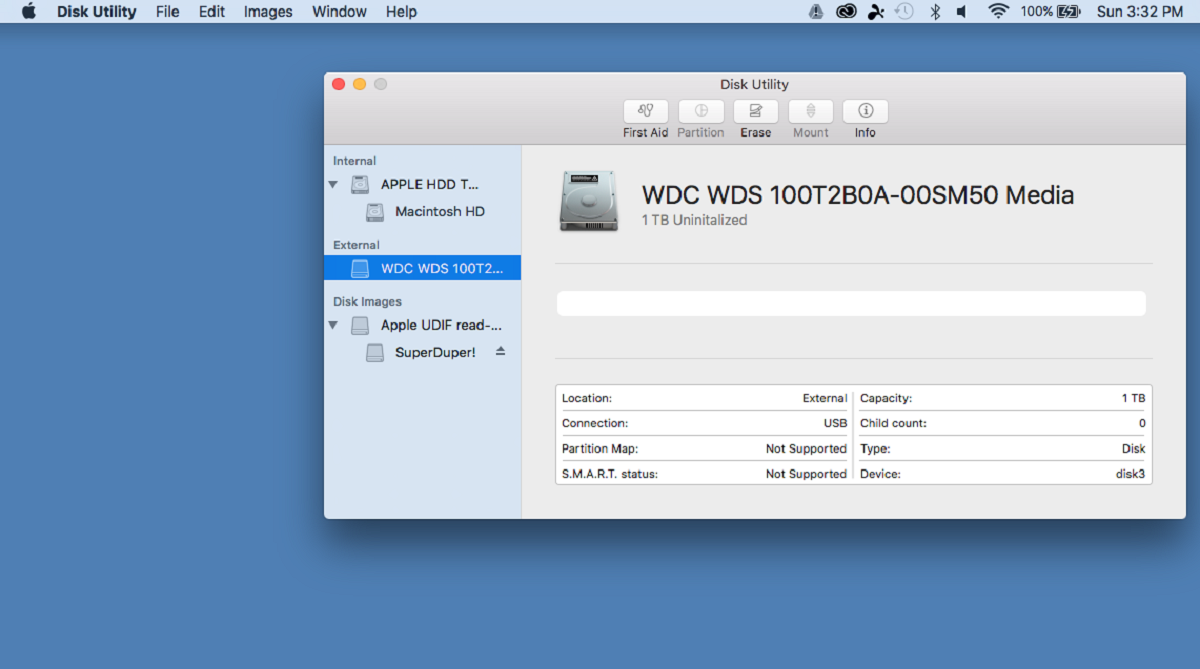
Step 2: Format the SSD: Connect the external SSD to your Mac using a reliable USB or Thunderbolt cable. Launch the Disk Utility application, which can be found in the Utilities folder within the Applications folder. Select the SSD from the list of available drives and click on the “Erase” button. Choose a suitable name for the drive, select the appropriate file system format (usually macOS Extended Journaled), and click “Erase” to format the SSD.
Step 3: Partition the SSD: Once the SSD is formatted, you may choose to partition it if you want to allocate specific amounts of storage for different purposes. This step is optional but can be useful if you want to separate your macOS installation from your data storage. To partition the SSD, select the drive from the list in Disk Utility and click on the “Partition” button. Follow the on-screen prompts to set the desired number of partitions and their sizes.
Step 4: Check for Firmware Updates: Visit the manufacturer’s website and check if any firmware updates are available for your external SSD. Keeping the firmware up to date ensures optimal performance and compatibility with macOS.
Step 5: Eject the SSD: After completing the above steps, safely eject the external SSD from your Mac. This ensures that all changes are saved, and the SSD can be safely disconnected without any data loss.
By following these preparatory steps, you’ll have your external SSD ready for the macOS installation process. Now, it’s time to move on to the next step: downloading the macOS installer.
Downloading macOS Installer
Before we can install macOS on the external SSD, we need to download the macOS installer. Follow these steps to get the installer onto your Mac:
Step 1: Check System Requirements: Ensure that your Mac meets the system requirements for the version of macOS you want to install. Visit Apple’s website or consult the documentation to verify compatibility.
Step 2: Connect to the Internet: Make sure your Mac is connected to a stable internet connection. This is necessary for downloading the macOS installer from the official Apple website.
Step 3: Launch the App Store: Open the App Store application on your Mac. You can find it in the Applications folder or by using Spotlight search.
Step 4: Search for macOS: In the App Store, search for the version of macOS you want to install. For example, if you want to install macOS Catalina, search for “macOS Catalina.”
Step 5: Download the Installer: Click on the “Get” or “Download” button next to the macOS version you want to install. The download may take some time, depending on your internet speed.
Step 6: Wait for the Download to Complete: Allow the installer to download fully. You can monitor the progress in the “Purchased” section of the App Store.
Step 7: Quit the Installer: Once the download is complete, the installer will open automatically. Quit the installer for now – we’ll use it later during the installation process.
By following these steps, you’ll have successfully downloaded the macOS installer onto your Mac. The next step is to create a bootable USB drive to install macOS on the external SSD.
Creating a Bootable USB Drive
In order to install macOS on the external SSD, we need to create a bootable USB drive. This will allow us to boot into the macOS installer and initiate the installation process. Follow these steps to create a bootable USB drive:
Step 1: Connect the USB Drive: Insert the USB drive into an available USB port on your Mac.
Step 2: Format the USB Drive: Launch the Disk Utility application from the Utilities folder within the Applications folder. Select the USB drive from the list of available drives and click on the “Erase” button. Choose a suitable name for the drive, select the appropriate file system format (usually macOS Extended Journaled), and click “Erase” to format the USB drive.
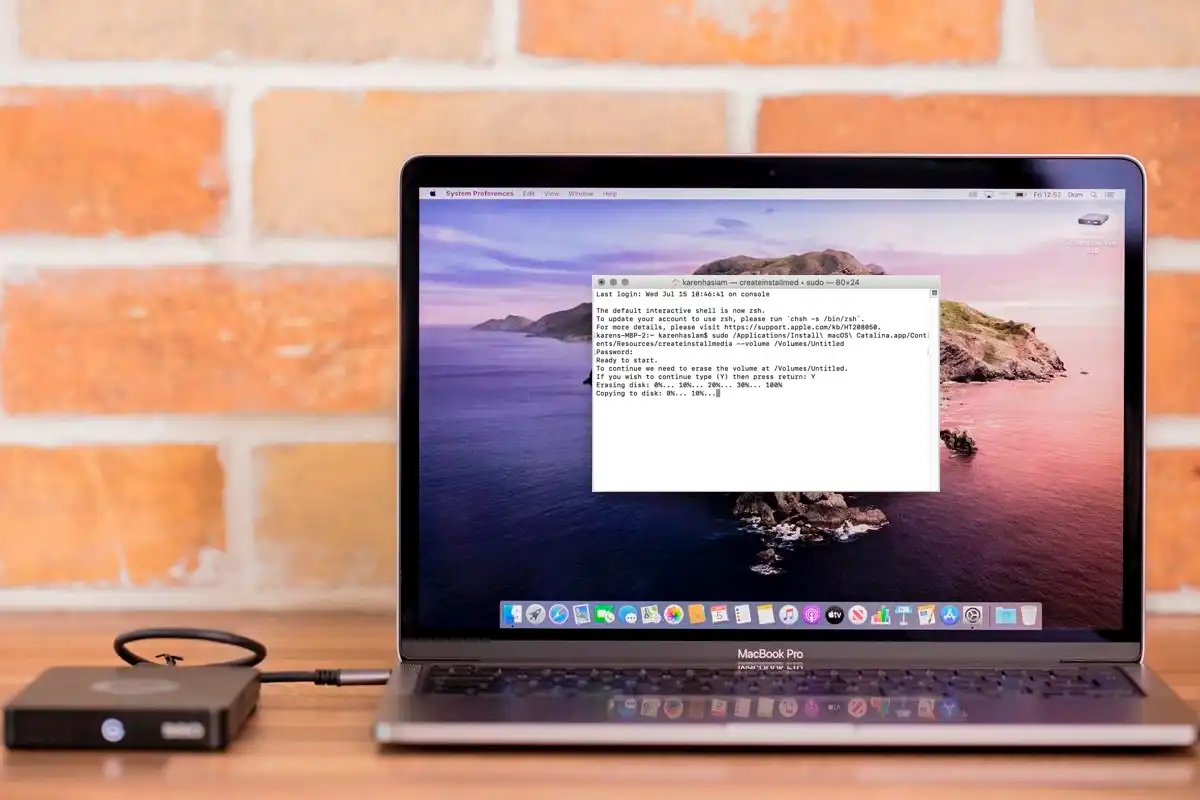
Step 3: Open Terminal: Open the Terminal application, which can be found in the Utilities folder within the Applications folder.
Step 4: Copy the Installer Files: In Terminal, type the following command: sudo /Applications/Install\ macOS\ [version].app/Contents/Resources/createinstallmedia --volume /Volumes/[USB Drive Name] --nointeraction Replace [version] with the name of the macOS version you downloaded, and [USB Drive Name] with the name you assigned to the USB drive in Disk Utility. Press Enter to execute the command.
Step 5: Enter Administrator Password: You will be prompted to enter your administrator password. Type the password and press Enter. Note that as you type the password, no characters will appear on the screen. Press Enter again to confirm.
Step 6: Wait for the Process to Complete: The Terminal will now copy the installer files to the USB drive. This may take some time, so be patient and do not interrupt the process.
Step 7: Verify the Bootable USB Drive: Once the process is complete, you can verify that the USB drive is bootable. Restart your Mac and hold down the Option key while it boots up. You should see the boot selection screen, where you can choose the USB drive as the startup disk.
By following these steps, you’ll have successfully created a bootable USB drive. This will be used to install macOS on the external SSD in the next step.
Partitioning the External SSD
Before installing macOS on the external SSD, it’s recommended to partition the drive. Partitioning allows you to divide the SSD into separate sections, allocating specific amounts of storage for different purposes. Follow these steps to partition the external SSD:
Step 1: Connect the External SSD: Ensure that the external SSD is properly connected to your Mac using a reliable USB or Thunderbolt cable.
Step 2: Launch Disk Utility: Open the Disk Utility application, which can be found in the Utilities folder within the Applications folder.
Step 3: Select the External SSD: In Disk Utility, locate the external SSD from the list of available drives on the left-hand side of the window. Click on it to select it.
Step 4: Click on the “Partition” Tab: At the top of the Disk Utility window, click on the “Partition” tab. This will display the partitioning options for the external SSD.
Step 5: Choose the Number of Partitions: Decide how many partitions you want to create on the external SSD. You can choose to have multiple partitions for different purposes, such as a dedicated partition for macOS and another for data storage.
Step 6: Adjust the Partition Sizes: Drag the divider between the partitions to adjust their sizes. You can also enter specific sizes in the field next to each partition if you prefer precise measurements.
Step 7: Set Partition Names and Formats: For each partition, you can enter a name and choose the appropriate file system format. For the partition that will contain macOS, select “macOS Extended (Journaled)” as the format.
Step 8: Apply the Changes: Once you’re satisfied with the partition configuration, click on the “Apply” button to apply the changes. This will initiate the partitioning process, which may take a few moments.
Step 9: Verify the Partitions: Once the partitioning process is complete, you can verify the partitions by checking the sidebar in Disk Utility. Each partition should be listed separately, with their respective names and sizes.
By following these steps, you’ll have successfully partitioned the external SSD. Now, you’re ready to proceed with the installation of macOS on the external SSD.
Installing macOS on the External SSD
Now that you have prepared the external SSD and created a bootable USB drive, it’s time to install macOS on the SSD. Follow these steps to install macOS on the external SSD:
Step 1: Connect the Bootable USB Drive: Insert the bootable USB drive into an available USB port on your Mac.
Step 2: Restart Your Mac: Restart your Mac and hold down the Option key as it boots up. This will bring up the boot selection screen.
Step 3: Select the Bootable USB Drive: On the boot selection screen, select the bootable USB drive from the available startup disks. This will boot your Mac into the macOS installer.
Step 4: Choose a Language: In the macOS installer, choose your preferred language for the installation process.
Step 5: Select the External SSD: Once you’ve chosen the language, click on the “Disk Utility” option. In Disk Utility, select the external SSD from the list of available drives on the left-hand side of the window.
Step 6: Erase the External SSD: In Disk Utility, click on the “Erase” button and choose a suitable name for the SSD. Select the appropriate file system format (usually macOS Extended Journaled) and click “Erase” to format the SSD and prepare it for the macOS installation.
Step 7: Start the macOS Installation: After the SSD is erased, close Disk Utility and return to the macOS installer. Click on the “Continue” button to begin the installation process. Follow the on-screen prompts to proceed.
Step 8: Agree to the License Agreement: Read through the license agreement and click on the “Agree” button to proceed with the installation.
Step 9: Select the External SSD as the Installation Destination: In the installer, select the external SSD as the destination for the installation. This will ensure that macOS is installed on the SSD rather than your internal drive.
Step 10: Wait for the Installation to Complete: Allow the macOS installer to complete the installation process. This can take some time, so be patient and avoid interrupting the process.
Step 11: Set Up macOS: Once the installation is complete, follow the on-screen prompts to set up macOS on the external SSD. This includes setting your language, creating a user account, and selecting your preferences.
By following these steps, you’ll have successfully installed macOS on the external SSD. Now, you can enjoy the benefits of a portable macOS system with improved performance and storage capacity!
Setting up macOS on the External SSD
Now that you have installed macOS on the external SSD, it’s time to set up your system. Follow these steps to configure macOS on the external SSD:
Step 1: Customize System Preferences: After your Mac restarts, you will be prompted to customize various system preferences. Set up options such as your Apple ID, iCloud settings, Siri preferences, and other personalized settings.
Step 2: Transfer Data (Optional): If you have backed up your data using Time Machine or another backup method, you can choose to migrate your data to the new installation. This can be done during the initial setup or through the Migration Assistant later.
Step 3: Install Necessary Apps: Install the necessary applications and software that you need for your daily tasks. You can download and install them from the App Store or other reliable sources.
Step 4: Customize Dock and Desktop: Personalize your Dock by adding your most frequently used applications for easy access. Additionally, organize your desktop by arranging files and folders in a way that suits your workflow.
Step 5: Configure System Preferences: Fine-tune your macOS experience by exploring the System Preferences. Adjust settings related to display, sound, trackpad, security, energy saving, and more to optimize your workflow and preferences.
Step 6: Set Security Measures: It’s important to keep your data and system secure. Configure settings such as FileVault encryption, Firewall protection, and automatic updates to ensure the safety of your files and information.
Step 7: Install Updates: After setting up macOS on the external SSD, it’s crucial to keep your system up to date. Regularly check for and install macOS updates and software updates to benefit from the latest features and security enhancements.
Step 8: Test and Enjoy: Take some time to explore your newly set up macOS on the external SSD. Test its performance, responsiveness, and functionality to ensure everything is working as expected.
By following these steps, you’ll have successfully set up macOS on the external SSD according to your preferences and requirements. Take full advantage of the benefits of having a portable macOS system!
Conclusion
Congratulations on successfully installing and setting up macOS on your external SSD! You now have a portable and flexible macOS system that can accompany you wherever you go. This setup not only provides you with the freedom to use your preferred operating system but also offers the added benefits of improved performance and increased storage capacity.
By preparing the external SSD, downloading the macOS installer, creating a bootable USB drive, partitioning the SSD, and installing macOS, you have taken the necessary steps to ensure a smooth and efficient installation process. Additionally, customizing the system preferences and configuring macOS according to your needs allows for a personalized computing experience.
Remember to regularly update your macOS system to benefit from the latest features, security patches, and performance enhancements. Taking precautions such as backing up your data and keeping your external SSD firmware up to date will further ensure a secure and reliable computing environment.
Whether you’re a digital nomad, a content creator, or simply seeking a portable backup solution, having macOS on an external SSD gives you the flexibility and convenience to work and access your files on multiple devices. Enjoy the seamless experience and increased productivity that comes with using macOS on the go.
We hope this guide has been helpful in assisting you with the installation and setup process. If you have any questions or encounter any issues along the way, don’t hesitate to seek assistance from Apple support or online forums dedicated to macOS users.
Now it’s time to embrace the freedom and possibilities that come with your portable macOS system on the external SSD. Whether you’re working on creative projects, managing your business, or simply exploring new digital frontiers, your macOS system is ready to support you every step of the way.