Choosing the Right SSD
When it comes to upgrading your computer’s storage, selecting the right Solid State Drive (SSD) is crucial. With the multitude of options available in the market, it can be overwhelming to make the right choice. However, by considering a few factors, you can ensure you choose an SSD that meets your requirements.
First and foremost, you should consider the capacity of the SSD. Determine how much storage space you need for your files, applications, and operating system. SSDs are available in various capacities, ranging from 128GB to multiple terabytes. Assess your current storage usage and leave room for future expansion when selecting the capacity.
Another important factor to consider is the speed of the SSD. This is often measured in terms of read and write speeds, which determine how quickly data can be accessed and transferred. Opt for an SSD with higher read and write speeds to experience faster boot times, application launches, and file transfers.
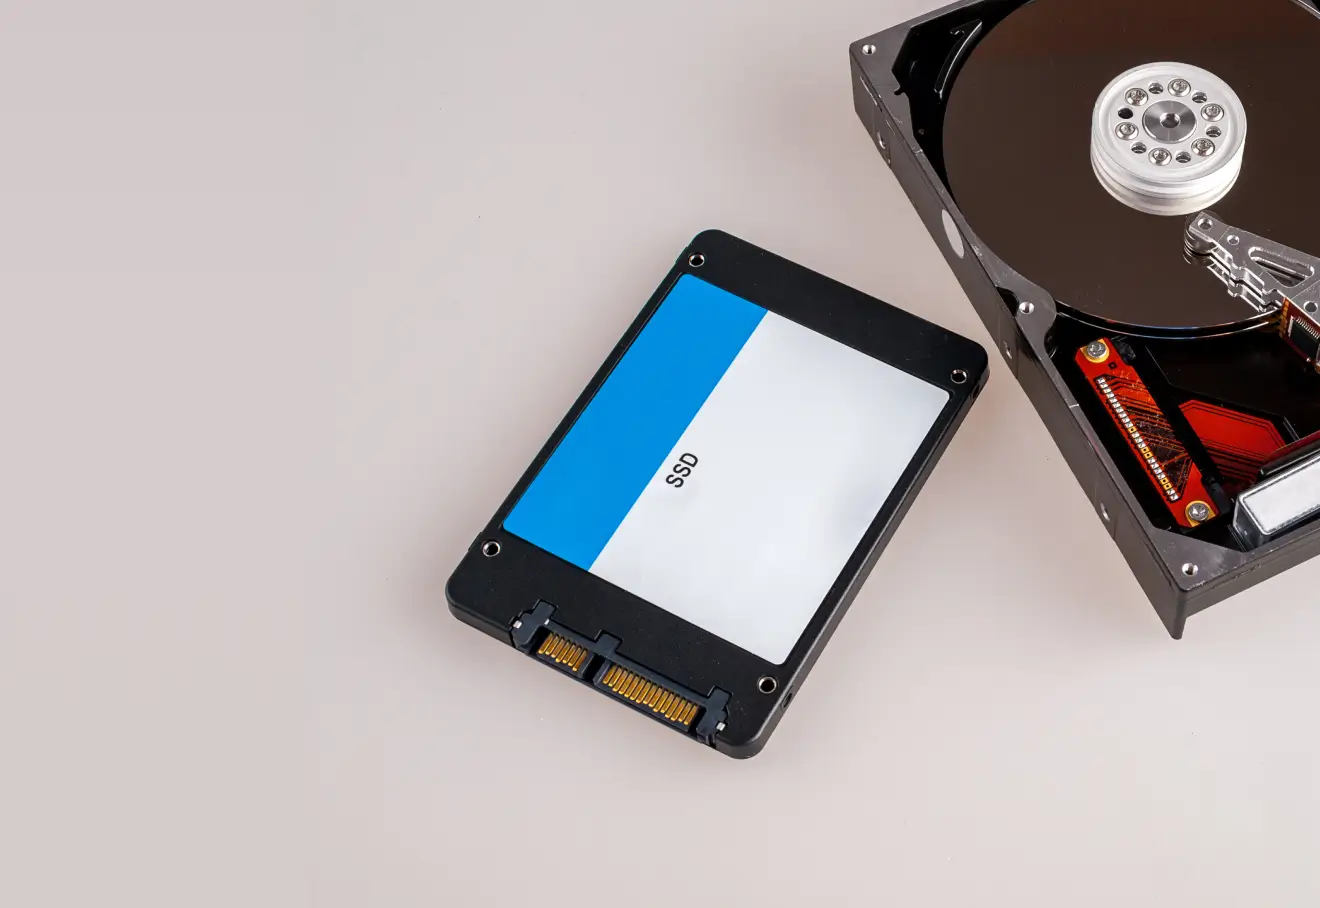
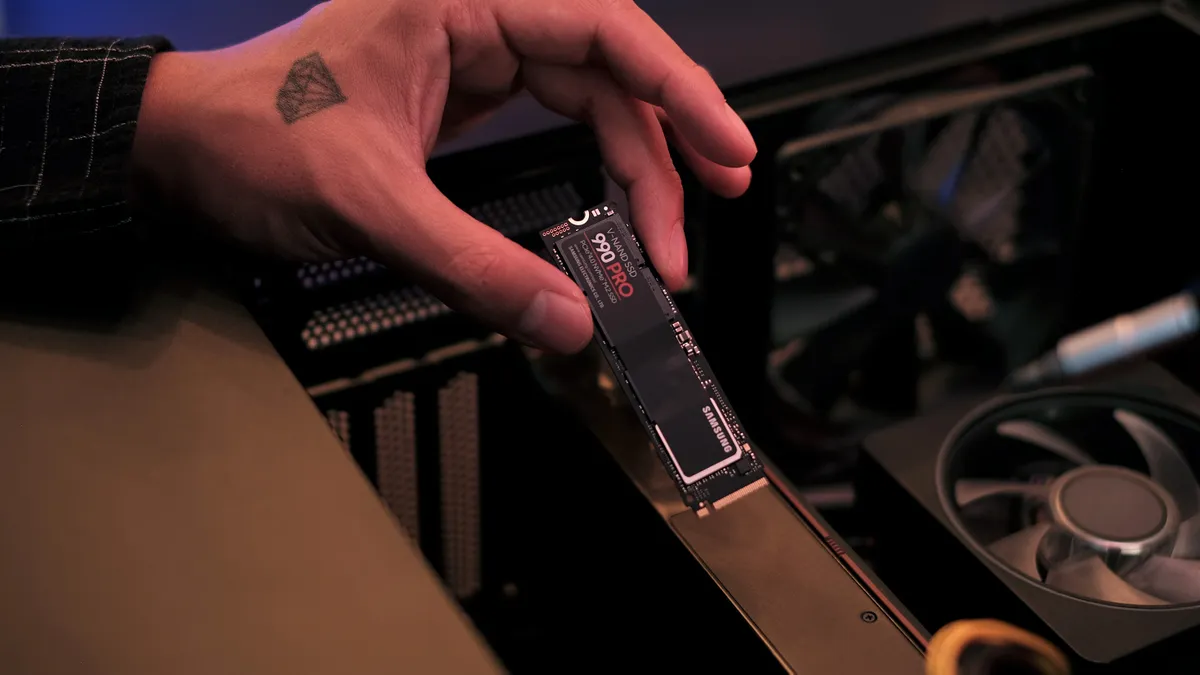
Additionally, you should pay attention to the form factor of the SSD. Most modern consumer SSDs come in the standard 2.5-inch form factor, which is suitable for desktop computers and laptops that have dedicated slots for SSD installation. However, if you have a smaller device such as an Ultrabook or a tablet, you might need to look for M.2 or PCIe form factor SSDs that are more compact and designed for such devices.
The durability and reliability of the SSD are also important considerations. Look for SSDs that are known for their long lifespan and high endurance. Some manufacturers provide warranties that can give you peace of mind in case of any issues.
Finally, consider the price of the SSD. SSDs vary in price based on factors such as capacity, speed, and brand. Set a budget and find a balance between performance and cost that fits your needs.
By carefully considering these factors, you can choose an SSD that not only meets your storage needs, but also provides the performance and reliability you desire. Remember to research different brands and read reviews to ensure you make an informed decision.
Backing Up Data
Before making any changes to your computer’s storage configuration, it is crucial to back up your data. This ensures that your important files, documents, and settings are protected in case of any unforeseen issues during the SSD installation process.
There are several methods you can use to back up your data. One option is to manually copy your files to an external storage device, such as a USB flash drive or an external hard drive. This method allows you to select and transfer specific files and folders that you want to back up. However, it can be time-consuming, especially if you have a large amount of data.
Another option is to use backup software. There are numerous backup tools available that automate the process and make it easier to create a complete backup of your system. These tools often provide features such as scheduled backups, incremental backups, and the ability to restore your data in case of any data loss.
Cloud storage services can also be an excellent choice for backing up your data. Services like Google Drive, Dropbox, and OneDrive offer a certain amount of free storage and allow you to sync your files across multiple devices. Uploading your important files to the cloud ensures that they are safely stored off-site and can be accessed from anywhere with an internet connection.
Regardless of the method you choose, it is essential to ensure that your backup is up-to-date and complete. Double-check that all your important files and data have been successfully backed up before proceeding with the SSD installation process.
Remember, backing up your data is vital as it provides a safety net in case anything goes wrong during the SSD installation or cloning process. It gives you peace of mind knowing that your valuable files are secure and can be easily restored if needed.
Installing the SSD
Once you have chosen the right SSD and backed up your data, it’s time to install the SSD into your computer. Installing an SSD is a relatively straightforward process, but it’s essential to follow the proper steps to ensure a successful installation.
The first step is to power off your computer and unplug it from the power source. This will prevent any accidental damage to your computer or the SSD during the installation process.
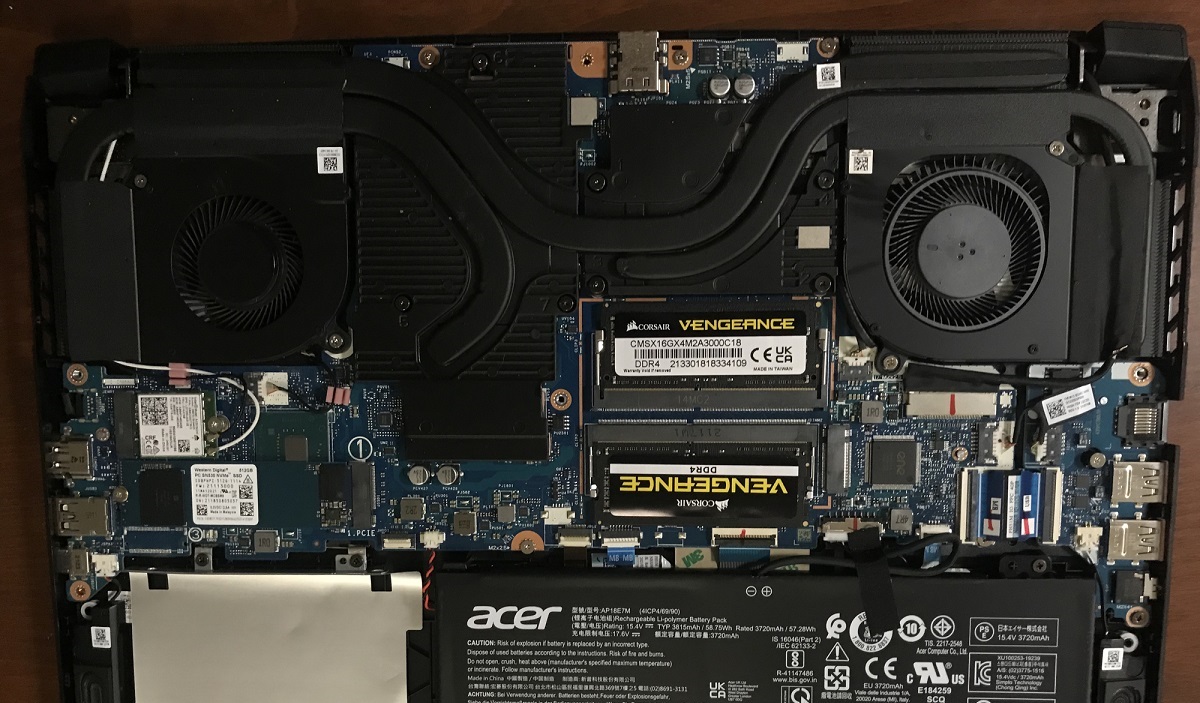
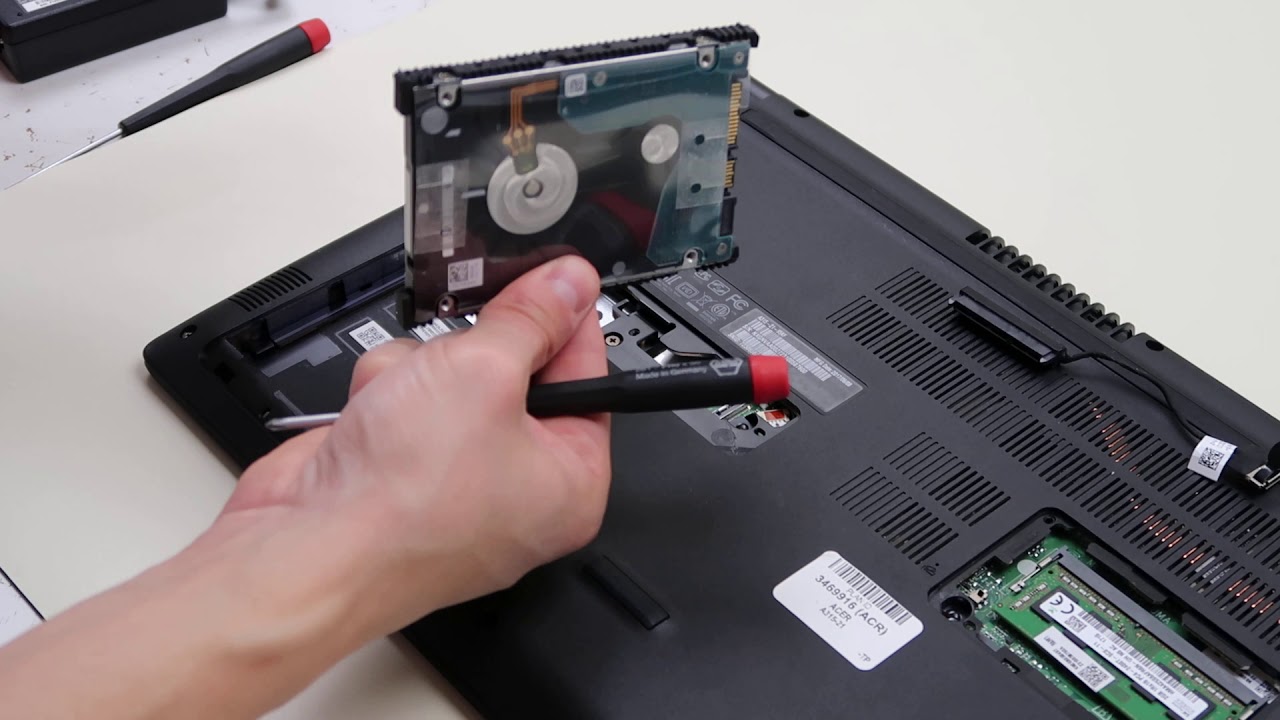
Next, locate the storage drive bays in your computer. In most cases, you will find these bays in the front or side of the computer’s chassis. If you already have a hard drive installed, you will need to remove it from the bay to make room for the SSD.
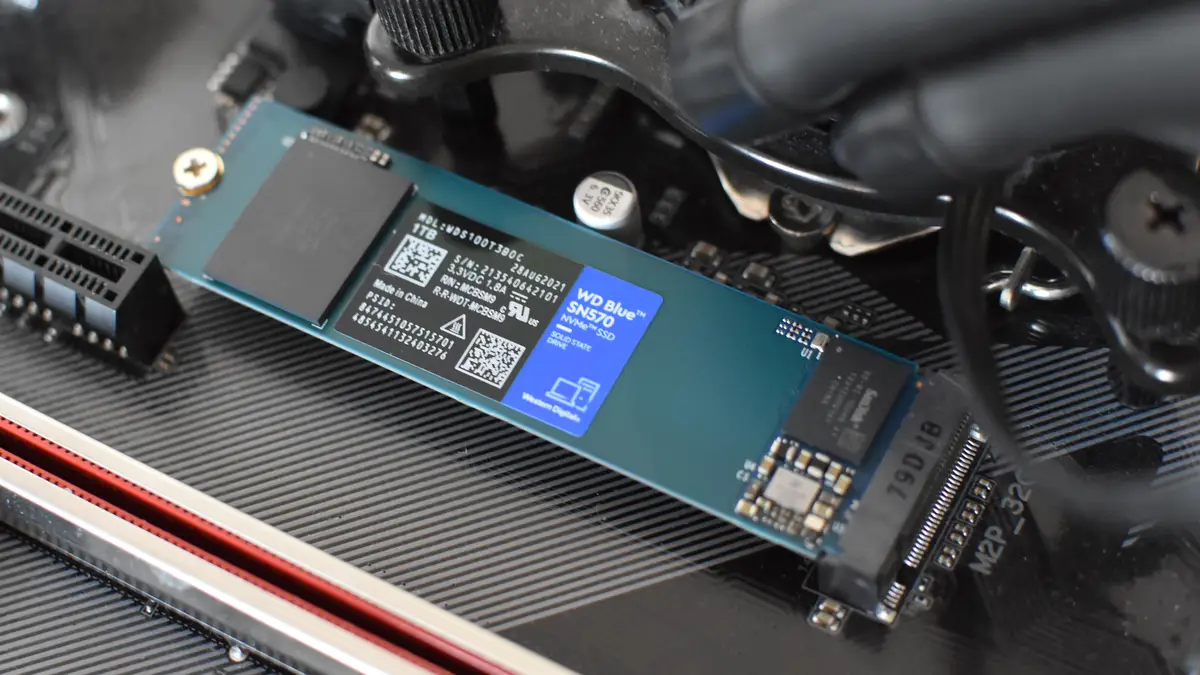
Once you have freed up a storage drive bay, carefully connect the SSD to it. SSDs typically use a SATA interface, so you will need a SATA cable to connect the SSD to the motherboard. Make sure the connections are secure and tight.
After connecting the SSD, you will need to secure it in place using screws or brackets. Many computers have dedicated slots or mounting points for SSDs, so refer to your computer’s manual for specific instructions on how to secure the SSD properly.
With the SSD securely installed, you can reassemble your computer and plug it back into the power source.
Before proceeding further, it’s important to ensure that the computer recognizes the newly installed SSD. Turn on your computer and enter the BIOS settings by pressing the designated key during the boot process. Navigate to the storage or device settings and check if the SSD is detected. If not, you may need to check the connections and try again.
Once the BIOS recognizes the SSD, you are ready to proceed with the next step, which is cloning your existing hard drive to the SSD or performing a fresh installation of the operating system on the SSD.
Installing an SSD can significantly improve your computer’s performance and speed up your daily tasks. By following these installation steps carefully, you can ensure a smooth and successful upgrade to your computer’s storage system.
Cloning the Existing Hard Drive
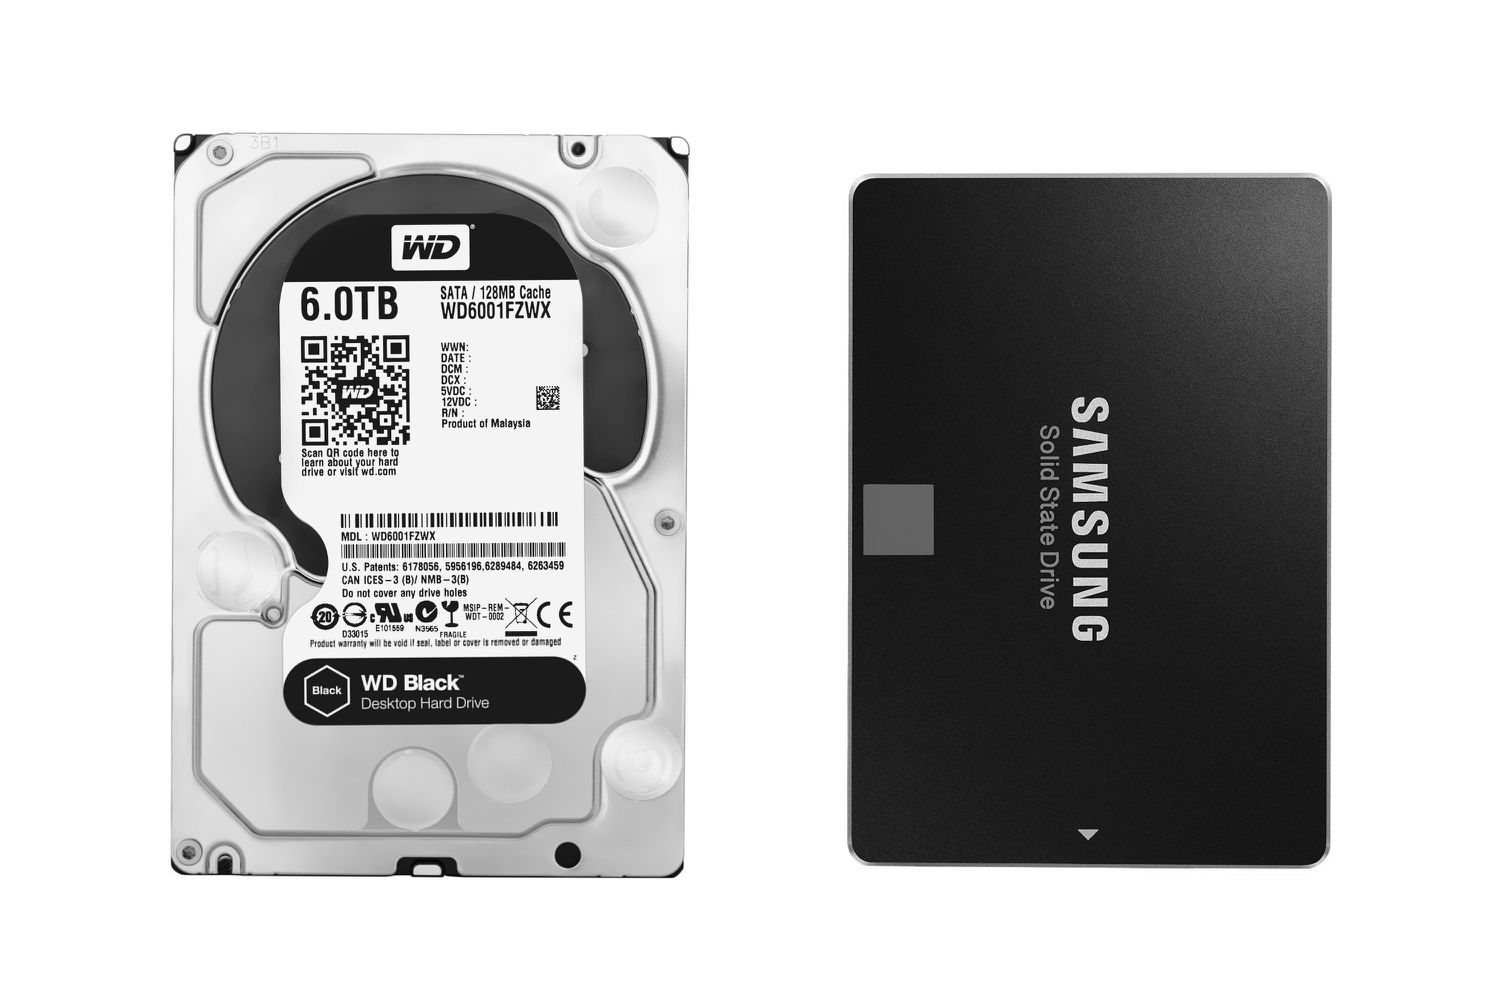
One of the most common methods to migrate your operating system and files to the newly installed SSD is by cloning your existing hard drive. Cloning creates an exact copy of your hard drive onto the SSD, allowing you to seamlessly transition to the new drive without reinstalling the operating system or your applications.
To begin the cloning process, you will need cloning software. There are several reputable cloning tools available, such as Acronis True Image, EaseUS Todo Backup, and Macrium Reflect. Download and install the software of your choice, ensuring compatibility with your operating system.
Once you have installed the cloning software, connect both your existing hard drive and the SSD to your computer. In most cases, you can connect both drives internally using SATA cables and power connectors. If you do not have the necessary internal connectors, you can use an external docking station or a USB-to-SATA adapter to connect the SSD externally.
When both drives are connected and recognized by the computer, open the cloning software and select the option to clone your hard drive to the SSD. Depending on the software you are using, you will typically have the option to choose specific partitions or the entire hard drive for cloning.
Once you have made your selection, start the cloning process. The software will prompt you to confirm your selection and may also provide additional options, such as optimizing for SSD or adjusting the partition sizes. Review the options and make any necessary adjustments.
After confirming your choices, the cloning process will begin. This can take some time, depending on the size of your hard drive and the speed of your computer. It’s important to avoid interrupting the process or shutting down the computer during cloning, as it can lead to data loss or an incomplete clone.
Once the cloning process is complete, shut down your computer and disconnect the original hard drive. Ensure that only the SSD is connected internally or externally. Restart your computer and enter the BIOS settings to ensure that the SSD is recognized as the boot drive.
With the SSD successfully cloned and set as the boot drive, you can now enjoy the benefits of improved speed and performance from your newly upgraded storage solution.
Changing the Boot Order in BIOS
After cloning your existing hard drive to the SSD, the next step is to update the boot order in the BIOS to ensure that your computer boots from the SSD as the primary drive. Changing the boot order allows the computer to prioritize the SSD during the startup process.
To change the boot order, restart your computer and enter the BIOS settings. The specific key to access the BIOS may vary depending on your computer’s manufacturer, but commonly used keys are F2, F10, or Delete. Refer to your computer’s manual or look for on-screen prompts during the boot process for the correct key.
Once you are in the BIOS settings, navigate to the “Boot” or “Boot Order” section. Here, you will see a list of available boot devices. Use the arrow keys to highlight the SSD or the name of your cloned hard drive, and then move it to the top of the boot device priority list. This ensures that the computer looks to the SSD first for the operating system during startup.
Save the changes and exit the BIOS settings. The specific process for saving and exiting will vary depending on your BIOS version, but it is usually done by pressing the F10 key or selecting the appropriate option from the menu.
Upon restarting your computer, it should now boot from the SSD as the primary drive. You can verify this by checking the startup time, which should be significantly faster than before, thanks to the improved speed of the SSD.
If, for any reason, your computer does not boot from the SSD, restart your computer again and enter the BIOS settings. Double-check that the SSD is selected as the first boot device. If the issue persists, ensure that the cloning process was successful and that the SSD is properly connected to the computer.
Changing the boot order in the BIOS is a crucial step after upgrading to an SSD. It allows your computer to fully utilize the faster boot times and improved performance of the SSD, giving you a smoother and more efficient computing experience.
Setting the SSD as the Main Drive
Once you have installed the SSD and updated the boot order in the BIOS, the next step is to set the SSD as the main drive in your computer’s operating system. By doing so, you ensure that all system files, applications, and user data are stored on the SSD, taking full advantage of its speed and performance.
The process of setting the SSD as the main drive may vary depending on your operating system. Here, we will provide general instructions for Windows and macOS:
Windows:
- Open the “Start” menu and go to “Settings.”
- Click on “System” and then select “Storage” from the sidebar.
- Under the “More storage settings” section, click on “Change where new content is saved.”
- In the drop-down menus, choose the SSD as the default save location for apps, documents, pictures, and other file types.
- Next, go back to the “Storage” settings page and click on “This PC (C:)” or the name of your original hard drive.
- Click on “Apps & games” and individually move all installed applications and games to the SSD by clicking on “Move” and selecting the SSD as the new destination.
macOS:
- Click on the Apple menu and select “System Preferences.”
- Choose “Users & Groups” and click on your username.
- Select the “Login Items” tab and remove any unnecessary startup items to optimize the boot time from the SSD.
- Next, open “Finder” and go to “Preferences.”
- In the “General” tab, ensure that the “Hard disks” option is checked so that the SSD is shown on the desktop and in the sidebar.
- Now, click on the “Apple” menu again and select “System Preferences.”
- Choose “Startup Disk” and select the SSD as the startup disk.
These steps will help set the SSD as the main drive on your Windows or macOS system, ensuring that all default save locations, application installations, and startup settings are directed to the SSD. This will maximize the performance benefits of the SSD and provide you with a faster and more responsive computing experience.
Configuring the SSD for Better Performance
Once you have set the SSD as the main drive, there are a few additional configuration steps you can take to optimize its performance and ensure that you are getting the most out of your storage upgrade. These steps can help improve the longevity and speed of your SSD.
One important step is to enable TRIM. TRIM is a built-in feature in modern operating systems that allows the SSD to efficiently manage and maintain its performance over time. To enable TRIM on Windows, open the command prompt as an administrator and enter the command “fsutil behavior set DisableDeleteNotify 0”. On macOS, TRIM is automatically enabled for third-party SSDs, but you can verify by opening “System Information” (found in the “Utilities” folder) and checking if “TRIM Support” is listed under “Serial-ATA” or “NVMe” in the left sidebar.
Another performance optimization is ensuring that the SSD is properly aligned. SSDs have specific alignment requirements, and aligning the partitions can significantly improve performance. For Windows users, this alignment is usually handled automatically, but it is advised to double-check using a partitioning tool such as “Disk Management” or a third-party software like “MiniTool Partition Wizard.” On macOS, the alignment is automatically taken care of during the formatting process.
It is also recommended to disable disk defragmentation for the SSD. Unlike traditional hard drives, SSDs do not benefit from defragmentation and it can even reduce the lifespan of the drive. By default, most modern operating systems, including Windows and macOS, are aware of the SSD and disable defragmentation. However, it is worth verifying this setting to ensure it is disabled.
Furthermore, consider disabling unnecessary startup programs and services. This will reduce the number of programs that are launched during system boot, resulting in faster startup times. On Windows, you can manage startup programs by opening the “Task Manager” and navigating to the “Startup” tab. On macOS, go to “System Preferences” > “Users & Groups” > “Login Items” to manage startup programs.
Finally, regular firmware updates are crucial to maintain the performance, stability, and security of your SSD. Check the manufacturer’s website periodically for any firmware updates and install them as recommended. Firmware updates often include bug fixes and performance enhancements, so staying up to date is essential.
By following these configuration steps, you can fine-tune your SSD for optimal performance and longevity. Enjoy the improved speed and responsiveness that your SSD brings to your computing experience.
Troubleshooting Common Issues
While upgrading to an SSD is generally a smooth process, you may encounter some common issues along the way. Here are a few troubleshooting steps to help resolve these issues and ensure a successful SSD installation:
Issue: SSD not detected in BIOS
– Check the connections and ensure that the SSD is properly connected to the SATA port and power supply.
– Try connecting the SSD to a different SATA port to rule out any issues with the port.
– Verify that the SSD is compatible with your motherboard and that the BIOS is up-to-date.
Issue: Slow performance or boot time
– Check if your operating system is set to use the SSD as the main drive and boot device in the BIOS.
– Verify if TRIM is enabled and if the SSD is properly aligned.
– Update your operating system and SSD firmware to the latest versions.
– Scan for any malware or unnecessary background processes that may be affecting performance.
Issue: Cloning process failed
– Ensure that the cloning software is compatible with your operating system and SSD.
– Verify that the source hard drive and the SSD have enough storage space for the cloning process.
– Disable any antivirus or disk encryption software during the cloning process, as they may interfere.
– Try using a different cloning software or contact the software’s customer support for assistance.
Issue: Incorrect drive letter assignment
– Open the Disk Management utility in Windows or the Disk Utility in macOS to assign the correct drive letter or mount point to the SSD.
– Make sure the assigned drive letter does not conflict with any existing drives or partitions.
– Reboot the computer after making any changes to ensure the new drive letter takes effect.
Issue: Inability to boot from the SSD
– Double-check that the SSD is set as the first boot device in the BIOS settings.
– Make sure the operating system is properly installed on the SSD.
– Check for any issues with the cloned operating system, such as missing or corrupt files, and consider performing a fresh installation if necessary.
– If using Windows, try using the Startup Repair tool or the bootrec command in the Command Prompt to fix boot issues.
If you encounter any other issues during the SSD installation or migration process, consulting the user manual, contacting the manufacturer’s support team, or seeking assistance from online forums and communities dedicated to SSD upgrades can provide further guidance and assistance.
Frequently Asked Questions
Here are some frequently asked questions about upgrading to an SSD:
Q: Is an SSD worth it?
A: Yes, upgrading to an SSD can greatly improve the overall performance and speed of your computer. It offers faster boot times, quicker application launches, and improved file transfer speeds compared to traditional hard drives.
Q: How do I choose the right SSD for my computer?
A: When selecting an SSD, consider factors such as capacity, speed, form factor, durability, and price. Assess your storage needs, research different brands, read reviews, and choose an SSD that strikes the right balance between performance and cost.
Q: Do I need to back up my data before installing an SSD?
A: Yes, it is highly recommended to back up your data before installing an SSD. This ensures that your important files and documents are protected in case of any issues during the installation or cloning process.
Q: How do I install an SSD into my computer?
A: Installing an SSD involves connecting it to the computer’s storage drive bays, securing it in place, and updating the BIOS settings to recognize the SSD. Follow the manufacturer’s instructions and consult your computer’s manual for specific steps.
Q: Can I clone my existing hard drive to the SSD?
A: Yes, cloning your existing hard drive to the SSD is a common method to migrate your operating system and files. Use cloning software to create an exact copy of your hard drive onto the SSD, allowing for a seamless transition without needing to reinstall the OS or applications.
Q: How can I ensure that the SSD is set as the main drive?
A: After installing the SSD, update the boot order in the BIOS to prioritize the SSD as the primary boot device. Additionally, configure the operating system to use the SSD as the default save location and move installed applications to the SSD.
Q: How can I optimize the performance of my SSD?
A: Enable TRIM, properly align the SSD partitions, disable disk defragmentation, and regularly update the SSD firmware to optimize performance. Also, consider disabling unnecessary startup programs and services to improve boot times.
Q: What should I do if I encounter issues during or after the SSD installation?
A: If you encounter issues such as the SSD not being detected, slow performance, or difficulties with cloning, check connections, update firmware, ensure proper alignment, and consult troubleshooting guides. You can also seek assistance from manufacturer support or online forums.
Remember to consult your computer’s manual and refer to specific manufacturer instructions for the best practices and procedures regarding upgrading to an SSD.