Introduction
Cloning your Mac hard drive to an SSD (Solid State Drive) can significantly improve your computer’s performance and overall speed. By migrating your data and operating system from a traditional hard drive to an SSD, you can enjoy faster boot times, quicker application launches, and smoother multitasking.
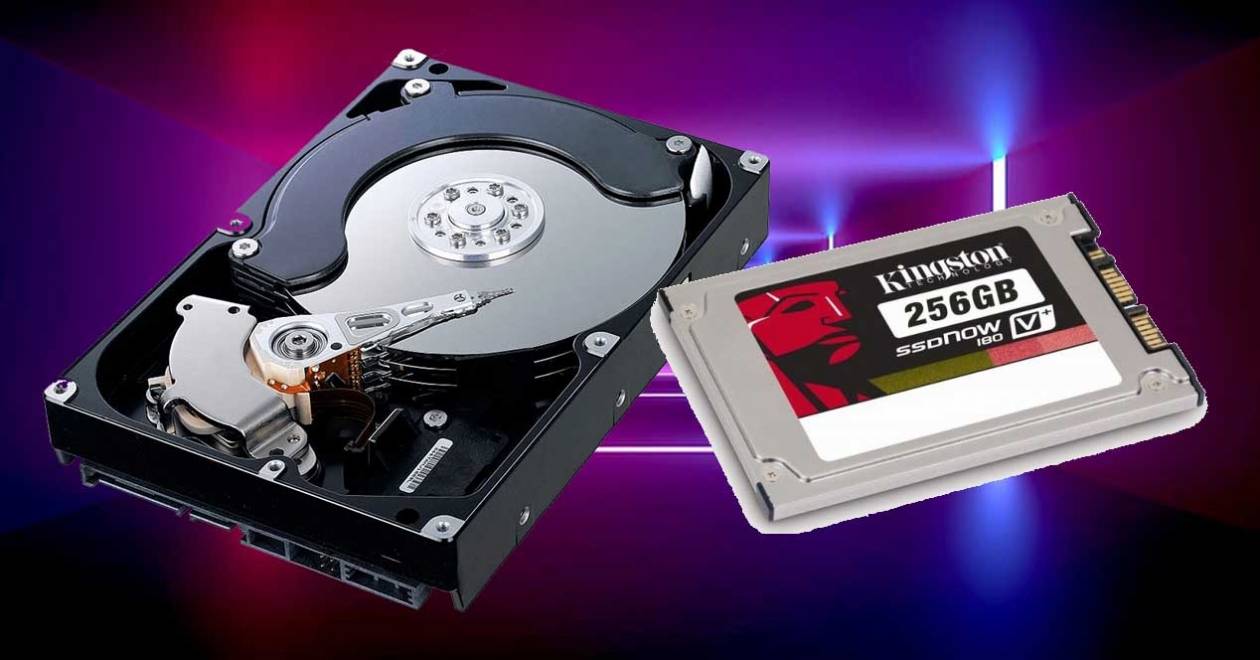
Why should you consider cloning your Mac hard drive to an SSD? The answer is simple: SSDs are exceptionally faster than traditional hard drives. Unlike traditional hard drives, which rely on spinning disks and moving parts, SSDs use flash memory to store data, resulting in rapid read and write speeds.
Upgrading to an SSD is like giving your Mac a new lease on life. Previously time-consuming tasks such as opening applications or accessing files become almost instantaneous. And the best part? Cloning your Mac hard drive to an SSD can be done relatively easily and quickly, without the need to reinstall your operating system or reinstalling all your applications and settings.
To successfully clone your Mac hard drive to an SSD, you will need a few essential tools and follow a series of steps. In this article, we will guide you through the process, providing detailed instructions to make the transition as seamless as possible.
Before we dive into the steps, it’s necessary to emphasize the importance of backing up your data. While cloning your hard drive is generally a safe process, unforeseen circumstances can occur, resulting in data loss. Therefore, creating a backup ensures that your files and documents are protected should anything go wrong during the cloning process.
Now let’s gather the necessary tools and get started on transferring your data from your Mac hard drive to a new SSD, unlocking a world of improved performance and efficiency.
Why Should You Consider Cloning Your Mac Hard Drive to SSD?
If you’re still questioning why you should consider cloning your Mac hard drive to an SSD, let’s explore the numerous benefits of making this upgrade.
1. Improved Performance: SSDs offer significantly faster data transfer speeds compared to traditional hard drives. This means that tasks like booting up your Mac, launching applications, and opening files will be much quicker and more efficient. With an SSD, you’ll experience a noticeable boost in overall system performance.
2. Reduced Loading Times: Load times for applications, games, and large files will be dramatically reduced with an SSD. This means you can get right to work or play without being held back by long waiting periods. Whether you’re a professional using resource-intensive software or a gamer wanting faster load times, upgrading to an SSD will greatly enhance your user experience.
3. Enhanced Multitasking: SSDs excel in handling multiple tasks simultaneously. With faster read and write speeds, an SSD can handle numerous requests without causing your system to slow down. This is especially beneficial for professionals who frequently multitask or individuals who use resource-heavy applications.
4. Extended Battery Life: SSDs consume less power compared to traditional hard drives. As a result, upgrading to an SSD can extend the battery life of your Mac, allowing you to work or play for longer periods without having to search for an outlet.
5. Improved Reliability: Traditional hard drives rely on moving parts, which can make them vulnerable to physical shocks or damage. In contrast, SSDs have no moving parts, making them more durable and resistant to shock and vibration. This makes SSDs a more reliable choice for storing your important files and data.
6. Quiet Operation: SSDs operate silently as they don’t require any moving parts to access data. This is ideal for users who prefer a quiet working environment or for those who simply find the noise generated by traditional hard drives distracting.
7. Space Efficient: SSDs are available in various storage capacities, allowing you to choose the size that best suits your needs. Some SSDs are even as small as a credit card, making them ideal for compact Mac devices such as laptops or Mac minis where space is limited.
By taking advantage of the benefits offered by SSDs, you can optimize your Mac’s performance and enhance your overall computing experience. The process of cloning your Mac hard drive to an SSD is a cost-effective and time-saving solution that allows you to enjoy all the advantages of an SSD without the hassle of a clean install.
What You Will Need
Before you begin the process of cloning your Mac hard drive to an SSD, it’s essential to gather the necessary tools and equipment.
1. External Hard Drive or Time Machine: It is crucial to back up your data before starting the cloning process. You can use an external hard drive or utilize Time Machine, a built-in backup feature in macOS, to create a backup of your Mac’s data and settings.
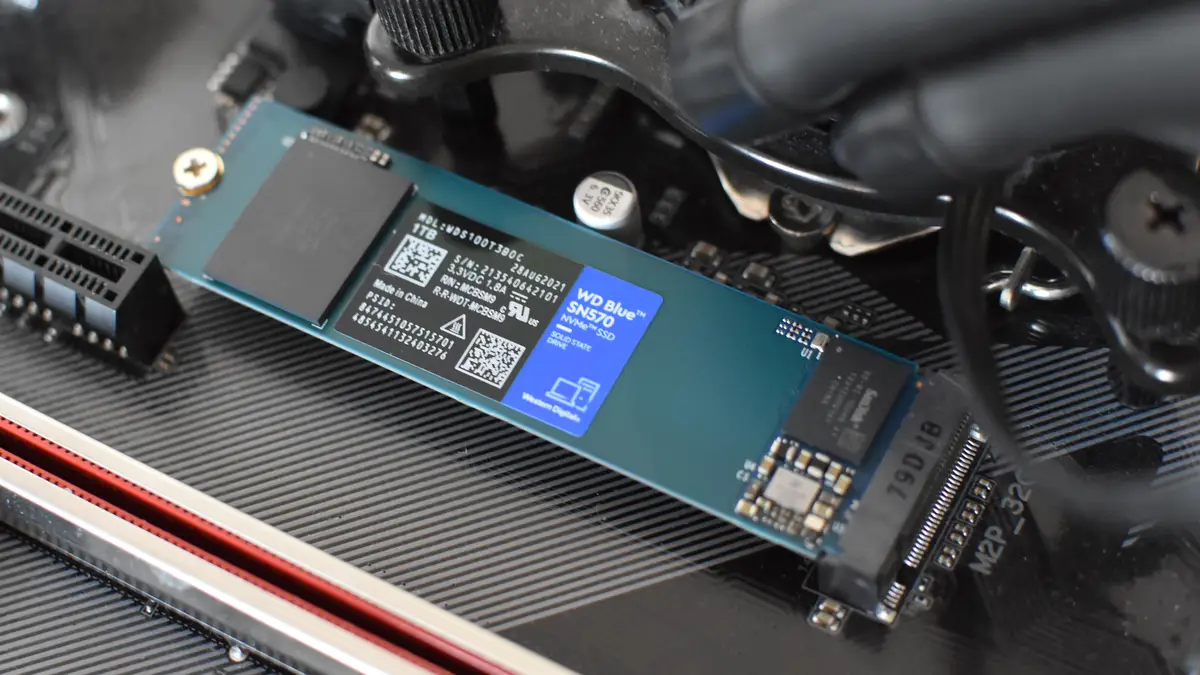
2. Compatible SSD: You will need a compatible SSD to act as the destination drive for the cloning process. Make sure to check the compatibility with your Mac model and verify the required storage capacity based on your needs.
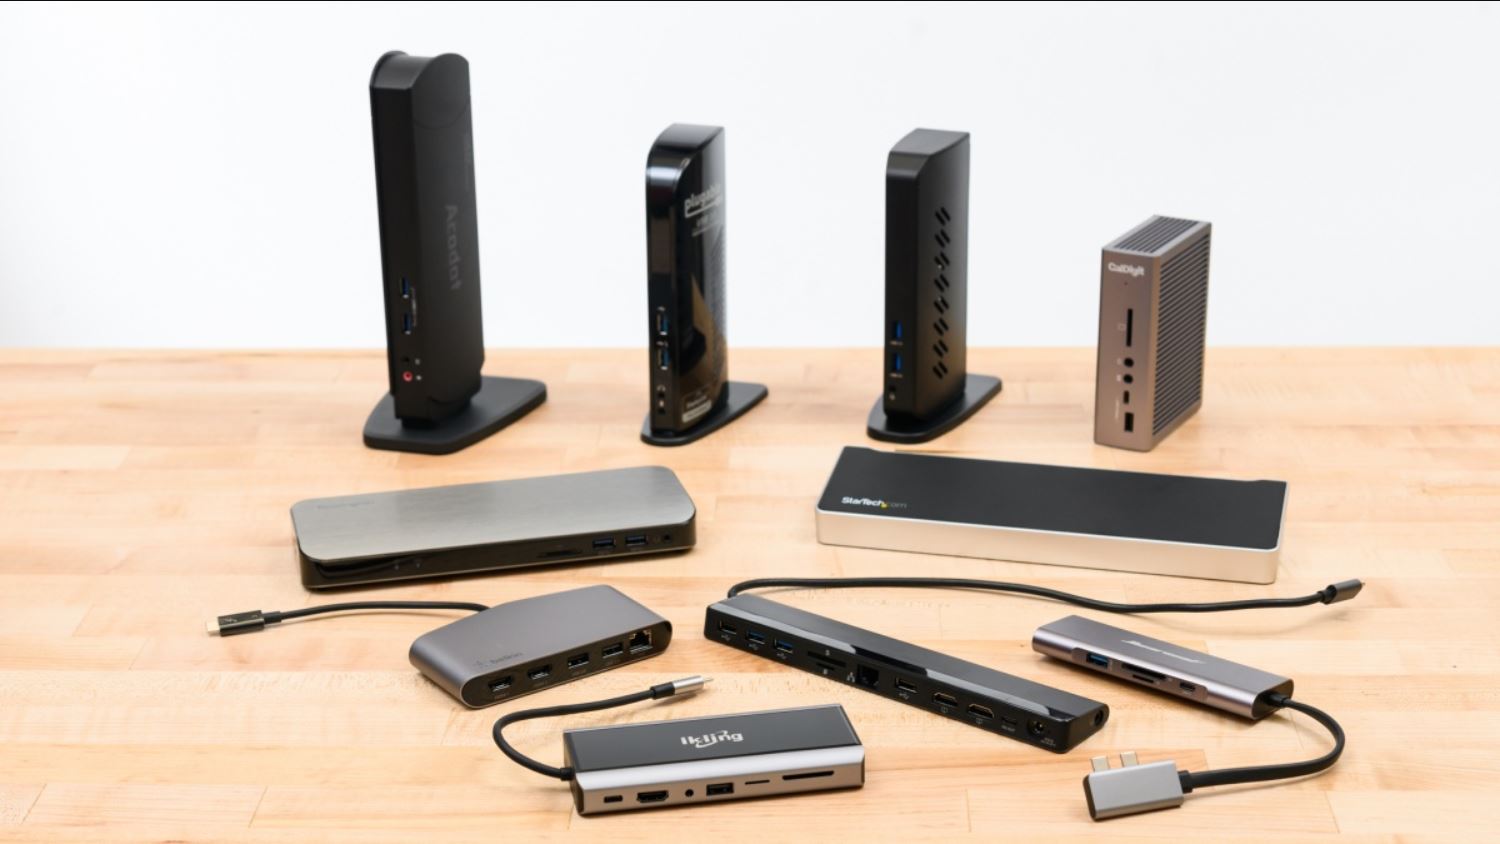
3. USB Adapter or External Enclosure: Ideally, you will need a USB adapter or an external enclosure that supports your SSD’s connection type (such as SATA or M.2) to connect the SSD to your Mac during the cloning process. This facilitates the transfer of data between the drives.
4. Mac Operating System Installer: In some cases, you may need to have a copy of the macOS installer handy. This is necessary if you encounter any issues during the cloning process or if you plan to perform a clean install of macOS on the new SSD.
5. Mac-Specific Cloning Software: While macOS comes with built-in utilities like Time Machine, you may need Mac-specific cloning software for a seamless cloning experience. Carbon Copy Cloner is a popular option that provides advanced cloning functionality and additional features for Mac users.
6. Screwdrivers or Tools: Depending on your Mac model, you may require screwdrivers or specific tools to access and swap the hard drives. Be sure to check the necessary tools based on your Mac model to avoid any difficulties during the installation process.
By ensuring that you have all the required tools and equipment, you can proceed with confidence in successfully cloning your Mac hard drive to an SSD. This preparation phase is crucial for a smooth and efficient upgrade process without any unexpected roadblocks.
Step 1: Backup Your Data
Before embarking on the process of cloning your Mac hard drive to an SSD, it is of utmost importance to back up your data. This step ensures that your precious files and documents are protected in case of any unforeseen issues during the cloning process.
There are two main methods you can use to back up your data: utilizing an external hard drive or using Apple’s built-in backup feature, Time Machine.
Method 1: External Hard Drive:
- Connect an external hard drive to your Mac using an appropriate cable.
- Open Finder, locate the external hard drive in the sidebar, and select it.
- Create a new folder on the external hard drive with a name that is easily recognizable.
- Manually drag and drop the important files and folders you wish to backup into the new folder on the external hard drive.
- Wait for the transfer process to complete. The time required will depend on the size of the data being backed up.
Method 2: Time Machine:
- Connect an external hard drive with sufficient storage capacity to your Mac.
- Open System Preferences and click on “Time Machine”.
- Click on “Select Backup Disk” and choose the connected external hard drive as the backup destination.
- Click on “Back Up Automatically” to enable automatic backups.
- Wait for Time Machine to complete the initial backup. Subsequent backups will occur automatically based on the frequency you have set.
Regardless of the method you choose, ensure that the backup process is completed successfully and that all your important files, applications, and settings are included. It is also recommended to verify the backup’s integrity by opening a few files from the backup to reassure yourself that the data has been backed up correctly.
By backing up your data, you can proceed with confidence knowing that your files are safeguarded, enabling a stress-free and smooth cloning process. With your data securely backed up, you are now ready to move on to the next step of cloning your Mac hard drive to an SSD.
Step 2: Choose the Right SSD
When it comes to upgrading your Mac hard drive to an SSD, selecting the right SSD is crucial. There are several factors to consider in order to ensure compatibility and optimal performance.
1. Compatibility:
Before purchasing an SSD, you need to ensure that it is compatible with your Mac model. Check the specifications and requirements specified by the manufacturer to ensure that the SSD supports your specific Mac model and operating system version.
2. Interface:
Determine the interface type of your current hard drive and look for an SSD that matches it. The most common interface types for Mac devices are SATA (Serial ATA) and M.2 (PCIe). Ensure that the SSD you choose has the same interface type to ensure seamless connection and functionality.
3. Capacity:
Consider your storage needs and select an SSD with an appropriate capacity. Take into account the amount of data currently on your hard drive and any future data you may wish to store. SSDs are available in various capacities, ranging from 128GB to several terabytes.
4. Performance:
Take into account the performance specifications of the SSD, such as read and write speeds. Higher read and write speeds indicate faster data transfer and overall performance. Look for SSDs with good performance ratings to ensure a noticeable improvement in speed and responsiveness.
5. Reliability and Endurance:
Consider the reliability and endurance of the SSD. Look for SSDs with a good track record of reliability and a high endurance rating. This is important to ensure that your data remains safe and that the SSD will last for a long time without any significant issues.
6. Budget:
Consider your budget when selecting an SSD. SSDs are available at various price points, so determine how much you are willing to spend. It is worth investing in a high-quality SSD that meets your requirements to ensure long-term satisfaction and reliability.
By considering these factors, you can choose the right SSD that suits your Mac model, storage needs, and performance expectations. Once you have selected the SSD, you are ready to move on to the next step of formatting the SSD in preparation for the cloning process.
Step 3: Formatting the SSD
Before you can clone your Mac hard drive to the SSD, it is essential to format the SSD correctly. Formatting prepares the SSD for data storage and ensures compatibility with your Mac.
Follow these steps to format the SSD:
- Connect the SSD to your Mac using a USB adapter or an external enclosure.
- Open the “Disk Utility” application on your Mac. You can find it in the “Utilities” folder within the “Applications” folder.
- In the Disk Utility window, locate the SSD in the left-hand sidebar. It will typically be listed under the external devices section.
- Select the SSD and click on the “Erase” button at the top of the Disk Utility window.
- In the “Format” dropdown menu, choose a format compatible with macOS, such as “Mac OS Extended (Journaled)”.
- Enter a name for the SSD in the “Name” field. Choose a name that you will easily recognize.
- Click on the “Erase” button to begin the formatting process. This will wipe all existing data on the SSD, so ensure that you have backed up any important data beforehand.
- Wait for the formatting process to complete. Once finished, the SSD will appear as a formatted drive ready for use.
Formatting the SSD ensures that it is compatible with macOS and ready to receive the cloned data from your Mac hard drive. It is important to note that formatting the SSD will erase all existing data on it, so make sure to back up any relevant files or documents before the formatting process.
With the SSD successfully formatted, you are ready to proceed to the next step of cloning your Mac hard drive using either Time Machine or cloning software like Carbon Copy Cloner.
Step 4: Clone Mac Hard Drive to SSD Using Time Machine
If you prefer using Apple’s built-in backup feature, Time Machine, you can easily clone your Mac hard drive to the SSD. Follow the steps below:
- Connect the formatted SSD to your Mac using a USB adapter or an external enclosure.
- Ensure that the external hard drive or Time Machine backup disk containing your backup is connected to your Mac.
- Restart your Mac and hold down the Command + R keys to enter the Recovery Mode.
- In the macOS Utilities window, select “Restore from Time Machine Backup” and click “Continue”.
- Choose the Time Machine backup disk that contains your Mac’s data and click “Continue”.
- Select the most recent backup of your Mac’s hard drive from the list of available backups and click “Continue”.
- In the “Restore your Mac” window, select the formatted SSD as the destination for the restore process. Make sure to double-check that you have selected the correct SSD.
- Click on the “Restore” button to begin the cloning process. This may take some time depending on the size of your data.
- Once the cloning process is completed, restart your Mac and hold down the Option key.
- In the startup disk selection menu, select the SSD as the startup disk and click on the arrow to proceed with booting from the SSD.
With these steps, Time Machine will clone your Mac’s hard drive to the SSD, transferring all your files, applications, and settings. Upon completion, you will be able to boot your Mac from the SSD, resulting in improved performance and faster read/write speeds.
It is worth noting that Time Machine may exclude certain system files or temporary files during the cloning process, which means you may need to reinstall some applications or reconfigure specific settings manually.
If you prefer a more comprehensive cloning process or want more control over the migration process, you can consider using dedicated cloning software like Carbon Copy Cloner, which we will cover in the next step.
Step 5: Clone Mac Hard Drive to SSD Using Carbon Copy Cloner
If you prefer a more customizable and comprehensive cloning process, you can use third-party cloning software like Carbon Copy Cloner to clone your Mac hard drive to the SSD. Here’s how to do it:
- Connect the formatted SSD to your Mac using a USB adapter or an external enclosure.
- Download and install Carbon Copy Cloner on your Mac.
- Launch Carbon Copy Cloner and grant necessary permissions for the application to access your files and drives.
- In the Source Disk section, select your Mac’s internal hard drive as the source drive for cloning.
- In the Destination Disk section, select the SSD as the destination drive for cloning. Double-check to ensure you’ve chosen the correct destination drive.
- Review and adjust the cloning settings according to your preferences. You can choose to clone specific files or the entire hard drive, exclude certain files or folders, and more.
- Click on the “Clone” button to start the cloning process. The time required will depend on the size of your data.
- Once the cloning process is complete, restart your Mac while holding down the Option key.
- In the startup disk selection menu, choose the SSD as the startup disk and proceed to boot from it.
With Carbon Copy Cloner, you have greater control over the cloning process, allowing you to customize the migration of your data and settings. It ensures a thorough and secure transfer of your entire hard drive to the SSD, resulting in a seamless transition with all your applications and files intact.
After successfully cloning your Mac’s hard drive to the SSD using Carbon Copy Cloner, you can now enjoy the improved performance and faster response times provided by the SSD. Your Mac will now boot from the SSD, allowing for quicker startup and superior overall performance.
Remember to keep your old hard drive or make a backup of it in case you need to retrieve any data later on. Additionally, don’t forget to properly dispose of or repurpose your old hard drive to ensure the security of your personal information.
Now that you have completed the cloning process using Carbon Copy Cloner, you can proceed to the next step of swapping the drives in your Mac.
Step 6: Swap the Drives
Now that you have successfully cloned your Mac hard drive to the SSD, it’s time to physically swap the drives in your Mac. Follow these steps to complete the process:
- Ensure your Mac is powered off and disconnected from any power source.
- Using the appropriate screwdriver or tools, remove the screws or panels that secure the access to your Mac’s hard drive.
- Locate the current hard drive in your Mac and carefully disconnect any cables or connectors attached to it.
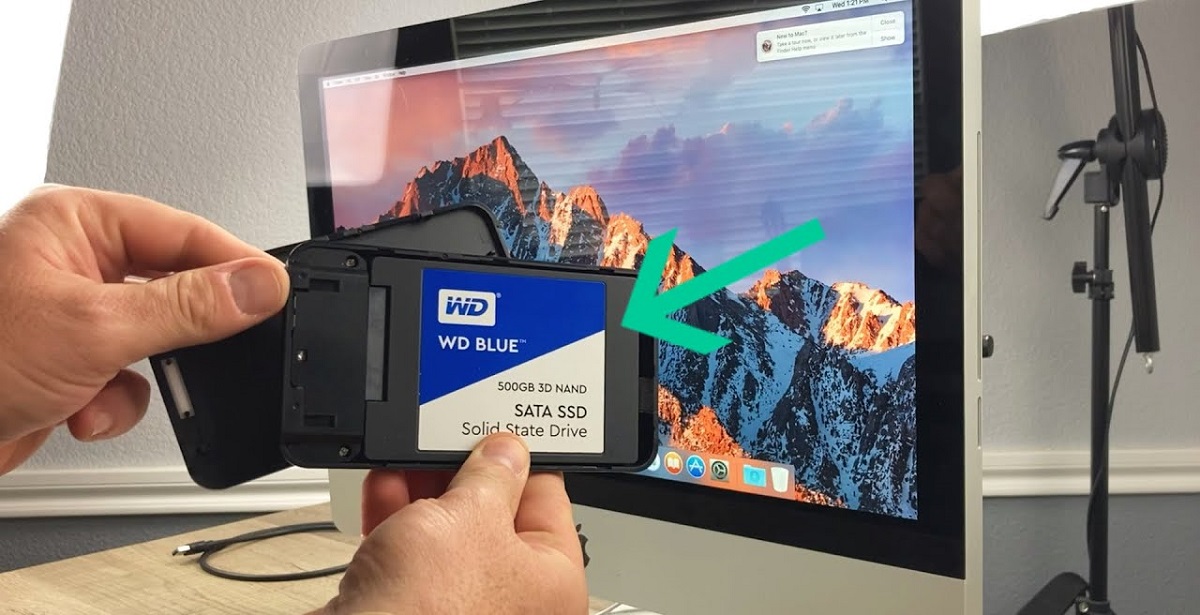
- Gently remove the existing hard drive from its slot or enclosure.
- Take the newly cloned SSD and attach it to the same slot or enclosure where the old hard drive was located. Ensure it is firmly and securely connected.
- Reconnect any cables or connectors that were previously attached to the old hard drive.
- Replace any screws or panels that were removed to access the hard drive.
With the physical swap of the drives complete, your Mac is now ready to boot from the newly installed SSD. At this point, it’s a good idea to double-check all connections and screws to ensure everything is secure and properly installed.
Now, connect your Mac to a power source and power it on. You should notice a significant improvement in performance and overall speed compared to the previous hard drive. Your Mac will now boot from the SSD, resulting in faster boot times and improved responsiveness.
It’s worth noting that if you encounter any issues during the startup process or if your Mac is unable to detect the newly installed SSD, you may need to reset the System Management Controller (SMC) or the NVRAM on your Mac. Consult the Apple guidelines or contact Apple support for assistance with any troubleshooting steps.
With the successful completion of the drive swap, you can now move on to the final step of verifying the cloning process and ensuring everything is working correctly.
Step 7: Verify the Cloning Process
After swapping the drives and booting up your Mac from the newly installed SSD, it is important to verify that the cloning process was successful and that everything is functioning properly. Here are some steps to help you verify the cloning process:
- Ensure that your Mac starts up without any issues and that you can access your desktop and files.
- Open a few applications and ensure they launch quickly and smoothly.
- Test the responsiveness of your Mac by performing various tasks, such as opening and closing files, browsing the internet, and running resource-intensive applications.
- Check the available storage on the SSD to confirm that all data from the previous hard drive has been successfully transferred. You should see a similar amount of free space as before the cloning process.
- If you had any specific settings, preferences, or customizations, ensure that these are still intact after the cloning process.
- Verify that all your important files, documents, and applications are present and accessible on the SSD.
- Check the System Information on your Mac to confirm that the SSD is recognized correctly and running optimally.
- Monitor your Mac’s performance over the next few days to ensure that there are no unexpected issues or slowdowns.
If everything appears to be functioning properly and you do not notice any significant issues or data discrepancies, then the cloning process has been successful.
However, if you encounter any problems, such as missing files, applications not working correctly, or any other unexpected issues, refer back to your backup or contact the software provider for assistance.
Remember to keep the old hard drive or your backup for a few weeks as a precautionary measure. This allows you to refer back to it if you discover any critical files or information missing from the SSD.
Congratulations! You have successfully cloned your Mac hard drive to an SSD. Enjoy the improved performance and responsiveness that the SSD brings to your Mac, making your computing experience faster and more efficient.
Conclusion
Congratulations on successfully cloning your Mac hard drive to an SSD! By following the steps outlined in this guide, you have unlocked the benefits of improved speed, performance, and responsiveness for your Mac.
Through careful preparation, including backing up your data, selecting the right SSD, formatting the SSD, and utilizing either Time Machine or Carbon Copy Cloner, you have accomplished a seamless transition to an SSD without the need for a clean installation.
With your new SSD in place, you can enjoy faster boot times, quick application launches, and smoother multitasking. The enhanced performance and reduced loading times will provide you with a more efficient and enjoyable computing experience.
Remember to verify the cloning process by checking for the presence of all your files, applications, and settings on the SSD. Ensure that your Mac operates smoothly without any unexpected issues. If you encounter any problems, refer to your backup or seek assistance from the software provider.
Lastly, dispose of or repurpose your old hard drive responsibly to protect your personal information and the environment.
We hope this guide has been helpful in guiding you through the process of cloning your Mac hard drive to an SSD. By taking advantage of the power and reliability of an SSD, you have breathed new life into your Mac, ensuring a more efficient and enjoyable computing experience for years to come.