Introduction
Cloning a hard drive to a smaller SSD can be a smart and efficient way to upgrade your computer’s storage without losing any valuable data or sacrificing performance. With the advancements in solid-state drive (SSD) technology, more and more users are looking to make the switch from traditional hard drives to enjoy faster boot times, improved application performance, and increased overall system responsiveness.
However, one of the main challenges when migrating from a larger hard drive to a smaller SSD is dealing with the space limitations. Fortunately, with the right approach and tools, it is possible to clone your existing hard drive to a smaller SSD and take full advantage of the benefits that SSDs offer.
In this guide, we will delve into the process of cloning a hard drive to a smaller SSD, step by step. We will explore the benefits of this method, assess the requirements for both the hard drive and the SSD, and gather the necessary tools and equipment. Whether you are a novice computer user or have intermediate technical skills, this guide will equip you with the knowledge to successfully clone your hard drive to a smaller SSD.
By the end of this guide, you will have a clear understanding of how to clone your hard drive to a smaller SSD and optimize it for better performance. So, let’s begin this journey to give your computer a storage upgrade that will enhance its overall speed and efficiency.
Understanding the Benefits of Cloning a Hard Drive to a Smaller SSD
Cloning a hard drive to a smaller SSD offers several compelling benefits that make it an attractive option for computer users looking to improve their system’s performance and efficiency.
Improved Speed: One of the major advantages of using an SSD is its faster read and write speeds compared to traditional hard drives. By cloning your hard drive to a smaller SSD, you can experience significantly faster boot times, quicker application launches, and enhanced overall system responsiveness. This boost in speed can have a noticeable impact on your day-to-day computing tasks, allowing you to work more efficiently.
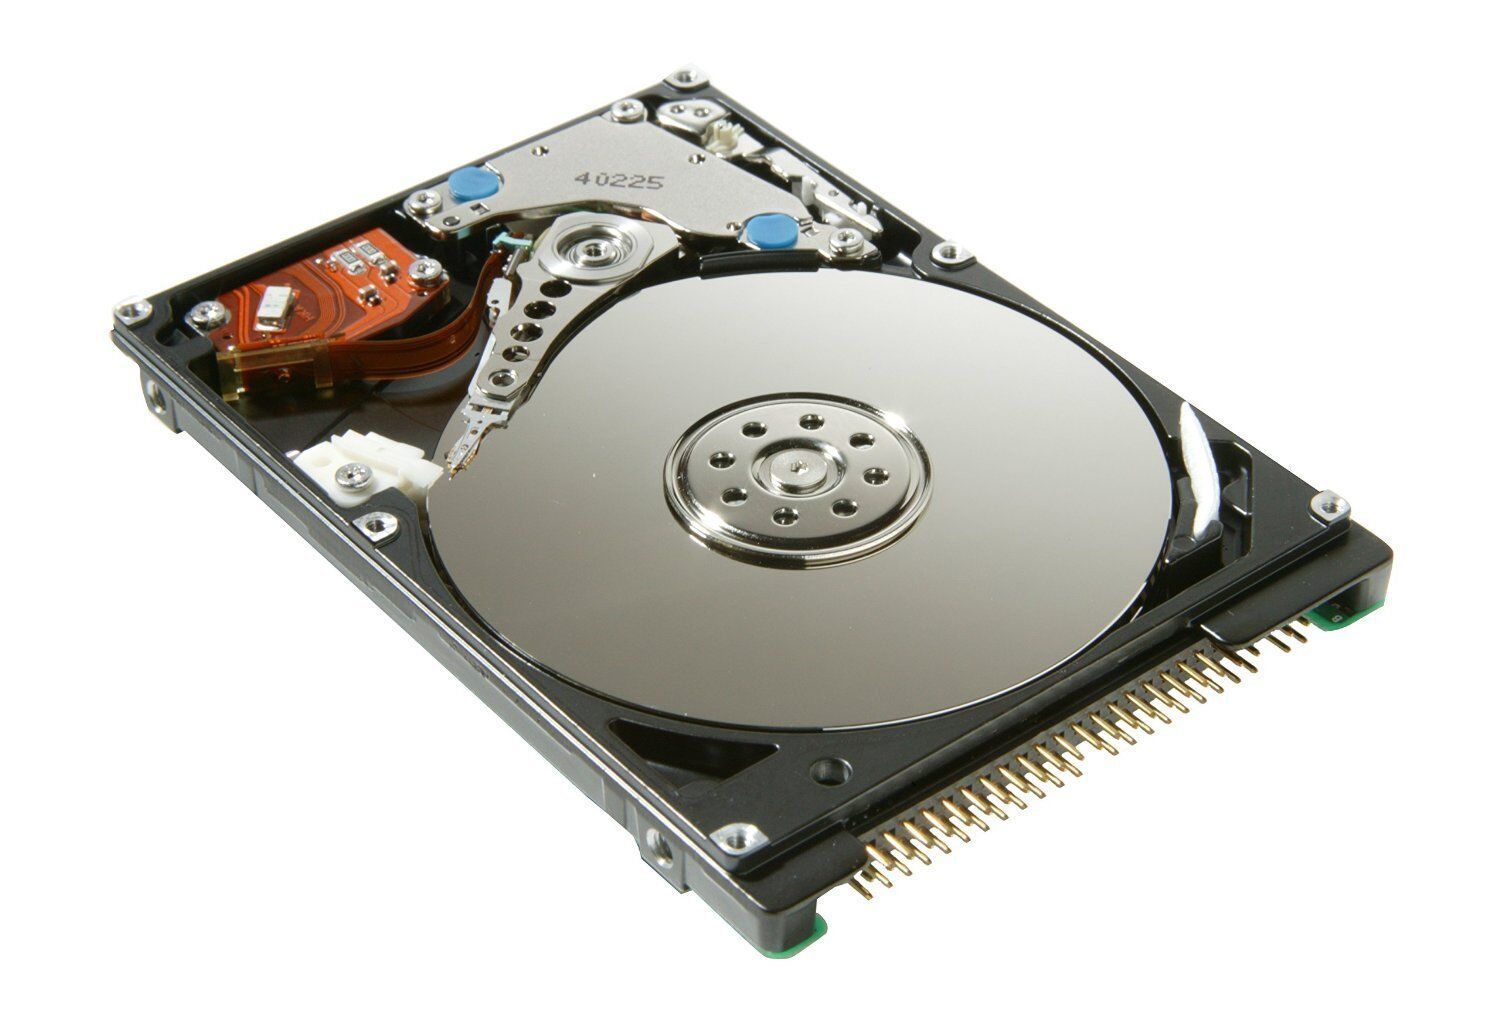
Greater Reliability: Hard drives contain moving parts, which make them vulnerable to mechanical failures and data loss. On the other hand, SSDs have no moving parts, making them more durable and reliable. By migrating to a smaller SSD, you minimize the risk of data loss due to physical damage or mechanical errors, ensuring that your important files and documents are safe and secure.
Space Optimization: If your current hard drive has a large amount of unused or unnecessary data, cloning it to a smaller SSD can help you optimize your storage space. SSDs generally have smaller capacities compared to hard drives, but they provide faster access to data. By eliminating unnecessary files and organizing your data more efficiently before the cloning process, you can make the most of the smaller SSD’s space while keeping your essential files intact.
Energy Efficiency: SSDs consume less power compared to hard drives, resulting in improved energy efficiency and battery life for portable devices like laptops. By cloning your hard drive to a smaller SSD, you can enjoy longer battery usage, making your laptop more suitable for travel or remote work.
Easier Maintenance: SSDs have no need for disk defragmentation, a process needed to optimize hard drive performance. Cloned SSDs maintain their speedy performance without requiring any manual maintenance. This means that you can spend less time on manual upkeep and more time using your computer productively.
Understanding these benefits provides a clear rationale for choosing to clone a hard drive to a smaller SSD rather than opting for other storage solutions. Now that we have explored the advantages, let’s delve into the necessary steps and considerations for successfully cloning your hard drive to a smaller SSD.
Assessing Your Current Hard Drive and SSD Requirements
Before you embark on the process of cloning your hard drive to a smaller SSD, it’s essential to assess your current hard drive and SSD requirements. By understanding the specifications and capacity limitations, you can ensure a smooth and successful cloning process.
Hard Drive Capacity: Take note of the total capacity of your current hard drive. This information will help you determine whether the data can fit within the smaller SSD’s available space. Keep in mind that SSDs typically have smaller capacities compared to traditional hard drives.
Data Usage: Assess the amount of data stored on your hard drive and identify any unnecessary or large files that can be removed or archived. This step is crucial for optimizing storage space on the smaller SSD. Additionally, consider whether you have any data on external drives or cloud storage that you may want to include in the cloning process.
Software and Operating System: Take note of the software applications and operating system installed on your hard drive. Ensure that you have the necessary installation media or product keys handy to reinstall them on the cloned SSD. It’s recommended to check for any software updates or firmware updates for your SSD as well, as these can improve performance and compatibility.
SSD Capacity: Determine the capacity of the smaller SSD you plan to use for cloning. It should be large enough to accommodate your essential data and operating system. Keep in mind that you may need to prioritize which files and programs are crucial and which can be excluded from the cloning process.
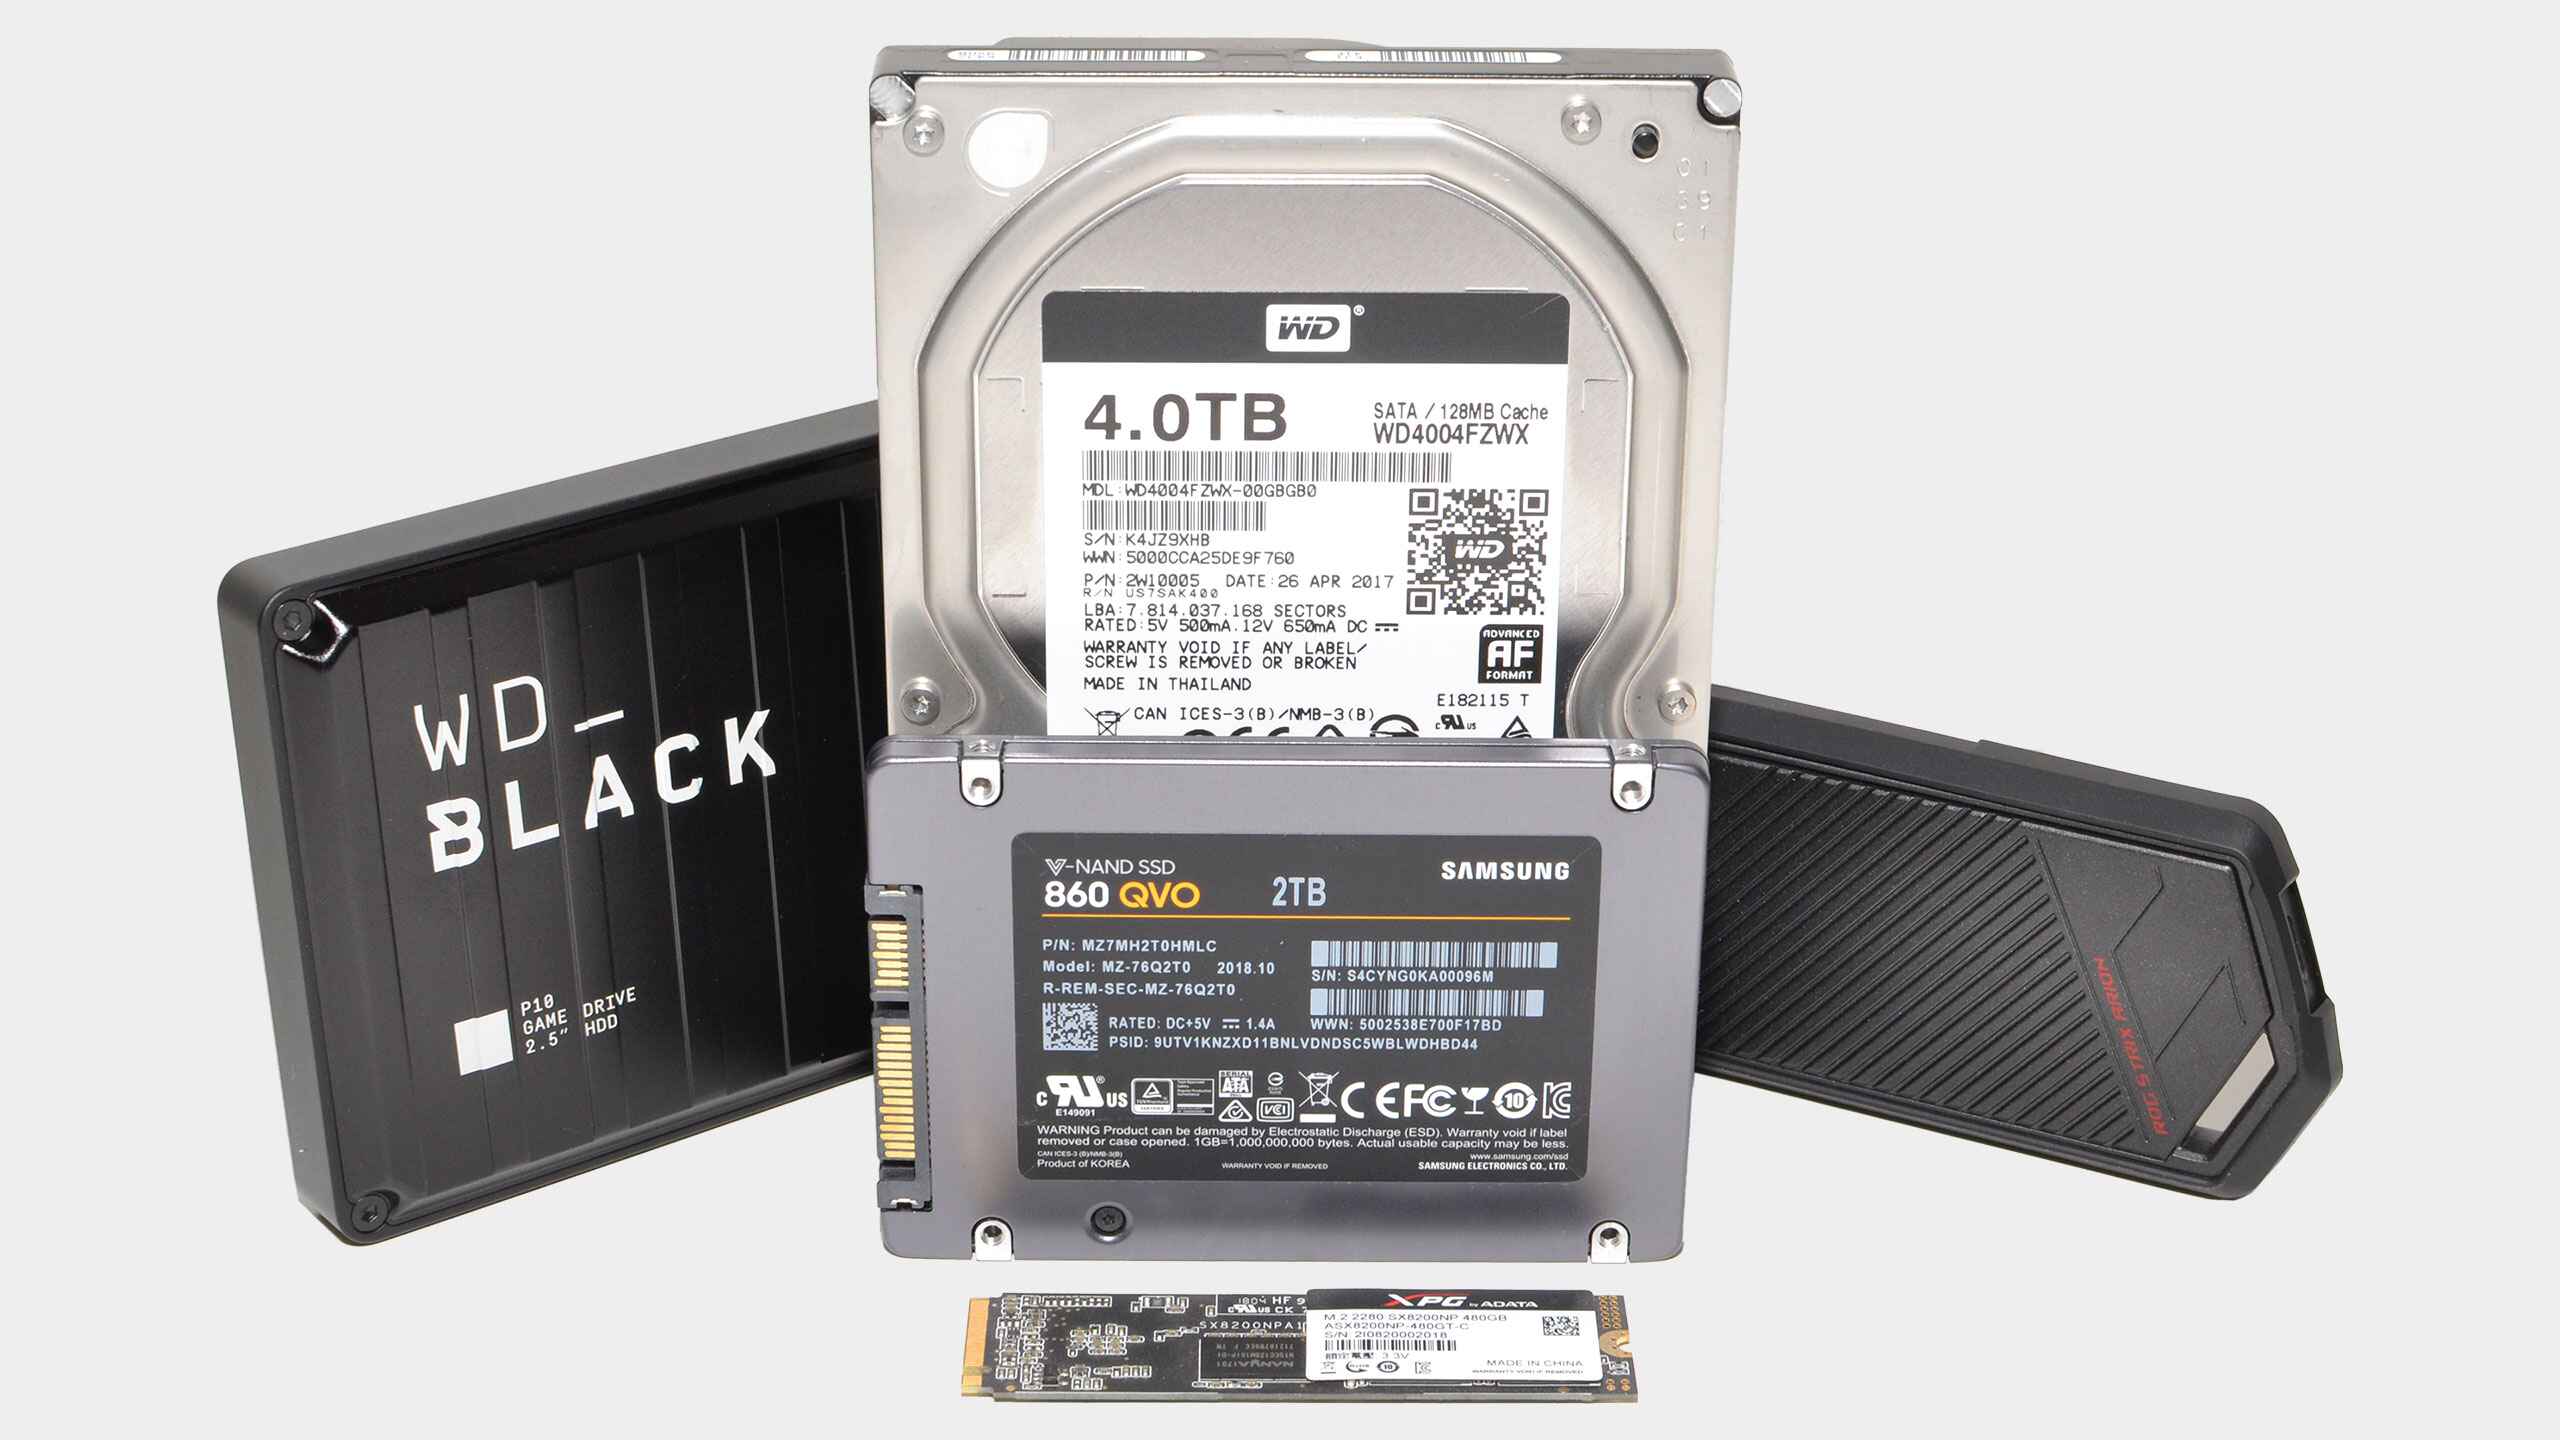
Connection Interface: Verify that your computer supports the connection interface required by the smaller SSD. Most modern SSDs use the SATA III interface, but it’s essential to check if your computer has the necessary connectors or if you need any additional adapters.
Backup Solution: It’s always a good practice to have a backup of your important data before proceeding with any significant changes like cloning a hard drive. Consider using external storage or cloud backup services to ensure that your data is safe and recoverable in case of any unforeseen issues during the cloning process.
By taking the time to assess these requirements, you can anticipate any potential challenges and ensure that you have the necessary resources in place for a successful cloning process. With these considerations in mind, let’s move on to the next step: gathering the necessary tools and equipment.
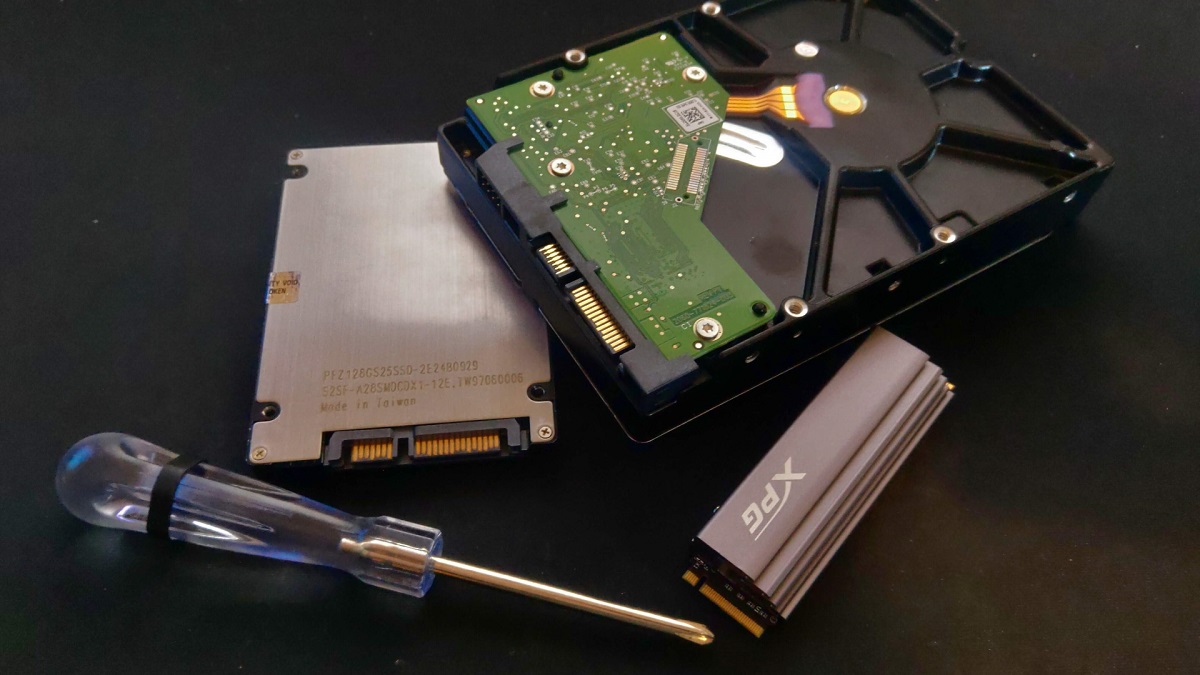
Gathering the Necessary Tools and Equipment
Before you begin the cloning process, it is important to gather the necessary tools and equipment to ensure a smooth and hassle-free experience. Here are the essential items you will need:
1. Smaller SSD: Select a suitable SSD with sufficient storage capacity to accommodate your data. Ensure that it is compatible with your computer’s interface (e.g., SATA III) and has good performance and reliability ratings.
2. Screwdriver: Depending on your computer’s design, you may need a screwdriver to open the casing and access the hard drive and SSD bays. Check the type of screws used in your computer and have the appropriate screwdriver on hand.
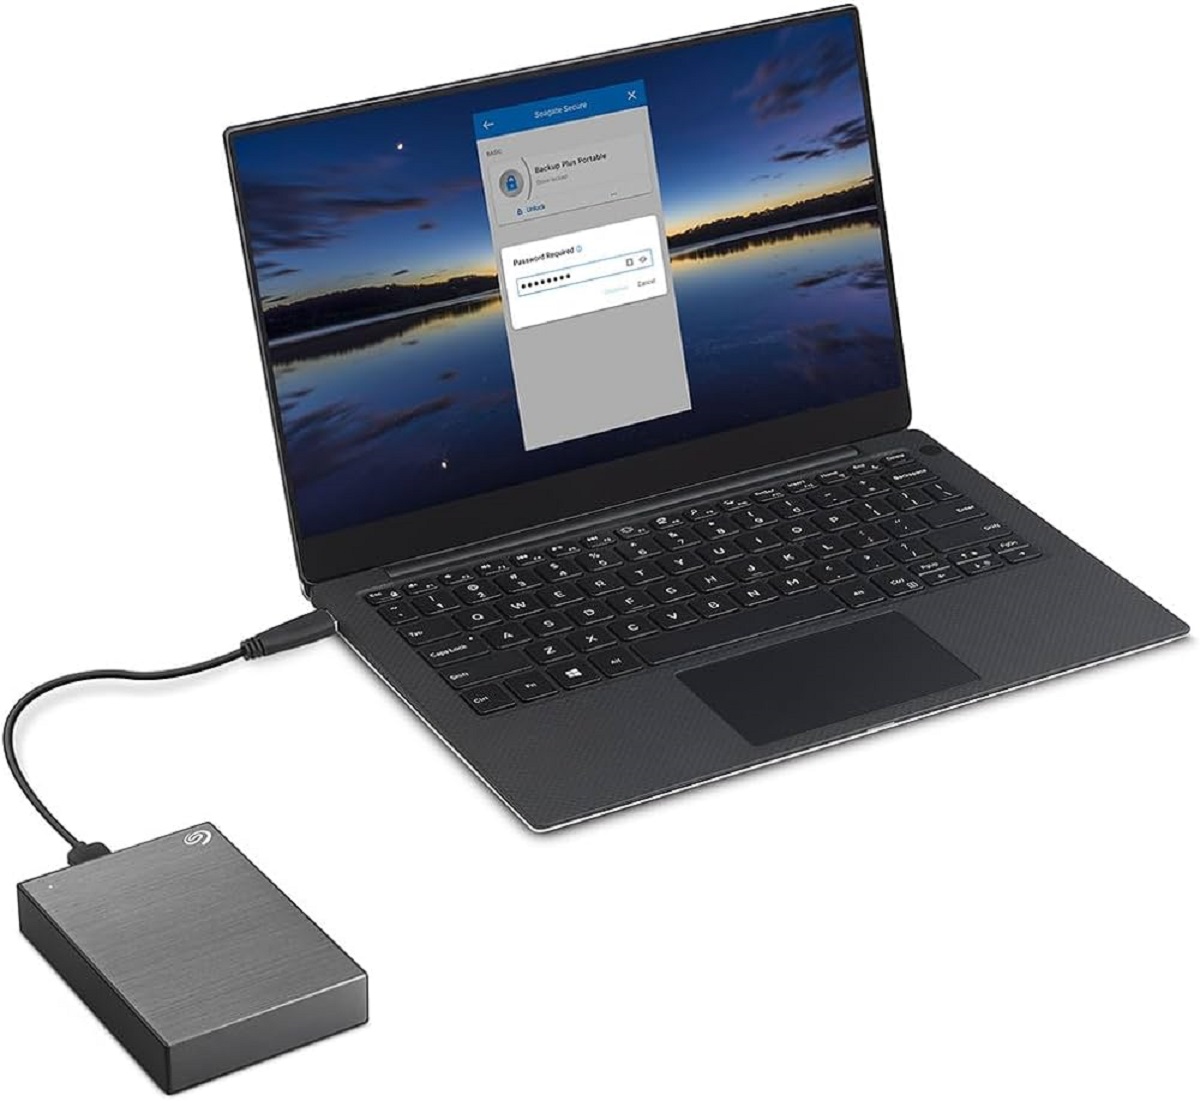
3. SATA cables and power cables: These cables are essential for connecting the SSD to your computer’s motherboard and power supply. Make sure you have spare cables or purchase them if necessary. If you are using a laptop, you may need an external enclosure or adapter to connect the SSD via USB.
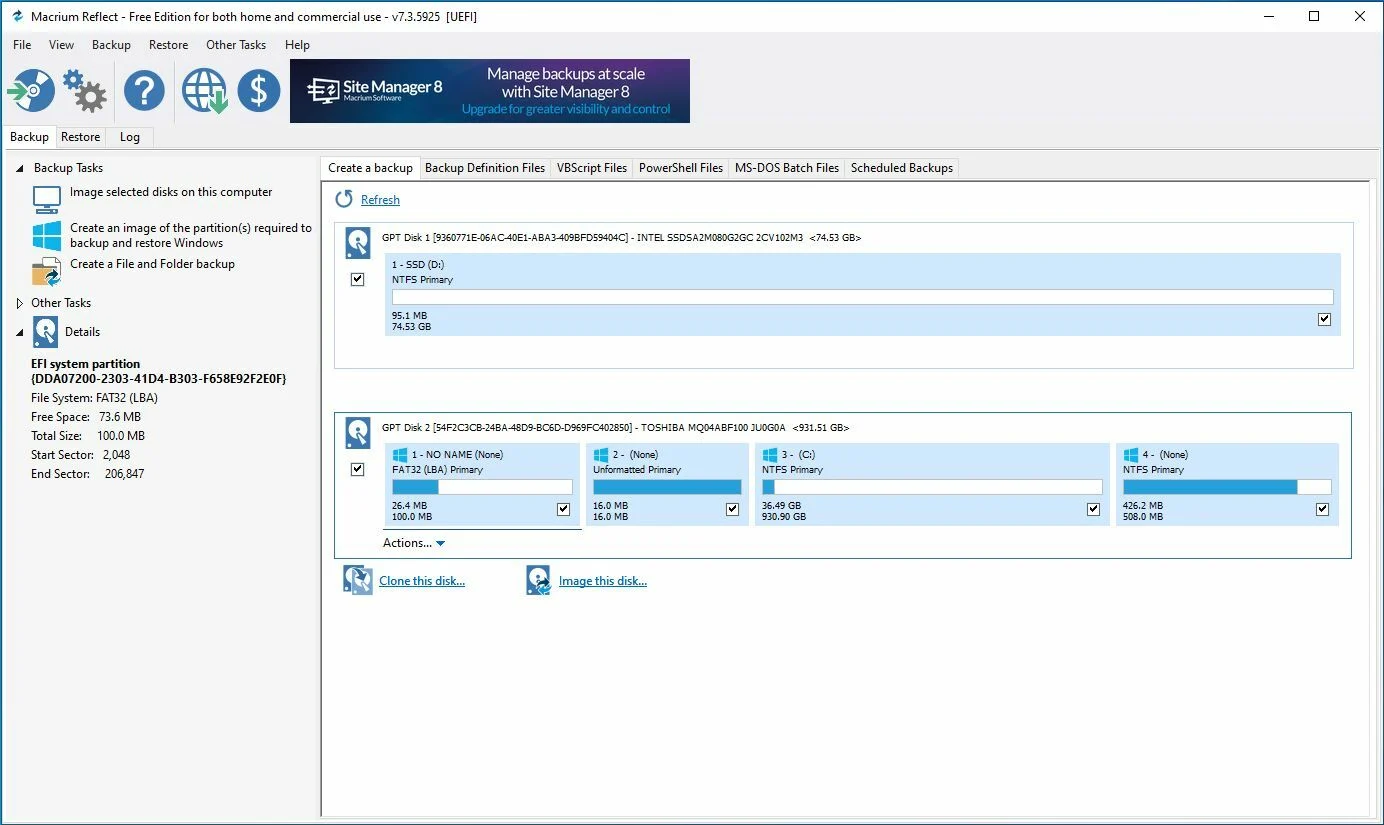
4. Cloning software: Select a reliable cloning software tool that supports the cloning process from a larger hard drive to a smaller SSD. There are several reputable options available, both free and paid, such as Clonezilla, Macrium Reflect, and Acronis True Image.
5. Backup storage: As a precautionary measure, it is strongly recommended to have an external storage device or cloud backup solution to create a backup of your important files and folders before cloning. This ensures that you have a copy of your data in case of any unforeseen issues during the cloning process.
6. External bootable media: Depending on the cloning software you choose, you may need to create an external bootable media (e.g., USB drive) to initiate the cloning process. Ensure that you have a reliable and adequately sized drive to accommodate the bootable media.
7. Internet access: It is helpful to have internet access during the cloning process. This allows you to download software updates, firmware updates for the SSD, and any necessary drivers or tools for your specific SSD model.
8. Patience and caution: Cloning a hard drive to a smaller SSD can be a time-consuming process, depending on the amount of data being transferred. Exercise patience and allow sufficient time for the cloning process to complete. Additionally, handle all hardware components with care and follow proper electrostatic discharge (ESD) precautions to avoid any damage.
By gathering these essential tools and equipment before starting the cloning process, you will be well-prepared and ready to proceed. In the next section, we will prepare the hard drive for cloning, ensuring that it is optimized and ready for the transfer of data.
Preparing the Hard Drive for Cloning
Before you can clone your hard drive to a smaller SSD, it is crucial to prepare the hard drive to ensure a smooth and successful cloning process. By following these steps, you can optimize the hard drive and make the cloning process more efficient:
1. Clean up unnecessary files: Start by removing any unnecessary files or programs from your hard drive. This step helps reduce the amount of data that needs to be cloned and allows you to maximize the available space on the smaller SSD. Delete temporary files, empty the recycle bin, and uninstall any unused applications.
2. Organize data: Take the time to organize your files and folders on the hard drive. Group related documents, photos, and videos into separate folders for easier management. This will help you find and transfer specific data more efficiently during the cloning process and when working with the new SSD.
3. Update software and drivers: Ensure that all the software applications and drivers on your hard drive are up to date. Check for updates from the software’s official websites or use dedicated update tools. Updating your software and drivers before cloning helps prevent any compatibility issues with the new SSD and ensures optimal performance.
4. Disable unnecessary services and startup programs: Disable any unnecessary services or startup programs that are running in the background on your hard drive. This step helps reduce resource usage during the cloning process and ensures a smoother transition to the SSD. Access the Task Manager (Windows) or Activity Monitor (Mac) to manage these services and startup programs.
5. Run disk cleanup and disk optimization: Utilize the built-in disk cleanup and disk optimization tools provided by your operating system. These tools help remove unnecessary files, clear temporary caches, and optimize disk performance. Running these utilities before cloning prepares the hard drive for a more efficient transfer of data.
6. Perform a thorough antivirus scan: Run a comprehensive antivirus scan on your hard drive to ensure it is free from any malware or viruses. This step helps prevent any unwanted software from being transferred to the new SSD during the cloning process, keeping your system clean and secure.
7. Take note of any necessary license or activation information: Make a record of any software licenses, activation keys, or registration information for applications installed on your hard drive. This will ensure that you can reactivate the software on the new SSD without any issues.
8. Create a backup: As a precautionary measure, create a backup of your hard drive before proceeding with the cloning process. This extra layer of protection ensures that you have a copy of your data in case of any unforeseen issues.
By following these steps to prepare your hard drive, you will optimize its performance, minimize the amount of data to be cloned, and ensure a smooth transition to the smaller SSD. In the next section, we will explore different cloning methods and help you choose the most appropriate one for your needs.
Choosing the Appropriate Cloning Method
When it comes to cloning a hard drive to a smaller SSD, there are several methods available, each with its own advantages and considerations. Understanding these methods will help you choose the most appropriate one for your specific needs. Here are three common cloning methods to consider:
1. Disk Cloning Software: Using dedicated disk cloning software is a popular choice for its simplicity and reliability. These software tools provide a user-friendly interface that guides you through the cloning process step by step. They typically offer features such as sector-by-sector cloning, data compression, and partition resizing. Popular options include Clonezilla, Macrium Reflect, and Acronis True Image. Ensure that the cloning software you choose supports the cloning process from a larger hard drive to a smaller SSD.
2. Manufacturer’s Cloning Software: Some SSD manufacturers provide their own cloning software specifically designed for their products. These tools often offer additional features and optimizations tailored to their SSDs, ensuring the best possible performance. It’s recommended to check the manufacturer’s website or product documentation to see if they provide any cloning software for their SSDs and if it supports the cloning process from a larger hard drive to a smaller SSD.
3. Cloning via Operating System Tools: Another option is to use the built-in tools provided by your operating system. Both Windows and macOS offer utilities that can help facilitate the cloning process. In Windows, you can use the “System Image Backup” feature in Backup and Restore (Windows 7) or the “System Image” tool in Backup and Restore (Windows 10) to create a backup image of your current hard drive and restore it to the smaller SSD. Similarly, macOS provides the Disk Utility tool, which allows you to create a disk image of your hard drive and restore it to the SSD.
When choosing the most appropriate cloning method, consider factors such as your comfort level with technology, the level of control you desire, and the specific features offered by each method. Research and compare the options to determine which one aligns best with your needs and preferences.
Regardless of the method you choose, it’s important to double-check that the selected software or tools support cloning from a larger hard drive to a smaller SSD. This ensures compatibility and a successful cloning process.
Now that you have a better understanding of the available cloning methods, let’s move on to the practical steps of performing the cloning process in the next section.
Performing the Cloning Process Step by Step
Now that you have assessed your requirements, gathered the necessary tools, and chosen an appropriate cloning method, it’s time to dive into the step-by-step process of cloning your hard drive to a smaller SSD. Follow these instructions carefully for a successful cloning process:
Step 1: Connect the SSD: Install the smaller SSD into your computer, ensuring it is properly connected via the appropriate cables. If you are using a laptop, you may need to use an external enclosure or adapter to connect the SSD via USB.
Step 2: Initialize and format the SSD: If the SSD is new or uninitialized, you may need to initialize and format it before the cloning process. This can typically be done using disk management tools provided by your operating system. Follow the instructions to create a new partition and format the SSD with a compatible file system (e.g., NTFS for Windows, APFS for macOS).
Step 3: Launch the cloning software: Open the selected cloning software or utility. Ensure that both the source hard drive and target SSD are detected correctly by the software.
Step 4: Select the source and target drives: Choose the current hard drive as the source drive and the smaller SSD as the target drive within the cloning software. Verify the selections before proceeding to the next step.
Step 5: Adjust the partition size (if needed): If the capacity of your source hard drive exceeds the available space on the SSD, you may need to adjust the partition size during the cloning process. Most cloning software offers options to automatically resize partitions to fit the target drive. Ensure that you have enough space for the essential data and operating system on the SSD.
Step 6: Start the cloning process: Begin the cloning process as directed by the software. Depending on the size of your hard drive and the amount of data being transferred, this step may take some time. Exercise patience and allow the process to complete without interruption.
Step 7: Verify the cloned SSD: Once the cloning process is finished, double-check that the SSD has been successfully cloned. Verify that all the files, folders, and applications are intact on the newly cloned SSD. Cross-reference the data on both drives to ensure an accurate transfer.
Step 8: Set the boot order: Adjust the boot order in your computer’s BIOS or UEFI settings to prioritize the newly cloned SSD. This ensures that your computer will boot from the SSD, utilizing its improved speed and performance.
Step 9: Test the cloned SSD: Restart your computer and ensure that it boots up from the newly cloned SSD without any issues. Test various applications and perform regular tasks to verify that everything is running smoothly.
By following these steps diligently, you should have successfully cloned your hard drive to a smaller SSD. If you encounter any issues or errors, refer to the documentation provided by the cloning software or seek assistance from the software’s support team. With the cloning process complete, it’s time to move on to verifying the cloned SSD and troubleshooting any potential issues in the next section.
Verifying the Cloned SSD and Troubleshooting Any Issues
After completing the cloning process, it is important to thoroughly verify the cloned SSD to ensure that the data has been successfully transferred. Additionally, you may encounter some issues during or after the cloning process that require troubleshooting. Follow these steps to verify the cloned SSD and address any potential issues:
Step 1: Double-check file and folder integrity: Compare the files and folders on the original hard drive with those on the cloned SSD. Pay close attention to important files, documents, and directories to ensure that everything has been accurately transferred. Verify that your essential applications are working correctly on the new SSD.
Step 2: Test system performance: Launch several applications and perform various tasks to gauge the performance of your system on the cloned SSD. Check for any slow response times, unusual error messages, or unexpected crashes. If you notice any issues, verify that your SSD firmware is up to date and consider reinstalling or updating the affected programs.
Step 3: Verify boot functionality: Restart your computer and confirm that it boots up from the cloned SSD. If you encounter any issues during the boot process, ensure that the SSD is connected properly and try adjusting the boot order in the BIOS or UEFI settings.
Step 4: Check drive capacity and partitions: Examine the capacity of the cloned SSD and verify that the partitions are set up correctly. Use disk management tools provided by your operating system to view and manage the partitions. Ensure that the necessary partitions are present and properly sized.
Step 5: Run disk diagnostic tools: Use disk diagnostic tools, such as CHKDSK on Windows or Disk Utility on macOS, to perform a comprehensive scan of the cloned SSD. These tools can help identify and fix any potential issues with the file system or drive health. Address any errors or corruptions that are detected.
Step 6: Seek troubleshooting resources: If you encounter persistent issues or are unsure how to address a specific problem, consult the documentation provided by the cloning software or visit the software manufacturer’s support website. They may have troubleshooting guides, forums, or customer support channels that can assist you in resolving any issues.
Step 7: Restore from backup (if necessary): In the event that something goes wrong during or after the cloning process and you’re unable to resolve the issues, you can restore your system from the backup you created before starting the cloning process. This will allow you to revert back to your previous configuration and attempt the cloning process again with different methods or settings.
By following these steps and troubleshooting any potential issues, you can verify the integrity of the cloned SSD and ensure that your system is functioning properly on the new drive. In the next section, we will explore how to optimize the new SSD for better performance.
Optimizing the New SSD for Better Performance
After successfully cloning your hard drive to a smaller SSD, there are several steps you can take to optimize the new SSD for enhanced performance. By following these optimization techniques, you can make the most of your SSD’s capabilities and enjoy faster speeds and increased efficiency:
1. Enable TRIM: Verify that TRIM is enabled on your SSD. This feature helps maintain the long-term performance and lifespan of your SSD by allowing the operating system to inform the drive which blocks of data are no longer in use. TRIM can typically be enabled within the operating system’s settings or through third-party SSD management software.
2. Update firmware: Check for any firmware updates specifically released for your SSD model. SSD manufacturers occasionally release firmware updates that address performance improvements, compatibility, and security enhancements. Visit the manufacturer’s website or use their designated software to check for and install any available updates.
3. Disable disk defragmentation: SSDs do not benefit from traditional disk defragmentation, and it can actually decrease the lifespan of the drive. Ensure that your operating system’s disk defragmentation utility is disabled or configured not to defragment SSDs. This will prevent unnecessary wear and tear on the SSD and maintain its optimal performance.
4. Optimize power settings: Adjust the power settings of your computer to ensure that they are optimized for SSD usage. Windows, for example, has a power plan called “High Performance,” which is designed to deliver maximum performance and speed. Adjusting power settings can help prevent the SSD from entering low-power states that may cause performance degradation.
5. Disable hibernation: Hibernation saves the contents of your computer’s memory to the hard drive, allowing you to resume your work later. However, it can consume a significant amount of SSD space and reduce its lifespan due to frequent write operations. Disable hibernation through the operating system’s power settings to free up valuable SSD space.
6. Enable AHCI mode: Ensure that your computer’s storage controller is set to AHCI (Advanced Host Controller Interface) mode in the BIOS or UEFI settings. AHCI is a communication interface standard that allows the SSD to perform at its full potential. Enabling this mode ensures optimal performance and compatibility with the SSD.
7. Reduce write operations: While SSDs are more robust than traditional hard drives, they still have a limited number of write cycles. Minimize unnecessary write operations by avoiding temporary files, excessive downloads, and excessive browser cache sizes. Redirecting temporary folders to another drive or partition can also help reduce write operations on the SSD.
8. Regularly update and maintain your system: Keep your operating system, drivers, and applications up to date to ensure compatibility with the SSD and take advantage of performance enhancements. Regularly run system maintenance tools, such as disk cleanup and malware scans, to keep your system optimized and free from unnecessary files and potential threats.
By following these optimization techniques, you can maximize the performance and longevity of your new SSD. It is important to note that different operating systems and SSD models may have specific optimization recommendations, so it is advisable to refer to the manufacturer’s documentation or resources for any additional guidance specific to your setup.
Now that you have optimized your new SSD for better performance, you can enjoy the benefits of faster boot times, improved application responsiveness, and an overall smoother computing experience.
Additional Tips and Considerations for Successful Cloning
When cloning a hard drive to a smaller SSD, it’s important to keep in mind some additional tips and considerations to ensure a successful and smooth process. These tips can help minimize potential issues and enhance the overall cloning experience:
1. Verify compatibility: Before purchasing an SSD for cloning, ensure that it is compatible with your computer’s interface (e.g., SATA, M.2). Check your computer’s specifications or consult the manufacturer’s documentation to confirm compatibility.
2. Backup your data: Always create a backup of your important data before starting the cloning process. Although cloning procedures are generally safe, unexpected errors or issues may occur. Having a backup ensures that your data is protected and can be recovered if needed.
3. Use a reliable cloning tool: Select a trustworthy and reputable cloning software or utility. Read reviews, check user ratings, and opt for well-established tools known for their reliability and compatibility with your specific setup.
4. Allocate enough time: Cloning a hard drive to a smaller SSD can take some time, depending on the size and amount of data being transferred. Plan accordingly and allocate sufficient time for the cloning process to complete without interruption.
5. Keep the original hard drive intact: After successfully cloning your hard drive to the smaller SSD, it is advisable to keep the original hard drive intact and safely stored. This allows you to have a backup and ensures that you can easily revert back to your original setup if needed.
6. Perform a trial run: If you are new to the cloning process or using a specific cloning software, consider performing a trial run on a non-essential computer or hard drive first. This will help familiarize yourself with the process and ensure that you are comfortable with the software before migrating data from your main drive.
7. Keep your system up to date: Regularly update your operating system, drivers, and firmware to ensure compatibility with the cloned SSD and to take advantage of performance improvements and bug fixes.
8. Prepare for potential issues: Despite taking precautions, issues can arise during the cloning process. Be prepared for unexpected situations and have a contingency plan in place. This includes having a backup, contacting support for the cloning software, or seeking professional assistance if needed.
By following these tips and considerations, you can minimize potential pitfalls and ensure a successful cloning process. Remember to always exercise caution and patience throughout the process, and don’t hesitate to seek assistance or guidance if you encounter any difficulties.
Now that you have equipped yourself with these additional tips and considerations, you’re ready to confidently proceed with cloning your hard drive to a smaller SSD.
Conclusion
Cloning a hard drive to a smaller SSD can be a game-changer for your computer’s performance and storage efficiency. With the benefits of faster boot times, improved application responsiveness, and enhanced system reliability, the advantages of upgrading to an SSD are undeniable. By following the steps and considerations outlined in this guide, you can successfully clone your hard drive to a smaller SSD and enjoy the benefits of this storage upgrade.
From understanding the benefits of cloning to assessing your current hard drive and SSD requirements, gathering the necessary tools, and preparing the hard drive, every step in the process is crucial towards achieving a seamless cloning experience. Choosing the appropriate cloning method, performing the cloning process step by step, and verifying the cloned SSD are essential to ensure a successful transfer of data. Optimizing your new SSD for better performance and considering additional tips and considerations further enhance the overall effectiveness of the process.
Remember, during the cloning process, it is important to take precautions such as creating a backup of your data and double-checking compatibility. Allocating enough time, using reliable cloning tools, and being prepared for potential issues are also essential to the overall success of the process.
With the cloning process complete, you can now take full advantage of your new, smaller SSD, enjoying improved performance, increased storage efficiency, and greater reliability in your computing endeavors.
Keep in mind that each computer setup is unique, and individual experiences may vary. If you encounter any difficulties or uncertainties during the cloning process, consider consulting the documentation or support resources provided by your cloning software or seek professional assistance when needed.
Now that you have the knowledge and understanding, it’s time to embark on this transformative journey by cloning your hard drive to a smaller SSD. Upgrade your storage, maximize your computer’s performance, and embrace the benefits of SSD technology.