Introduction
In today’s digital age, speed and efficiency are paramount. Many computer users find that their systems become slow and sluggish over time, especially if they are still using a traditional hard drive. Thankfully, there’s a solution that can significantly boost your computer’s performance – upgrading to a solid-state drive (SSD).
Unlike traditional hard drives, SSDs do not have any moving parts. Instead, they rely on flash memory to store and retrieve data, which results in faster read and write speeds. This means that tasks such as booting up your computer, launching applications, and transferring files can be done in a fraction of the time when compared to a traditional hard drive.
In addition to the noticeable speed improvements, SSDs also offer other advantages. They are more durable and resistant to physical shocks, which is particularly beneficial for laptop users. SSDs are also more energy-efficient, leading to longer battery life. Moreover, since there are no moving parts, SSDs generate less noise and produce less heat, contributing to a quieter and cooler computing experience.
If you’re ready to experience the benefits of an SSD, this guide will walk you through the process of changing your hard drive to an SSD. Whether you’re a tech-savvy individual or a novice user, this step-by-step guide will help you successfully upgrade your computer while ensuring that none of your valuable data is lost.
Before we dive into the process, it’s important to note that while changing a hard drive to an SSD can greatly improve performance, it’s not a guaranteed fix for all computer issues. If you’re experiencing other hardware or software problems, it’s recommended to troubleshoot those separately.
Now that you understand the benefits of upgrading to an SSD and the limitations of this solution, let’s move on to the next section, where we’ll discuss the things you’ll need before starting the process.
Benefits of Changing Hard Drive to SSD
Upgrading your computer’s hard drive to a solid-state drive (SSD) comes with a host of benefits that can greatly improve your computing experience. Let’s explore some of the key advantages of making this change.
1. Speed and Performance: One of the most significant advantages of an SSD is its lightning-fast speed. Traditional hard drives rely on spinning disks to read and write data, which can result in slower performance. On the other hand, SSDs use flash memory, allowing for much faster data access and transfer speeds. This means that tasks such as booting up your computer, opening applications, and accessing files will be significantly faster. You’ll notice a marked difference in overall system responsiveness and reduced loading times.
2. Improved Reliability: SSDs have no moving parts, unlike traditional hard drives, which makes them more reliable and less prone to mechanical failures. This translates to fewer data loss incidents and a longer lifespan for your storage device. By upgrading to an SSD, you’ll have peace of mind knowing that your data is stored safely and can be quickly accessed whenever you need it.
3. Energy Efficiency: SSDs are not only faster, but they are also more energy-efficient than traditional hard drives. Because SSDs don’t require power to spin disks or move read/write heads, they consume less power. This can result in longer battery life for laptops and lower energy bills for desktop users. Upgrading to an SSD is not only beneficial for your computer’s performance but also for the environment.
4. Durability and Noise Reduction: SSDs are more durable than traditional hard drives because they lack mechanical parts that can easily break or malfunction. This makes them an excellent choice for laptops or portable devices that are frequently subjected to movement and vibrations. Additionally, SSDs produce virtually no noise during operation since there are no moving parts. You’ll enjoy a quieter computing experience without the distracting hum of spinning hard drive disks.
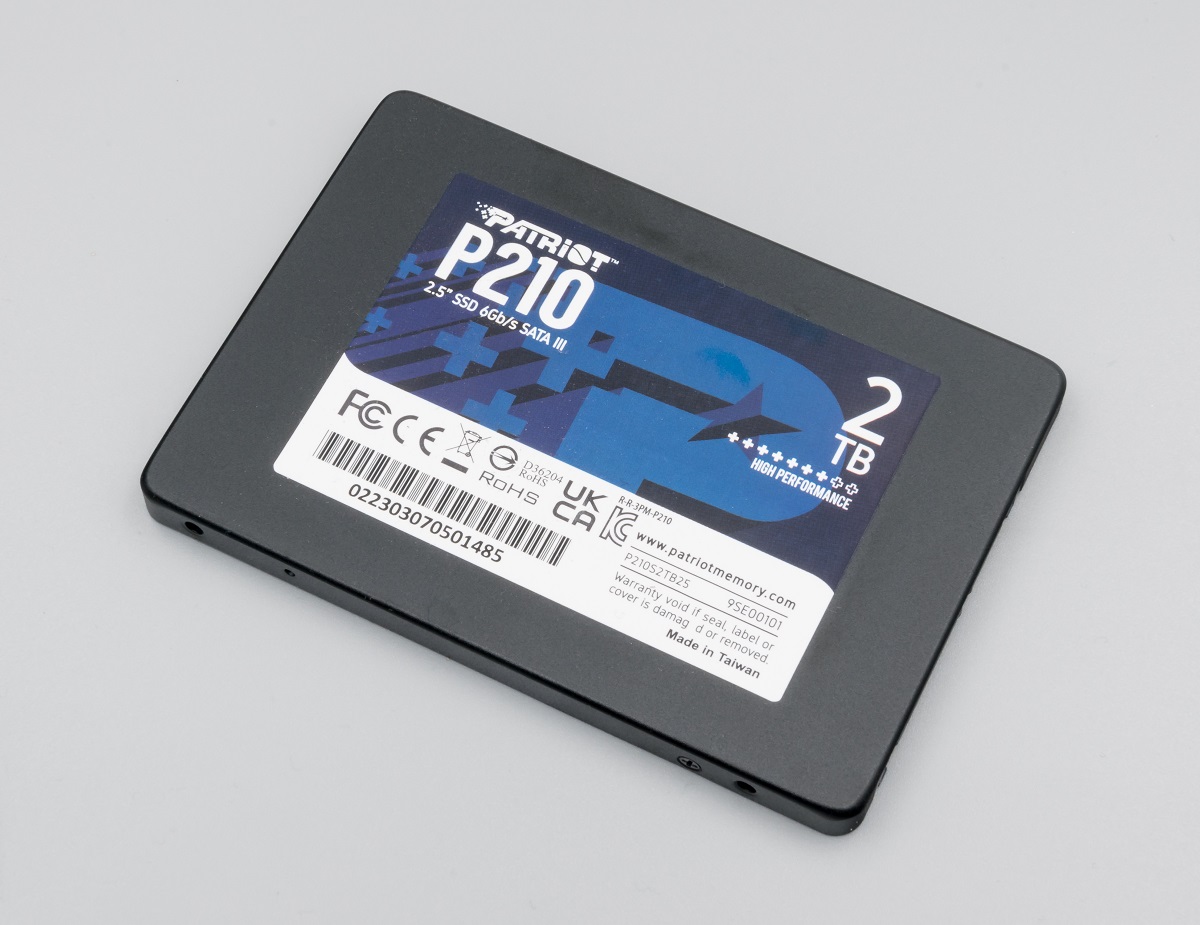
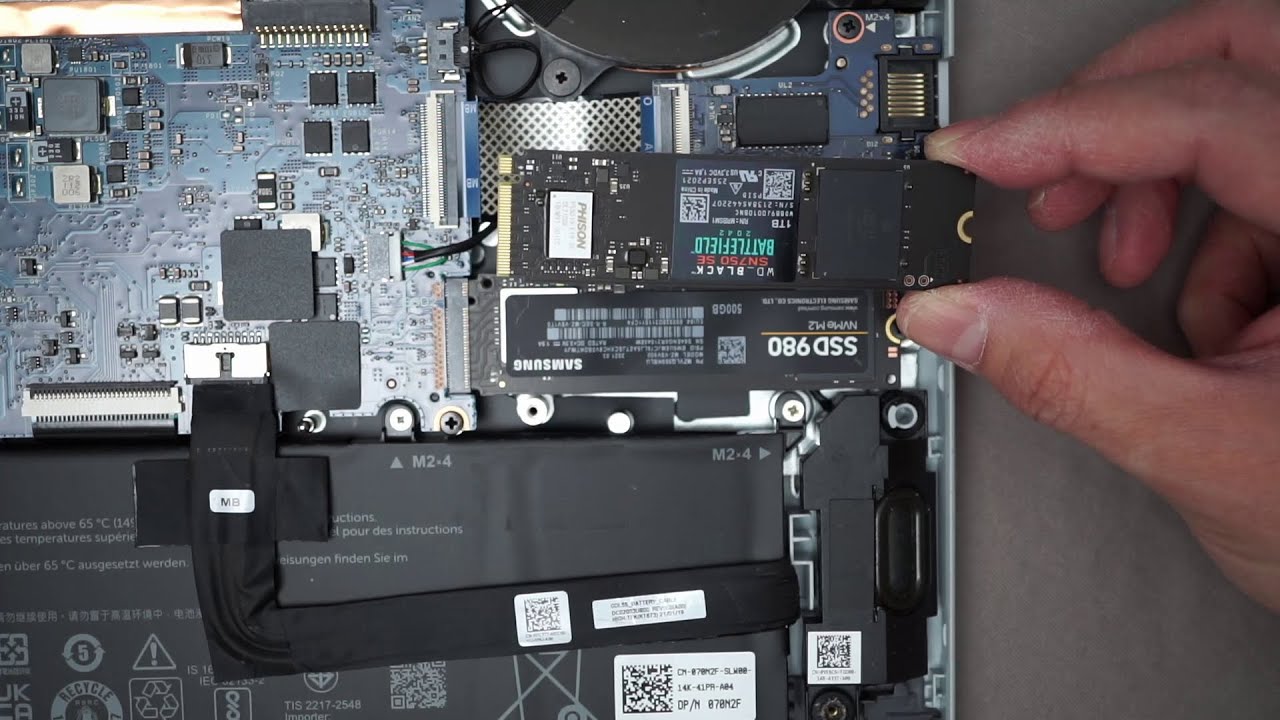
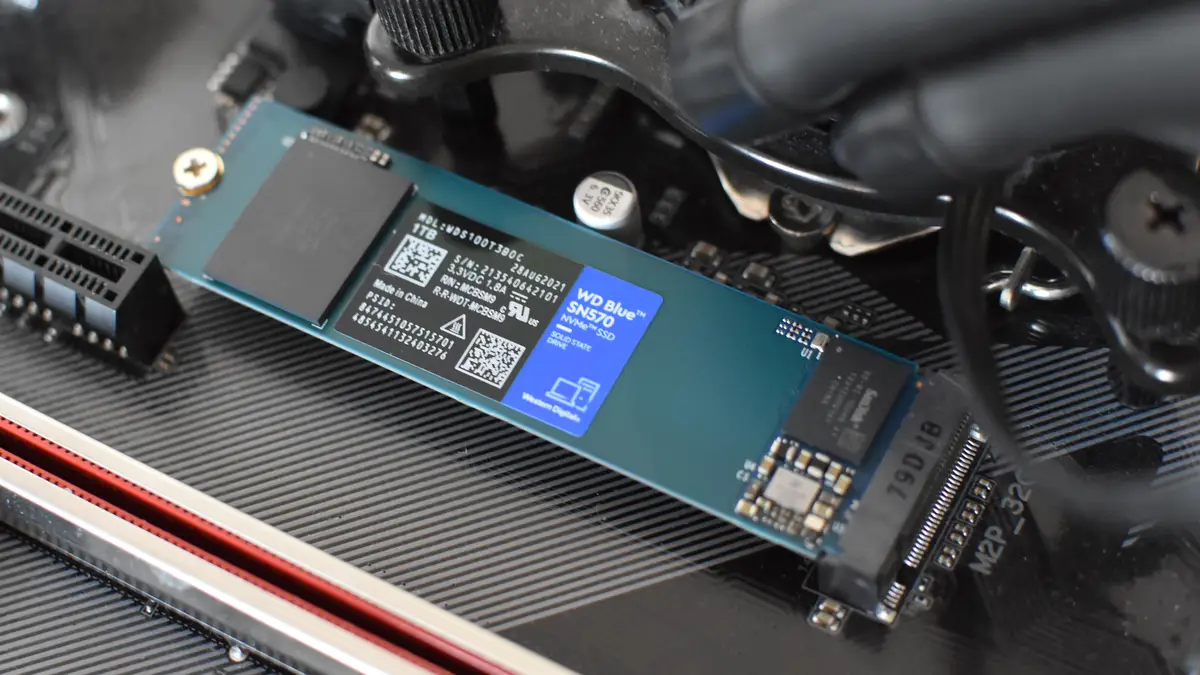
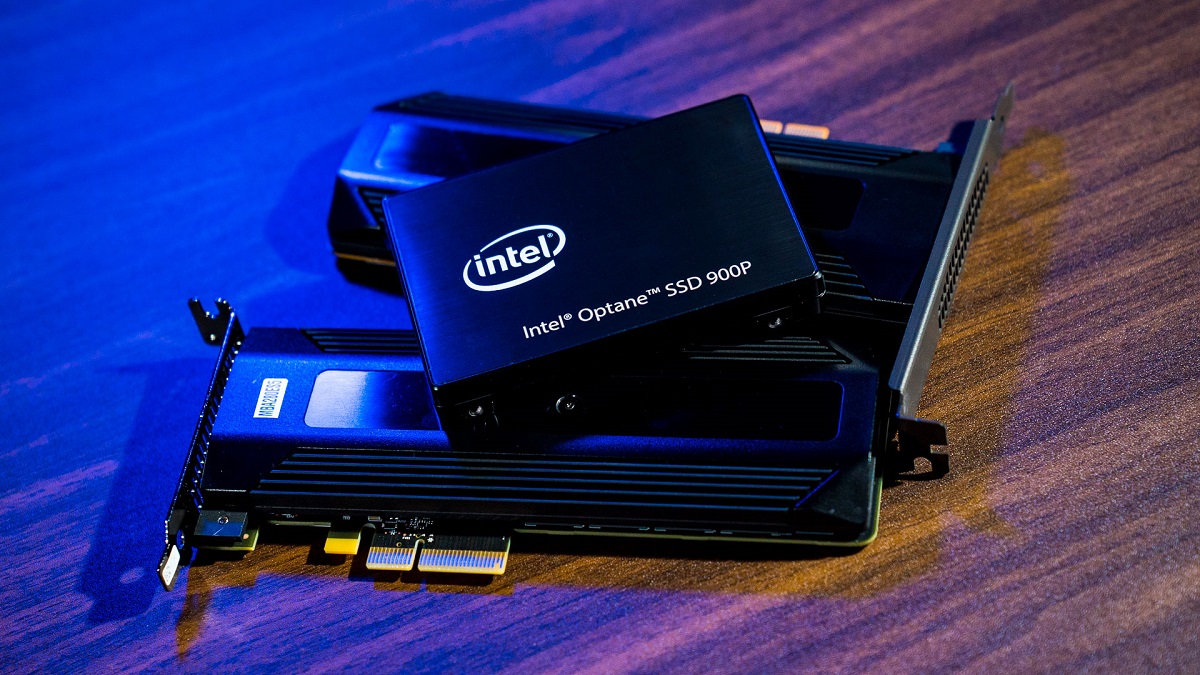
5. Compatibility and Portability: SSDs are compatible with a wide range of devices, including laptops, desktops, and gaming consoles. They come in various form factors, such as the standard 2.5-inch size or the smaller M.2 form factor, allowing for easy installation in different systems. Furthermore, if you decide to upgrade or replace your computer in the future, you can easily transfer your SSD to your new device, ensuring that you can benefit from its speed and performance for years to come.
In summary, upgrading your hard drive to an SSD can provide numerous advantages, including improved speed and performance, enhanced reliability, energy efficiency, durability, reduced noise, and compatibility with various devices. With these benefits in mind, let’s explore the necessary items and steps you’ll need to take to successfully change your hard drive to an SSD in the next section.
Things You’ll Need
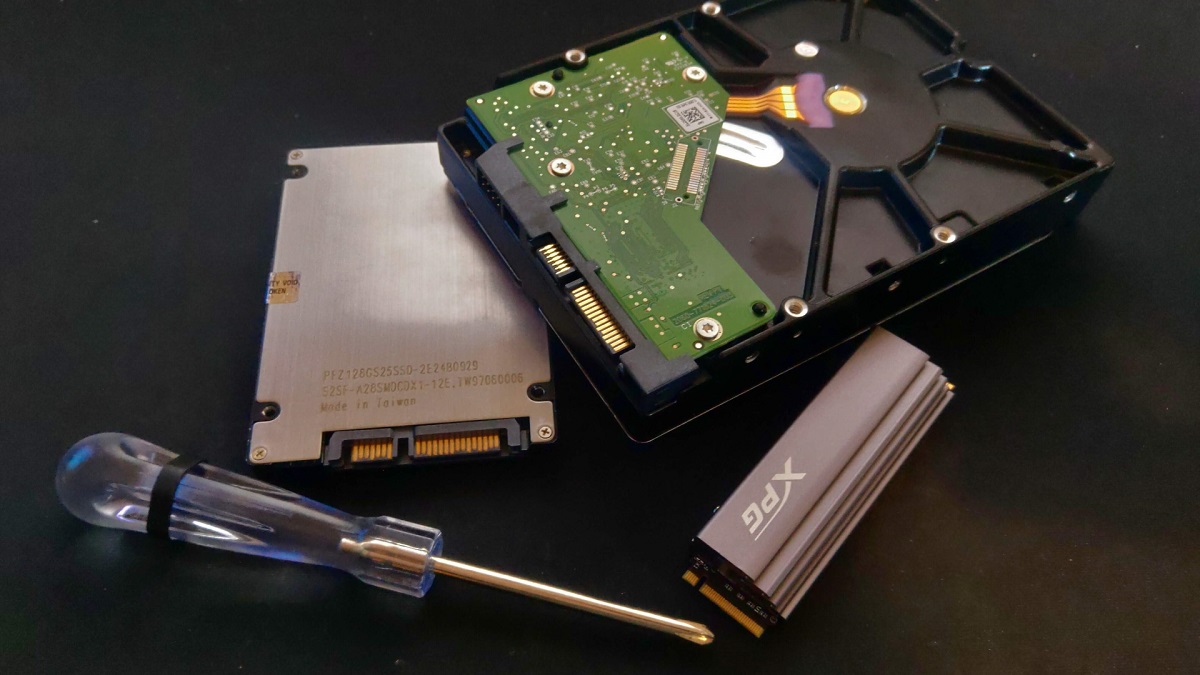
Before you embark on the process of changing your hard drive to a solid-state drive (SSD), it’s important to gather the necessary tools and components. Here are the items you’ll need to ensure a smooth and successful upgrade:
1. A Screwdriver: Most computers require a screwdriver to remove the screws holding the hard drive in place. The specific type and size of screwdriver may vary depending on your computer model, so it’s a good idea to have a set of different-sized screwdrivers on hand to ensure a proper fit.
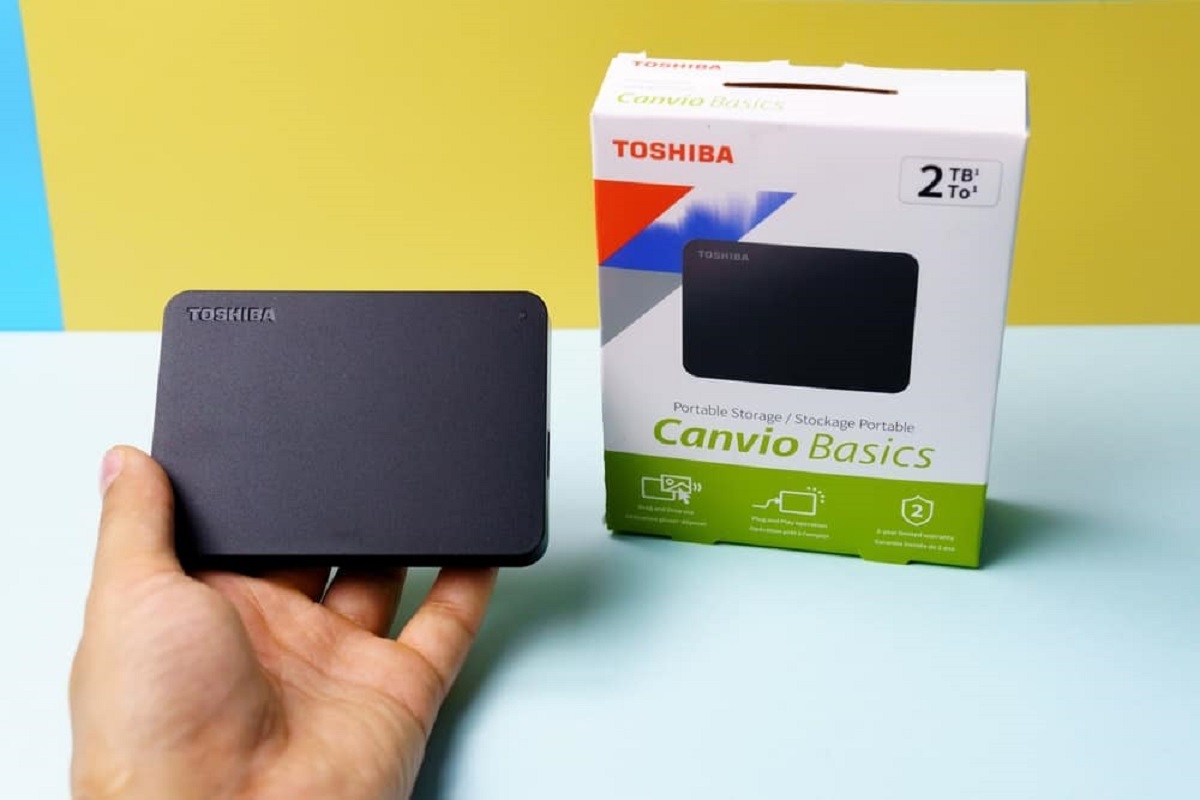
2. An External Hard Drive Enclosure (Optional): If you want to transfer your data from the old hard drive to the new SSD, an external hard drive enclosure can be useful. This device allows you to connect your old hard drive externally to your computer via a USB cable, making it easy to clone your data and ensure a seamless transition. However, if you don’t plan on transferring your data or have another backup method in place, an external hard drive enclosure is not necessary.
3. Your Operating System Installation Media: To install the operating system on the new SSD, you’ll need the installation media, whether it’s a USB flash drive or a DVD, containing the setup files. Make sure you have a copy of your operating system and any required license keys or activation codes ready before starting the process.
4. A USB-To-SATA Adapter (Optional): If you’re using a laptop and don’t have access to an external hard drive enclosure, a USB-to-SATA adapter can be a handy tool. It allows you to connect your new SSD to your computer via a USB port, enabling you to clone your data and make the necessary changes without the need for an external enclosure.
5. Compatible SSD: Of course, you’ll need the SSD itself. Before making a purchase, ensure that it is compatible with your computer. Look for an SSD that matches the appropriate form factor, such as 2.5-inch or M.2, and is compatible with your computer’s interface, such as SATA or NVMe.
6. Data Backup: It’s crucial to back up all your important data before attempting any hardware changes. While the process of changing your hard drive to an SSD shouldn’t cause data loss, unforeseen circumstances can occur. It’s better to be safe than sorry, so make sure you have a recent backup of all your files, documents, photos, and any other data you don’t want to risk losing.
With these items in hand, you’ll be well-prepared to tackle the process of upgrading your hard drive to an SSD. In the next section, we’ll guide you through the step-by-step instructions to ensure a successful installation and transfer of your data.
Step 1: Back Up Your Hard Drive
Before you begin the process of changing your hard drive to a solid-state drive (SSD), it’s imperative to back up all your important data. While the following steps shouldn’t cause any data loss, it’s always wise to err on the side of caution and ensure that your files are safely backed up. Here’s how you can back up your hard drive:
1. Choose a Backup Method: There are several methods you can use to back up your data. One of the most common and reliable methods is to make use of external storage devices, such as an external hard drive or a USB flash drive. Alternatively, you can utilize cloud storage services, such as Google Drive, Dropbox, or iCloud, to save your important files remotely. Select the backup method that suits your needs and has sufficient storage capacity to accommodate your data.
2. Identify Essential Data: Take some time to identify and prioritize the data that is important to you. This might include important documents, photos, videos, music, bookmarks, and any other files you deem crucial. By focusing on essential data, you can ensure that you have a backup of the most important files, minimizing the risk of data loss.
3. Transfer Files to Backup Device: Once you’ve chosen your backup method and identified your crucial data, proceed to transfer these files to your chosen backup device. If you’re using an external storage device, connect it to your computer and manually copy and paste the files from your hard drive to the backup device. Alternatively, if you’re using a cloud storage service, upload the files directly to the cloud using the service’s desktop or web applications.
4. Verify Backup Completeness: After transferring your files, it’s essential to verify the completeness of your backup. Double-check that all the files you intended to back up are present on the backup device or within the cloud storage service. This step ensures that you have successfully created a reliable backup and can proceed with confidence knowing that your important data is securely stored.
5. Maintain Regular Backups: Backing up your data is not a one-time task; it’s an ongoing process. To ensure that you always have a recent copy of your files, make it a habit to perform regular backups. This can be done on a schedule that works for you, such as weekly, monthly, or even daily, depending on the frequency and importance of the changes you make to your files.
Once you’ve completed the backup process and verified the integrity of your backup files, you can proceed with peace of mind to the next step: purchasing an SSD. With your data safely backed up, you’re ready to embark on the journey of enhancing your computer’s performance and efficiency with a new solid-state drive.
Step 2: Purchase an SSD
Now that you’ve successfully backed up your hard drive, it’s time to purchase a solid-state drive (SSD) that suits your needs. When selecting an SSD, consider the following factors to ensure compatibility and optimal performance:
1. Storage Capacity: Determine the amount of storage space you require for your SSD. Consider the size of your current hard drive and the amount of data you currently have, as well as any future storage needs. SSDs are available with varying capacities, ranging from smaller options like 120GB or 250GB for basic use, to larger sizes like 500GB, 1TB, or even higher for more demanding applications.
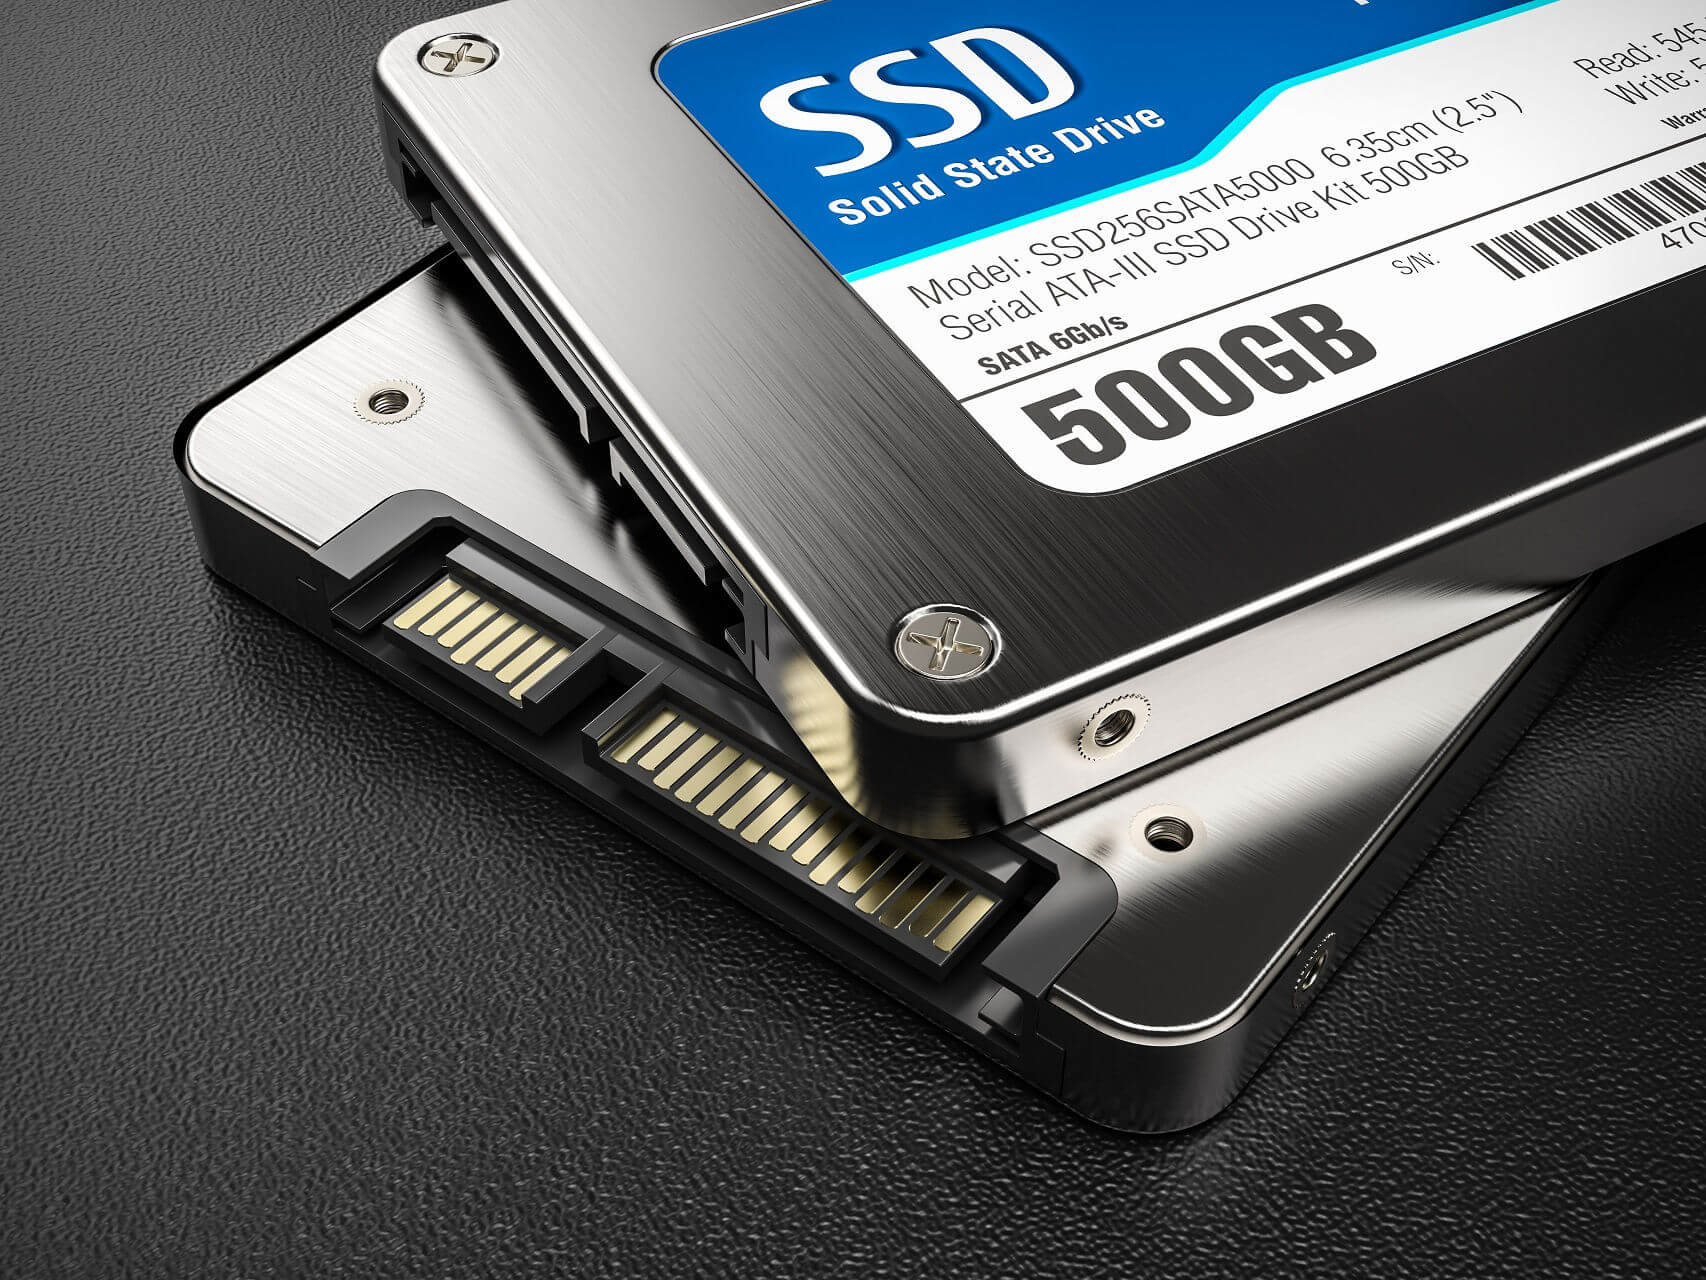
2. Form Factor: Consider the form factor that matches your computer’s specifications. The most common form factor options for SSDs are 2.5-inch and M.2. Check your computer’s documentation or manufacturer’s website to identify the form factor that is compatible with your system. Ensure that the SSD you select matches the corresponding form factor.
3. Interface: Determine the interface your computer supports. The two main interface options for SSDs are SATA and NVMe (PCIe). SATA is the traditional interface found in most computers, while NVMe offers faster data transfer speeds over PCIe lanes. If your computer supports NVMe, consider choosing an SSD with NVMe interface for faster performance.
4. Budget: Consider your budget when purchasing an SSD. While SSDs have become more affordable over the years, prices can still vary depending on the brand, capacity, and performance. Determine your budget and look for an SSD that provides a balance between price and performance.
5. Brand and Reliability: Consider reputable brands known for their reliability and quality. Solid-state drives from well-established manufacturers often come with warranties and have a track record of delivering good performance and durability. Research customer reviews and ratings to gauge the reliability of different SSD models before making your purchase.
6. Additional Features: Some SSDs come with additional features, such as built-in encryption, power loss protection, or caching technology. Assess your needs and preferences to determine if any of these features are important to you and if they justify the extra cost.
Once you’ve chosen the SSD that meets your requirements, you can proceed with the purchase. Look for reputable online retailers or visit local computer stores to find the best deals. Make sure to compare prices and specifications across different sources to ensure you’re getting the best value for your money.
With your new SSD in hand, you’re one step closer to upgrading your computer and enjoying the benefits of improved speed and performance. In the next step, we’ll discuss how to choose the correct size for your new SSD and ensure it fits seamlessly into your computer system.
Step 3: Choose the Right SSD Size
After purchasing a solid-state drive (SSD), it’s crucial to choose the right size that meets your storage needs and fits seamlessly into your computer system. Consider the following factors when selecting the size of your new SSD:
1. Current Hard Drive Usage: Evaluate the amount of storage space you’re currently using on your hard drive. Check your operating system’s storage settings or use disk management tools to determine how much space is currently occupied by your data, applications, and system files. This will give you an idea of the minimum size you need to accommodate your existing data.
2. Future Storage Needs: Anticipate your future storage requirements. Consider any planned increases in data volume, such as downloading larger files, installing more applications, or creating additional multimedia content. If you expect your storage needs to grow significantly in the near future, it may be wise to opt for a larger SSD to avoid running out of space.
3. Budget: Consider your budget when choosing the size of your SSD. Larger capacity SSDs tend to be more expensive than smaller ones. Strike a balance between your storage needs and your budget to ensure you’re getting the most value for your money. If budget constraints are a concern, consider focusing on the essential data and applications that require the most performance boost and allocate storage space accordingly.
4. Manageability: Think about how you organize and manage your data. If you tend to accumulate a vast amount of files and have difficulty organizing them, a larger SSD might be beneficial to have plenty of room for organizing and managing your data effectively. Conversely, if you’re diligent in regularly cleaning up unnecessary files or utilizing cloud storage and external drives for additional storage, a smaller SSD might be sufficient.
5. Consider SSD Transfer Methods: Take into account the methods you plan to use for transferring data from your old hard drive to the new SSD. If you choose to clone your data, ensure that the size of your new SSD is equal to or larger than the used space on your current hard drive. This will allow for a successful and hassle-free data transfer process without having to exclude any files due to insufficient space.
To make an informed decision, assess your current and future storage requirements, set a realistic budget, and evaluate your data management practices. By considering these factors, you can choose the right size SSD that best fits your needs and ensures a smooth transition during the upgrade process.
In the next step, we’ll discuss how to prepare your computer system for installing the new SSD.
Step 4: Prepare Your Computer
Before installing your new solid-state drive (SSD), it’s important to properly prepare your computer system. This step ensures a smooth and successful transition without any compatibility issues. Follow these essential steps to prepare your computer for installing the SSD:
1. Power Off and Disconnect: Start by shutting down your computer completely and disconnecting it from any power sources. Unplug the power cord, remove the battery (if applicable), and take any necessary precautions to ensure your safety and prevent any electrical damage to your system.
2. Refer to the Manual: Consult your computer’s manual or the manufacturer’s website to understand the specific steps and precautions required for accessing and replacing the hard drive. This information will help you identify the appropriate tools, screws, and connectors necessary for the installation.
3. Ground Yourself: To prevent any static electricity damage to the sensitive components of your computer, ground yourself by touching a metal object or wearing an anti-static wrist strap. This precautionary measure helps to discharge any static electricity before working with your computer’s internal components.
4. Locate the Hard Drive Compartment: Identify the location of the hard drive compartment in your computer. Laptops often have a removable panel on the bottom, while desktops typically require opening the computer tower’s side panel. Refer to the manual for specific instructions on accessing the hard drive compartment.
5. Identify the Hard Drive Connection: Identify the type of connection used by your current hard drive. Most modern computers use a Serial ATA (SATA) connection, which standardizes the connection interface for storage devices. Ensure that your new SSD has a compatible SATA connector to ensure proper installation and functionality.
6. Check for Mounting Compatibility: Verify that your computer’s hard drive compartment has mounting brackets or slots that are compatible with your new SSD. If not, you may need to purchase additional mounting hardware to secure the SSD properly. Alternatively, you can use adhesive pads or brackets to securely affix the SSD in the available space.
7. Read Computer Specifications: Check your computer’s specifications or consult the manufacturer’s website to ensure that your system supports the new SSD’s capacity, form factor, and interface. This step is crucial to avoid any potential compatibility issues or limitations that may arise.
8. Backup BIOS Settings (For Desktops only): If you are installing the SSD in a desktop computer, it’s recommended to back up your current BIOS settings. This backup will ensure that you can easily restore your BIOS configuration if any issues arise during the installation process.
By properly preparing your computer, you can ensure a smooth installation process and avoid any potential issues or compatibility conflicts. Once you’ve completed these preparation steps, you’re ready to move on to the next step – cloning your existing hard drive to the new SSD.
Step 5: Clone Your Existing Hard Drive
Cloning your existing hard drive to the new solid-state drive (SSD) is an efficient way to transfer your operating system, applications, and data without the need for a fresh installation. Follow these steps to clone your hard drive:
1. Choose a Cloning Software: Select a reliable cloning software that is compatible with your operating system and supports the cloning process. Popular options include EaseUS Todo Backup, Acronis True Image, or Clonezilla. Download and install the software on your computer.
2. Connect the New SSD: Connect the new SSD to your computer using the appropriate connection interface. If you are using a laptop, you may need a USB-to-SATA adapter to connect the SSD externally.
3. Launch the Cloning Software: Open the cloning software you installed in Step 1 and launch it on your computer. Follow the software’s instructions to begin the cloning process.
4. Select Source and Destination Drives: In the cloning software, select your existing hard drive as the source drive and the new SSD as the destination drive. Make sure to double-check the drive letters or names to avoid any data loss or overwrite on the wrong drive.
5. Configure Cloning Options: The cloning software may provide optional settings or advanced options depending on the software you choose. Review and configure any settings as desired. However, for most users, the default settings should suffice.
6. Start the Cloning Process: Once you have selected the source and destination drives and adjusted any necessary settings, initiate the cloning process. The software will start copying the data from your existing hard drive and transferring it to the SSD. The duration of the cloning process will depend on the size of your hard drive and the amount of data being transferred.
7. Verify Successful Cloning: After the cloning process is complete, the software should display a notification or completion message. Take a moment to verify that the cloning was successful and check for any error messages or warnings. Some cloning software also provides a verification option to ensure the integrity of the cloned data.
8. Disconnect the Old Hard Drive: Once you have confirmed the successful cloning of your hard drive to the new SSD, power off your computer and disconnect the old hard drive. This step ensures that your computer recognizes the new SSD as the primary storage device during the boot-up process.
By following these steps, you can clone your existing hard drive to the new SSD seamlessly. Once the cloning process is complete, you’re ready to physically replace the hard drive with the SSD, which we will discuss in the next step.
Step 6: Physically Replace the Hard Drive with SSD
Now that you have successfully cloned your existing hard drive to the new solid-state drive (SSD), it’s time to physically replace the old hard drive with the SSD. Follow these steps to ensure a smooth and proper installation:
1. Power Off and Disconnect: Start by powering off your computer completely and disconnecting it from any power sources. Unplug the power cord, remove the battery (if applicable), and take necessary precautions to ensure safety and prevent any electrical damage to your system.
2. Identify the Hard Drive Bay: Locate the hard drive bay in your computer case. In desktop computers, this is typically a dedicated slot or cage at the front or rear of the case. In laptops, the hard drive bay is usually located on the bottom or underside of the chassis.
3. Remove the Old Hard Drive: If you’re replacing a laptop hard drive, there may be a removable panel or access door on the bottom of the laptop. Unscrew the panel and carefully slide out the old hard drive from the respective bay. For desktop computers, remove any screws or brackets securing the hard drive in place and gently disconnect any cables connected to it.
4. Prepare the SSD: If the SSD does not come already installed in a mounting bracket, secure it with the appropriate brackets or screws. Ensure that the connectors and interface of the SSD are easily accessible for connection.
5. Connect the SSD: Carefully connect the SSD to the appropriate interface in your computer. If you’re replacing a laptop hard drive, be mindful of the orientation and connection method. For desktop computers, connect the necessary cables, including the SATA cable and power cable, to the SSD.
6. Secure the SSD: If necessary, secure the SSD in place using screws or brackets that fit the specific mounting design of your computer case. Make sure the SSD is physically secure and properly aligned within the hard drive bay.
7. Double-Check Connections: Take a moment to ensure that all connections are secure. Verify that the SATA data cable and power cable are firmly connected to both the SSD and the respective ports on the motherboard or power supply.
8. Reassemble Your Computer: Once the SSD is properly connected and secured, reassemble your computer. If you removed any panels or access doors during the previous steps, make sure to reattach them securely.
9. Reconnect Power and Battery (If applicable): Plug in the power cord and reconnect the battery (if removed) to restore power to your computer.
Now that you have physically replaced the hard drive with the SSD, you’re ready to proceed to the next step – reassembling your computer and booting it up to verify the SSD installation.
Step 7: Reassemble Your Computer
Now that you have successfully installed the solid-state drive (SSD) into your computer, it’s time to reassemble your system. Follow these steps to ensure a smooth and proper reassembly of your computer components:
1. Replace the Computer Case Cover: If you removed the case cover during the installation process, carefully put it back into place. Align the screw holes and use the appropriate screws to secure the cover tightly, ensuring that all edges and corners are properly aligned.
2. Reconnect Peripherals and Cables: Connect any peripherals or accessories you disconnected, such as the keyboard, mouse, monitor, and speakers. Ensure that all cables are securely connected to the appropriate ports on the computer and peripherals.
3. Connect the Power Cord: Plug in the power cord to the appropriate power outlet and connect it to the power supply unit of your computer case. Ensure a snug and secure connection to avoid any power interruptions.
4. Reinsert the Battery (If Applicable): If you removed the battery during the installation process (relevant for laptop computers), carefully reinsert it into the battery compartment. Ensure proper alignment and a secure connection between the battery and the laptop.
5. Double-Check Connections: Take a moment to verify that all cables and connectors are securely attached. Double-check the connections for the monitor, keyboard, mouse, and any other peripherals to ensure proper functionality.
6. Test the Power On/Off: Press the power button to boot up the computer and ensure that it powers on successfully. If the computer doesn’t turn on or experiences any issues, double-check all connections and ensure that the components are properly seated.
7. Access BIOS (Optional): If required, access the BIOS/UEFI settings by pressing the designated key (such as F2 or Delete) as indicated during the boot process. Verify that the SSD is detected and properly recognized in the BIOS settings.
8. Verify SSD Installation: Once your computer has successfully booted up, access the operating system and navigate to the storage settings to ensure that the SSD is recognized and listed as the primary storage device. Verify that the correct capacity of the SSD is displayed and that no data loss or compatibility issues have occurred.
By following these steps, you can successfully reassemble your computer and ensure that all connections are secure. Now that you have completed the reassembly process, you’re ready to move on to the next step – booting up your computer and verifying the installation of the SSD.
Step 8: Boot Up and Verify SSD Installation
After reassembling your computer, it’s time to boot it up and verify the installation of the solid-state drive (SSD). Follow these steps to ensure a successful boot-up and confirmation of the SSD installation:
1. Power On Your Computer: Press the power button on your computer to turn it on. Allow the computer a few moments to initialize and start the boot-up process.
2. Observe the Boot-Up Sequence: Watch the screen as your computer boots up. You may see the manufacturer’s logo or a glimpse of system information. Pay attention to any messages or prompts that appear during the boot process.
3. Enter Your User Credentials: If prompted, enter your user credentials such as username and password to access your operating system. Once logged in, proceed to the desktop or home screen.
4. Open the Storage Settings: Navigate to the storage settings or file explorer in your operating system. Depending on your operating system, you can usually access the storage settings by going to the System Preferences or Control Panel and selecting the “Storage” or “Disk Management” option. Alternatively, you can open the file explorer and locate the “This PC” or “My Computer” menu to view the storage devices.
5. Verify SSD Recognition: In the storage settings or file explorer, ensure that the SSD is recognized and listed as a storage device. Look for the SSD’s name, its capacity, and any assigned drive letters. This confirms that the operating system has detected and successfully installed the SSD.
6. Check Drive Capacity: Verify that the SSD’s capacity matches the expected size. It may be slightly lesser than the advertised capacity due to the formatting process and the operating system’s allocation of storage space.
7. Transfer and Access Data: If you cloned your hard drive, check if all your files and data have been successfully transferred to the SSD. Open some files and programs to ensure they are accessible without any issues. This step confirms that the data cloning process was successful.
8. Assess Performance: Finally, assess the performance of your computer with the newly installed SSD. Notice the speed improvements in tasks such as booting up, launching applications, and accessing files. You should experience significantly faster response times and overall system performance.
By following these steps, you can verify the successful installation of the SSD and ensure that it is recognized and functioning correctly within your computer system. Enjoy the enhanced speed and performance that the SSD brings to your machine!
Step 9: Securely Dispose of Your Old Hard Drive
Now that you have successfully upgraded to a solid-state drive (SSD) and confirmed its functionality, it’s important to securely dispose of your old hard drive to protect your data and maintain your privacy. Follow these steps to ensure a safe and secure disposal process:
1. Backup Essential Data: Before disposing of your old hard drive, ensure that you have backed up any essential data or files that you intend to keep. Double-check that the data has been successfully transferred to the new SSD and is accessible.
2. Data Wiping: To prevent unauthorized access to your data, it’s important to securely wipe all information from the old hard drive. Use a reliable data-wiping tool, such as DBAN (Darik’s Boot and Nuke), to thoroughly erase all data and partitions on the drive. Follow the instructions provided by the software to ensure a proper wipe.
3. Physical Destruction: If you want to ensure complete destruction of the old hard drive, physical destruction is an option. You can use a drill, hammer, or other mechanical means to physically damage the drive beyond repair. This method ensures that no data can be recovered from the drive.
4. Environmental Disposal: After securely wiping or physically destroying the hard drive, it’s essential to dispose of it properly from an environmental standpoint. Electronics contain hazardous materials, and improper disposal can harm the environment. Check local regulations or contact your nearest recycling center to inquire about electronic waste disposal options in your area.
5. Recycling Programs: Some electronics manufacturers offer recycling programs for their products, including hard drives. Check if your hard drive manufacturer has a recycling program in place and follow their instructions for disposing of the drive in an environmentally responsible manner.
6. Donation or Repurposing: If your old hard drive is still in working condition, consider donating it to a charitable organization, school, or community center where they might find it useful. Alternatively, you may repurpose the drive for other non-sensitive tasks, such as external storage or media playback, after ensuring all sensitive data has been erased.
By following these steps, you can ensure the secure disposal of your old hard drive while protecting your data and the environment. Be responsible and take the necessary measures to dispose of electronic waste properly.
Conclusion
Congratulations on successfully changing your hard drive to a solid-state drive (SSD)! By following the step-by-step guide outlined in this article, you have upgraded your computer’s performance, increased its speed, and enhanced your overall computing experience. Here’s a quick recap of the steps you followed:
1. You explored the benefits of switching to an SSD, including faster speeds, improved reliability, energy efficiency, durability, and compatibility.
2. You gathered the necessary tools, including a screwdriver, external hard drive enclosure (optional), operating system installation media, USB-to-SATA adapter (optional), compatible SSD, and a backup solution.
3. You backed up your hard drive to ensure the safety of your data and prevent any potential loss during the upgrade process.
4. You purchased an SSD based on your storage needs, budget, and compatibility.
5. You cloned your existing hard drive to the new SSD, ensuring that your operating system, applications, and data were seamlessly transferred.
6. You physically replaced the old hard drive with the new SSD, ensuring proper connection and secure mounting.
7. You reassembled your computer, ensuring all cables and peripheral devices were properly connected.
8. You booted up your computer and verified the successful installation of the SSD, confirming its recognition by the operating system and the accessibility of your data.
9. Lastly, you securely disposed of your old hard drive, either by wiping it clean or physically destroying it, and properly recycled or repurposed it.
By completing these steps, you have unlocked the full potential of your computer’s performance with the speed and efficiency provided by the SSD. Enjoy the benefits of faster boot times, improved application loading speeds, and enhanced overall responsiveness.
Remember, regular backups and responsible disposal of electronic waste are essential practices to ensure the safety of your data and protect the environment. By following the guidelines and best practices outlined in this guide, you have taken a significant step toward optimizing your computer system and extending its lifespan.
Thank you for following this guide, and happy computing with your new SSD!