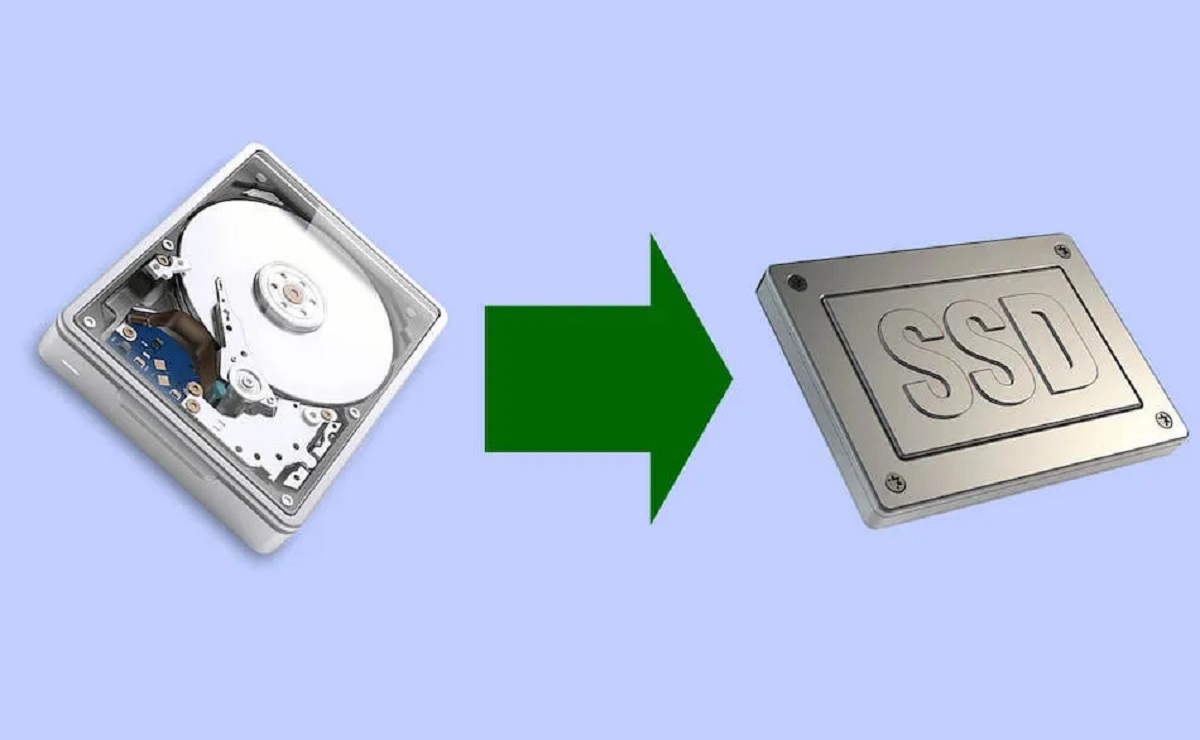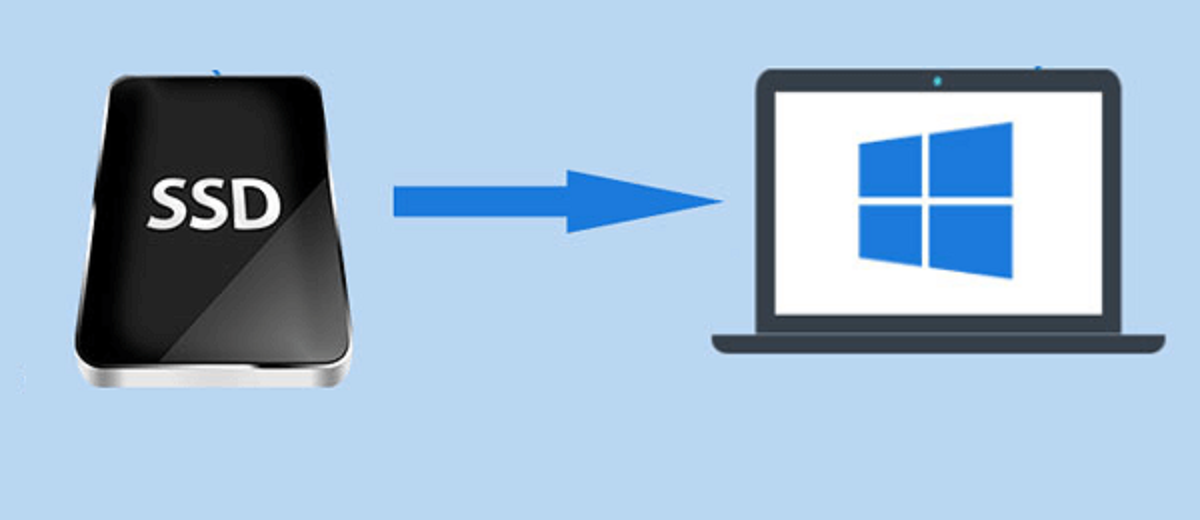
Why is booting from SSD important after cloning?
After cloning your hard drive to an SSD, it is crucial to ensure that you are booting from the newly cloned SSD instead of the old hard drive. Booting from the SSD offers several important benefits that can greatly enhance the performance and efficiency of your system.
Firstly, SSDs are significantly faster than traditional hard drives. They have faster read and write speeds, which means that your operating system and applications will load much quicker. This translates to faster boot times and reduced waiting times when opening files or running programs. By booting from the SSD, you can experience a noticeable improvement in overall system responsiveness.
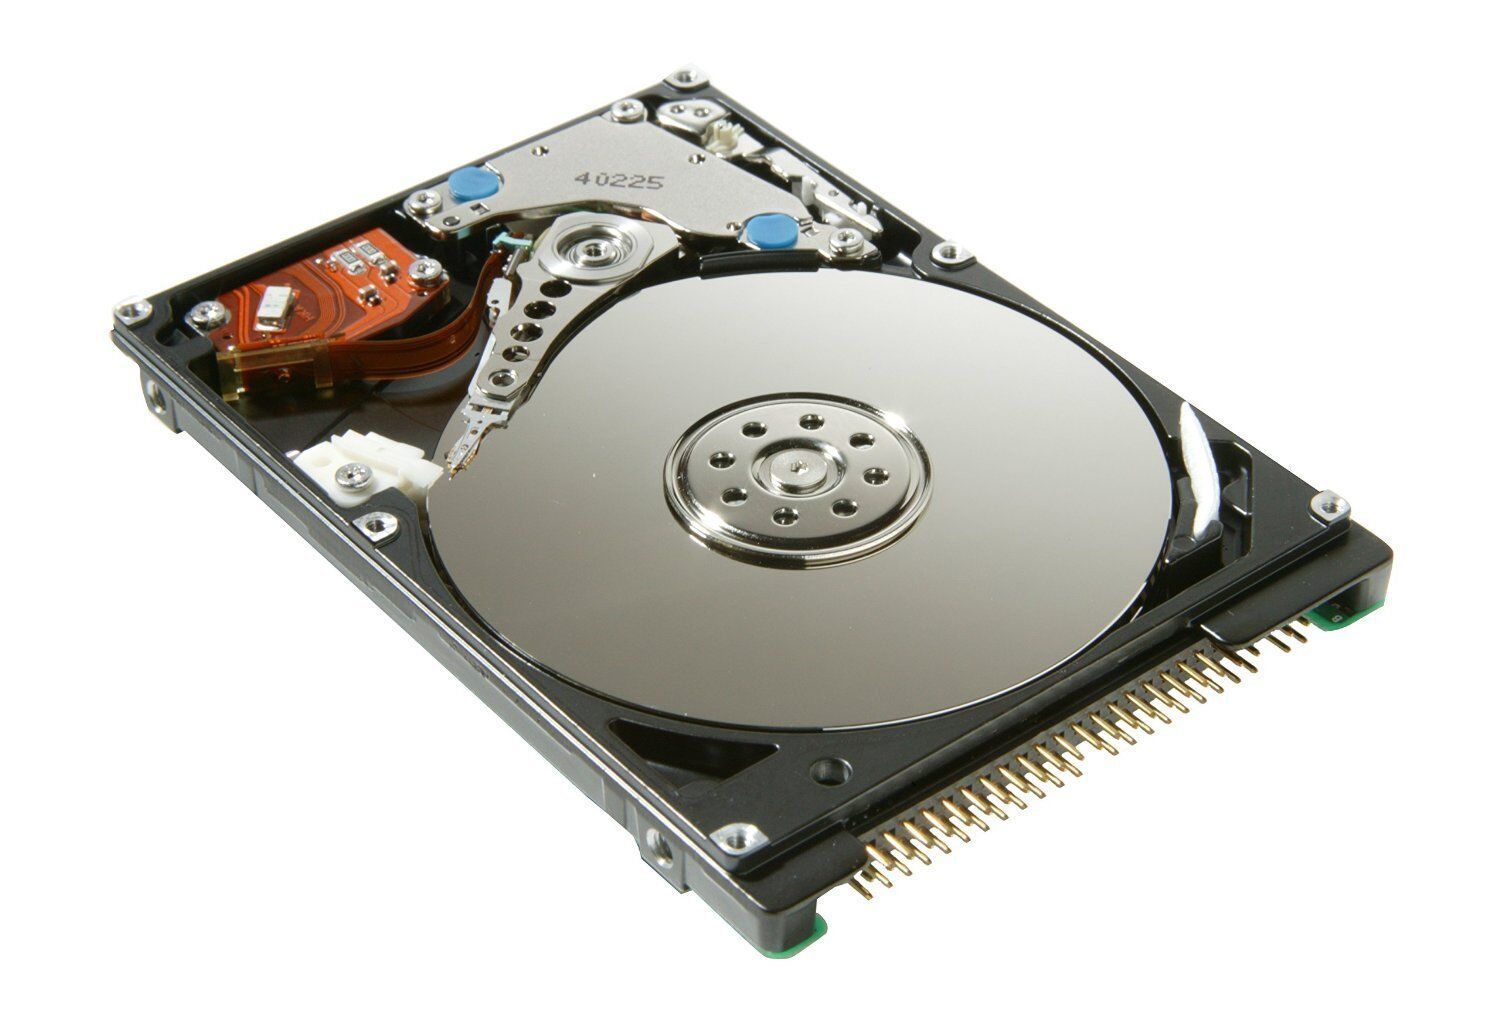
Moreover, SSDs are more durable and reliable compared to mechanical hard drives. Traditional hard drives utilize spinning disks and moving mechanical parts, making them more susceptible to damage and failure. SSDs, on the other hand, have no moving parts, which reduces the risk of mechanical failures. By booting from the SSD, you can minimize the chances of experiencing unexpected crashes or data loss.
Another advantage of booting from the SSD is improved energy efficiency. SSDs consume less power than traditional hard drives, which helps to extend the battery life of laptops and reduces energy consumption for desktop computers. By utilizing an SSD as your boot drive, you can enjoy longer battery life and contribute to a greener environment.
In addition, booting from the SSD can free up the old hard drive for other purposes. Once you have successfully cloned your hard drive to the SSD and ensured that it is functioning properly, you can repurpose the old hard drive for additional storage or backup purposes. This allows you to take full advantage of the increased speed and performance offered by the SSD without losing valuable storage space.
In summary, booting from the SSD after cloning is crucial to take advantage of its numerous benefits, including faster performance, improved reliability, energy efficiency, and the ability to repurpose the old hard drive. By prioritizing the SSD as your boot drive, you can enjoy a smoother and more efficient computing experience.
How to clone your hard drive to an SSD
Cloning your hard drive to an SSD is a straightforward process that allows you to transfer all your data, applications, and operating system from the old drive to the new, faster SSD. Follow these steps to successfully clone your hard drive:
- Back up your data: Before you begin the cloning process, it is essential to back up all your important files and data to an external storage device or cloud service. This ensures that you have a copy of your data in case something goes wrong during the cloning process.
- Choose a cloning software: There are various cloning software available, both free and paid. Some popular options include Acronis True Image, Clonezilla, and Macrium Reflect. Choose the one that suits your needs and download it onto your computer.
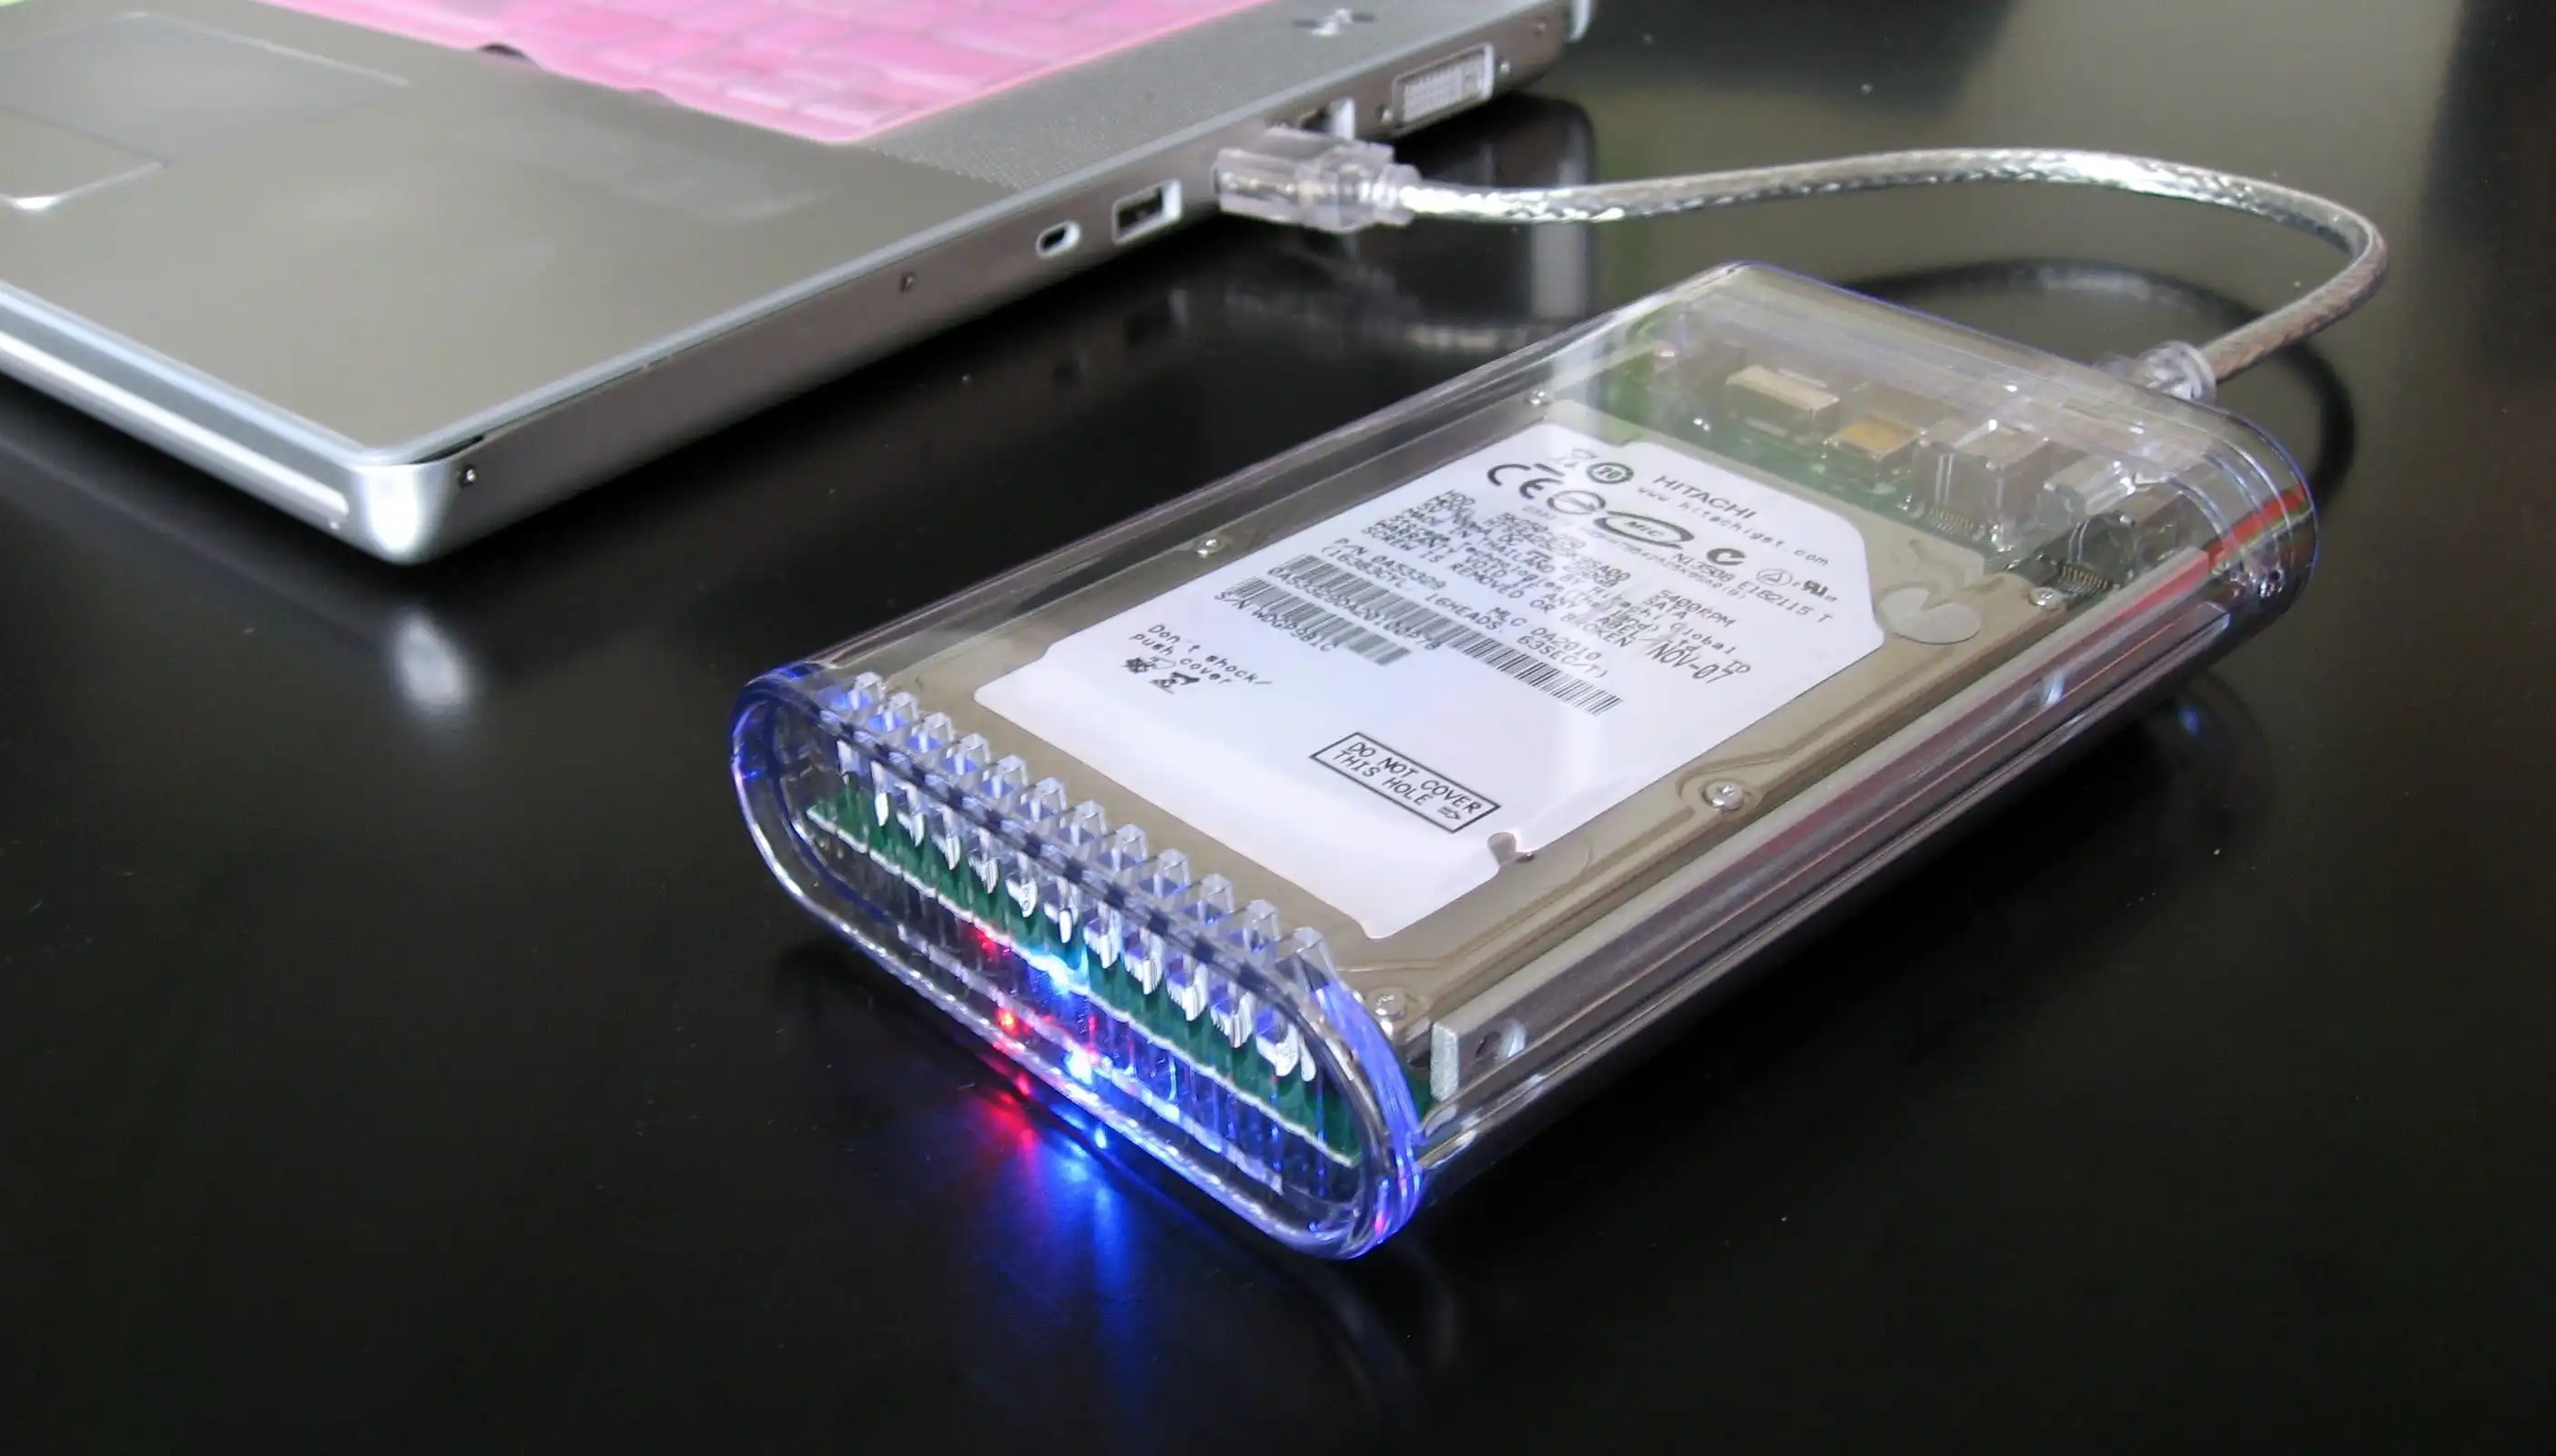
- Connect the SSD: Connect the SSD to your computer. You can do this by connecting it via a USB enclosure, SATA-to-USB cable, or by installing it directly into your computer if you have the necessary hardware.
- Launch the cloning software: Open the cloning software and select the option to clone your hard drive. Choose the source drive (your old hard drive) and the destination drive (the SSD).
- Configure the cloning settings: Depending on the cloning software you are using, you may have additional options to customize the cloning process. Make sure to review and adjust any settings as needed.
- Start the cloning process: Once you have configured the cloning settings, initiate the cloning process. The software will create a clone of your old hard drive and transfer it to the SSD. This process may take some time, so be patient and let the software complete the task.
- Verify the cloned data: After the cloning process is complete, double-check the SSD to ensure that all your data, applications, and operating system have been successfully transferred. Compare important files and folders to confirm the accuracy of the clone.
- Disconnect the old hard drive: Once you have verified that the cloning process was successful, shut down your computer and disconnect the old hard drive. This step is crucial to prevent any conflicts during the booting process.
Following these steps will allow you to clone your hard drive to an SSD effectively. Remember to always double-check and verify the cloned data to ensure its accuracy and completeness before disconnecting the old hard drive.
Verify that the cloning process was successful
After cloning your hard drive to an SSD, it is crucial to verify that the cloning process was successful to ensure that all your data, applications, and operating system have been properly transferred. Follow these steps to verify the success of the cloning process:
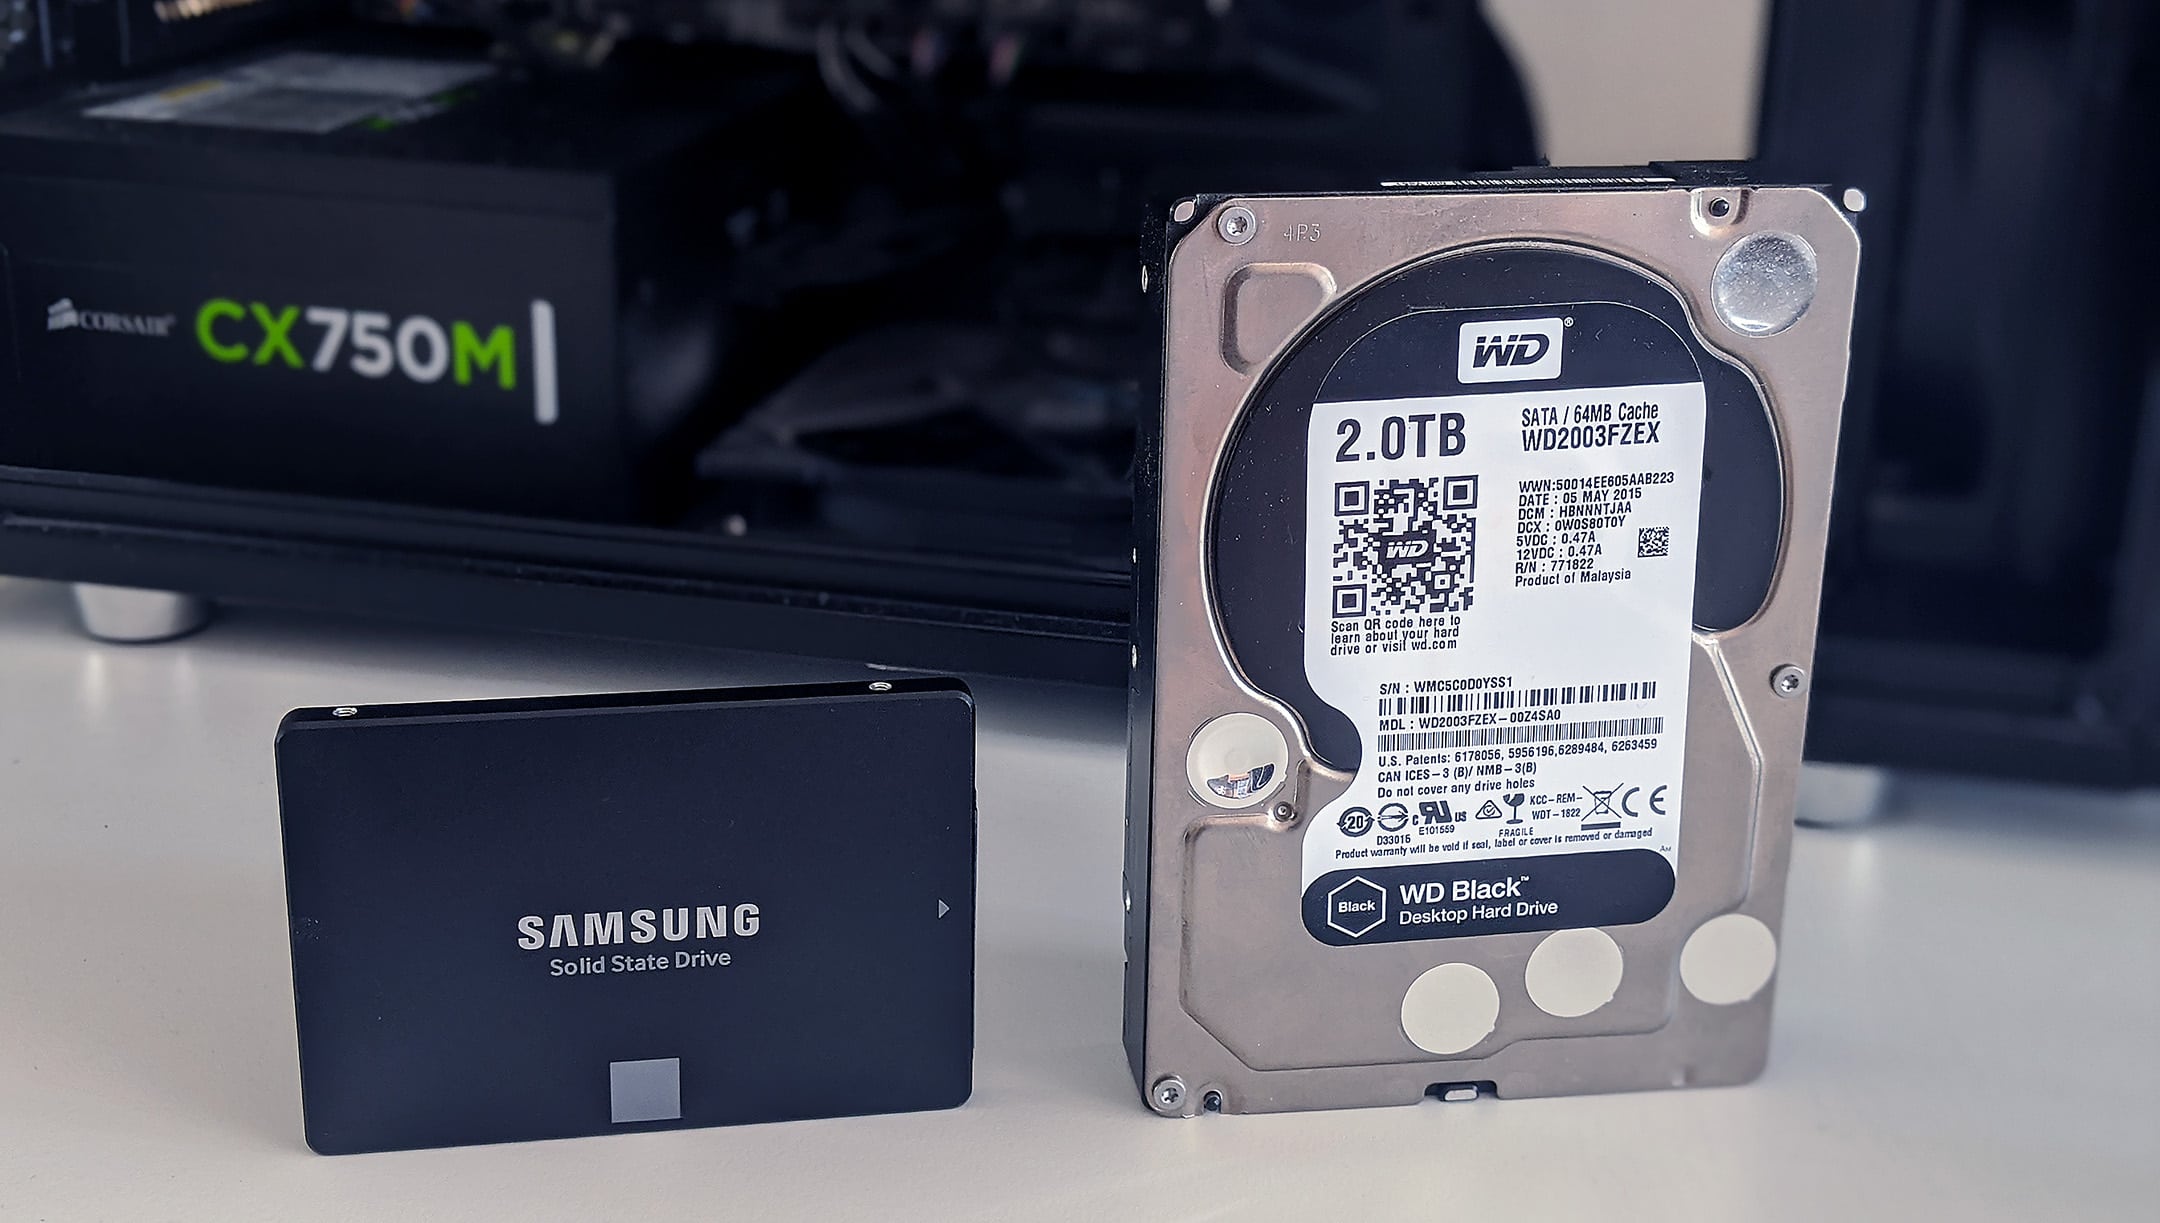
- Check the capacity: Compare the total capacity of the source hard drive with the capacity of the destination SSD. The SSD should have the same or larger capacity than the original hard drive to accommodate all the cloned data.
- Check the file structure: Open the file explorer and navigate through the SSD to ensure that all the folders and files from the original hard drive are present and intact. Pay attention to important files, such as documents, media files, and application files, to ensure that they have been properly cloned.
- Test application functionality: Open some of your frequently used applications and ensure that they launch and function properly from the SSD. Check for any errors or missing features that might indicate an incomplete cloning process.
- Test the operating system: Restart your computer and boot up from the SSD to ensure that the operating system loads correctly. Pay attention to the boot time and overall system performance to see if there is a noticeable improvement compared to the original hard drive.
- Run disk health checks: Utilize disk health monitoring software, such as CrystalDiskInfo or SMART (Self-Monitoring, Analysis, and Reporting Technology), to check the health status of the SSD. Look for any warning signs or errors that might suggest an issue with the cloned drive.
- Perform benchmark tests: Run benchmark tests, such as CrystalDiskMark or AS SSD Benchmark, to evaluate the read and write speeds of the SSD. Compare the results with the specifications of the SSD to ensure that it is performing up to its expected speed.
By following these verification steps, you can ensure that the cloning process was successful and that all your data, applications, and operating system have been properly transferred to the SSD. If you encounter any issues or inconsistencies during the verification process, it is recommended to consult the cloning software’s documentation or seek assistance from technical support.
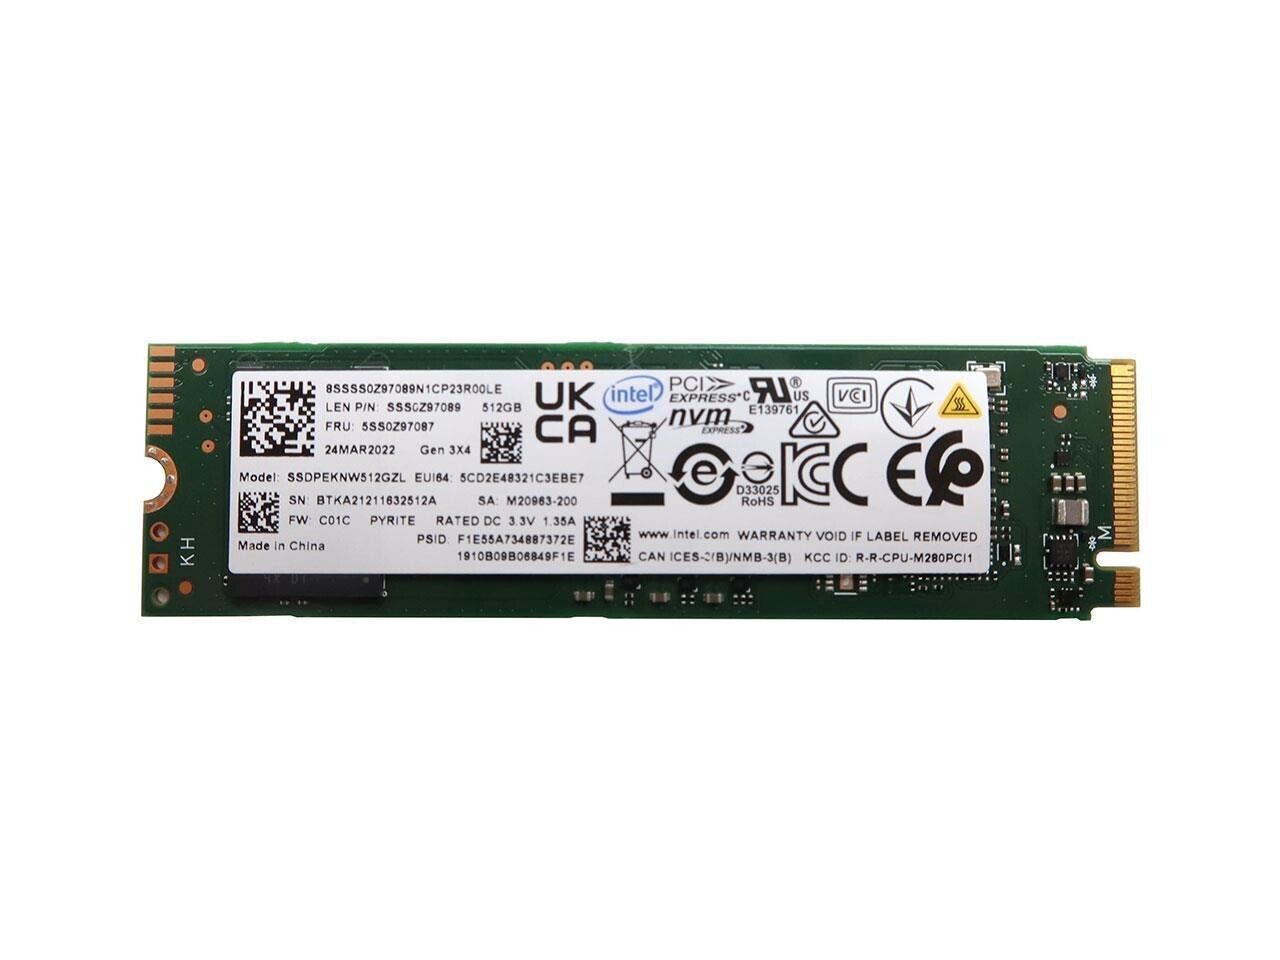
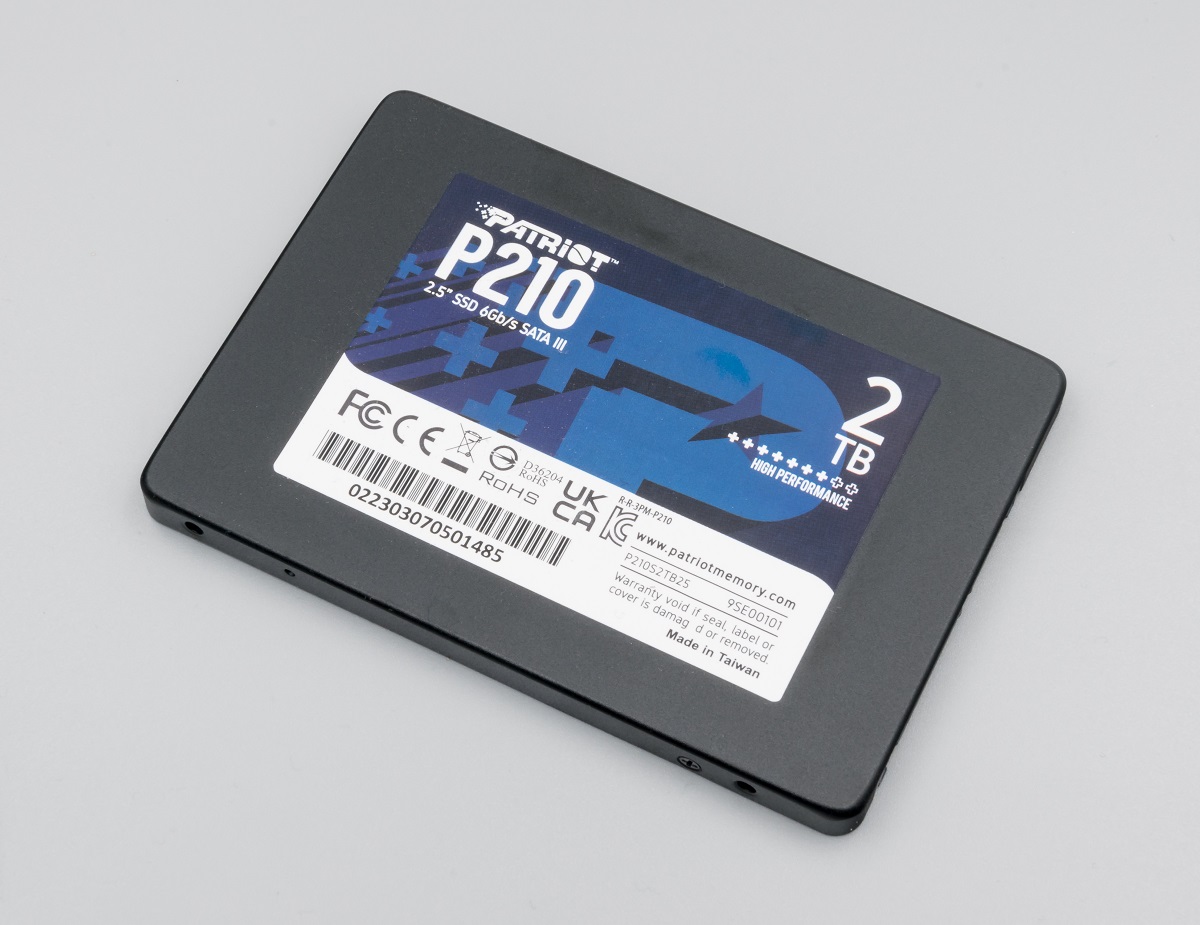
Ensure the SSD is properly connected to your computer
After cloning your hard drive to an SSD, it is important to ensure that the SSD is properly connected to your computer to guarantee its functionality. Here are the steps to follow to ensure a proper connection:
- Shut down your computer: Before connecting or disconnecting any hardware, it is essential to shut down your computer properly. This helps to prevent any damage to the components and ensures that the connection process is safe.
- Open your computer case: If you are installing the SSD internally, you will need to open your computer case using the appropriate tools. Make sure to follow the manufacturer’s instructions or consult your computer’s manual to locate the relevant screws and levers.
- Identify the appropriate connection: Look for the available connectors on your motherboard or SATA controller. The SSD typically uses a SATA connector, which is a small L-shaped port. Ensure that you have an available SATA port to connect the SSD.
- Connect the SATA data cable: Take one end of the SATA data cable and connect it to the SSD’s SATA port. Align the connector properly and gently push it in until it’s securely connected. The SATA port on the SSD is usually labeled “SATA” or “SATA III”.
- Connect the SATA power cable: Take one end of the SATA power cable (which is usually provided by your power supply unit) and connect it to the SSD’s power connector. Ensure that the power cable is fully inserted and secure.
- Close your computer case: Once the SSD is connected properly, carefully close your computer case and fasten the screws. Ensure that all connections are secure and that there is no excessive tension on the cables.
- External connection: If you are using an external enclosure or SATA-to-USB adapter to connect the SSD, simply plug in the appropriate cables into the enclosure or adapter and connect it to your computer’s USB port.
- Power on your computer: Turn on your computer and wait for it to boot up. Once the operating system is loaded, the computer should recognize the SSD as a new drive.
By following these steps, you can ensure that the SSD is properly connected to your computer. It is important to double-check all connections and ensure that they are secure to avoid any potential issues with the SSD’s functionality. If you encounter any problems during the connection process, refer to the manufacturer’s documentation or seek assistance from technical support.
Access your computer’s BIOS or UEFI settings
In order to properly boot from your newly cloned SSD, you need to access your computer’s BIOS (Basic Input/Output System) or UEFI (Unified Extensible Firmware Interface) settings. These settings allow you to configure the boot order and specify which device should be prioritized. Here’s how to access the BIOS or UEFI settings:
- Restart your computer: Start by restarting your computer. You can do this by clicking on the Windows Start menu and selecting the Restart option.
- Press the corresponding key: During the boot process, your computer will display a manufacturer logo or a black screen with a prompt to press a specific key to enter the BIOS or UEFI settings. The key varies depending on the manufacturer, but commonly used keys are F2, F10, Delete, or Escape. Refer to your computer’s manual or look for on-screen instructions to find the specific key for your system.
- Enter the BIOS or UEFI setup: Once you’ve identified the correct key, press it repeatedly until you enter the BIOS or UEFI setup screen. This may take a few attempts, so be patient.
- Navigate the BIOS or UEFI menus: Use the arrow keys on your keyboard to navigate through the BIOS or UEFI menus. The specific layout and options may vary depending on your computer’s manufacturer. Look for a section related to boot options or boot order.
- Change the boot order: Within the boot options or boot order section, locate the option to change the boot order. Use the instructions provided on the screen to move the SSD to the top of the boot order list. This ensures that your computer will prioritize booting from the SSD before any other devices.
- Save the changes: Once you’ve made the necessary changes to the boot order, save the settings. Look for an option within the BIOS or UEFI settings to save and exit. This will typically be labeled as “Save Changes and Exit” or “Exit and Save Changes”. Confirm the selection and your computer will restart.
By accessing your computer’s BIOS or UEFI settings and adjusting the boot order to prioritize the SSD, you ensure that your computer will boot from the newly cloned SSD. This step is crucial to take full advantage of the improved performance and functionality of the SSD.
Change the boot order to prioritize the SSD
Once you have accessed your computer’s BIOS or UEFI settings, you need to change the boot order to prioritize the SSD. This ensures that your computer will boot from the newly cloned SSD. Here are the steps to follow:
- Navigate to the boot options: Within the BIOS or UEFI settings, locate the section related to boot options or boot order. The exact location and labeling of this section may vary depending on your computer’s manufacturer.
- Identify the available boot devices: In the boot options section, you will see a list of devices that your computer can boot from. Look for the entry representing your SSD. It may be listed as the brand name of the SSD or with specific identification numbers.
- Move the SSD to the top of the boot order: Use the instructions provided on the screen to change the boot order. Typically, you will need to select the SSD and move it up to the top of the list using the appropriate keys or commands. This ensures that the SSD will be prioritized as the first boot device.
- Adjust other boot settings (if necessary): Depending on your computer’s BIOS or UEFI options, you might have additional boot settings to configure. These can include options related to boot mode (UEFI or Legacy), Secure Boot, or Fast Boot. Adjust these settings as needed, following the manufacturer’s guidelines or recommendations.
- Save the changes: Once you have made the necessary adjustments to the boot order and other boot settings, save the changes in the BIOS or UEFI settings. Look for an option to save and exit, typically labeled as “Save Changes and Exit” or “Exit and Save Changes”. Confirm the selection and your computer will restart.
By changing the boot order to prioritize the SSD, you ensure that your computer will start up from the newly cloned drive. This step is essential to take full advantage of the improved speed and performance offered by the SSD. It may also be necessary to disable the old hard drive from the boot order if you wish to boot exclusively from the SSD.
Save and exit the BIOS or UEFI settings
After making the necessary changes to the boot order and other settings in the BIOS or UEFI, it is crucial to save the changes and exit the settings menu. This ensures that your computer will apply the modified settings and prioritize booting from the SSD. Here are the steps to save and exit the BIOS or UEFI settings:
- Confirm your changes: Before proceeding, double-check that you have made the correct changes to the boot order and any other settings. Ensure that the SSD is set as the first boot device.
- Select the “Save and Exit” option: In the BIOS or UEFI settings, navigate to the exit options or the main menu. Look for the option labeled “Save and Exit” or a similar option. This option allows you to save the modified settings and exit the settings menu.
- Save your changes: Select the “Save and Exit” option to save the changes you made to the BIOS or UEFI settings. Confirm your selection if prompted.
- Reboot your computer: After saving the changes, your computer will automatically reboot. The modified boot order and settings should now take effect.
It is important to note that every BIOS or UEFI interface may have slight variations in terms of menu layout and selection labels. Therefore, it is essential to refer to your computer’s documentation or consult the manufacturer’s website if you encounter any difficulties in locating and selecting the “Save and Exit” option.
By saving and exiting the BIOS or UEFI settings, you ensure that your computer will prioritize booting from the SSD and apply the modifications you made. This is the final step in the process of configuring your computer to boot from the newly cloned SSD.
Restart your computer and boot from the SSD
After saving the changes in the BIOS or UEFI settings, it’s time to restart your computer and boot from the SSD. By following these steps, you ensure that your computer will start up using the newly cloned SSD:
- Confirm that the SSD is connected: Before restarting, double-check that the SSD is properly connected to your computer. Ensure that all cables are securely plugged in and that there are no loose connections.
- Close any open programs: Save your work and close any open applications or files to ensure a smooth restart process. This helps to avoid any potential conflicts during the booting process.
- Restart your computer: Click on the Windows Start menu and select the Restart option. Alternatively, you can press the physical reset button on your computer’s case if available.
- Watch for the manufacturer logo or boot screen: As your computer restarts, pay attention to the screen. Look for the manufacturer logo or a prompt that indicates the boot process is starting.
- Confirm the SSD is recognized: During the boot process, your computer should display information about the connected devices. Check whether the SSD is listed as one of the recognized drives. If it is not, there may be an issue with the connection or the BIOS/UEFI settings.
- Wait for the operating system to load: Once the boot process completes, wait for your operating system to load. This may take a few moments, especially if it’s the first boot from the SSD.
- Verify successful boot from the SSD: After the operating system has loaded, open your file explorer and navigate through the SSD’s storage. Look for familiar files, folders, and applications that confirm the successful boot from the SSD.
- Test system performance: Use your computer as you normally would and pay attention to the performance. Notice any improvements in speed, responsiveness, and overall system stability that can be attributed to booting from the SSD.
By restarting your computer and booting from the SSD, you complete the process of transitioning to the newly cloned disk. It is a crucial step in experiencing the enhanced performance and benefits that an SSD can provide.
Troubleshooting common issues when booting from SSD after cloning
While the process of booting from an SSD after cloning is usually straightforward, you may encounter some common issues that can prevent successful booting. Here are some troubleshooting steps to help resolve these issues:
- Check the SSD connection: Ensure that the SSD is properly connected to your computer. Double-check the SATA and power cables to make sure they are securely attached. Consider reseating the cables or trying a different SATA port if necessary.
- Review BIOS/UEFI settings: Confirm that the boot order is correctly set to prioritize the SSD. Re-enter the BIOS or UEFI settings and make sure that the SSD is listed as the first boot device. Additionally, ensure that any other relevant settings, such as SATA mode or secure boot, are configured correctly.
- Verify the cloning process: Check that the cloning process was successful by comparing the files, folders, and applications on the SSD with the original hard drive. If the cloning process encountered any errors or discrepancies, you may need to re-clone the drive.
- Update SSD firmware: Check for any available firmware updates for your SSD. Visit the manufacturer’s website and download the latest firmware version. Installing updated firmware can solve compatibility issues and improve performance.
- Check for driver updates: Update the drivers related to the SSD, such as the storage controller drivers or chipset drivers. Visit your computer manufacturer’s website or the SSD manufacturer’s support page to download and install the latest drivers.
- Consider backup and fresh installation: If you encounter persistent issues, it may be worth considering a fresh installation of your operating system on the SSD. Backup your important data, create a bootable USB drive with the OS installation media, and perform a clean installation on the SSD.
- Seek technical support:If you have tried the above troubleshooting steps and are still experiencing issues, it may be beneficial to seek technical support. Contact the SSD manufacturer’s support team, your computer manufacturer’s support services, or consult with a knowledgeable technician for further assistance.
By following these troubleshooting steps, you can address common issues that may arise when booting from an SSD after cloning. Remember to check the SSD’s connection, review BIOS/UEFI settings, and ensure that the cloning process was successful. Updating firmware and drivers, as well as considering a fresh installation, can also help resolve persistent issues. If needed, seek technical support to get expert assistance in troubleshooting and resolving any problems.
Conclusion
Booting from an SSD after cloning your hard drive is a crucial step to unlock the full potential of your new storage device. By following the steps outlined in this guide, you can ensure a successful transition to the SSD and experience improved performance and efficiency.
We discussed the importance of booting from the SSD after cloning, highlighting the benefits of faster speeds, increased reliability, energy efficiency, and the ability to repurpose the old hard drive for additional storage. These advantages make the process well worth the effort.
Furthermore, we provided a detailed walkthrough of how to clone your hard drive to an SSD, emphasizing the significance of backing up your data, selecting the appropriate cloning software, and verifying the success of the cloning process. These steps are essential to ensure a seamless transition and prevent any data loss or errors.
We also covered the necessary steps to ensure that the SSD is properly connected to your computer, including checking the connections, accessing the BIOS or UEFI settings, changing the boot order to prioritize the SSD, and saving the changes made in the settings.
Lastly, we addressed potential issues that may arise during the booting process, offering troubleshooting tips such as checking the SSD connection, reviewing BIOS or UEFI settings, verifying the cloning process, updating SSD firmware and drivers, and considering a fresh installation if necessary.
By following these steps and troubleshooting any issues that may arise, you can successfully boot from your newly cloned SSD, take advantage of its improved performance, and enjoy a smoother computing experience.