Introduction
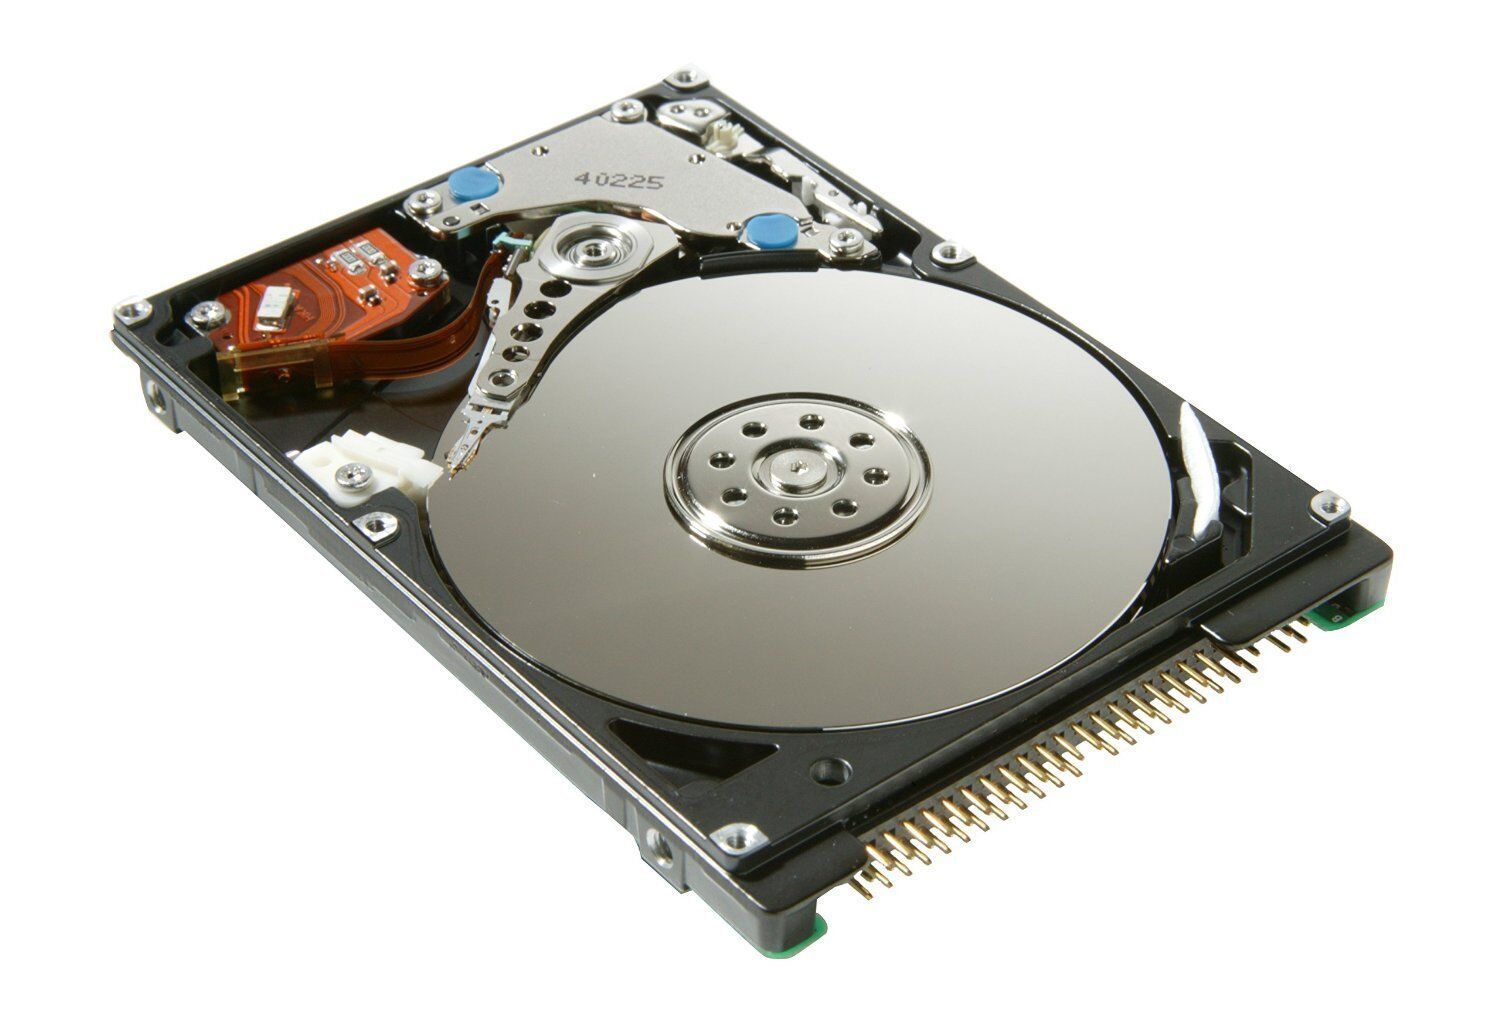
Upgrading your computer’s hard drive to a solid-state drive (SSD) can greatly improve its performance and boot-up speed. Unlike traditional mechanical hard drives, SSDs have no moving parts, which means they can access data faster and provide a more responsive user experience. However, simply installing an SSD is not enough to harness its full potential. To fully optimize your computer’s performance, you need to make the SSD the primary boot drive.
The boot drive is the storage device that holds the operating system and is responsible for initiating the computer’s startup process. By making the SSD the boot drive, you ensure that your computer accesses the operating system and other essential files from the faster storage medium. This results in significantly reduced boot times, faster application launches, and overall improved system responsiveness.
In this guide, we will walk you through the steps necessary to make your SSD the boot drive. Whether you are upgrading an existing computer or building a new one, this process will help you maximize the performance benefits of your SSD. Before we dive into the steps, let’s take a look at why making your SSD the boot drive is important and the materials you will need for the process.
Why Make Your SSD the Boot Drive?
There are several compelling reasons why you should consider making your SSD the boot drive for your computer. Let’s explore some of the key benefits:
- Significantly Faster Boot Times: One of the main advantages of using an SSD as your boot drive is the dramatic reduction in boot-up times. Compared to traditional hard drives, SSDs can start up your system in a matter of seconds, allowing you to get to work or play games faster.
- Improved Overall System Performance: By utilizing an SSD as the boot drive, you’ll experience a notable improvement in the overall performance of your computer. Applications and files will load much quicker, and you’ll notice a snappier and more responsive user experience.
- Enhanced Productivity: The speed and responsiveness of an SSD boot drive can greatly enhance your productivity. Whether you’re working on complex tasks or multitasking between various applications, you’ll be able to accomplish more in less time.
- Reduced Power Consumption: SSDs are more energy-efficient compared to traditional hard drives. By making your SSD the boot drive, you can save on energy consumption, resulting in longer battery life for laptops and reduced electricity bills for desktop computers.
- No Mechanical Parts: Unlike conventional hard drives, SSDs have no moving parts. This makes them more reliable and less prone to mechanical failure. By using an SSD as your boot drive, you reduce the risk of data loss and enjoy a more durable storage solution.
Making your SSD the boot drive is a straightforward process that can have a significant impact on your overall computer performance. Whether you’re a casual user looking to speed up your system or a power user needing the best possible performance, upgrading to an SSD boot drive is a wise investment.
What You Will Need
Before you embark on making your SSD the boot drive, there are a few essential items you will need to ensure a smooth and successful process. Here’s a list of what you’ll need:
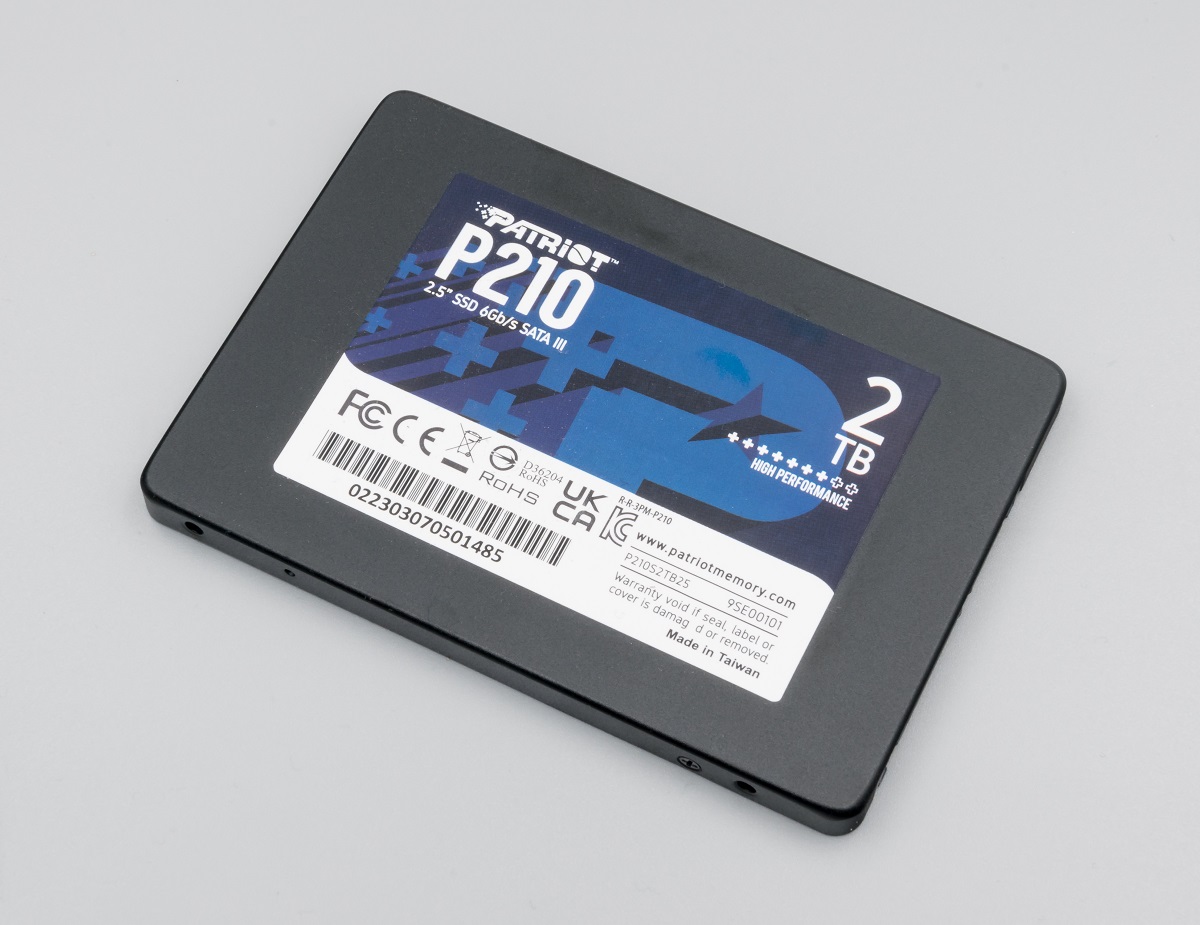
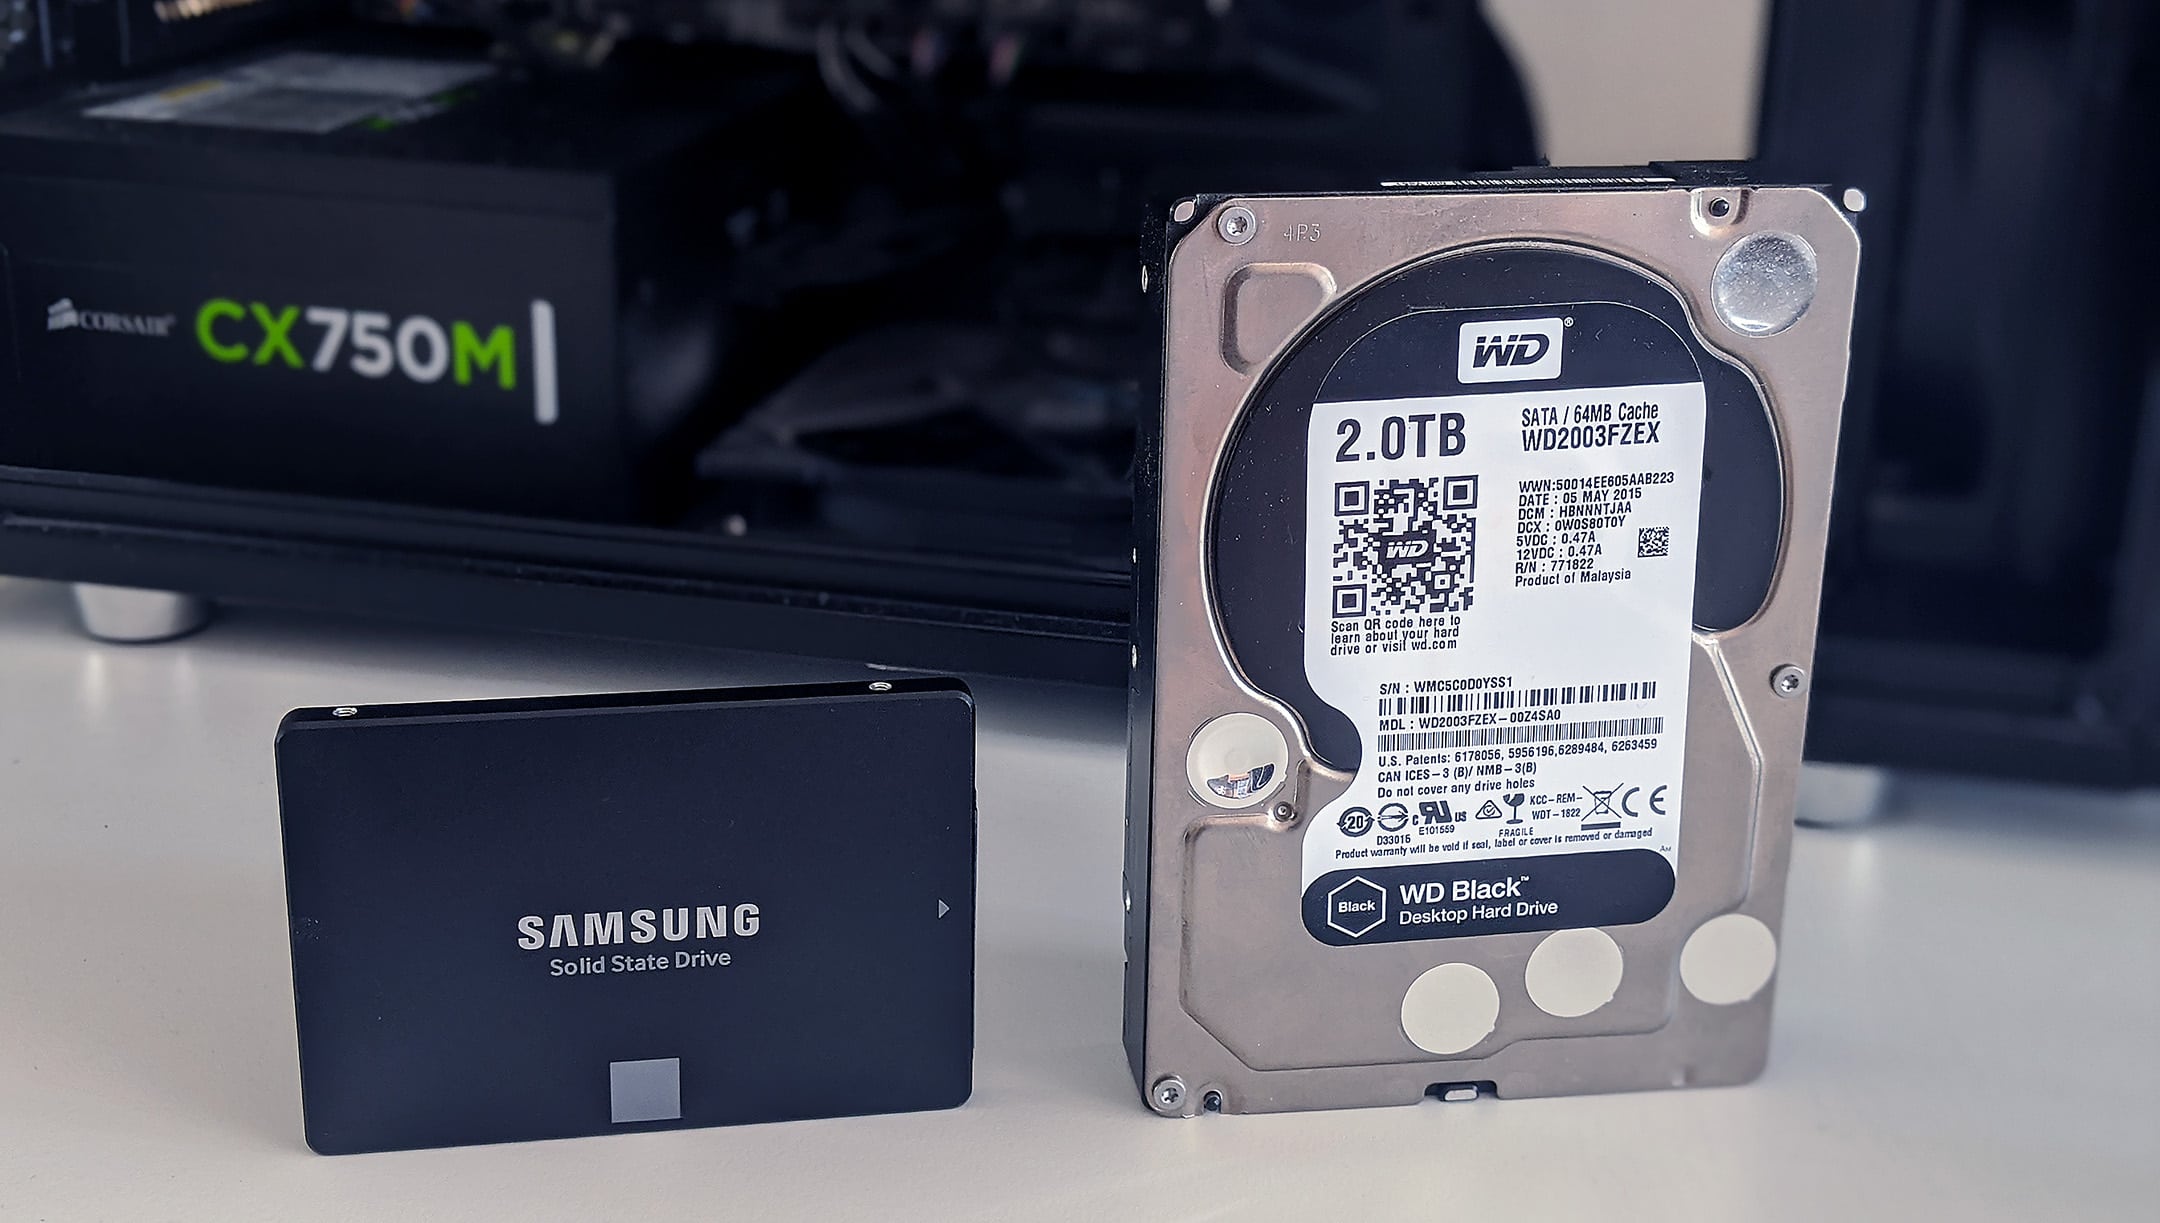
- SSD: Of course, you’ll need an SSD to act as your new boot drive. Ensure that the capacity of the SSD is sufficient to accommodate your operating system, applications, and important files.
- Cloning Software: To transfer your existing operating system and files from your current hard drive to the new SSD, you’ll need cloning software. There are various options available, both free and paid, such as Clonezilla, Acronis True Image, and Macrium Reflect.
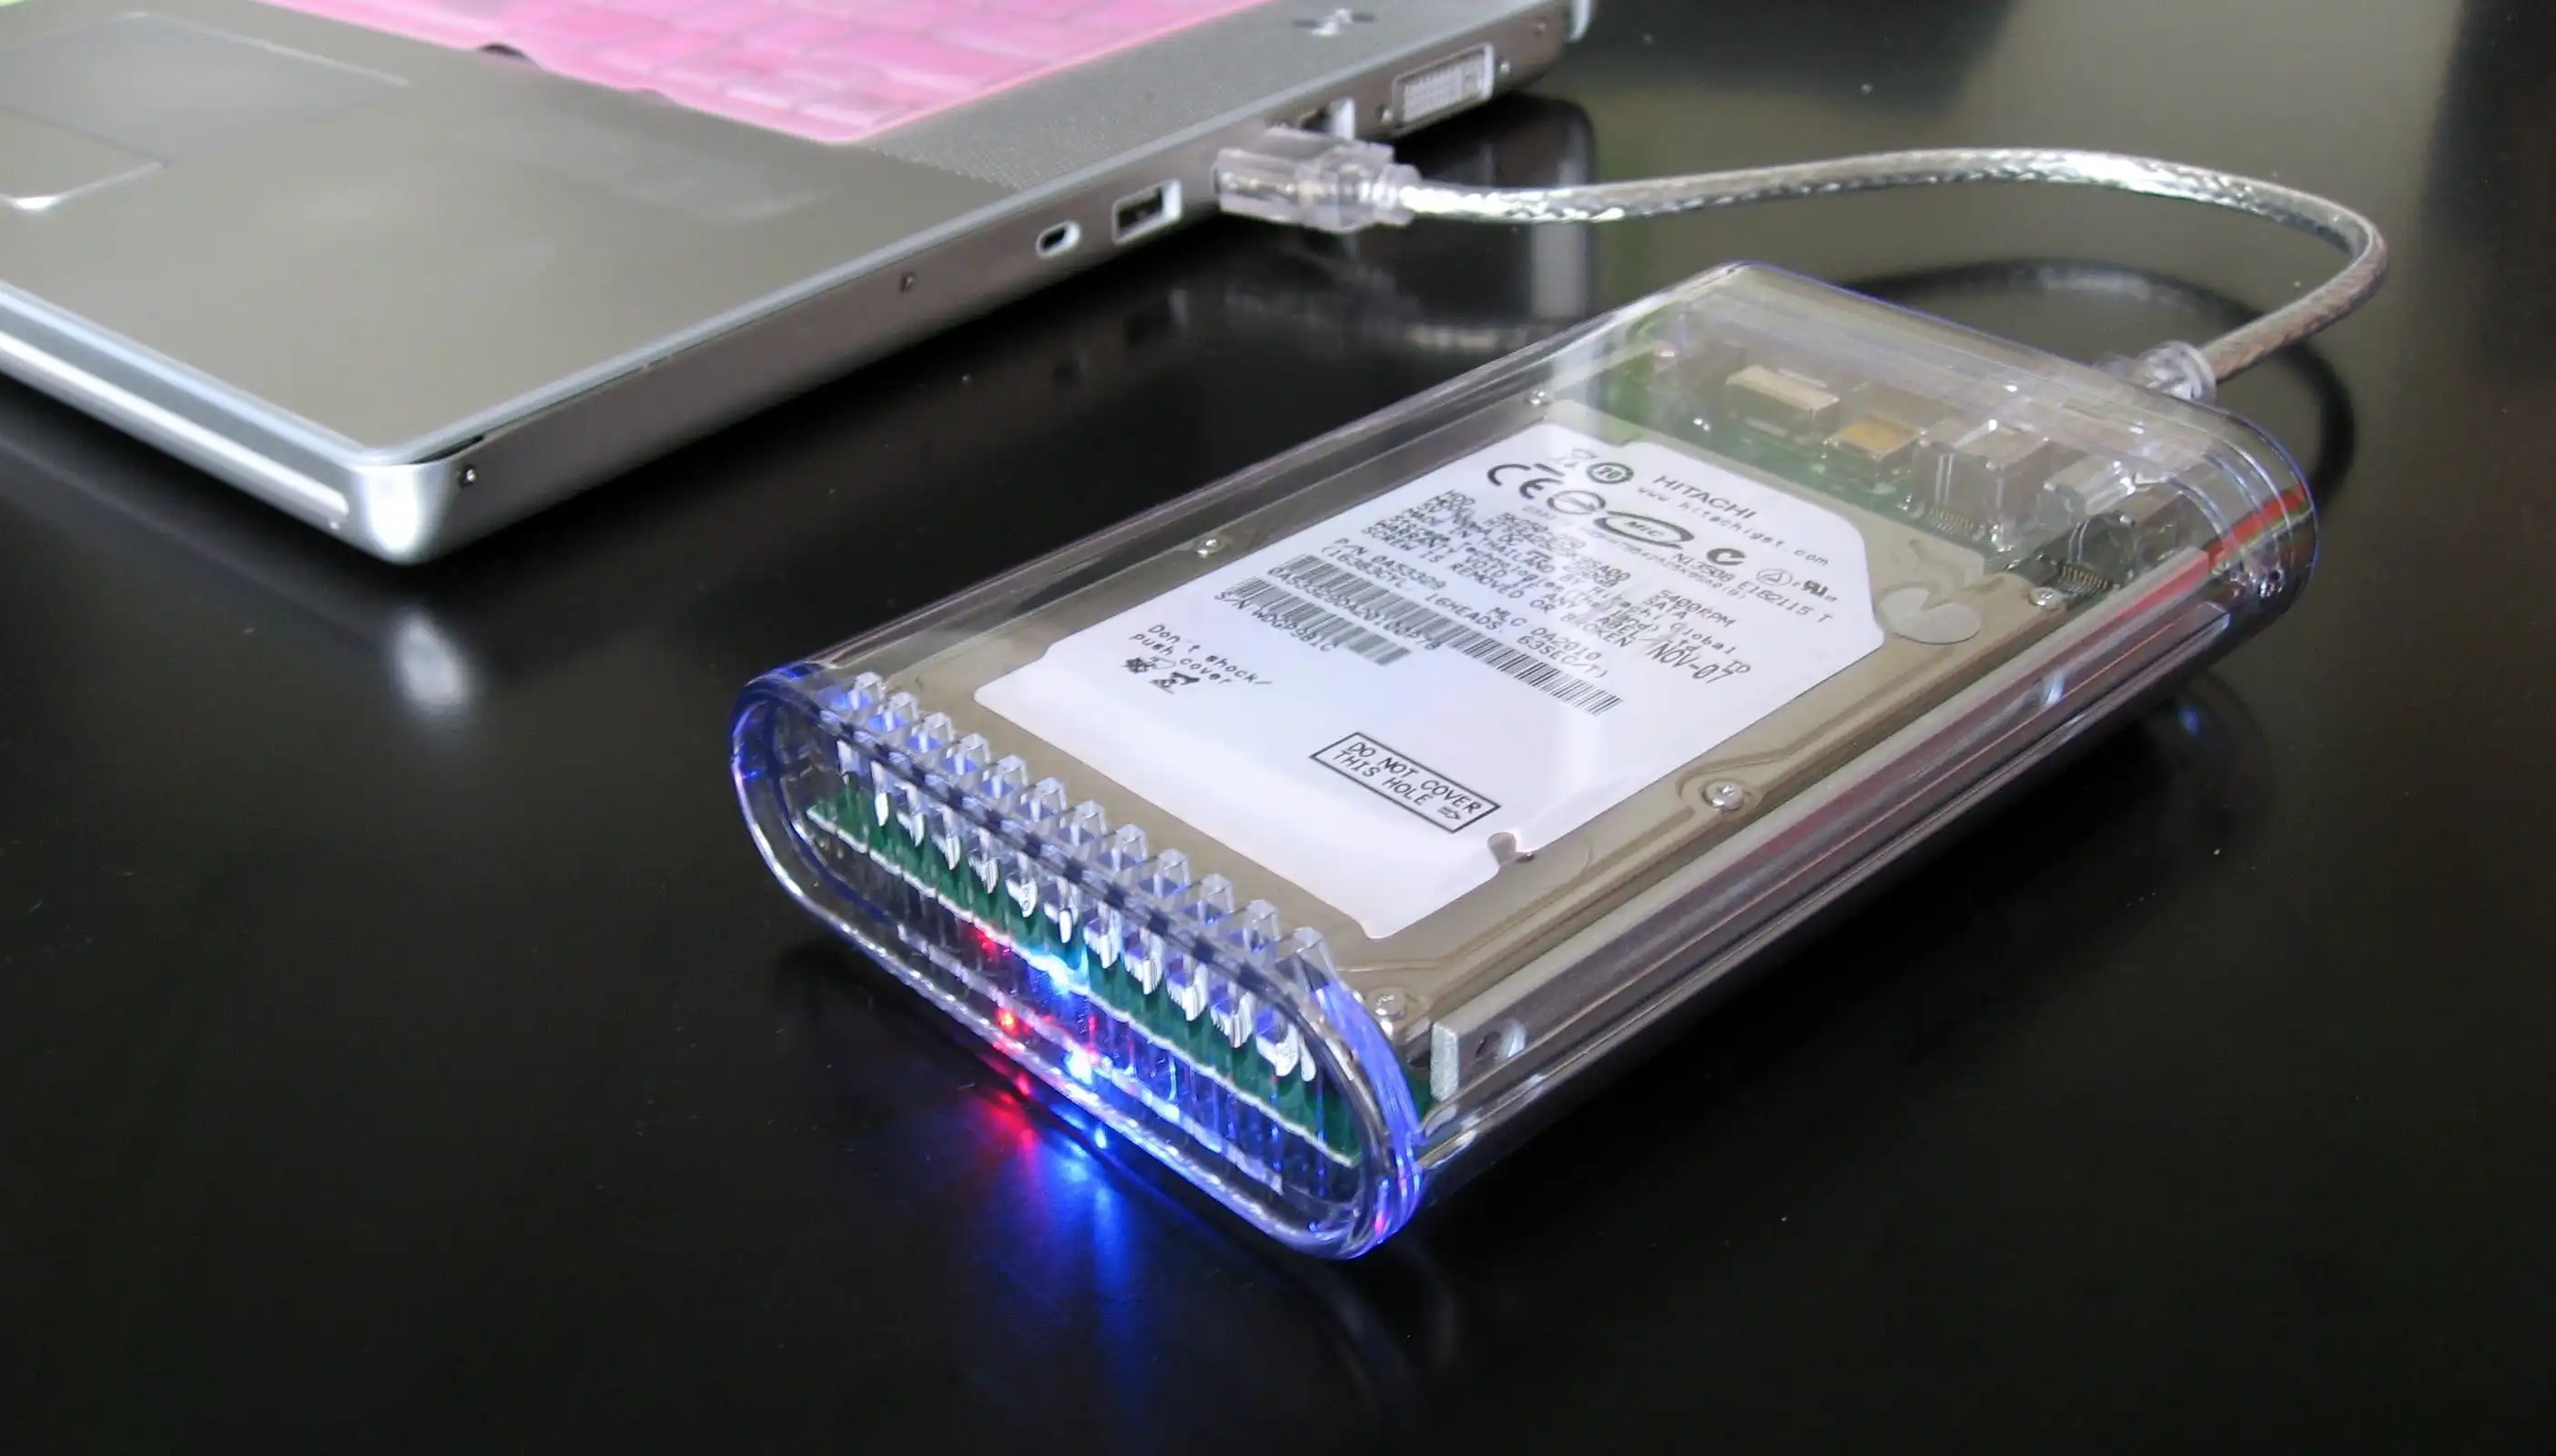
- Connection Cables or Enclosure: Depending on your computer’s hardware, you may need connection cables or an external enclosure to connect the new SSD to your computer during the cloning process. Ensure that you have the necessary cables or enclosure compatible with your SSD and computer interface (e.g., SATA or USB).
- Backup Storage: Before you proceed with making your SSD the boot drive, it’s crucial to have a backup of all your important files. This backup will serve as a safety net in case anything goes wrong during the cloning process.
- Basic Tools: Some computers may require basic tools, such as screwdrivers, to access the hard drive bay. Check your computer’s manual or online resources to determine if any tools are needed for the installation process.
- Patience and Care: Finally, the process of making your SSD the boot drive requires patience and attention to detail. Make sure you allocate enough time to complete the process without rushing. Take care when handling the SSD and following the steps to avoid any damage to your hardware.
By gathering all the necessary supplies and ensuring you have everything on hand, you’ll be well-prepared to make your SSD the boot drive and experience the performance benefits it brings.
Step 1: Back up Your Data
Before you begin the process of making your SSD the boot drive, it’s crucial to back up all your important data. This ensures that your files are safe and can be easily restored in case of any issues or errors during the cloning process. Here’s how you can back up your data:
- Identify Important Files: Take some time to identify the files and folders that are essential to you. These may include documents, photos, videos, music, and any other personal or work-related files.
- Choose Your Backup Method: There are several ways you can back up your data. You can use an external hard drive, a USB flash drive, cloud storage services like Google Drive or Dropbox, or backup software like Mac Time Machine or Windows Backup and Restore.
- Create a Backup Plan: Determine how often you want to back up your data. It’s recommended to have regular backups to ensure your latest files are always protected. You can set up automatic backups or manually perform them at suitable intervals.
- Initiate the Backup Process: Follow the instructions specific to your chosen backup method to initiate the backup process. This may involve connecting an external storage device, selecting the files and folders to be backed up, and initiating the backup operation.
- Verify the Backup: Once the backup process is complete, it’s essential to verify that your files have been successfully backed up. Open a few random files to ensure they can be accessed and appear intact.
By completing this first step of backing up your data, you ensure that your important files are protected throughout the process of making your SSD the boot drive. In the event that any unforeseen issues arise, you can restore your data from the backup with ease. Now that your data is secured, you’re ready to move on to the next step: cloning your existing hard drive to the SSD.
Step 2: Clone Your Existing Hard Drive to the SSD
Now that you have backed up your data, it’s time to clone your existing hard drive to the SSD. Cloning allows you to transfer all the data, including the operating system, applications, and files, from your current hard drive to the new SSD. Here’s how you can clone your hard drive to the SSD:
- Ensure Sufficient Space on the SSD: Make sure that the capacity of the SSD is equal to or greater than the used space on your current hard drive. This ensures that all the files can be successfully transferred.
- Connect the SSD: Depending on your computer and the SSD interface, connect the SSD using the appropriate cables or place it in an external enclosure.
- Run the Cloning Software: Open the cloning software you have installed and follow the instructions provided. Select the option to clone your hard drive to the connected SSD.
- Select Source and Destination Drives: In the cloning software, select your current hard drive as the source drive and the SSD as the destination drive. Double-check the drive letters to ensure you are cloning from the correct drive to the SSD.
- Adjust Partition Sizes (optional): Depending on the cloning software you are using, you may have the option to adjust partition sizes on the destination SSD. If needed, resize the partitions to match your preferences or the capacity of the SSD.
- Start the Cloning Process: Once you have configured the source and destination drives, start the cloning process. The time it takes to complete will depend on the amount of data being cloned, so be patient and avoid interrupting the process.
- Verify the Cloning Process: After the cloning process is complete, verify that the data has been successfully transferred to the SSD. Check that the files and folders are intact and accessible on the SSD.
By following these steps, you can clone your existing hard drive to the SSD, ensuring that all your operating system files, applications, and personal data are transferred. Once the cloning is completed and verified, you can proceed to the next step: swapping the old hard drive with the SSD.
Step 3: Swap the Old Hard Drive with the SSD
With the cloning process complete, it’s time to physically swap the old hard drive with the newly cloned SSD. Follow the steps below to ensure a smooth transition:
- Power Off Your Computer: Shut down your computer completely and unplug it from the power source. This step is crucial to prevent any electrical accidents or damage to the hardware.
- Locate and Access the Hard Drive Bay: Depending on your computer’s model, you may need to remove a side panel or access a specific compartment to reach the hard drive bay. Refer to your computer’s manual or search online resources for the specific instructions for your machine.
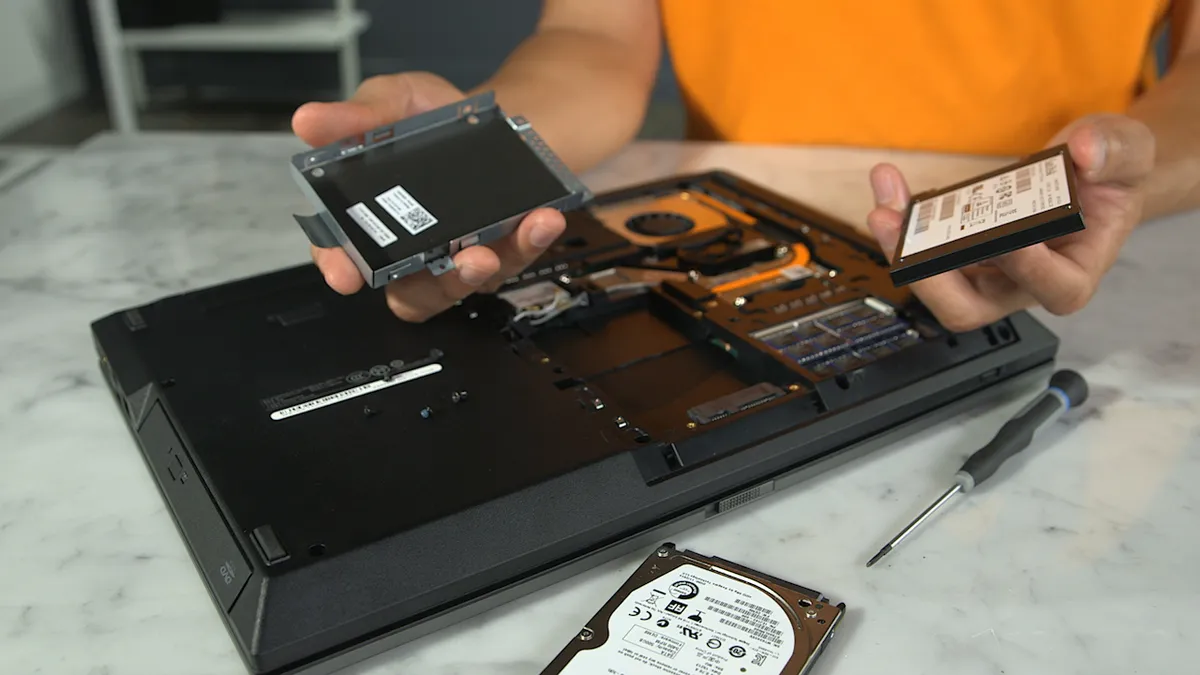
- Remove the Old Hard Drive: Carefully disconnect the cables connected to the old hard drive, including the power and data cables. If the hard drive is secured with screws or brackets, remove them to release the old hard drive from its slot.
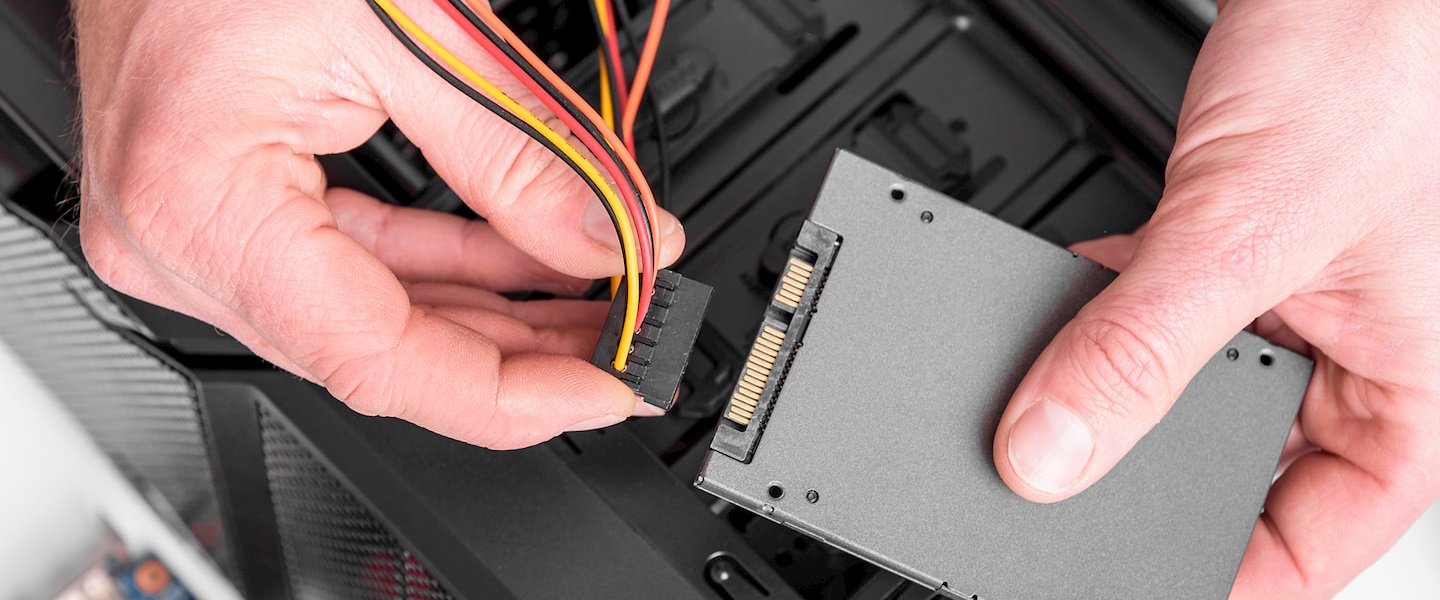
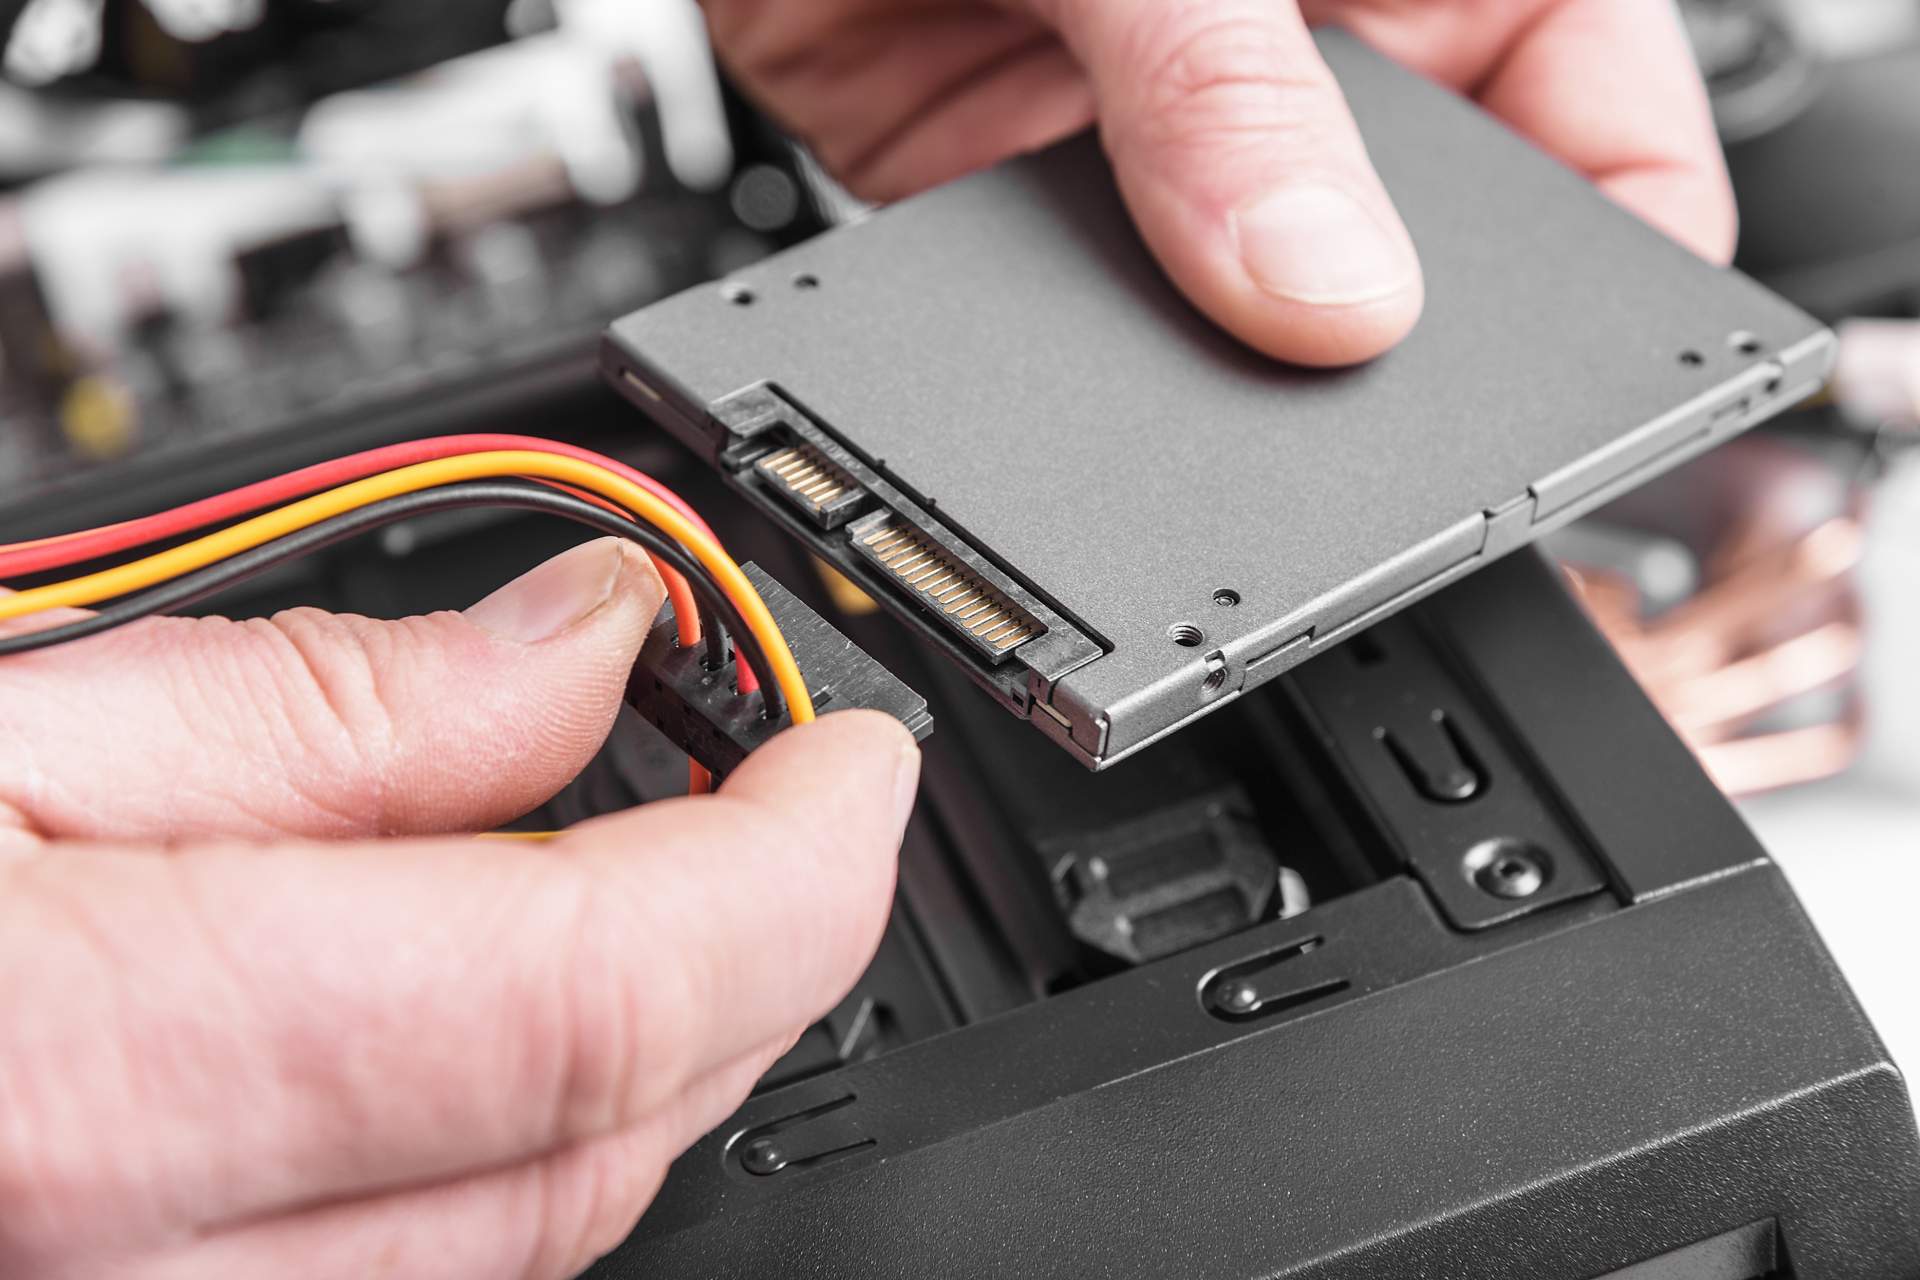
- Insert the SSD: Gently slide the SSD into the empty slot, making sure it is properly aligned with the connector pins or SATA interface on the motherboard. Secure the SSD in place using any screws or brackets that were removed from the old hard drive.
- Connect Cables to the SSD: Attach the power and data cables to the SSD, ensuring they are firmly connected. Take care not to force the connections and use gentle, even pressure when connecting the cables.
- Close Up the Computer Case: Once the SSD is securely connected, close up the computer case and reattach any removed panels or covers. Ensure that everything is properly aligned and in place before you secure the case with screws.
With the old hard drive successfully replaced by the SSD, you are one step closer to making it the boot drive. The final steps involve changing the boot order in the BIOS and verifying that the SSD is set as the new boot drive which will be covered in the next section.
Step 4: Change the Boot Order in BIOS
Now that you have physically installed the SSD in your computer, you need to change the boot order in the BIOS to prioritize the SSD as the primary boot drive. Here’s how you can modify the boot order:
- Access BIOS: Start your computer and enter the BIOS setup by pressing the designated key during the boot process. The key to access the BIOS setup may vary depending on your computer’s manufacturer, but commonly used keys are F2, Del, or Esc. Refer to your computer’s manual or search online resources for the specific key.
- Navigate to the Boot Menu: Once inside the BIOS setup, navigate to the Boot menu using the arrow keys on your keyboard. Different BIOS interfaces may have variations in menu names and navigation, but you should be able to locate the boot-related settings.
- Modify the Boot Order: Within the Boot menu, you will see a list of boot devices. Locate the entry for your SSD and move it to the top of the boot order. This ensures that the system looks for the operating system on the SSD first. Use the designated keys listed on the BIOS interface to modify the boot order (such as the “+” or “-” keys) or refer to the user manual for instructions.
- Save and Exit: Once you have adjusted the boot order to prioritize the SSD, save the changes and exit the BIOS setup. Follow the instructions provided on the screen to save the changes and restart your computer.
By changing the boot order in the BIOS and placing the SSD at the top, you effectively make it the primary boot drive for your computer. Now, it’s time to move on to the final step and verify that the SSD is indeed the new boot drive.
Step 5: Verify the SSD is the New Boot Drive
After changing the boot order in the BIOS, it’s important to verify that the SSD is successfully recognized as the new boot drive. Here’s how you can confirm that the SSD is the primary boot drive for your computer:
- Restart Your Computer: Save any open files and restart your computer to initiate the boot process. Pay close attention to the startup screen or any messages that appear during the boot process.
- Check for SSD Detection: As your computer starts up, watch for any indications that the SSD is being detected as the primary boot drive. Look for messages like “Booting from SSD” or similar indications that confirm the SSD is recognized.
- Monitor Boot Speed: Notice the boot speed of your computer. If the SSD is successfully set as the boot drive, you should experience significantly faster boot times compared to using a traditional hard drive.
- Confirm Operating System Load: Once your computer finishes booting, ensure that the operating system loads and that you can access all your files and applications without any issues. This confirms that the SSD is functioning as the new boot drive.
- Verify Drive Labels: If needed, check the drive labels or properties within your computer’s operating system to confirm that the SSD is indeed identified as the primary boot drive. This can be done in the Disk Management utility on Windows or the Disk Utility on macOS.
By following these steps, you can verify that the SSD is successfully set as the new boot drive. Enjoy the improved performance and faster system responsiveness that comes with having your operating system and applications stored on the SSD.
Conclusion
Congratulations! You have successfully made your SSD the boot drive for your computer. By following the steps outlined in this guide, you have significantly improved the performance and speed of your system. Here’s a quick recap of what you’ve accomplished:
- You learned why making your SSD the boot drive is crucial for enhanced performance, faster boot times, and improved overall system responsiveness.
- You gathered the necessary materials, including an SSD, cloning software, connection cables or enclosure, backup storage, and basic tools.
- You backed up your important data to ensure its safety during the cloning process.
- You cloned your existing hard drive to the SSD, transferring all the necessary files, operating system, and applications.
- You physically installed the SSD in your computer, replacing the old hard drive.
- You changed the boot order in the BIOS, prioritizing the SSD as the primary boot drive.
- You verified that the SSD is successfully recognized as the new boot drive.
Enjoy the benefits that come with having your operating system and applications stored on the SSD. Experience faster boot times, quicker application launches, and improved overall system performance. You can now enjoy a more responsive computer that enhances productivity and efficiency.
Remember to keep your old hard drive as a backup or repurpose it for added storage capacity. Regularly back up your data and perform necessary maintenance to keep your SSD and computer running optimally.
Thank you for following this guide! If you have any further questions or need assistance, feel free to consult the relevant resources or seek help from technical experts. Embrace the power of your new SSD boot drive and enjoy a faster and more efficient computing experience!