Introduction
Welcome to the world of portable SSDs! If you’re looking to install an operating system (OS) on a portable SSD, you’ve come to the right place. This guide will help you navigate the process step by step, ensuring a smooth experience and a high-performing OS on your portable storage device.
Portable SSDs have become increasingly popular due to their compact design, high storage capacity, and lightning-fast speeds. Installing an OS on a portable SSD offers several advantages, including portability, versatility, and the ability to carry your operating system with you wherever you go.
Whether you want to create a portable workstation, have a secondary OS for troubleshooting or testing purposes, or simply want to enjoy the benefits of a faster OS, installing an OS on a portable SSD can be a game-changer. From Windows to macOS to Linux, you have the freedom to choose the operating system that suits your needs and preferences.
In this guide, we will walk you through the process of installing an OS on a portable SSD, highlighting the key steps and considerations along the way. You don’t need to be a tech wizard to follow this guide – we will provide easy-to-understand instructions and explanations to ensure a successful installation.
Before we dive into the installation process, let’s take a look at the prerequisites to ensure you have everything you need. So, grab your portable SSD, get ready to dive into the world of portable OS installations, and let’s get started!
Prerequisites
Before you begin the installation process, make sure you have the following items ready:
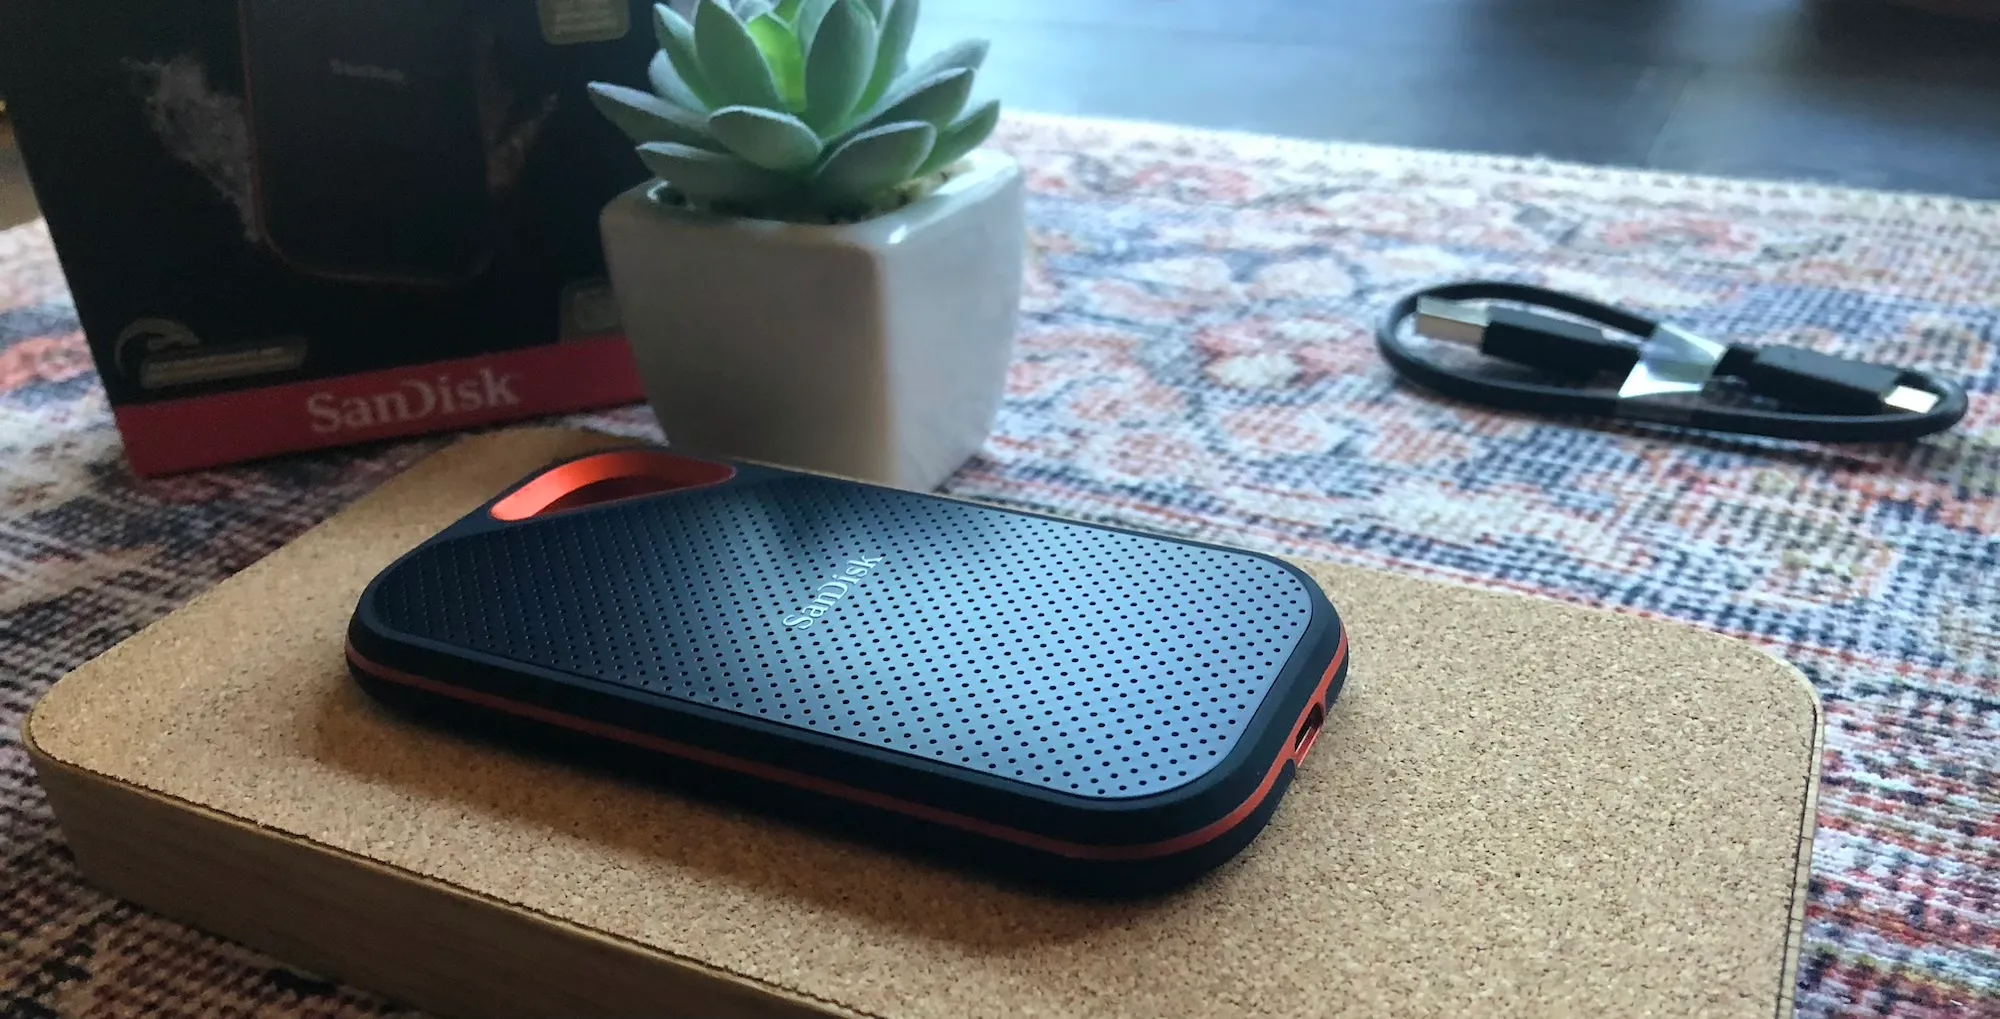
- A portable SSD: Choose a portable SSD with enough storage capacity to accommodate the operating system you plan to install. Ensure that the portable SSD is compatible with your device and has a high transfer speed for optimal performance.
- A computer or laptop: You will need a computer or laptop with a USB port to perform the installation process. Make sure your device meets the minimum system requirements for the operating system you plan to install.
- A bootable USB drive: You will need a USB drive to create a bootable installer for the operating system. The USB drive should have sufficient storage capacity and should be formatted correctly.
- The operating system installation files: Obtain the installation files for the operating system you want to install. This can be in the form of a disk image file (ISO, DMG) or a physical installation disk.
- An internet connection: Some operating systems may require an internet connection during the installation process to download updates or additional drivers. Ensure that your computer has a stable internet connection before proceeding.
Once you have gathered all the necessary items, you are ready to proceed with the installation process. It’s always a good idea to back up any important data on your computer or laptop before proceeding with the installation to prevent data loss in case of any unforeseen issues.
Now that you have an understanding of the prerequisites, let’s move on to the next step: choosing the right portable SSD for your installation.
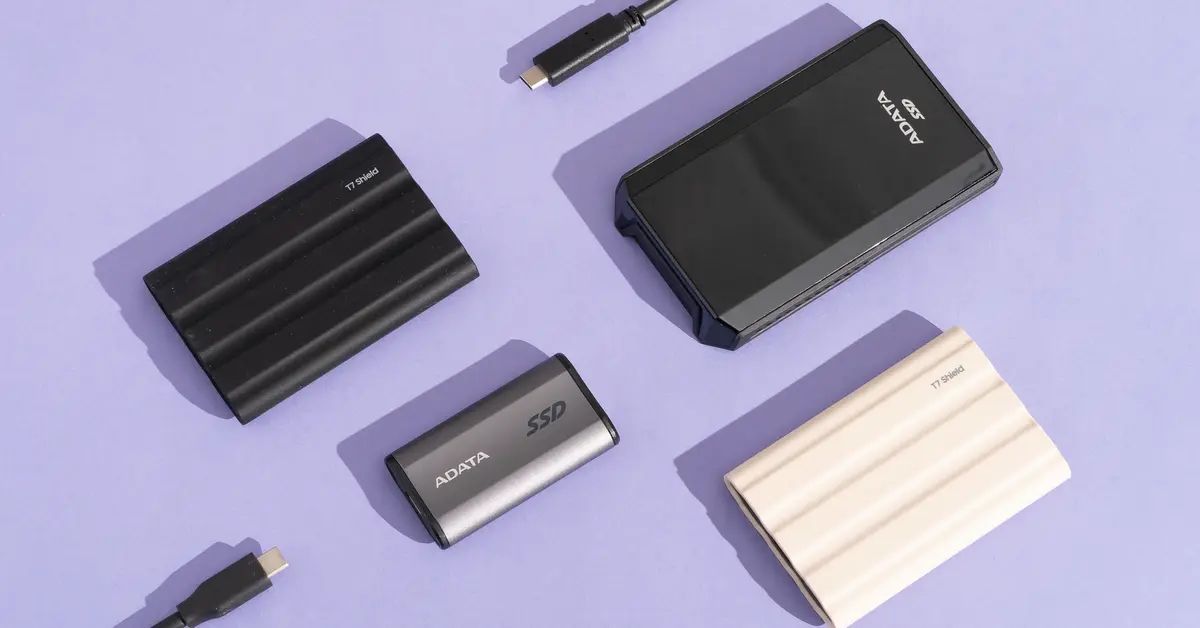
Step 1: Choosing the Right Portable SSD
Choosing the right portable SSD is crucial for a successful OS installation. Here are some key factors to consider when selecting a portable SSD:
- Storage Capacity: Determine the amount of storage you need for your operating system and any additional files or applications you plan to install. Portable SSDs come in various storage capacities, so choose one that suits your requirements.
- Transfer Speed: Look for a portable SSD with a high transfer speed to ensure fast data access and smooth system performance. SSDs with USB 3.0 or Thunderbolt connectivity are recommended for optimal speed.
- Compatibility: Ensure that the portable SSD you choose is compatible with your computer or laptop. Check the operating system requirements and the compatibility of the SSD with your device’s USB ports or connectivity options.
- Reliability: Look for portable SSDs from reputable brands known for their reliability and durability. Read customer reviews and ratings to get an idea of the product’s performance and longevity.
- Form Factor: Consider the physical form factor of the portable SSD. If you want a truly portable option, look for compact and lightweight SSDs that are easy to carry and store.
Once you have identified the portable SSD that meets your requirements, make sure to purchase it from a trusted retailer or manufacturer. It’s important to rely on genuine products to ensure the best performance and longevity.
In the next step, we will discuss how to format the portable SSD to prepare it for the OS installation process. So, let’s move on to Step 2: Formatting the Portable SSD!
Step 2: Formatting the Portable SSD
Before you can install the operating system on your portable SSD, it’s important to format the drive correctly. Follow these steps to format the portable SSD:
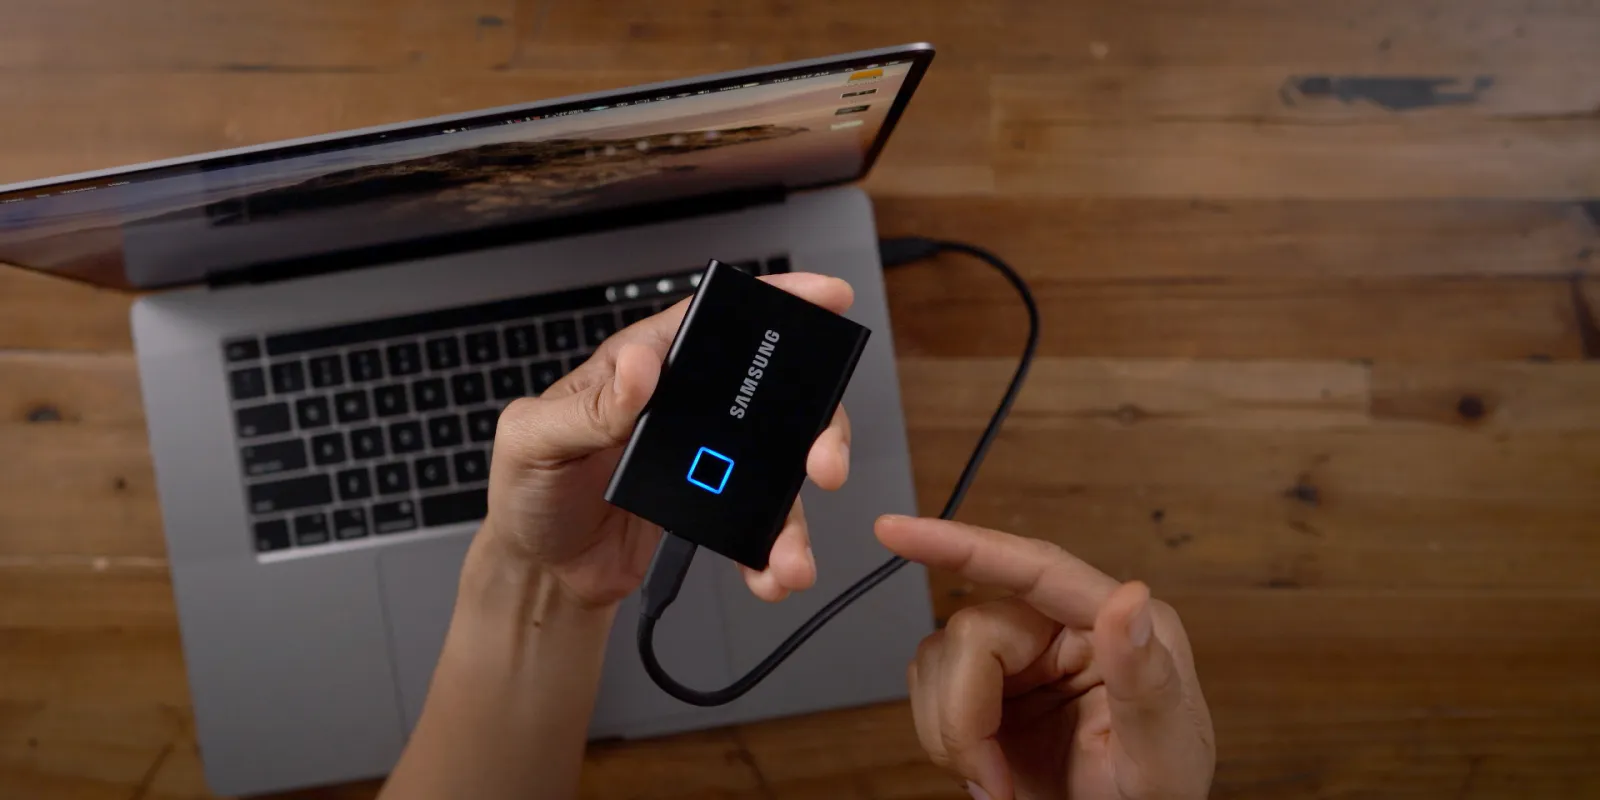
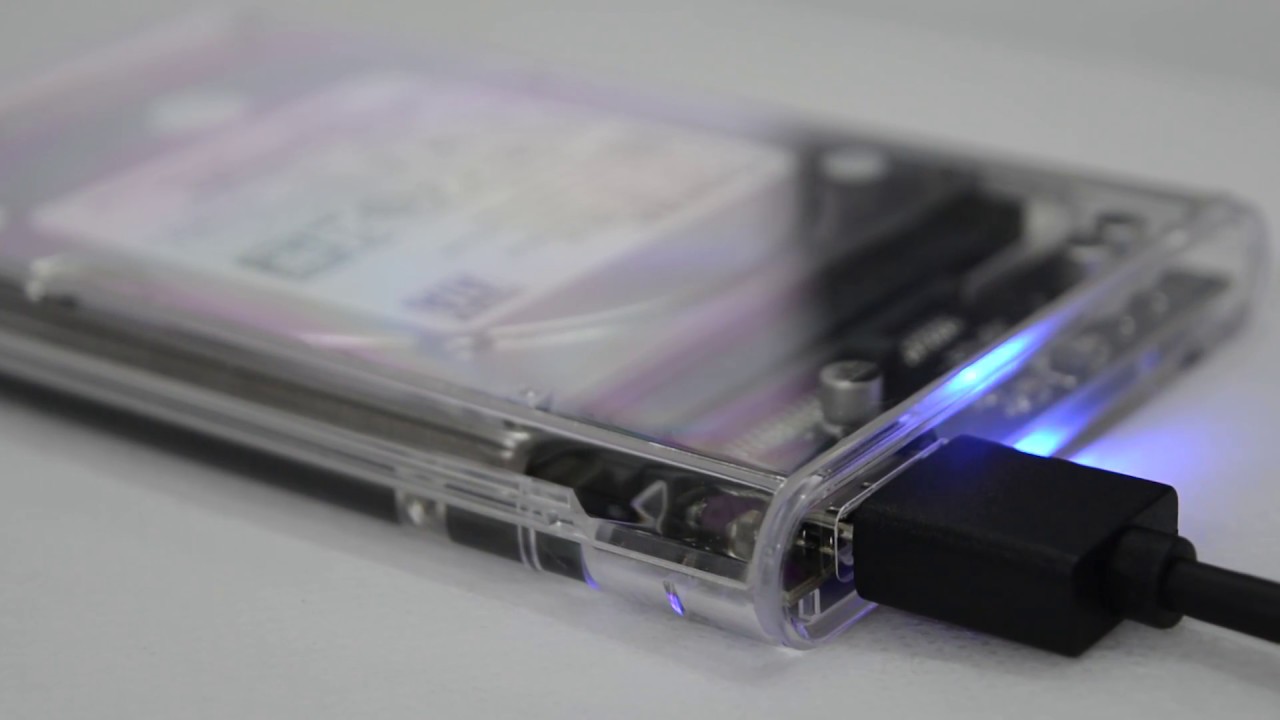
- Connect the Portable SSD: Plug the portable SSD into one of the USB ports on your computer or laptop. Ensure that the drive is detected and recognized by your device.
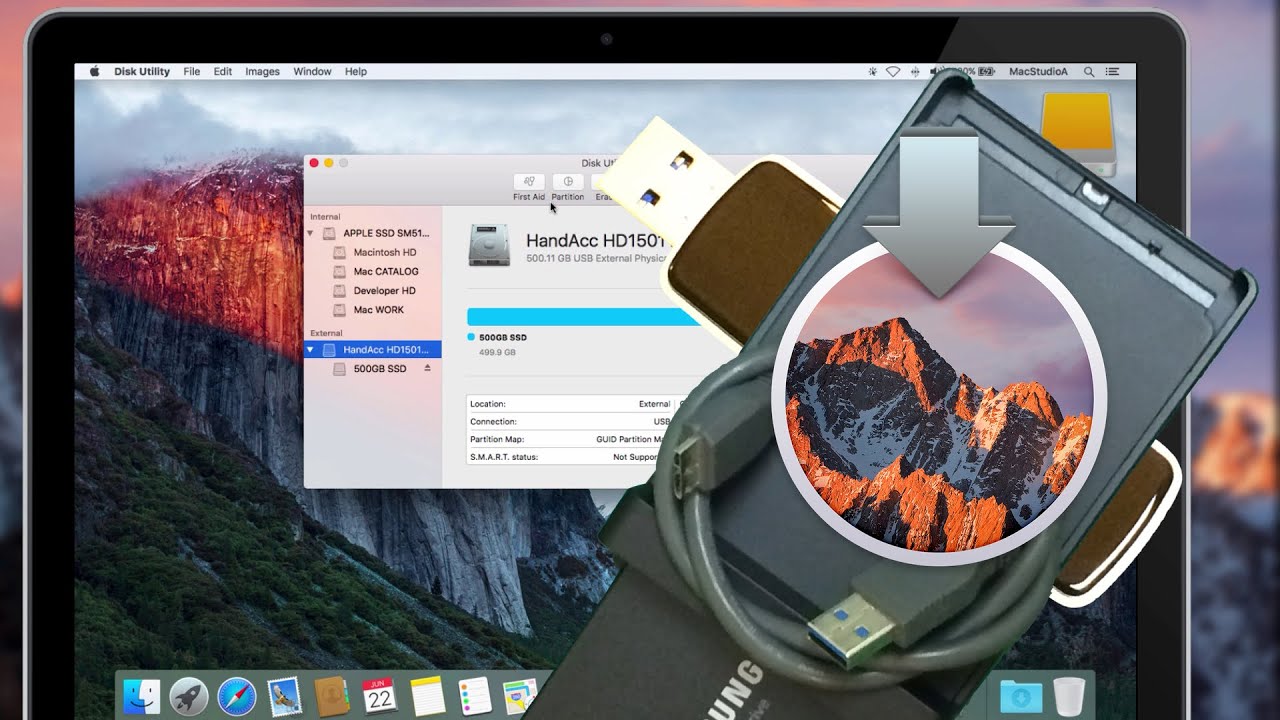
- Open Disk Management: On Windows, you can access the Disk Management tool by right-clicking on the Start button and selecting “Disk Management.” On macOS, open the “Disk Utility” application from the Applications > Utilities folder.
- Select the Portable SSD: In the Disk Management or Disk Utility window, locate the portable SSD from the list of available drives. Be cautious and double-check the drive letter or name to avoid formatting the wrong drive.
- Format the Drive: Right-click on the portable SSD (Windows) or click on the “Erase” button (macOS) to format the drive. Choose a compatible file system (NTFS for Windows, APFS or Mac OS Extended (Journaled) for macOS) and provide a name for the drive.
- Confirm the Formatting: Review the formatting settings and click on the “Format” or “Erase” button to begin the formatting process. This will erase all data on the portable SSD, so make sure you have backed up any important files beforehand.
- Wait for the Formatting to Complete: The formatting process may take some time, depending on the size of the portable SSD. Once the formatting is complete, you will receive a confirmation message.
After formatting the portable SSD, it will be ready to receive the operating system installation files. In the next step, we will discuss how to create a bootable USB drive to install the operating system. So, let’s move on to Step 3: Creating a Bootable USB Drive!
Step 3: Creating a Bootable USB Drive
Creating a bootable USB drive is an essential step in installing an operating system on your portable SSD. Follow these steps to create a bootable USB drive:
- Obtain the Operating System Installation Files: Ensure that you have the installation files for the operating system you plan to install. These files can be in the form of an ISO image, DMG file, or physical installation disk.
- Download a Bootable USB Creation Tool: Depending on your operating system, there are several tools available that can help create a bootable USB drive. Some popular options include Rufus (for Windows), BalenaEtcher (for Windows, macOS, and Linux), and UNetbootin (for Windows and Linux).
- Connect the USB Drive: Plug the USB drive into one of the USB ports on your computer or laptop. Make sure the USB drive has sufficient storage capacity to accommodate the operating system files.
- Launch the Bootable USB Creation Tool: Open the bootable USB creation tool you downloaded in the previous step. Follow the on-screen instructions to select the operating system installation files and the USB drive as the destination.
- Create the Bootable USB Drive: Click on the “Create” or “Start” button in the bootable USB creation tool to begin the process. The tool will copy the necessary files onto the USB drive and make it bootable.
- Wait for the Process to Complete: The creation process may take some time, depending on the size of the operating system files and the speed of your USB drive. Once the process is complete, you will receive a confirmation message.
With the bootable USB drive ready, you’re one step closer to installing the operating system on your portable SSD. In the next step, we will discuss the actual process of installing the operating system. So, let’s move on to Step 4: Installing the Operating System!
Step 4: Installing the Operating System
Now that you have a bootable USB drive, it’s time to proceed with the installation of the operating system on your portable SSD. Follow these steps to install the OS:
- Connect the Portable SSD: Plug the portable SSD into one of the USB ports on your computer or laptop.
- Boot from the USB Drive: Restart your computer or laptop and enter the BIOS settings. Configure the BIOS to boot from the USB drive as the primary boot device.
- Start the OS Installation: Save the BIOS settings and restart your computer or laptop. The system should now boot from the USB drive. Follow the on-screen instructions to start the OS installation process.
- Select the Installation Options: Depending on the operating system, you may be prompted to select installation options such as language, time zone, and keyboard layout. Make your selections as per your preferences.
- Choose the Portable SSD as the Installation Destination: During the installation process, you will be prompted to select the destination drive for the operating system. Choose the portable SSD as the installation destination.
- Follow the Installation Wizard: Proceed with the installation by following the prompts and instructions provided by the installation wizard. This may involve accepting license agreements, creating user accounts, and configuring system settings.
- Wait for the Installation to Complete: The installation process may take some time, depending on the operating system and the speed of your computer. Once the installation is complete, you will be notified.
Congratulations! You have successfully installed the operating system on your portable SSD. In the next step, we will discuss how to configure the portable SSD as the boot drive. So, let’s move on to Step 5: Configuring the Portable SSD as the Boot Drive!
Step 5: Configuring the Portable SSD as the Boot Drive
Once the operating system is installed on your portable SSD, you need to configure it as the boot drive to ensure that your computer or laptop starts up from the portable SSD. Follow these steps to configure the portable SSD as the boot drive:
- Restart your Computer: Save any open files or documents and restart your computer or laptop.
- Access the BIOS Settings: During the startup process, you need to enter the BIOS settings. The key to access the BIOS may vary depending on your device’s manufacturer. It is usually displayed on the startup screen or mentioned in the user manual.
- Navigate to the Boot Options: Once you are in the BIOS settings, navigate to the section that contains the boot options. This section may be labeled as “Boot,” “Boot Order,” or “Boot Priority.”
- Change the Boot Order: In the boot options, rearrange the boot order so that the portable SSD is prioritized over other boot devices, such as the internal hard drive or USB drives. Save the changes and exit the BIOS settings.
- Restart your Computer: Once you have saved the changes in the BIOS settings, restart your computer. The system will now boot from the portable SSD as the primary boot device.
- Verify the Boot Drive: After restarting, check if the computer or laptop is booting from the portable SSD. You can do this by confirming that the operating system loads from the portable SSD and not from any other drive.
By configuring the portable SSD as the boot drive, your computer or laptop will start up directly from the operating system installed on the portable SSD. This allows you to enjoy faster boot times and the convenience of carrying your OS with you wherever you go.
With the portable SSD now configured as the boot drive, you have successfully completed the installation process! You can now enjoy the benefits of having an OS installed on your portable storage device. Safe travels and happy computing!
Conclusion
Congratulations on successfully installing an operating system on your portable SSD! By following the steps outlined in this guide, you have unlocked the potential of portable computing and can now enjoy the benefits of a high-performing OS on the go.
Having an OS installed on a portable SSD offers flexibility, portability, and the ability to carry your personalized computing environment wherever you need it. Whether you’re a digital nomad, a student, or a professional on the move, having your operating system in your pocket gives you the freedom to work and play without limitations.
From choosing the right portable SSD to formatting it, creating a bootable USB drive, installing the OS, and configuring it as the boot drive, every step in the process is crucial to ensure a smooth and successful installation. Paying attention to details, following the instructions, and being cautious will help you avoid common pitfalls and enjoy a seamless experience.
Remember, before you start the installation process, back up any important data on your computer or laptop to prevent data loss. Additionally, make sure to always use genuine installation files and rely on reputable retailers or manufacturers when purchasing your portable SSD.
Now that you have completed the installation process, you can benefit from the advantages of a portable OS. Enjoy the speed, versatility, and convenience of having your operating system with you wherever you go.
Thank you for joining us on this journey of installing an OS on a portable SSD. We hope this guide has been informative and helpful to you. Happy computing!