Introduction
Welcome to our guide on how to format the Samsung Portable SSD T7 for Mac. If you’ve recently purchased this sleek and high-performance portable SSD, it’s essential to format it correctly to ensure compatibility with your Mac. By formatting the SSD, you can optimize its performance, allocate the appropriate file system, and customize its volume name to suit your preferences. Whether you plan to use the SSD for storing files, transferring data, or running macOS applications, a proper format is crucial.
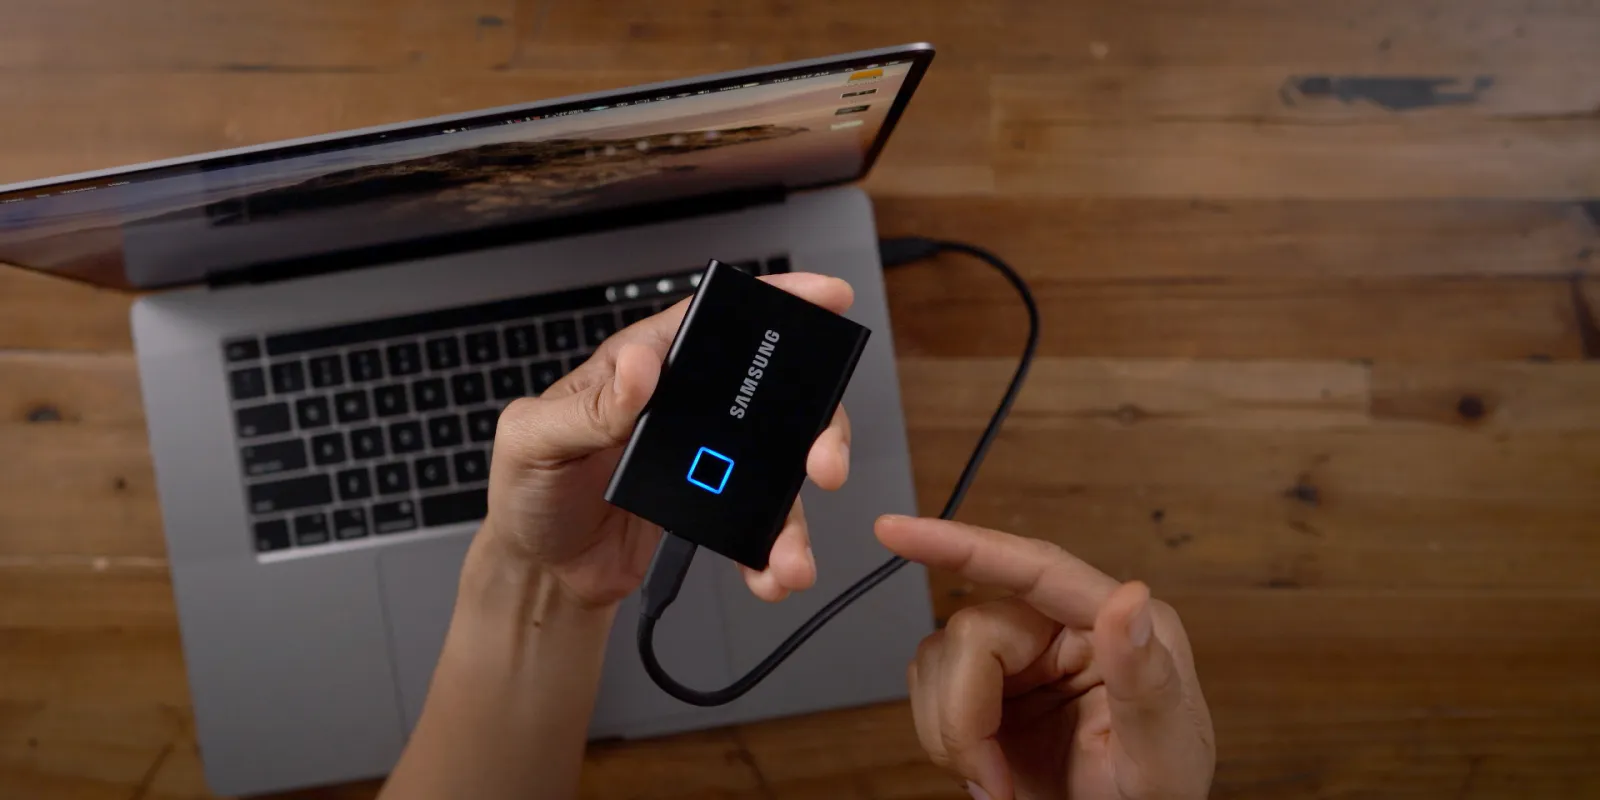
The Samsung Portable SSD T7 offers blazing-fast transfer speeds, robust encryption, and a compact design, making it an ideal choice for Mac users on the go. However, out of the box, the SSD is pre-formatted in the exFAT file system, which is compatible with both Mac and Windows systems. While exFAT works well, formatting the SSD specifically for Mac can optimize its performance for macOS tasks and ensure seamless integration with your Mac environment.
In this step-by-step guide, we will walk you through the process of formatting your Samsung Portable SSD T7 for Mac. You don’t need any technical expertise, as the process is simple and straightforward. All you need is your Mac, the Samsung Portable SSD software, and a few minutes of your time. So, let’s dive in and get your SSD formatted to unleash its full potential on your Mac.
Step 1: Install Samsung Portable SSD Software for Mac
The first step in formatting your Samsung Portable SSD T7 for Mac is to install the necessary software. Samsung provides dedicated software that allows you to manage and optimize the performance of your SSD.
To begin, navigate to the official Samsung website and locate the support section. Look for the software download page specifically designed for Mac users. Once you find it, click on the download link to start downloading the software package.
Once the download is complete, locate the downloaded file and double-click to launch the installation process. Follow the on-screen instructions to install the Samsung Portable SSD software on your Mac. Make sure to agree to the terms and conditions and select the appropriate installation settings for your system.
After the installation is complete, you can find the Samsung Portable SSD software in your Applications folder. You can either launch it from there or add it to your Dock for quick access in the future.
It’s important to keep the Samsung Portable SSD software updated to ensure compatibility and access to the latest features. Periodically check for software updates on the Samsung website or use the software’s built-in update feature to keep it up to date.
With the Samsung Portable SSD software installed on your Mac, you’re now ready to proceed to the next step, which is connecting your Samsung Portable SSD T7 to your Mac.
Step 2: Connect Samsung Portable SSD T7 to your Mac
Now that you have the Samsung Portable SSD software installed on your Mac, it’s time to connect your Samsung Portable SSD T7 to your computer.
Start by grabbing the USB Type-C cable that came with your SSD. Plug one end of the cable into the USB Type-C port on your Mac. Ensure that the USB Type-C port on your Mac supports data transfer, not just power delivery.
Next, take the other end of the cable, which is also a USB Type-C connector, and insert it into the corresponding port on your Samsung Portable SSD T7. Make sure the connection is secure and fully inserted.
Once the SSD is connected to your Mac, you should see a notification or a pop-up window indicating that a new device has been connected. You might also hear a sound indicating a successful connection.
If the SSD is not recognized or you don’t see any notification, there might be a few reasons for this. First, check the cable connection to ensure it’s properly inserted on both ends. If the problem persists, try connecting the SSD to a different USB Type-C port on your Mac or using a different USB Type-C cable.
Once your Samsung Portable SSD T7 is successfully connected to your Mac and recognized by the system, you’re ready to move on to the next step, which involves launching the Samsung Portable SSD software.
Step 3: Launch Samsung Portable SSD Software
After connecting your Samsung Portable SSD T7 to your Mac, it’s time to launch the Samsung Portable SSD software. This software provides a user-friendly interface where you can access various features and settings to manage your SSD.
To launch the Samsung Portable SSD software, navigate to your Applications folder on your Mac. Look for the Samsung Portable SSD software icon and double-click on it to open the application.
Once the software launches, you may be prompted to grant permissions or allow access to certain system resources. Follow the prompts and provide the necessary permissions to ensure the software works seamlessly with your Mac.
After granting permissions, the Samsung Portable SSD software will open, and you will see the main dashboard. This dashboard provides an overview of your SSD’s status, including capacity, model information, and additional details.
Take a moment to familiarize yourself with the different sections and options available in the Samsung Portable SSD software. You’ll find various tabs and menus that allow you to manage your SSD’s performance, security features, and more.
It’s worth noting that the Samsung Portable SSD software is designed specifically for Samsung SSDs and provides additional features and functionalities compared to the native macOS Disk Utility. Therefore, it’s recommended to use the Samsung software for managing your Samsung Portable SSD T7.
Now that you have successfully launched the Samsung Portable SSD software, you’re ready to move on to the next step, which involves selecting the Samsung Portable SSD T7 drive within the software.
Step 4: Select the Samsung Portable SSD T7 Drive
With the Samsung Portable SSD software launched, it’s time to select the Samsung Portable SSD T7 drive within the software. This step ensures that you are working specifically with the connected SSD.
Once you are in the Samsung Portable SSD software interface, you will see a list of available drives displayed. Look for your Samsung Portable SSD T7 drive in the list and click on it to select it.
If you do not see your SSD listed, ensure that the drive is properly connected to your Mac and recognized by the system. You can also try clicking the refresh or rescan button within the software to update the list.
When you have successfully selected your Samsung Portable SSD T7 drive, you will see additional information about the drive displayed on the screen. This may include the drive’s capacity, serial number, firmware version, and more.
It’s important to double-check that you have selected the correct drive before moving forward with the formatting process. Formatting the wrong drive can result in data loss, so exercise caution.
Once you have confirmed that you have selected the appropriate Samsung Portable SSD T7 drive within the software, you’re ready to proceed to the next step, which involves formatting the SSD for Mac.
Step 5: Format Samsung Portable SSD T7 for Mac
Now that you have selected the Samsung Portable SSD T7 drive within the software, it’s time to format the SSD specifically for Mac. Formatting the SSD will ensure compatibility and optimize its performance with macOS.
In the Samsung Portable SSD software interface, look for the option to format the drive. This option may be labeled as “Format” or “Mac Format.” Click on this option to begin the formatting process.
Before proceeding with the formatting, keep in mind that formatting will erase all data on the SSD. Make sure you have backed up any important files or data before proceeding.
Once you click on the formatting option, a confirmation prompt might appear, informing you that the formatting process will erase all data. Review the prompt and ensure that you have backed up any necessary data.
If you are sure that you want to proceed with the formatting, confirm your selection to begin the process. The Samsung Portable SSD software will then format the Samsung Portable SSD T7 according to the chosen format settings.
The formatting process may take a few minutes, depending on the size of the SSD. You can monitor the progress within the Samsung Portable SSD software interface. Do not disconnect the SSD or interrupt the formatting process while it is in progress.
Once the formatting is complete, you will receive a notification or a pop-up message indicating that the process was successful. The Samsung Portable SSD T7 is now formatted specifically for Mac, and you can proceed to use it with your Mac.
With the Samsung Portable SSD T7 successfully formatted for Mac, you’re one step closer to leveraging its full potential. Now, you can move on to the next step, which involves choosing a file system for the SSD.
Step 6: Choose a File System for the SSD
After formatting the Samsung Portable SSD T7 for Mac, you have the option to choose a file system for the SSD. The file system is responsible for organizing and managing files on the drive. The two most common file systems for Mac are APFS and Mac OS Extended (also known as HFS+).
The APFS (Apple File System) is the newer file system introduced by Apple and is recommended for modern Mac systems running macOS High Sierra or later. It offers enhanced performance, improved data integrity, and better support for encryption and compression.
On the other hand, Mac OS Extended (HFS+) is the older file system widely compatible with older versions of macOS. If you are using an older Mac with an outdated operating system, this file system may be more suitable for you.
To choose a file system for your Samsung Portable SSD T7, open the Samsung Portable SSD software and navigate to the format options. Within the format options, you should see a dropdown menu or settings allowing you to select the desired file system.
Select the preferred file system (either APFS or Mac OS Extended) from the available options. Take note that once you choose a file system and proceed with the formatting, it cannot be easily changed without reformatting the entire drive.
Consider your specific needs, compatibility requirements, and the macOS version on your Mac when making this decision. If you are unsure, it’s usually safe to choose the default or recommended file system (APFS).
Once you have chosen the file system for your Samsung Portable SSD T7, you’re ready to move on to the next step, which involves customizing the volume name (optional).
Step 7: Customize the Volume Name (Optional)
After choosing the file system for your Samsung Portable SSD T7, you have the option to customize the volume name. The volume name is the label or name assigned to the SSD when it is mounted on your Mac.
Customizing the volume name is optional, but it can be helpful for easily identifying your SSD among other connected drives. It allows you to give your SSD a unique and recognizable name that reflects its purpose or content.
To customize the volume name, open the Samsung Portable SSD software and navigate to the settings or options related to the SSD. Look for an option to change or customize the volume name.
Click on the volume name field and enter your desired name for the SSD. You can use any combination of letters, numbers, and symbols, but avoid using special characters or slashes that might cause compatibility issues.
Make sure to choose a descriptive and memorable name that reflects the purpose of the SSD. For example, you could name it “Work Projects” or “Media Archive” to easily identify the SSD’s contents.
After entering the volume name, double-check for any typos or mistakes. Once you are satisfied with the name, save the changes within the Samsung Portable SSD software.
The customized volume name will now be displayed whenever the Samsung Portable SSD T7 is connected to your Mac. This makes it easier to locate and access your SSD when you have multiple drives connected.
Remember that customizing the volume name is an optional step, and if you prefer to keep the default name or don’t see the need to change it, you can skip this step.
With the volume name customized (if desired), you’re ready to move on to the next step, which involves confirming the formatting process.
Step 8: Confirm the Formatting Process
Before proceeding with the formatting process of your Samsung Portable SSD T7, it is essential to confirm the selected formatting settings. This step ensures that you are aware of the chosen file system, customization options, and any other formatting parameters.
Once you have chosen the desired file system and, if applicable, customized the volume name, carefully review the formatting settings within the Samsung Portable SSD software interface. Check that all the settings align with your preferences and requirements.
Pay close attention to any warning messages or prompts that may indicate the consequences of formatting, such as data loss. Make sure you have backed up any important data on the SSD before proceeding.
If you are satisfied with the formatting settings and are ready to proceed, click on the confirmation or start button within the Samsung Portable SSD software to initiate the formatting process.
At this point, you may be asked to confirm your choice once again, as formatting the SSD will erase all existing data on it. Double-check that you have performed the necessary backups and confirm your decision to proceed.
Once you confirm the formatting process, the Samsung Portable SSD software will begin formatting the drive according to the selected file system and customization options.
During the formatting process, it is important not to interrupt the operation or disconnect the Samsung Portable SSD T7 from your Mac. Doing so may result in data corruption or incomplete formatting.
Depending on the size and speed of the SSD, the formatting process may take a few minutes. You can monitor the progress within the Samsung Portable SSD software interface.
Once the formatting process is complete, you will receive a notification or a pop-up message indicating that the formatting was successful. With the formatting completed, your Samsung Portable SSD T7 is now ready to be used with your Mac in the chosen file system and with any customizations you applied.
With the formatting process confirmed, you can proceed to the next step, which involves waiting for the formatting to complete.
Step 9: Wait for the Formatting to Complete
Once you have confirmed the formatting process of your Samsung Portable SSD T7, it’s time to patiently wait for the process to complete. Formatting a drive can take some time, especially if you have a large capacity SSD.
During the formatting process, it’s crucial to avoid interrupting or disconnecting the Samsung Portable SSD T7 from your Mac. Doing so can lead to data corruption or an incomplete formatting process.
While waiting for the formatting to complete, you can monitor the progress within the Samsung Portable SSD software interface. The software will usually provide an estimated time remaining or a progress bar to keep you informed.
The duration of the formatting process can vary depending on factors such as the size of the SSD, the speed of your Mac, and the chosen file system. It’s normal for the process to take a few minutes or longer.
You can use this time to prepare any additional tasks or organize your workspace. However, make sure you keep a close eye on the formatting progress to ensure that everything is proceeding smoothly.
It’s important not to perform any other resource-intensive tasks or operations on your Mac while the formatting is in progress. This can minimize potential conflicts and ensure optimal performance during the formatting process.
Once the formatting process is complete, you will receive a notification or a pop-up message indicating that the formatting was successful. At this point, you can proceed to the final step, which involves safely ejecting the Samsung Portable SSD T7 from your Mac.
Remember to exercise patience and allow the formatting process to complete uninterrupted. When the formatting is finished, you can move on to the last step with confidence, knowing that your Samsung Portable SSD T7 is now formatted and ready for use with your Mac.
Step 10: Eject the Samsung Portable SSD T7 from your Mac
With the formatting process of your Samsung Portable SSD T7 completed, the final step is to safely eject the SSD from your Mac. This ensures that all read and write operations are finished, and it can be safely removed without any risk of data loss or corruption.
To eject the Samsung Portable SSD T7, locate the drive icon on your Mac’s desktop or in the Finder sidebar. It should have the same name that you assigned during the formatting process.
Right-click (or control-click) on the drive icon and select the “Eject” option from the context menu that appears. Alternatively, you can also drag the drive icon to the Trash bin or click on the Eject button beside the drive’s name in the Finder sidebar.
After issuing the eject command, you will see the drive icon disappear from your desktop or Finder sidebar. This signifies that the Samsung Portable SSD T7 is now safely ejected and can be physically disconnected from your Mac.
It’s important to note that you should not disconnect the SSD while any data transfers or operations are still in progress. Always ensure that the eject process is complete before physically disconnecting the drive.
Once you have safely ejected the Samsung Portable SSD T7, you can unplug the USB Type-C cable from your Mac and the SSD. Store the SSD in a safe place or take it with you, depending on your storage or transportation needs.
By properly ejecting the Samsung Portable SSD T7 from your Mac, you minimize the risk of data loss or damage to the drive. This allows you to use the SSD confidently for your file storage, data transfer, or other tasks.
Congratulations! You have successfully formatted and ejected the Samsung Portable SSD T7 from your Mac. You can now enjoy using your speedy and optimized SSD for your Mac-related needs.
Conclusion
Formatting your Samsung Portable SSD T7 for Mac is a crucial step to ensure optimal performance, compatibility, and organization of your files. By following the step-by-step guide outlined above, you have learned how to format the SSD, choose a file system, customize the volume name, and safely eject it from your Mac.
Through the Samsung Portable SSD software, you were able to configure the formatting settings according to your preferences and requirements. Selecting the appropriate file system, such as APFS or Mac OS Extended, ensures seamless integration with your Mac’s operating system.
Customizing the volume name allows for easy identification of your Samsung Portable SSD T7 among other connected drives. It’s a small but helpful step that can make a big difference in managing your files and workflow.
Throughout the formatting process, it’s crucial to exercise patience and avoid interrupting or disconnecting the SSD. By waiting for the formatting process to complete and safely ejecting the drive, you minimize the risk of data loss or corruption.
With your Samsung Portable SSD T7 formatted for Mac, you can now take advantage of its blazing-fast speeds, robust encryption, and compact design. Whether you use it for storing files, transferring data, or running macOS applications, the properly formatted SSD will enhance your productivity and storage capabilities.
Remember to periodically update the Samsung Portable SSD software to ensure compatibility and access to the latest features. Additionally, always backup your important data to prevent any potential loss during the formatting process.
Now that you have successfully formatted your Samsung Portable SSD T7 for Mac, you’re ready to embark on your digital endeavors with increased speed, efficiency, and peace of mind.