Introduction
Welcome to our comprehensive guide on how to set up Linux on a portable SSD. With the growing popularity of Linux operating systems and the convenience of portable SSDs, combining the two can give you a powerful and flexible computing solution on the go. Whether you’re a Linux enthusiast, a developer, or simply someone looking for a portable and secure operating system, this guide will walk you through the process step-by-step.
Linux offers numerous advantages over other operating systems, including enhanced security, customization options, and a vast array of open-source software. By installing Linux on a portable SSD, you can carry your personalized setup wherever you go, ensuring that you have access to your preferred applications and settings regardless of the computer you’re using. Additionally, using a portable SSD eliminates the need to rely on the limited storage and performance of traditional hard drives.
In this guide, we will cover everything from choosing the right portable SSD to troubleshooting common issues that may arise during the setup process. We understand that everyone has different requirements and preferences, so we will provide general instructions that can be adapted to different Linux distributions.
Before we move into the specifics, it’s important to note that setting up Linux on a portable SSD requires a basic understanding of computer systems and command-line operations. However, even if you’re new to Linux, we will provide clear and detailed instructions to help you along the way.
Now, let’s dive into the exciting world of Linux on a portable SSD and see how you can harness the power of the open-source operating system on the go.
Choosing the Right Portable SSD
When it comes to setting up Linux on a portable SSD, selecting the right SSD is crucial to ensure optimal performance and compatibility. Here are some key factors to consider when choosing a portable SSD:
- Storage Capacity: Determine your storage needs based on the size of the Linux distribution you plan to install and the amount of data you want to store. Portable SSDs typically come in capacities ranging from 250GB to 2TB.
- Interface: Look for an SSD with a USB 3.0 or USB 3.1 Gen 2 interface for faster data transfers. These interfaces offer improved speed and efficiency compared to USB 2.0.
- Speed: Consider the read and write speeds of the portable SSD. Faster speeds will result in quicker boot times and improved overall performance. Look for SSDs with sequential read speeds of at least 500MB/s for a smooth Linux experience.
- Reliability: Opt for SSDs that are built to withstand physical shock, vibration, and temperature variations. Look for models with features like shock resistance and solid-state drive technologies that enhance durability and reliability.
- Brand and Reviews: Research different brands and read reviews from users to gauge the overall quality of the portable SSD. Look for brands that have a reputation for producing reliable and high-performance storage solutions.
- Price: Set a budget and compare prices across different brands and models. While it’s important to find a portable SSD within your budget, prioritize quality and performance over cost savings.
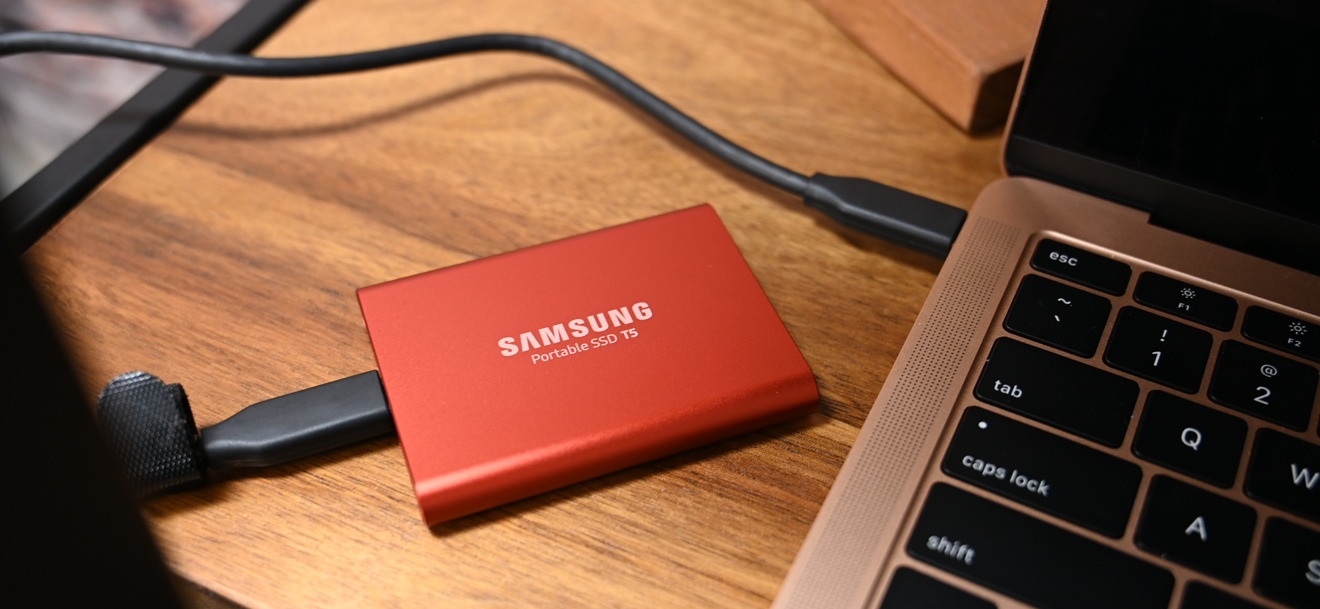
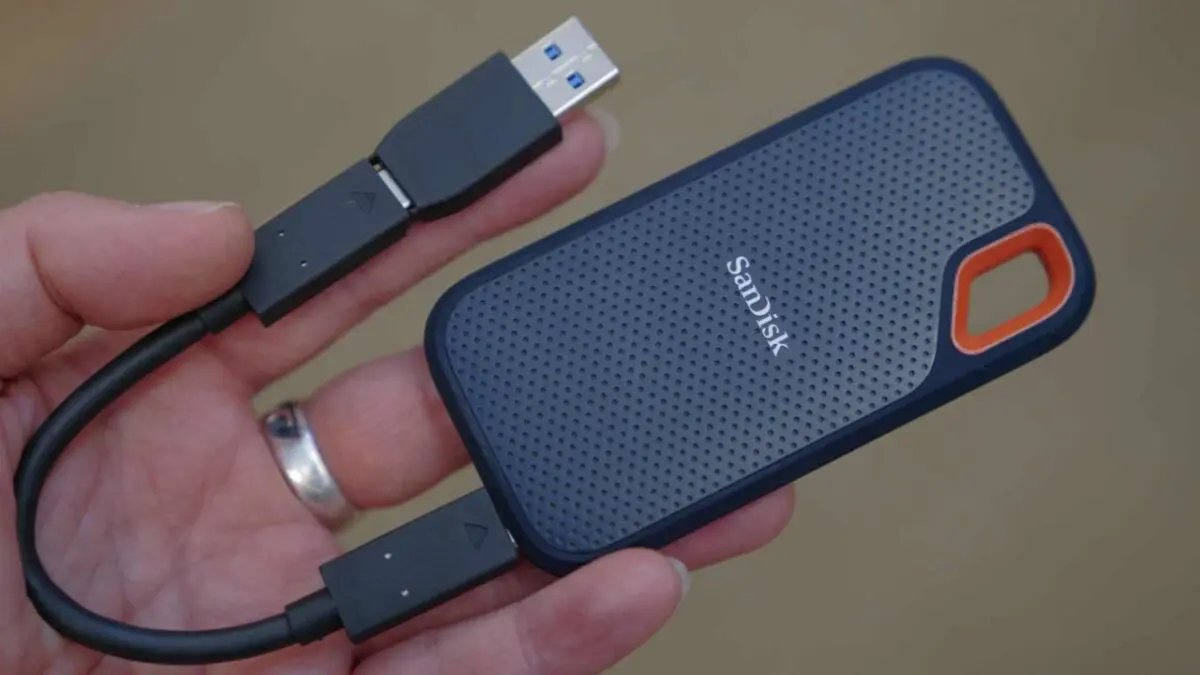
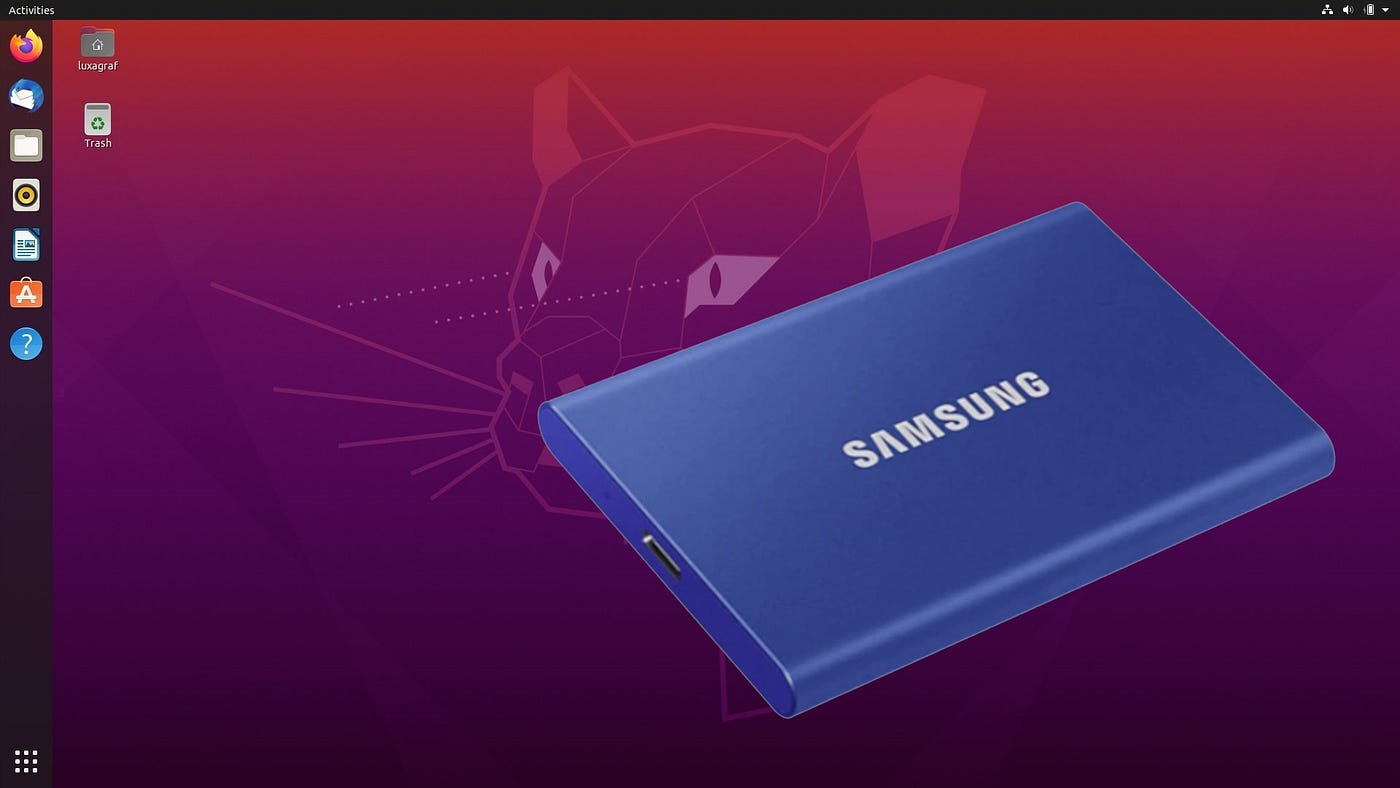
Popular portable SSD options that meet these criteria include the Samsung T5 SSD, SanDisk Extreme Portable SSD, and the Western Digital My Passport SSD. These SSDs have received positive reviews for their performance, reliability, and compatibility with Linux distributions.
Keep in mind that the specific requirements for your Linux setup may vary depending on the distribution and your personal preferences. It’s a good idea to research the compatibility of the portable SSD with the Linux distribution you plan to install to ensure a seamless experience.
With the right portable SSD in hand, you’re one step closer to harnessing the power of Linux on the go. In the next section, we’ll discuss how to format the portable SSD to prepare it for the Linux installation process.
Formatting the Portable SSD
Before installing Linux on your portable SSD, it’s important to format the drive to ensure compatibility and prepare it for the installation process. Follow these steps to format your portable SSD:
- Backup Data: If your portable SSD contains any important data, make sure to back it up before proceeding with the formatting process. Formatting will erase all existing data on the drive.
- Connect the SSD: Connect the portable SSD to your computer using the USB cable provided. Ensure that the drive is properly connected and recognized by your operating system.
- Open Disk Management: On Windows, open the Disk Management tool by right-clicking the Start menu and selecting “Disk Management.” On macOS, go to “Applications,” then “Utilities,” and open “Disk Utility.”
- Select the SSD: In Disk Management, locate your portable SSD in the list of available drives. It usually appears as an unallocated drive or with a label indicating the manufacturer and capacity.
- Initialize the SSD: Right-click on the unallocated drive and select “Initialize Disk” (Windows) or click on the “Erase” tab (macOS) to initialize the SSD.
- Select File System: After initializing the SSD, select the desired file system for your Linux installation. The recommended file system for Linux is ext4, which offers compatibility and performance benefits. You can also choose other file systems such as FAT32 or NTFS if you need cross-platform compatibility.
- Assign a Drive Label: Give your portable SSD a recognizable drive label or name for easy identification. This step is optional but can be helpful when managing multiple drives.
- Format the SSD: Click on “Format” (Windows) or “Erase” (macOS) to format the portable SSD with the selected file system and drive label. Confirm your actions and wait for the formatting process to complete.
- Verify Formatting: Once the formatting process is complete, verify that the portable SSD is formatted correctly. It should now be ready to install Linux.
Formatting your portable SSD ensures that it is compatible with your selected file system and ready to host the Linux operating system. With your SSD formatted and prepared, you’re now ready to progress to the next step: creating a bootable Linux USB drive.
Creating a Bootable Linux USB Drive
To install Linux on your portable SSD, you’ll need to create a bootable Linux USB drive. Follow these steps to create a bootable USB drive:
- Download the Linux Distribution: Choose the Linux distribution you want to install on your portable SSD. Visit the official website of the distribution and download the ISO file for the desired version.
- Prepare a USB Flash Drive: Connect a USB flash drive to your computer with sufficient storage capacity. It’s recommended to use a USB 3.0 drive for faster data transfer speeds.
- Use a Bootable USB Creation Tool: There are several tools available that simplify the process of creating a bootable USB drive, such as Rufus (Windows) or Etcher (Windows, macOS, and Linux). Download and install the appropriate tool for your operating system.
- Select the ISO File: Open the bootable USB creation tool and select the Linux ISO file you downloaded earlier as the source file.
- Choose the USB Drive: Select the USB flash drive you connected to your computer as the destination drive for the bootable USB creation process. Ensure that you have selected the correct drive to avoid formatting or erasing any important data.
- Configure Bootable Options: Depending on the tool you are using, you may have options to customize the bootable USB drive. For most cases, the default settings will work fine, but you can review and adjust any necessary settings according to your preferences.
- Create the Bootable USB Drive: Start the creation process to format the USB drive and copy the Linux ISO file onto it. This process may take a few minutes to complete, so be patient and avoid interrupting it.
- Verify the Bootable USB Drive: Once the bootable USB creation process is finished, verify that the USB drive is bootable by restarting your computer and accessing the boot menu. Consult your computer’s documentation or manufacturer’s website to learn how to access the boot menu for your specific model.
- Select the Bootable USB Drive: In the boot menu, select the bootable USB drive as the primary boot option. Save the changes and exit the boot menu.
- Test the Bootable USB Drive: Restart your computer again, and it should now boot from the USB drive. You should see the Linux distribution’s installation interface, confirming that the bootable USB drive was created successfully.
With a bootable Linux USB drive ready, you can now proceed to the next step: installing Linux on your portable SSD.
Installing Linux on the Portable SSD
Now that you have a bootable Linux USB drive, you can proceed with the installation process on your portable SSD. Follow these steps to install Linux:
- Connect the Portable SSD: Connect your portable SSD to your computer using the USB cable.
- Boot from the USB Drive: Restart your computer and access the boot menu. Select the bootable USB drive as the primary boot option. Save the changes and exit the boot menu.
- Select the Installation Option: The Linux distribution’s installation interface will appear. Choose the “Install” or “Install Linux” option to begin the installation process.
- Choose Language and Keyboard Layout: Select your preferred language and keyboard layout for the installation process.
- Configure Installation Settings: Follow the on-screen instructions to configure various installation settings, such as the timezone, network configuration, and user account details. Make sure to choose the portable SSD as the destination drive for the installation.
- Partition the Drive: During the installation process, you will be prompted to partition the portable SSD. Choose the desired partitioning scheme, such as using the entire drive for Linux or creating separate partitions for the operating system and user data.
- Install the Linux Distribution: Confirm the installation settings and proceed with the installation process. The Linux distribution will be installed on your portable SSD. This can take some time, so be patient.
- Configure Additional Settings: After the installation is complete, you may be prompted to configure additional settings, such as installing proprietary drivers or configuring software repositories. Follow the on-screen instructions to complete the setup.
- Reboot the System: Once the installation is finished, restart your computer. Make sure to remove the bootable USB drive so that the system boots from the portable SSD.
After the reboot, your computer should now be running Linux from the portable SSD. Congratulations! You have successfully installed Linux on your portable SSD. You can now enjoy the benefits of using Linux on the go, with all your personalized settings and applications readily available.
In the next section, we will cover how to configure the bootloader, a crucial step to ensure the smooth and reliable booting of your Linux system from the portable SSD.
Configuring the Bootloader
The bootloader plays a vital role in the booting process by loading the operating system and initiating the startup sequence. To ensure the smooth and reliable booting of your Linux system from the portable SSD, follow these steps to configure the bootloader:
- Access the Bootloader Configuration: The bootloader configuration file is typically located in the /boot directory of your Linux installation. The most common bootloader used in Linux distributions is Grub2.
- Edit the Configuration File: Open the bootloader configuration file using a text editor with root privileges, such as nano or vi. Make sure to back up the configuration file before making any changes.
- Set the Default Boot Option: Locate the line that specifies the default boot option and change it to point to the portable SSD as the default entry. This ensures that the system boots from the portable SSD by default when it’s connected.
- Configure Boot Timeout: Adjust the boot timeout value if desired. This determines how long the bootloader menu is displayed before the default boot option is automatically selected.
- Save and Exit: Save the changes to the bootloader configuration file and exit the text editor.
- Update the Bootloader: To apply the changes, update the bootloader using the appropriate command. For GRUB2, the command is usually “sudo update-grub” or “sudo grub-mkconfig -o /boot/grub/grub.cfg”.
- Verify the Bootloader Configuration: Restart your computer and check if the bootloader menu appears, allowing you to choose the portable SSD as the boot option. Ensure that the system successfully boots from the portable SSD.
By configuring the bootloader to prioritize the portable SSD as the default boot device, you can ensure that your Linux system starts up smoothly each time you connect the portable SSD to your computer.
If you encounter any issues during the bootloader configuration or experience boot problems after making changes, refer to the documentation or online resources for your specific distribution, as the process may vary slightly.
In the next section, we will discuss troubleshooting common issues that may arise during the setup process and provide tips to resolve them.
Troubleshooting Common Issues
While setting up Linux on a portable SSD can be a straightforward process, you may encounter a few common issues along the way. Here are some troubleshooting tips for addressing these issues:
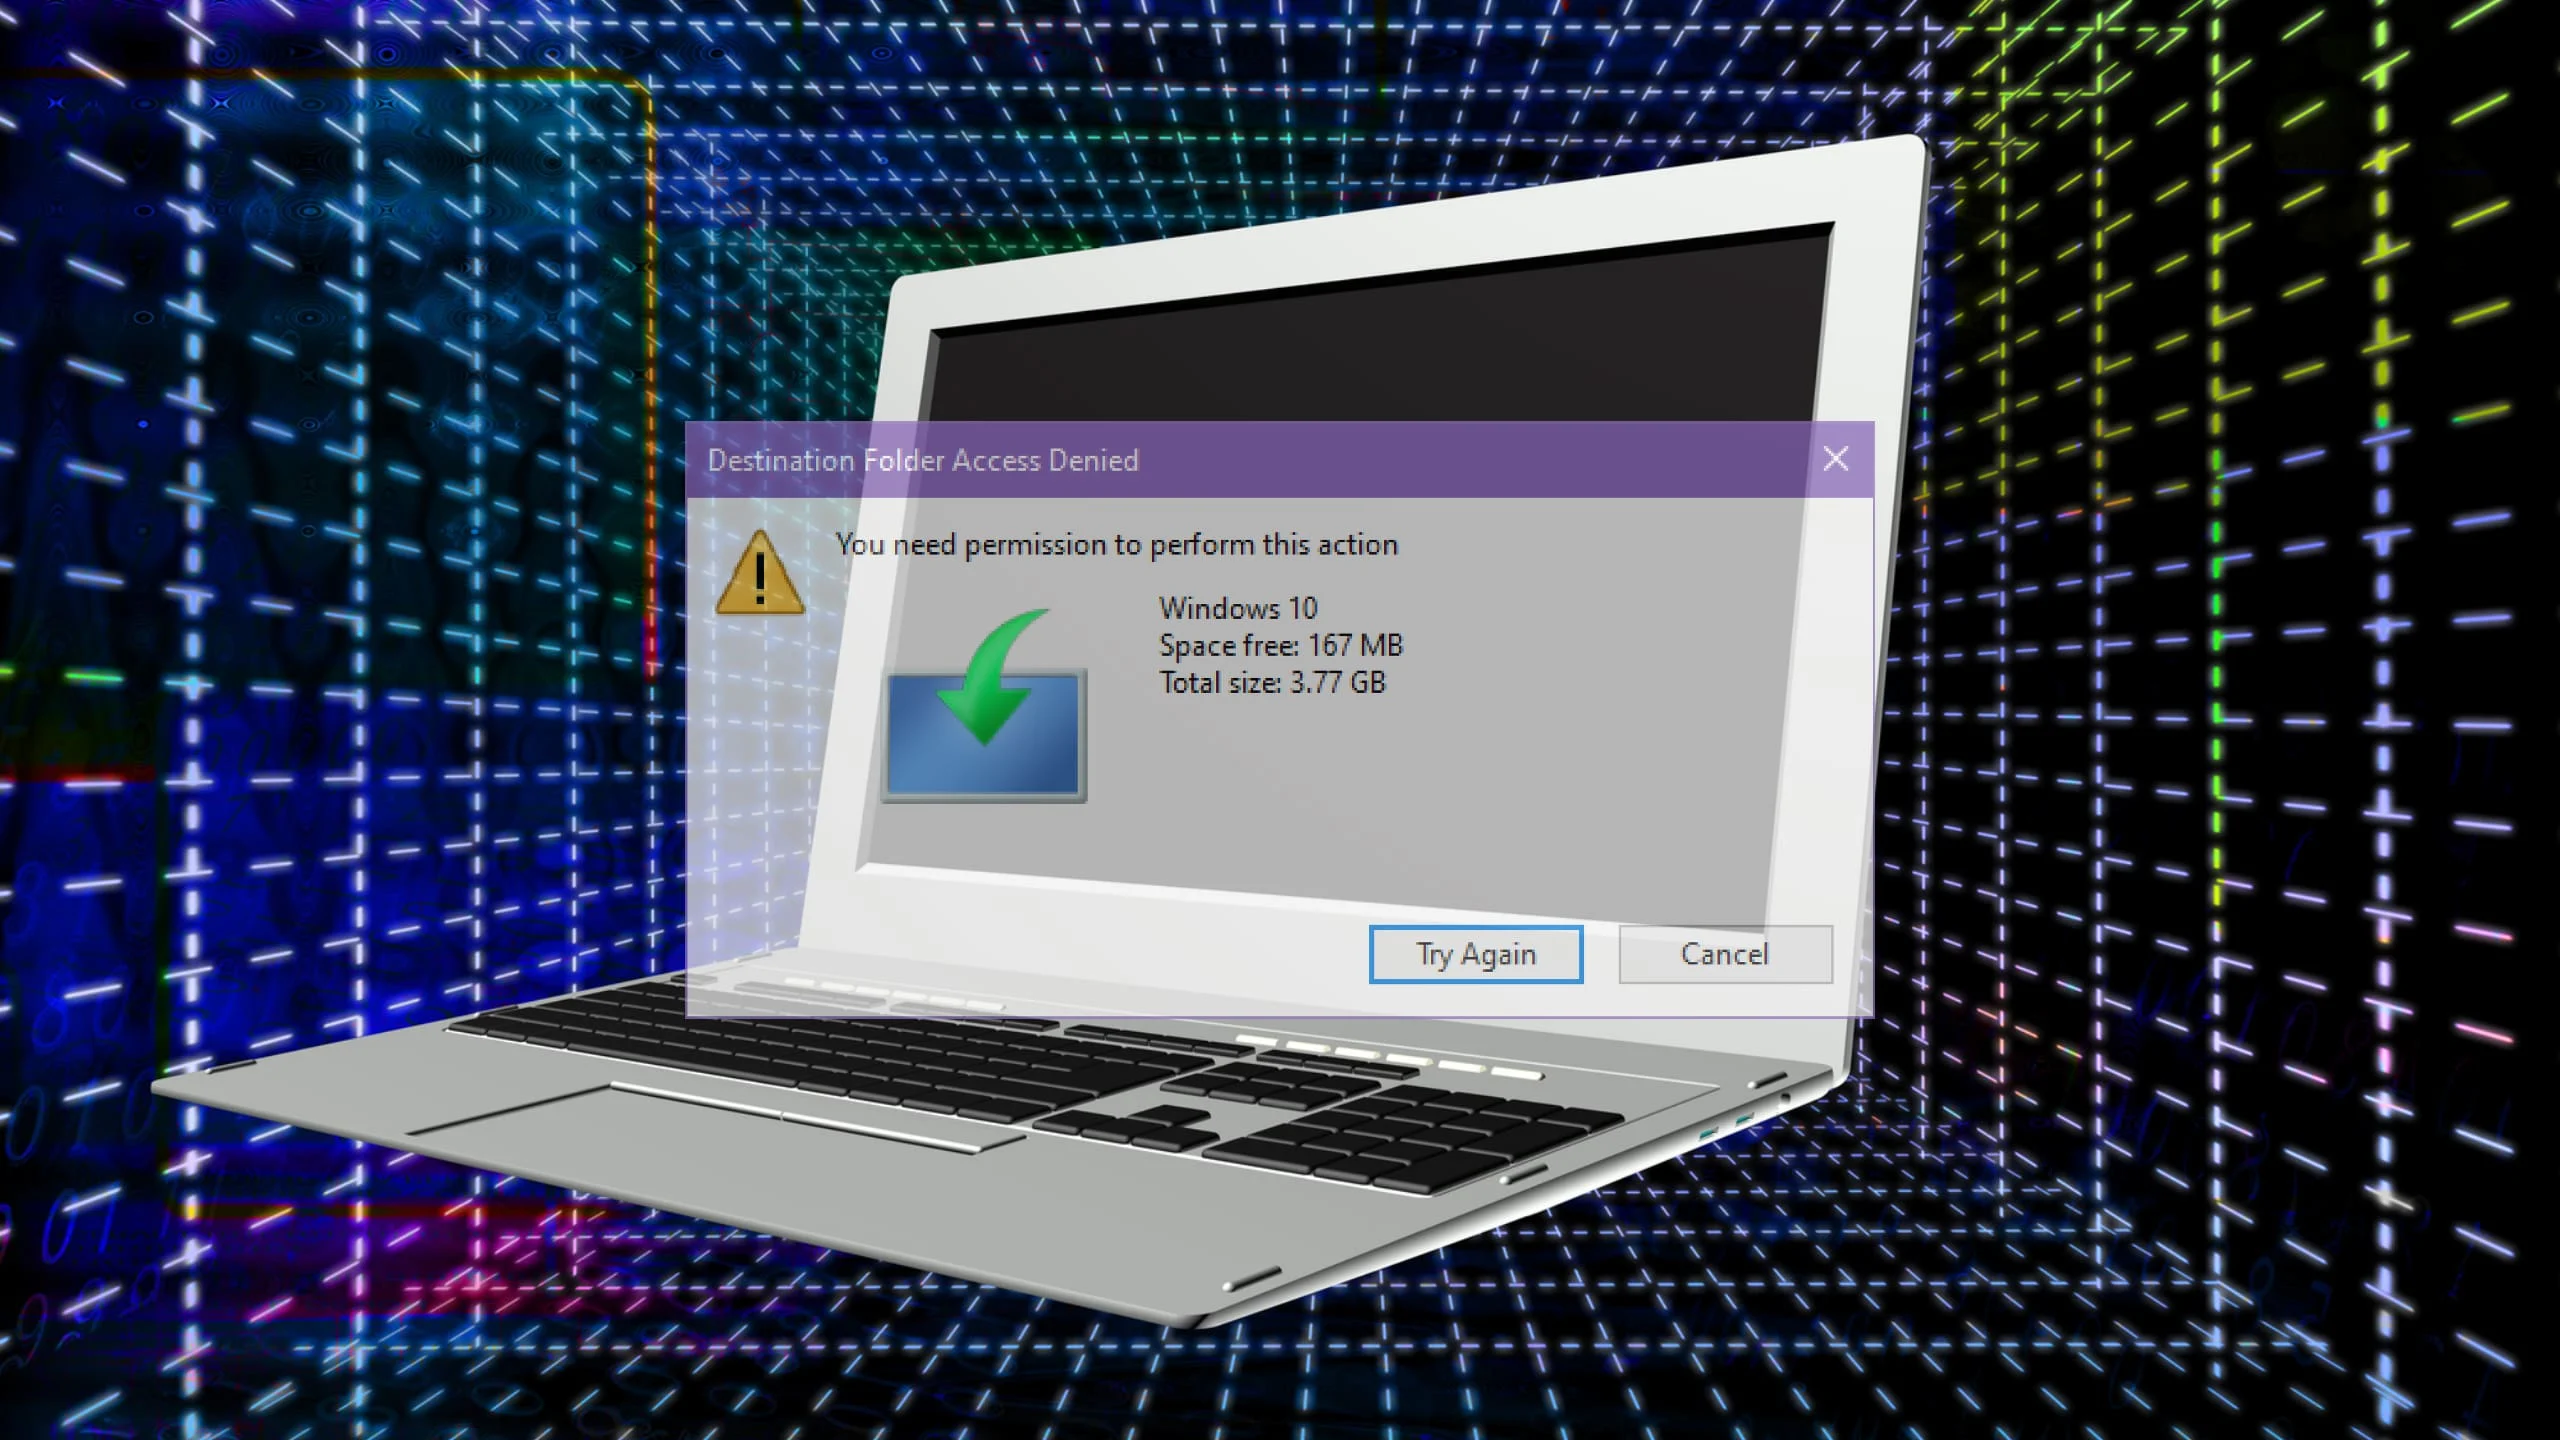
- Issue: Portable SSD not recognized: If your computer fails to detect the portable SSD, ensure that the connections are secure and try reconnecting the SSD to a different USB port. You can also check if the SSD is functioning properly by connecting it to another computer.
- Issue: Booting from USB drive not working: If your computer is not booting from the USB drive, access the BIOS or UEFI settings and verify that the USB boot option is enabled. Additionally, double-check that the bootable USB drive was created correctly and that the USB drive is functioning properly.
- Issue: Installation freezes or crashes: If the installation process freezes or crashes, ensure that the installation media (USB drive) and the portable SSD are in good condition. Verify that the Linux distribution’s ISO file is not corrupted by comparing its checksum with the official checksum provided on the distribution’s website. You may also try using a different USB drive or re-creating the bootable USB drive.
- Issue: Wrong boot order or bootloader configuration: If your computer is not booting from the portable SSD or the bootloader menu doesn’t appear, check the BIOS or UEFI settings to ensure that the portable SSD is set as the primary boot device. Confirm that the bootloader configuration file is correctly edited and saved with the appropriate boot options.
- Issue: Incompatibility with hardware: Sometimes, the Linux distribution you choose may not be compatible with certain hardware components. Check the distribution’s website or user forums to see if there are any known compatibility issues with the specific hardware components in your computer.
- Issue: System doesn’t boot after bootloader configuration: If the system fails to boot or encounters errors after configuring the bootloader, double-check the changes made in the bootloader configuration file. Ensure that the drive and partition specified in the configuration file match the actual configuration of the portable SSD. You may need to revert the changes to the bootloader configuration or seek assistance from the Linux community or support forums.
Remember that troubleshooting can vary depending on the specific Linux distribution and your computer’s hardware configuration. Consulting the documentation and online resources for your chosen distribution can provide further guidance in resolving any issues you encounter.
By addressing these common issues and implementing the troubleshooting tips provided, you can overcome obstacles and successfully set up Linux on your portable SSD.
Now that you are equipped with troubleshooting knowledge, you can confidently navigate through any challenges that may arise during the setup process.
Conclusion
Congratulations! You have successfully learned how to set up Linux on a portable SSD. By following the steps outlined in this guide, you now have a powerful and portable computing solution, allowing you to take your personalized Linux environment wherever you go.
We covered important aspects of the process, starting from choosing the right portable SSD to configuring the bootloader. Through careful consideration of factors like storage capacity, interface, speed, and reliability, you can ensure optimal performance and compatibility with your Linux distribution.
Additionally, we discussed formatting the portable SSD, creating a bootable Linux USB drive, and installing Linux. These steps lay the foundation for a stable and functional Linux system on your portable SSD, giving you the flexibility to work and play on various computers without compromising your preferred operating system and settings.
Furthermore, we explored the process of configuring the bootloader, which is essential for seamless and reliable booting from the portable SSD. Customizing the bootloader settings allows you to prioritize the portable SSD as the default boot option, ensuring a smooth startup each time.
If you encounter any issues during the setup process, we provided troubleshooting tips to help you overcome common obstacles. Remember to consult the documentation and online resources for your specific Linux distribution, as they may provide additional guidance for resolving any issues that arise.
Setting up Linux on a portable SSD offers numerous advantages such as enhanced security, customization options, and the ability to carry your personalized setup with you. Whether you’re a Linux enthusiast, a developer, or simply seeking a flexible and secure operating system, using a portable SSD with Linux provides a powerful and convenient solution.
Now that you’ve completed the setup process, enjoy exploring the vast world of Linux and all the possibilities it offers. Customize your system to suit your needs, install your favorite applications, and embrace the freedom that Linux provides.
Thank you for following this comprehensive guide. Happy computing with Linux on your portable SSD!