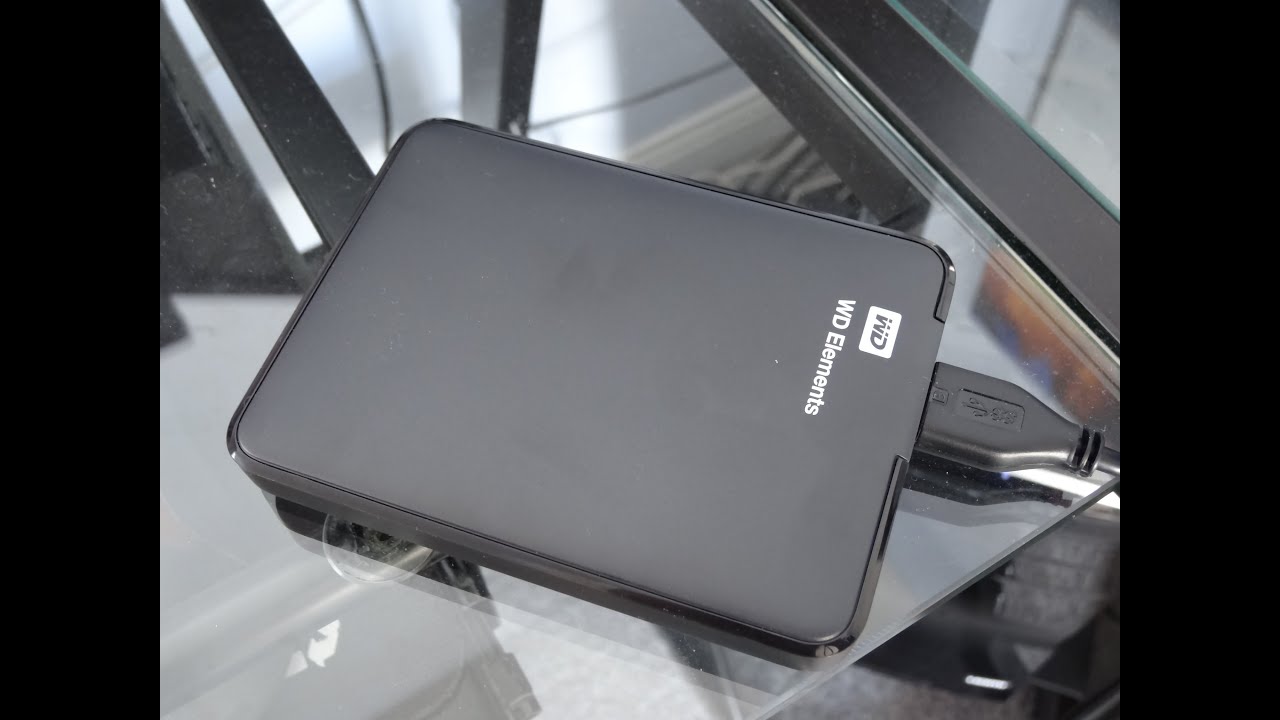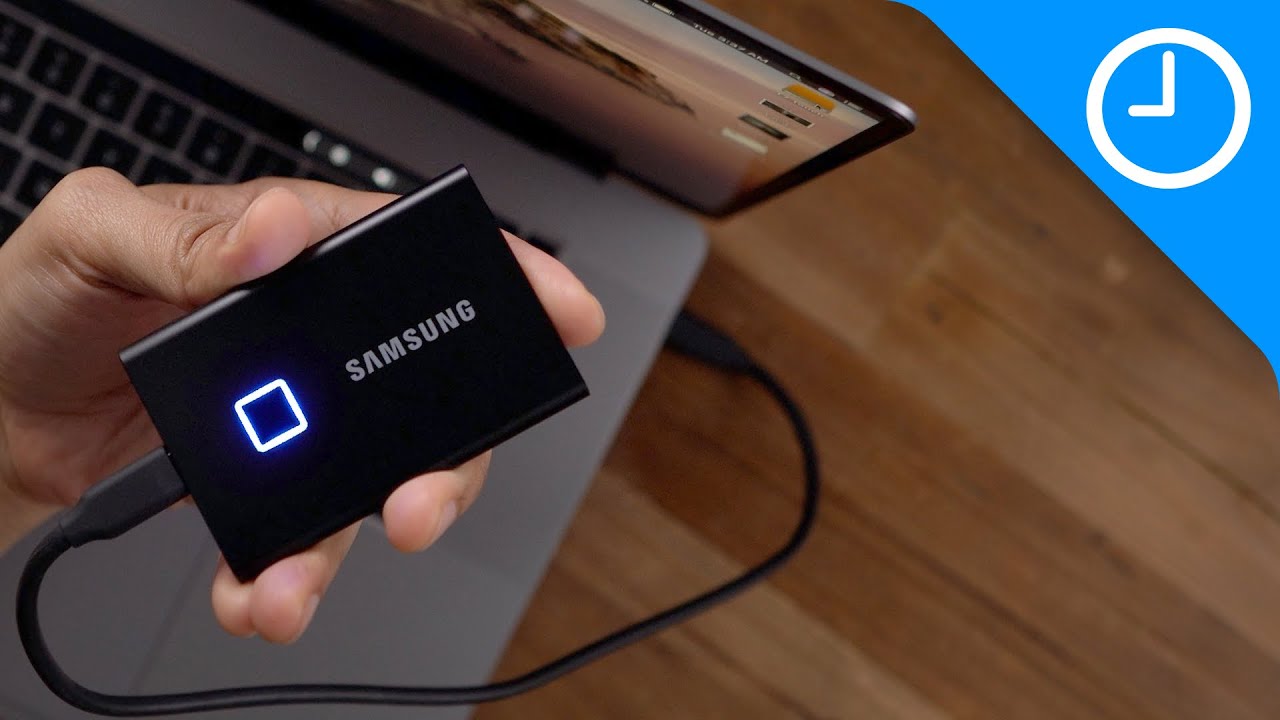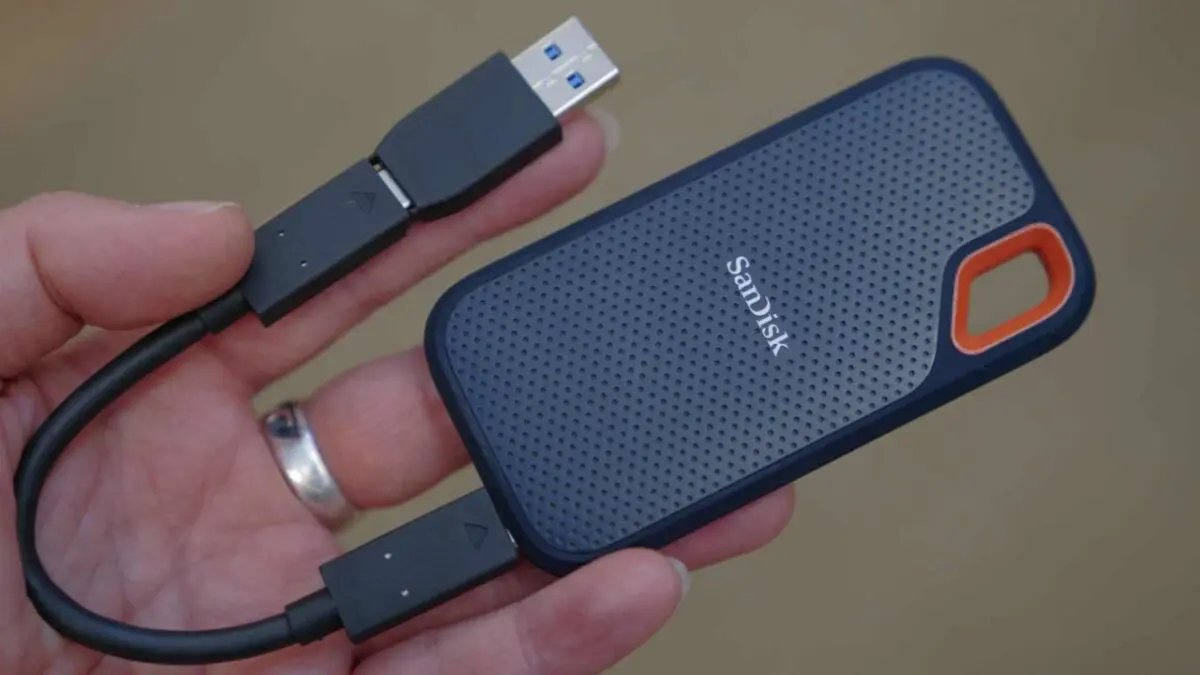
To use a portable SSD drive, connect it to your computer with the included cable, then locate it in your file manager and format it if needed before transferring files. The most important habit is to always use the operating system's eject function before unplugging the drive to prevent data corruption.
What you need before you use a portable SSD drive
Before you can use a portable SSD drive, unbox the device and verify you have the correct cable. Most modern portable SSDs ship with a USB-C cable, though some may include a USB-C to USB-A adapter for older ports. Check the drive's physical connectors and your computer's available ports to ensure compatibility. If your drive supports Thunderbolt, you'll need a Thunderbolt-certified cable to achieve maximum speeds, though a standard USB-C cable will still work for basic file transfers. The drive typically arrives pre-formatted in exFAT, which works on both Windows and macOS without additional setup, but you may want to reformat it to match your primary operating system's native file system for better performance and security.
How to connect and format your portable SSD on Windows
Plug the portable SSD into a USB port on your Windows PC. Wait a few seconds for Windows to recognize the drive and install any necessary drivers automatically. Open File Explorer by pressing Win + E and look for the drive under "This PC", it will appear as a new removable disk with a drive letter. If the drive is not visible, try a different USB port or check Device Manager for driver issues.
In the Format dialog box, choose NTFS as the file system if you only use Windows, or exFAT if you also need to use the drive with a Mac. Click "Start" and confirm the warning, formatting erases all data on the drive. Wait for the progress bar to complete, then click "OK" when prompted.
How to connect and format your portable SSD on a Mac
Connect the portable SSD to your Mac's USB or Thunderbolt port. Open Disk Utility by going to Finder > Applications > Utilities > Disk Utility. In the sidebar, look for your external drive, it will appear under "External" with its manufacturer name and capacity. Select the drive, then click the "Erase" button in the toolbar.
In the Erase dialog, give the drive a name you'll recognize. For the format, choose APFS if you only use the drive with macOS Sierra or later, or exFAT if you need cross-platform compatibility with Windows. For the scheme, select "GUID Partition Map", this is the standard scheme for Intel and Apple Silicon Macs and is required for bootable drives. Click "Erase" and wait for the process to finish. Once complete, click "Done" and the drive will appear on your desktop or in Finder's sidebar, ready for use.
How to transfer files to your portable SSD drive
Transferring files is as simple as dragging and dropping or using copy-paste. Open a File Explorer window (Windows) or Finder window (Mac) and navigate to the files you want to move, documents, photos, videos, or any other data. Select the files or folders, then drag them directly into the window showing your portable SSD. Alternatively, press Ctrl+C (Windows) or Cmd+C (Mac) to copy, then click on the SSD's window and press Ctrl+V or Cmd+V to paste. For large transfers, a progress bar will appear, wait until it completes before disconnecting the drive. Organize files into folders on the SSD as needed to keep things tidy.
How to safely eject your portable SSD drive
Always safely eject the drive before physically disconnecting it to prevent data corruption. On Windows, right-click the "Safely Remove Hardware and Eject Media" icon in the system tray (near the clock) and select "Eject ." Alternatively, open File Explorer, right-click the drive, and choose "Eject." Wait for the notification that it's safe to remove the hardware. Wait until the drive's icon disappears before unplugging the cable. Skipping this step can result in lost or corrupted files, especially if data is still being written.
Simple troubleshooting tips
If your portable SSD isn't recognized, try a different USB port or cable, cables can fail or be data-only without power. Check if the drive appears in Disk Management (Windows) or Disk Utility (Mac), if it shows as unallocated, you may need to initialize it. If the drive still doesn't show, test it on another computer to rule out hardware issues. If the drive becomes hot to the touch, let it cool down before continuing, extreme heat can affect performance. For persistent problems, check the manufacturer's website for firmware updates or driver downloads.
\nRelated reading: How To Use Wd Elements External Hard Drive, How Do I Transfer My Photos To An External Hard Drive, and How To Use Samsung Portable SSD T7.