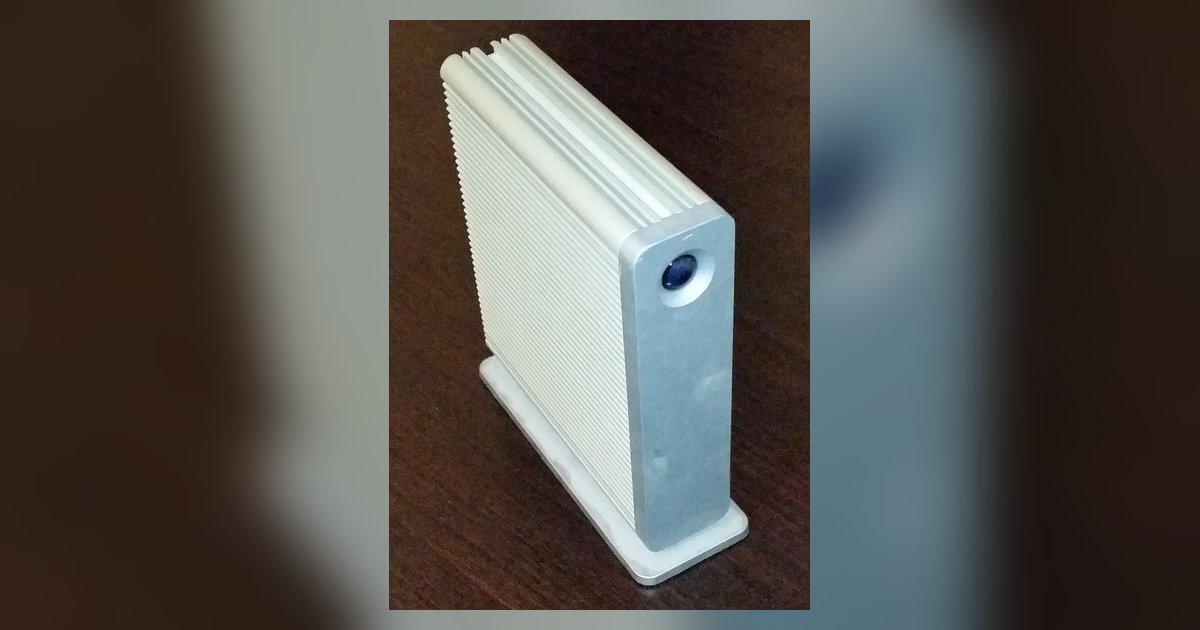
Use your operating system’s built-in secure erase tool, the ‘clean all’ command via DiskPart on Windows, to overwrite every sector with zeros, which prevents recovery of your personal files. On macOS, use Disk Utility to erase the drive, though secure overwrite options may not be available on all versions.
Why a standard reformat is not safe enough to wipe a Lacie drive
When you use Disk Utility’s default erase or Windows Explorer’s quick format, the operating system only marks the space as available for new data. The actual bytes of your documents, photos, and passwords remain on the magnetic surface until overwritten. Free recovery software like Recuva or DiskDrill can scan those untouched sectors and reconstruct your files with high success. Even emptying the Trash does the same, your personal data stays intact. A secure erase writes zeros or random data across every sector, making recovery impossible without specialized equipment.
Secure erase on a Mac using Disk Utility
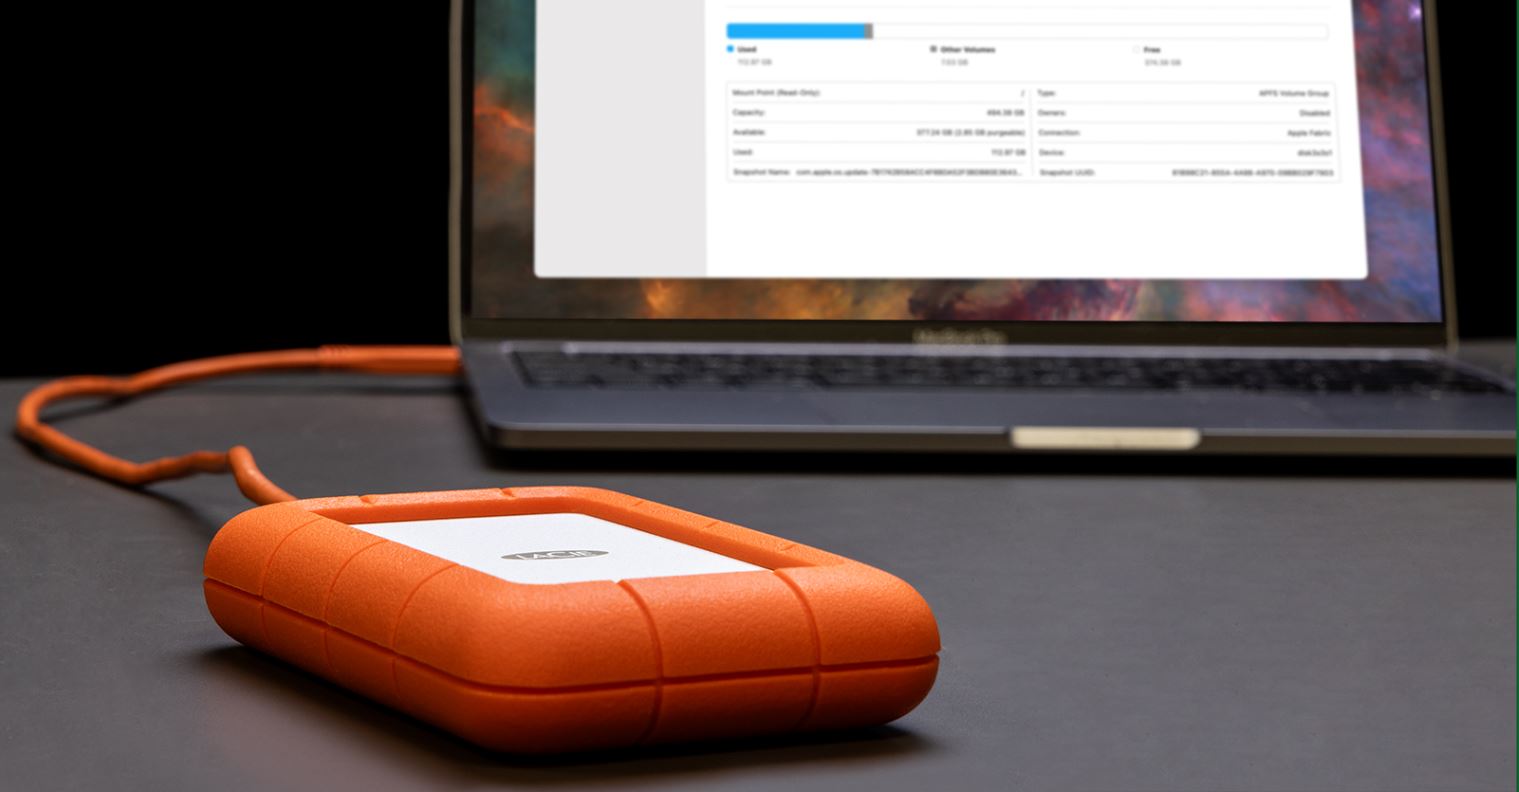
Connect your LaCie drive, then open Disk Utility from the Applications > Utilities folder. In the sidebar, select the physical LaCie drive, not the volume below it, by clicking on the manufacturer name and model number. Click the Erase button at the top. In the dialog that appears, choose a name and format (APFS or Mac OS Extended), then click Erase. Use the available options to erase the drive securely, which may overwrite existing data to prevent recovery. Click OK, then Erase. This process can take hours for a large drive, but it helps ensure that your data is not easily recoverable after you sell the drive. If the drive fails to mount during this step, it may be a sign of the issue described under lacie drive light blinking but not recognized. If you previously used this drive to move files from iCloud to external hard drive, that data is now unrecoverable.
Secure erase on Windows using diskpart clean all
Open the Command Prompt as Administrator: right-click the Start button and select “Windows PowerShell (Admin)” or “Terminal (Admin),” then type cmd if needed. Type diskpart and press Enter. Type list disk to see all connected drives. Identify your LaCie drive by its size; be absolutely certain you have the correct disk number because this command destroys all data. Type select disk X (replace X with the correct number). Then type clean all and press Enter. This command writes zeros to every sector, not just the partition table. When it finishes, which may take several hours, type exit and close the window. The drive will appear uninitialized; you can create a new partition later if you wish, but for selling, leave it as is. If you previously used this drive to move files from Google drive to external hard drive, those cloud copies are gone from the device.
When the drive cannot be securely erased
If your LaCie drive is an SSD with wear-leveling firmware, the clean all command or Disk Utility’s overwrite may not reach every internal cell because the controller hides some spare blocks. In that case, physical destruction is the only guaranteed method. The same applies if the drive has failed mechanically, clicking sounds, not spinning up, or not appearing in Disk Utility or DiskPart, if you are troubleshooting a Lacie drive not showing up in Disk Utility, a connection or power issue might still be fixable before you resort to disposal. For SSDs, use the manufacturer’s own secure erase tool (often called “ATA Secure Erase”) if available, but many consumer LaCie SSDs do not expose this command. If you cannot verify a full overwrite, drill holes through the platters or use a hard drive shredder. After destruction, you can still backup files with seagate external hard drive for your next storage device, but the LaCie is no longer sellable as a working drive. For a functioning drive, always prefer the software method described above.
How to securely use Lacie external hard drive for daily tasks
Once your drive is securely erased or if you are setting up a new one, you can use lacie external hard drive as a reliable hub for organizing local copies of your cloud data. The same zero-fill process that protects your privacy before a sale also gives you a clean foundation, ensuring no residual file fragments interfere with your new workflow. This approach lets you confidently move files from iCloud to external hard drive, move files from Google drive to external hard drive, and backup files with seagate external hard drive as a secondary target, all while maintaining a clear separation between active projects and archived data.