Introduction
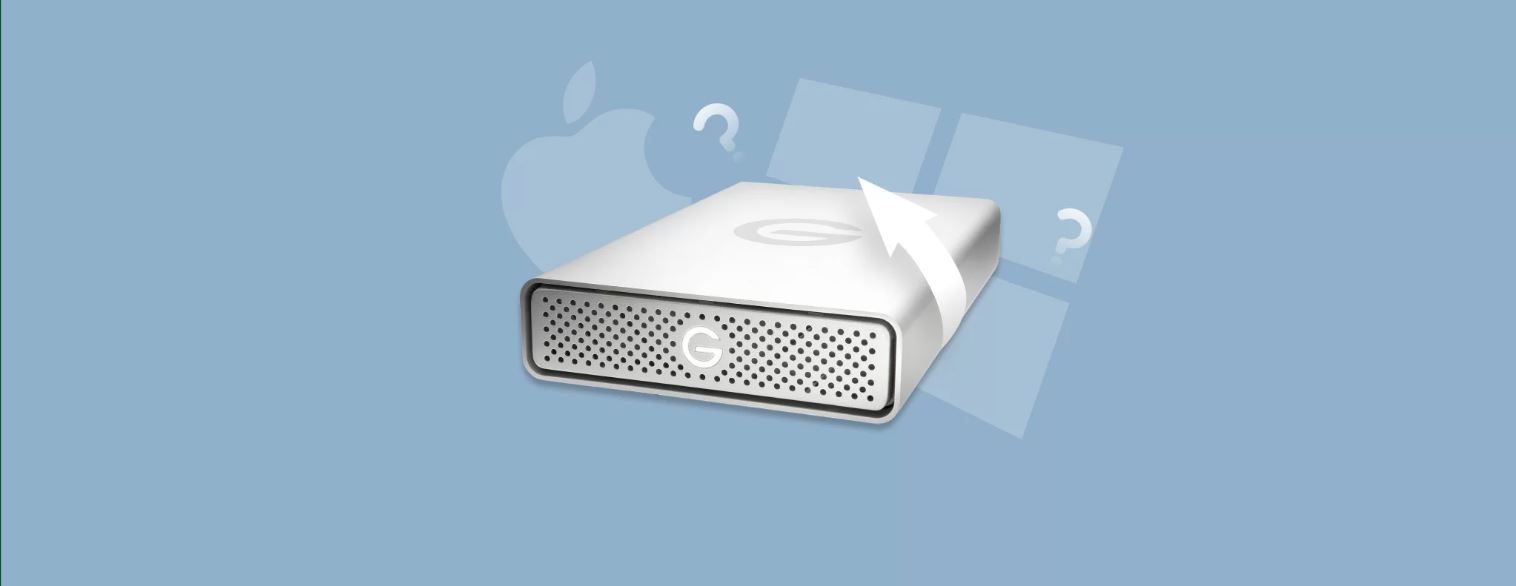
Welcome to this guide on how to use a G-Drive external hard drive on your Windows computer. G-Drive external hard drives are a popular choice for users seeking reliable and high-performance storage solutions. Whether you need to backup important files, expand your storage capacity, or transfer large files between devices, the G-Drive external hard drive can provide the necessary functionality.
In this article, we will walk through the steps to install the G-Drive external hard drive, connect it to your Windows computer, format it for Windows compatibility, transfer files to the drive, and safely eject it when you’re done. We will provide detailed instructions and helpful tips to ensure a seamless experience throughout the process.
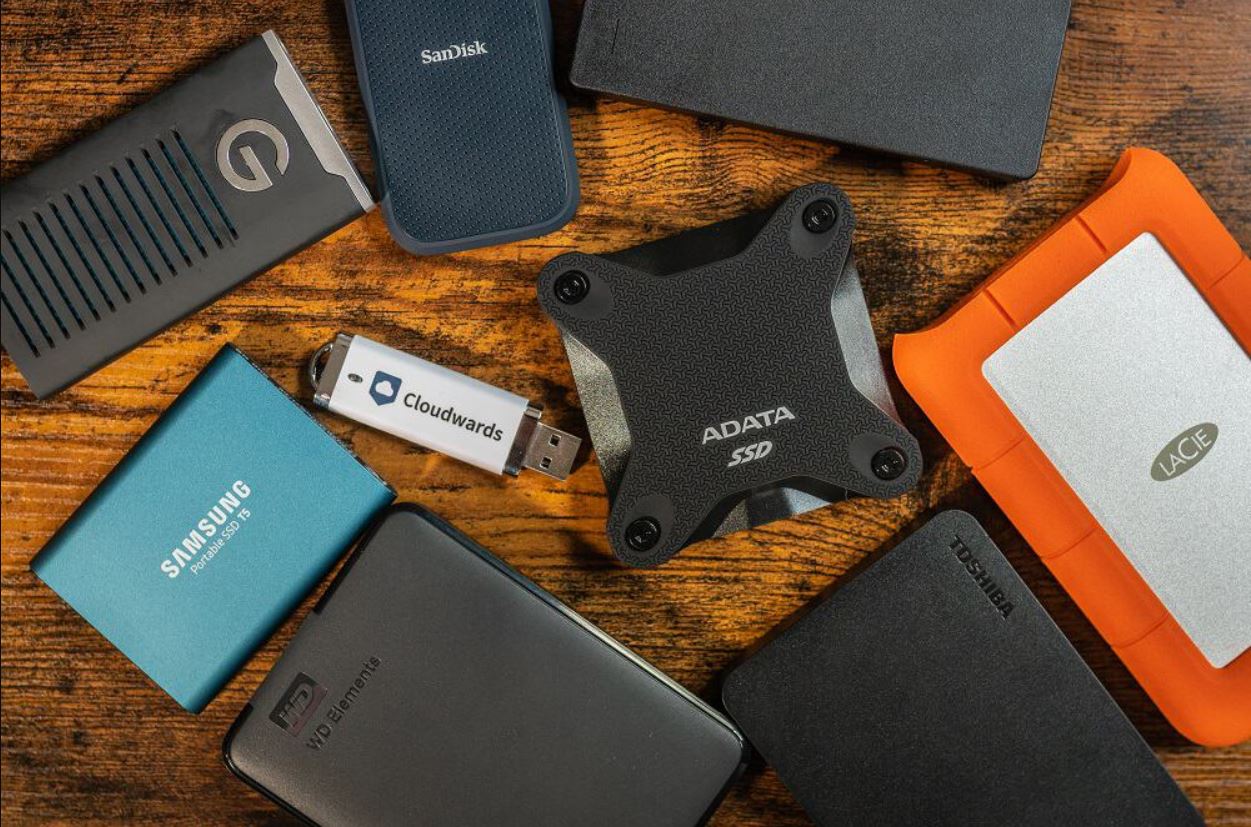
Using an external hard drive offers several advantages. First and foremost, it provides additional storage space for your computer, freeing up valuable internal storage and allowing you to keep your system running smoothly. Additionally, external hard drives are portable, which means you can easily carry your files with you wherever you go. This makes them an ideal solution for students, professionals, and anyone who needs to access their files on the go.
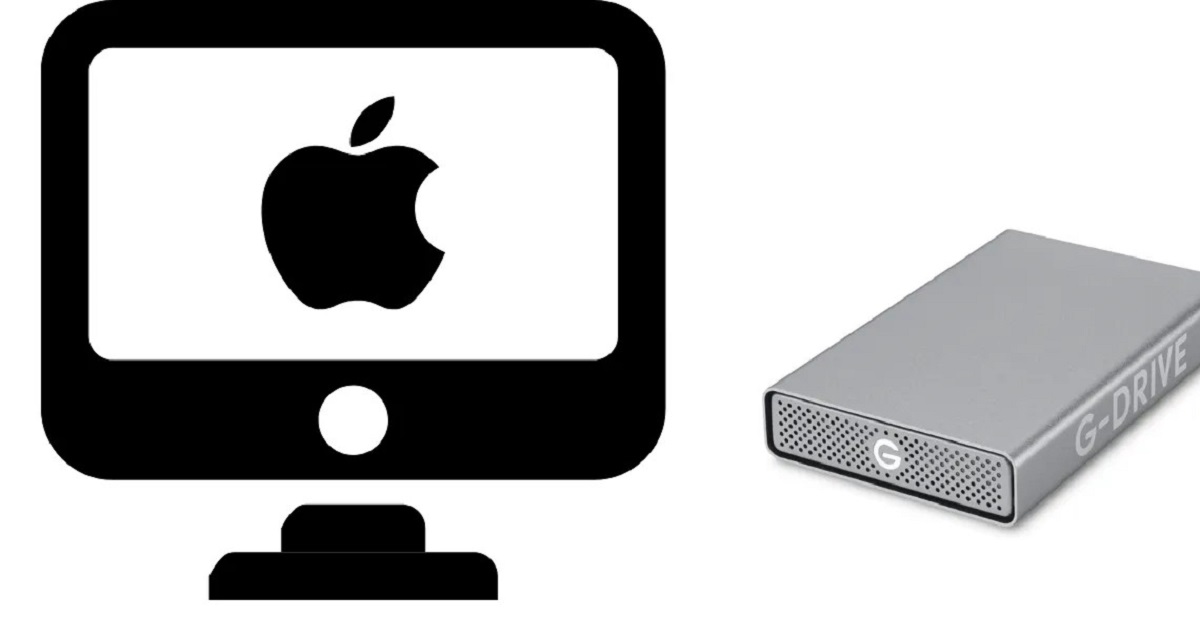
Now, before we dive into the steps, it’s important to note that this guide is specifically tailored for G-Drive external hard drives and Windows operating systems. If you’re using a different external hard drive brand or a Mac computer, the steps may vary slightly. However, the overall principles and concepts discussed here will still be applicable, so feel free to adapt the instructions to suit your specific setup.
Having said that, let’s get started with the first step: installing the G-Drive external hard drive.
Step 1: Installing the G-Drive External Hard Drive
Before you can start using your G-Drive external hard drive, you need to install it on your Windows computer. Follow the steps below to get started:
- Start by ensuring that your computer is powered on and running Windows. Locate an available USB port on your computer where you will connect the G-Drive external hard drive.
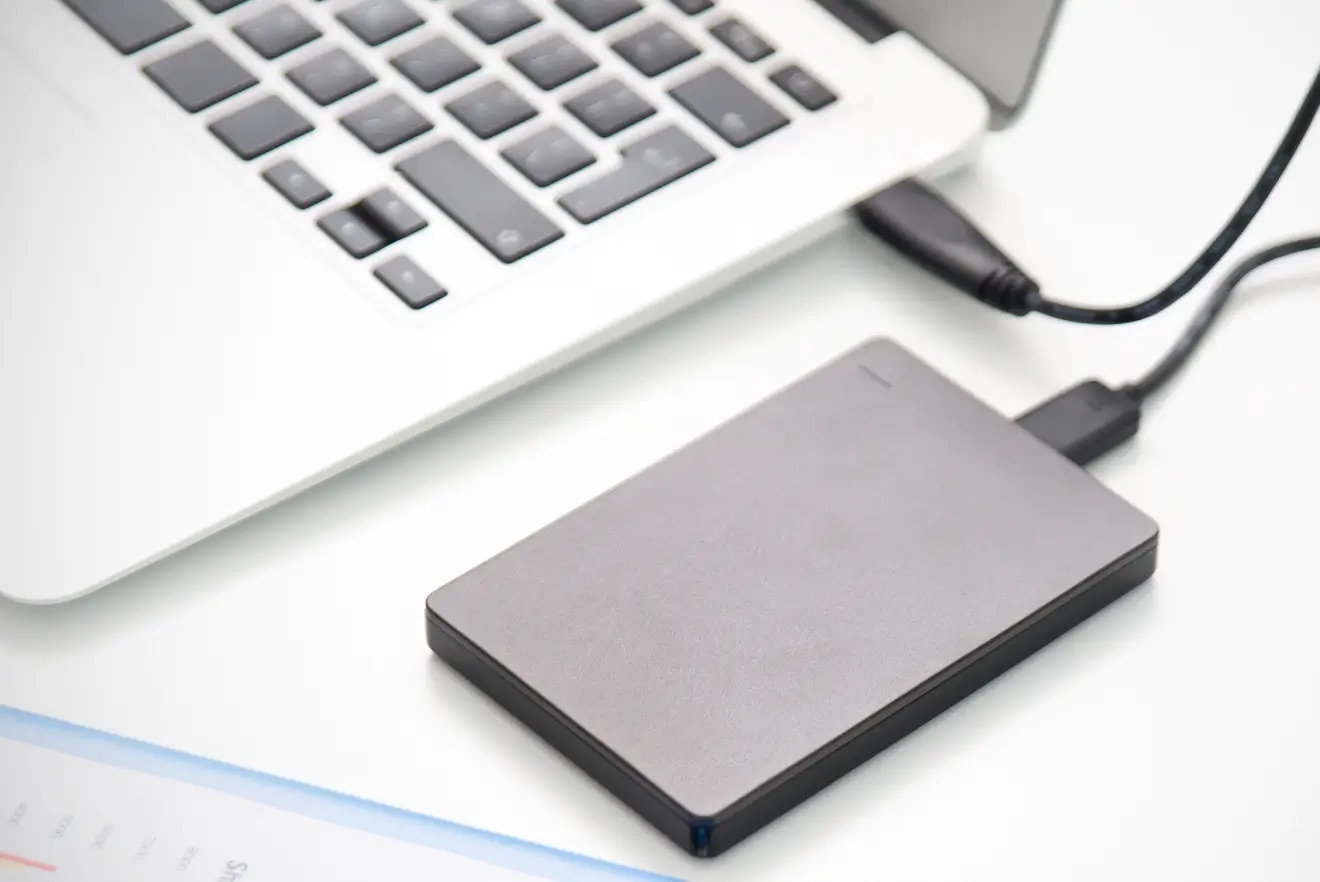
- Take the USB cable that came with your G-Drive external hard drive and connect one end to the USB port on the hard drive itself.
- Next, take the other end of the USB cable and connect it to the available USB port on your Windows computer.
- Your computer should recognize the G-Drive external hard drive and automatically start the installation process. If prompted, follow any on-screen instructions to complete the installation.
- Once the installation is complete, you should see a notification or a pop-up message indicating that your G-Drive external hard drive is ready to use.
At this point, you have successfully installed the G-Drive external hard drive on your Windows computer. However, before you can start using it, you need to connect the hard drive to your computer. Proceed to the next step to learn how to do this.
Step 2: Connecting the G-Drive External Hard Drive to your Windows computer
Now that you have successfully installed the G-Drive external hard drive, it’s time to connect it to your Windows computer. Follow these steps:
- Locate the USB cable that came with your G-Drive external hard drive.
- Take one end of the USB cable and insert it into the USB port on the hard drive.
- Next, take the other end of the USB cable and insert it into an available USB port on your Windows computer.
- Once the G-Drive external hard drive is connected to your computer, you should hear a notification sound indicating that the device has been recognized.
- Open the File Explorer on your Windows computer by clicking on the folder icon in the taskbar or by pressing the Windows key + E.
- In the File Explorer window, you should see the G-Drive external hard drive listed under the “Devices and drives” section. It may have a unique name or be labeled as “G-Drive”.
- Double-click on the G-Drive external hard drive icon to open it and access its contents.
Congratulations! You have successfully connected the G-Drive external hard drive to your Windows computer. Now that you have established the connection, the next step is to format the hard drive for Windows compatibility. This will ensure that you can write and read files on the hard drive without any compatibility issues. Proceed to the next step to learn how to format the G-Drive external hard drive.
Step 3: Formatting the G-Drive External Hard Drive for Windows
After connecting the G-Drive external hard drive to your Windows computer, the next step is to format it to ensure compatibility with the Windows operating system. Here’s how you can format the G-Drive external hard drive:
- Open the File Explorer on your Windows computer by clicking on the folder icon in the taskbar or by pressing the Windows key + E.
- In the File Explorer window, locate and right-click on the G-Drive external hard drive icon.
- From the context menu that appears, select “Format…”.
- A format dialog box will open with options to configure the formatting settings.
- Under the “File system” section, select “NTFS” from the drop-down menu. NTFS is the recommended file system for Windows computers, as it provides better performance and supports larger file sizes.
- Optionally, you can give the hard drive a new name by typing in a desired label under the “Volume label” field.
- Ensure that the “Quick Format” option is checked. This will expedite the formatting process.
- Review the formatting settings and double-check that you have selected the correct drive to format.
- Click on the “Start” button to initiate the formatting process.
- A warning prompt will appear, informing you that all data on the G-Drive external hard drive will be erased. Confirm that you have backed up any important files and click on “OK” to proceed with the formatting.
- Wait for the formatting process to complete, which may take a few minutes.
- Once the formatting is finished, you will receive a notification that the format was successful.
Great job! You have successfully formatted the G-Drive external hard drive for Windows compatibility. Now you can begin transferring files to the hard drive. Proceed to the next step to learn how to transfer your files.
Step 4: Transferring Files to the G-Drive External Hard Drive
Now that you have successfully formatted the G-Drive external hard drive for Windows, you can start transferring your files to it. Follow these steps to transfer files:
- Open the File Explorer on your Windows computer.
- In the File Explorer window, navigate to the location where your files are stored on your computer.
- Select the files or folders that you want to transfer to the G-Drive external hard drive. You can select multiple files by holding down the Ctrl key while clicking on each file.
- Once you have selected the files, right-click on them and select “Copy” from the context menu.
- Next, go back to the File Explorer window and navigate to the G-Drive external hard drive. You can find it under the “Devices and drives” section.
- Double-click on the G-Drive external hard drive icon to open it.
- Right-click inside the G-Drive window and select “Paste” from the context menu.
- The selected files will now be copied to the G-Drive external hard drive. The time it takes will depend on the size of the files and the transfer speed of your computer’s USB port.
- Once the file transfer is complete, you can safely disconnect the G-Drive external hard drive.
It’s important to note that while transferring files to the G-Drive external hard drive, make sure you have enough available space to store the files. You can check the available space by right-clicking on the G-Drive external hard drive icon in the File Explorer and selecting “Properties”.
Congratulations! You have successfully transferred your files to the G-Drive external hard drive. Now, proceed to the final step to safely eject the hard drive from your Windows computer.
Step 5: Safely Ejecting the G-Drive External Hard Drive from Windows
After you have finished using the G-Drive external hard drive on your Windows computer, it is important to properly eject it to avoid any potential data loss or damage. Follow these steps to safely eject the G-Drive external hard drive:
- Ensure that all file transfers or access to the G-Drive external hard drive have been completed.
- Locate the “Safely Remove Hardware and Eject Media” icon in the system tray, which is usually located in the bottom-right corner of the taskbar. It looks like a USB connector with a green checkmark on it.
- Click on the “Safely Remove Hardware and Eject Media” icon to open the eject dialog box.
- In the eject dialog box, you should see the G-Drive external hard drive listed as one of the devices to eject. Ensure that it is selected.
- Click on the “Eject” button next to the G-Drive external hard drive.
- Wait for a confirmation message to appear, indicating that it is safe to remove the G-Drive external hard drive.
- Once you receive the confirmation message, you can safely disconnect the USB cable from your Windows computer.
- Finally, disconnect the USB cable from the G-Drive external hard drive.
It is crucial to follow these steps to ensure that all data has been written to the hard drive and that no files are being accessed before removing the G-Drive external hard drive. Abruptly disconnecting the hard drive without following these steps may result in data corruption or loss.
With the G-Drive external hard drive safely ejected from your Windows computer, you can now disconnect it and store it in a safe place or take it with you on the go.
That’s it! You have successfully learned how to install, connect, format, transfer files, and safely eject the G-Drive external hard drive on your Windows computer. Enjoy the convenience and reliability that the G-Drive external hard drive provides!
Conclusion
Using a G-Drive external hard drive on your Windows computer can greatly enhance your storage capabilities and provide a convenient way to backup and transfer files. In this guide, we have covered the steps to install, connect, format, transfer files, and safely eject the G-Drive external hard drive.
By following these steps, you should now have a good understanding of how to effectively utilize your G-Drive external hard drive on your Windows computer. Remember to always properly eject the hard drive to avoid data loss or damage, and make sure you have enough available space to store your files before transferring them.
The G-Drive external hard drive offers reliable performance and flexibility for all your storage needs. Whether you’re a student, professional, or simply need extra storage space, the G-Drive external hard drive is a valuable tool to have in your arsenal.
Now that you have mastered the process of using the G-Drive external hard drive on your Windows computer, you can enjoy the convenience of additional storage, portable file transfer, and better organization of your files. Don’t hesitate to explore the various features and functionalities that the G-Drive external hard drive offers. With its robust construction and high-speed capabilities, it is designed to meet your storage requirements.
So go ahead and start maximizing the potential of your G-Drive external hard drive on your Windows computer. Whether you’re backing up important files, transferring large multimedia files, or expanding your storage capacity, the G-Drive external hard drive is here to make your life easier.
Thank you for following this guide. We hope that it has provided you with valuable insights and helped you unleash the full potential of your G-Drive external hard drive on your Windows computer!


