Introduction
Welcome to the world of external hard drives! Whether you’re a computer enthusiast, a creative professional, or simply someone who needs extra storage space for their digital files, having an external hard drive can be a game-changer. It allows you to store and access your data conveniently, making it an essential tool in today’s digital age.
But before you can start using your new external hard drive, one important step you need to take is formatting it to a compatible file system. While there are several file systems to choose from, one common choice is FAT32.
In this article, we’ll guide you through the process of formatting an external hard drive to FAT32. We’ll explain why you might choose this file system, walk you through the necessary steps, and provide you with valuable tips along the way.
Whether you’re planning to use the external hard drive for file storage, media playback, or transferring data between different devices, understanding how to format it to FAT32 is crucial. So, let’s dive into the details and get started!
Why Format an External Hard Drive to FAT32?
When it comes to choosing a file system for your external hard drive, FAT32 holds several advantages that make it a popular choice among users. Here are a few reasons why you might consider formatting your external hard drive to FAT32:
Wide Compatibility
FAT32 is a file system that is compatible with a wide range of devices and operating systems. Whether you’re using a Windows PC, a Mac, or a game console, FAT32 ensures that your external hard drive can be read and written to on various platforms. This flexibility makes it an ideal choice for those who need to access their data on different devices.
Support for Large Storage Sizes
FAT32 supports larger storage capacities compared to older file systems like FAT16. It allows you to format your external hard drive with a maximum size of 2 terabytes (TB). This is particularly advantageous if you have a large collection of media files, such as high-definition videos or music albums.
Simplicity and Ease of Use
One of the key benefits of FAT32 is its simplicity. It is a straightforward file system that doesn’t involve complex configurations or permissions. Formatting your external hard drive to FAT32 is quick and easy, and you can start using it immediately after the process is complete.
Compatibility with Portable Devices
If you plan to use your external hard drive with portable devices like digital cameras, smartphones, or tablets, formatting it to FAT32 ensures that these devices will recognize and access the files stored on the drive. This makes it convenient to transfer and share data between your devices, whether you’re capturing photos on a camera or enjoying multimedia content on a tablet.
Now that you understand the benefits of formatting your external hard drive to FAT32, let’s move on to the step-by-step process of how to format it in the next section.
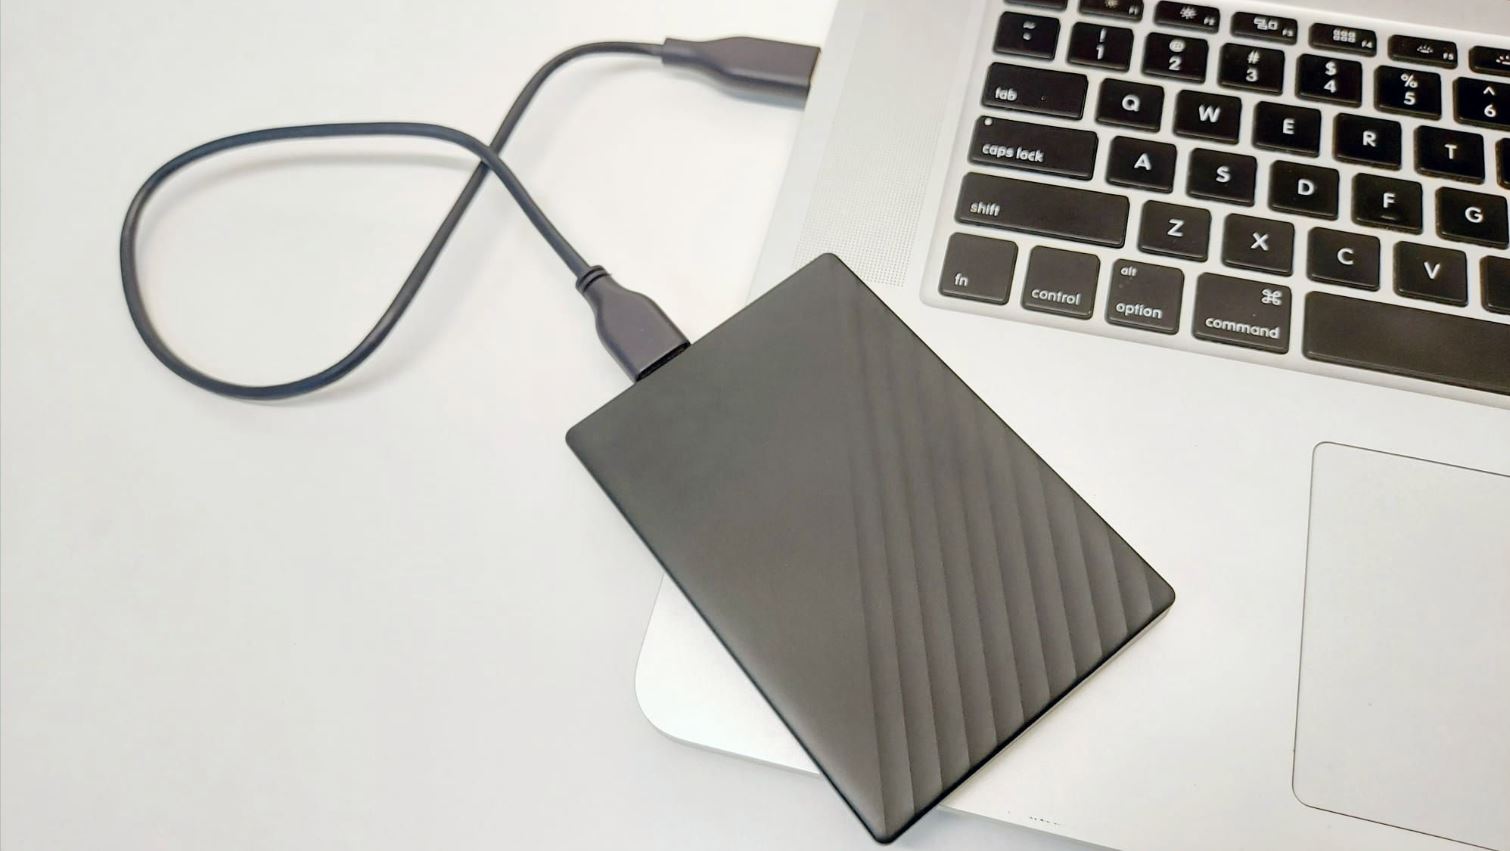
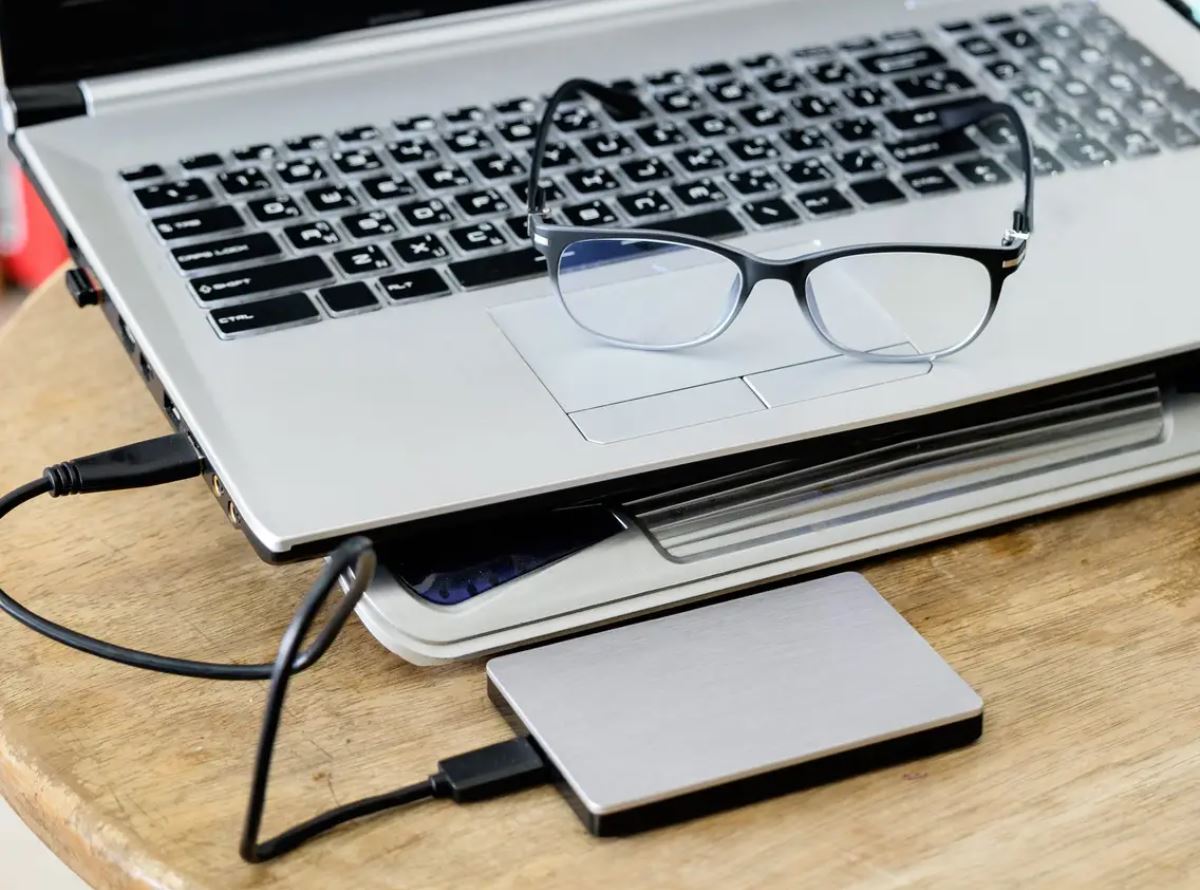
Step 1: Connect the External Hard Drive to Your Computer
The first step in formatting an external hard drive to FAT32 is to ensure that it is properly connected to your computer. Follow these simple steps:
- Locate the USB port on your computer or laptop, and ensure it is functioning properly.
- Connect one end of the USB cable that came with your external hard drive to the USB port on your computer.
- Connect the other end of the USB cable to the USB port on your external hard drive.
- Make sure the connection is secure and that the cable is not loose.
- If your external hard drive requires external power, plug it into a power outlet using the supplied power adapter.
Once you have connected your external hard drive to your computer, ensure that the drive is recognized by your operating system. Usually, your computer will automatically detect the external hard drive and assign it a drive letter, such as “E:” or “F:”.
You can confirm that the connection is successful by checking the “My Computer” or “This PC” section on your computer. You should see the external hard drive listed as a new storage device.
If your computer does not recognize the external hard drive, try the following troubleshooting steps:
- Restart your computer and reconnect the external hard drive.
- Try using a different USB port on your computer.
- Verify that the USB cable is not damaged by trying a different cable, if available.
- Install any necessary drivers or software provided by the manufacturer of the external hard drive.
With your external hard drive successfully connected and recognized by your computer, you’re ready to move on to the next step of formatting it to FAT32.
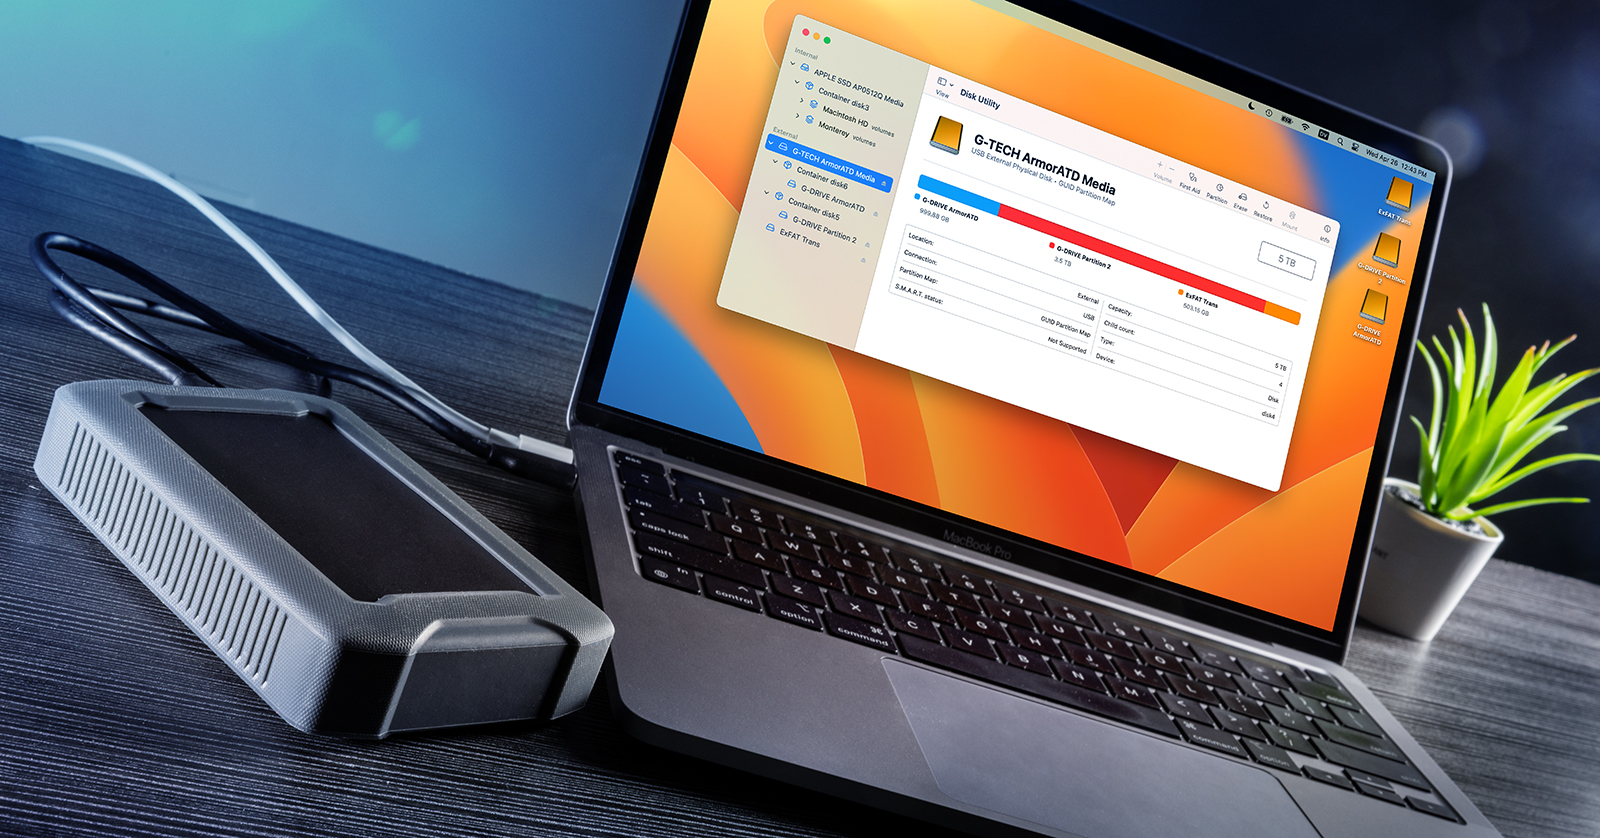
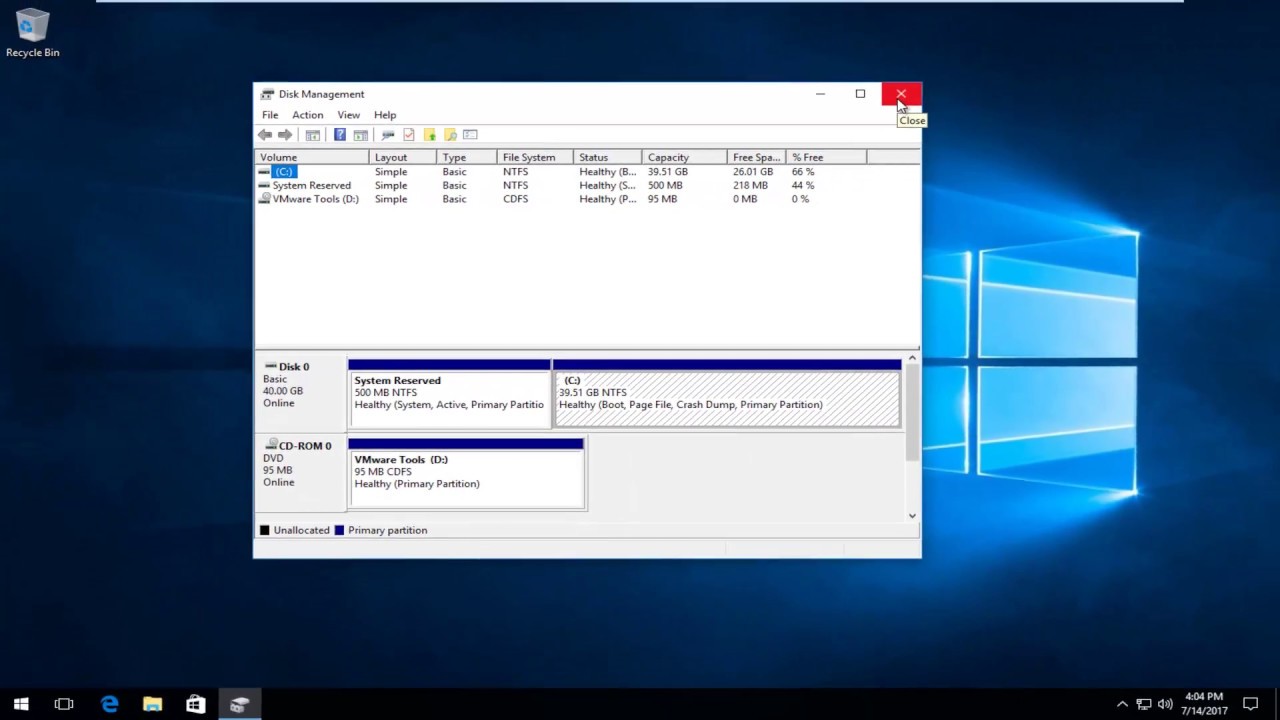
Step 2: Open Disk Management
Once you have connected your external hard drive to your computer, the next step is to open Disk Management, which is a built-in tool in Windows operating systems. Follow these steps to access Disk Management:
- Press the Windows key on your keyboard to open the Start menu.
- Type “Disk Management” in the search bar and select the “Create and format hard disk partitions” option from the search results.
- The Disk Management window will open, displaying a list of all the disks connected to your computer. This includes your internal hard drive(s) as well as any external hard drives.
Alternatively, you can also access Disk Management by right-clicking on the “Start” button, selecting “Disk Management” from the context menu.
Once you have opened Disk Management, you will see a visual representation of the different disks and their partitions. Your external hard drive should be listed as a separate disk with its own assigned drive letter.
If your external hard drive is not listed in Disk Management, ensure that it is properly connected to your computer and try refreshing the list by clicking the “Refresh” button located in the toolbar.
Now that you have successfully opened Disk Management and located your external hard drive, you are ready to move on to the next step of formatting it to FAT32.
Step 3: Locate the External Hard Drive
After opening Disk Management, the next step is to locate your external hard drive within the list of disks displayed. Follow these steps to find your external hard drive:
- In the Disk Management window, look for a disk that corresponds to the size and capacity of your external hard drive. It should have a label or description that matches the make or model of your device.
- The external hard drive will typically be labeled as “Removable,” “Portable,” or “External.” This distinguishes it from your internal hard drive(s) that are labeled as “Local Disk.”
- Take note of the assigned drive letter for your external hard drive. This will be important in the later steps of the formatting process.
If you have multiple external hard drives connected to your computer, it is essential to identify the correct one to avoid accidentally formatting the wrong drive. Double-check the size and capacity, as well as the drive letter, to ensure you are dealing with the correct device.
In some cases, your external hard drive may be listed as offline or marked with a red X icon. If this is the case, right-click on the disk and select “Online” to bring it back online. This allows you to proceed with the formatting process.
Once you have successfully located your external hard drive and confirmed that it is available and ready for formatting, you can proceed to the next step. However, before proceeding, it is essential to back up any important data stored on the external hard drive to avoid potential data loss during the formatting process.
Step 4: Backup Your Data
Before proceeding with formatting your external hard drive to FAT32, it is crucial to backup any important data stored on the drive. Formatting will erase all the data on the drive, so creating a backup ensures that you don’t lose any valuable files. Follow these steps to backup your data:
- Create a new folder on your computer’s internal hard drive or any other storage device to serve as the backup location.
- Open the location of your external hard drive in File Explorer or Finder, depending on your operating system.
- Select and copy the files and folders that you want to backup by either dragging and dropping them into the newly created backup folder or using the copy and paste function.
- Wait for the files to finish copying to the backup location. The time required may vary depending on the size and number of files being copied.
- Once the backup process is complete, double-check the copied files to ensure they are accessible and intact within the backup folder.
It is recommended to double-check that you have copied all necessary files before proceeding with the formatting process. This includes documents, photos, videos, music, and any other important data on your external hard drive.
Creating a backup not only protects your data during the formatting process but also provides an additional copy of your files that can be accessed in case of any emergencies or accidental deletion.
Once you have safely backed up your data and confirmed that the backup is successful, you can proceed to the next step of formatting your external hard drive to FAT32.
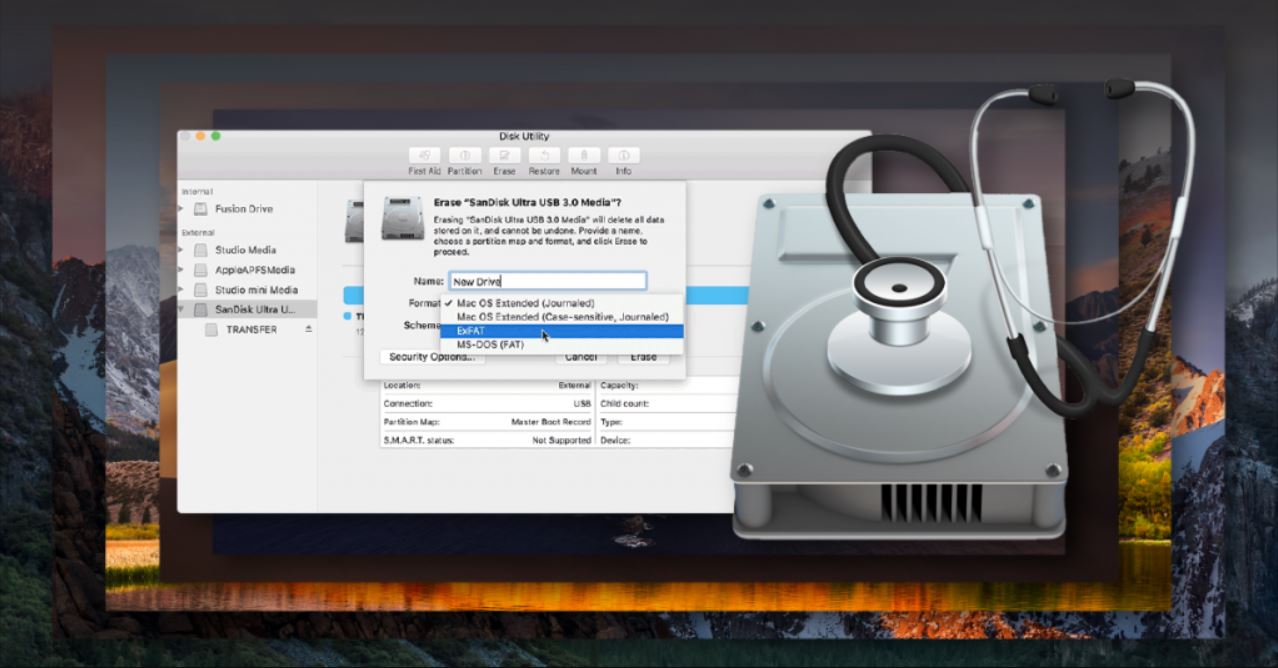
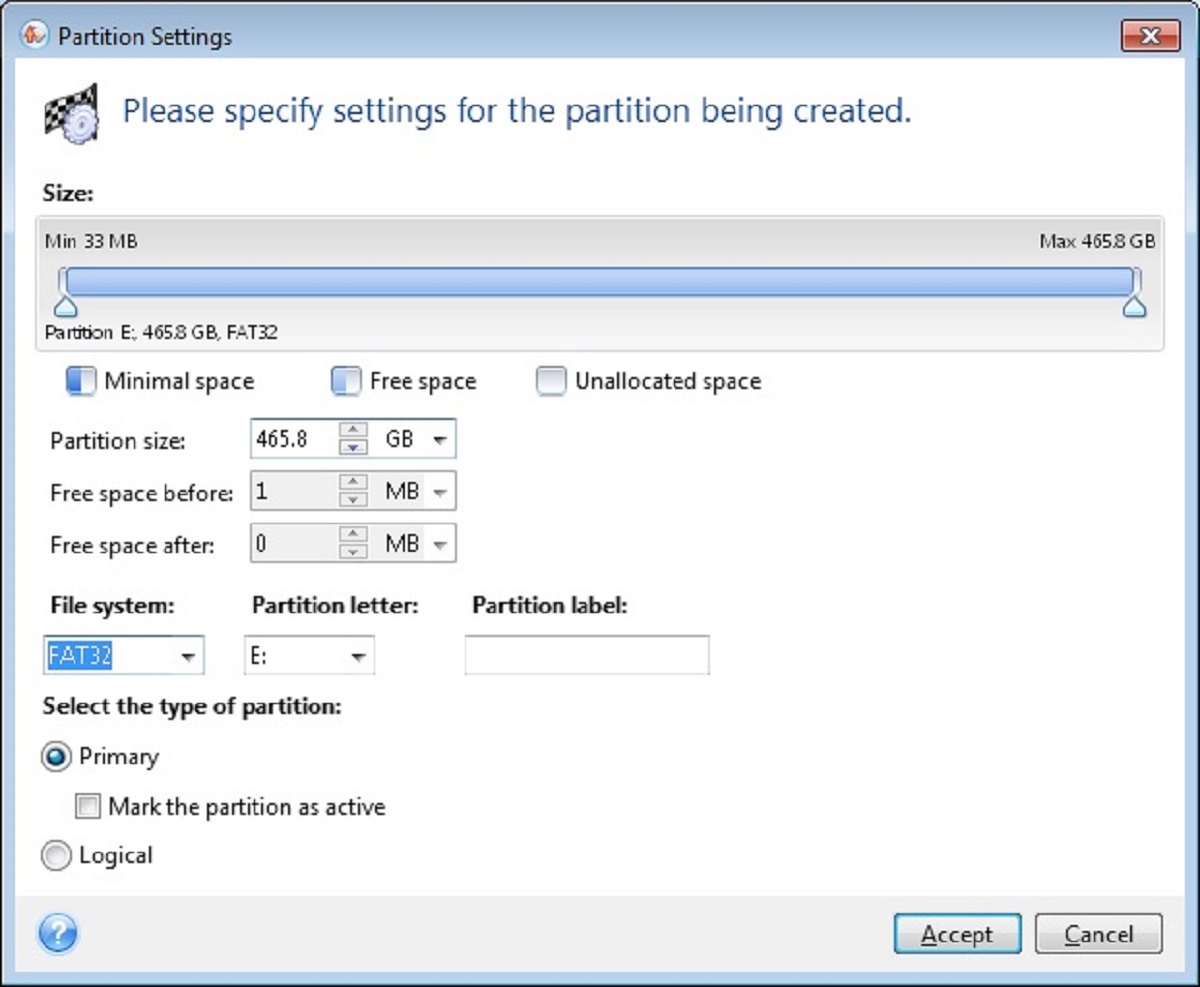
Step 5: Format to FAT32
With your data safely backed up, you’re now ready to format your external hard drive to the FAT32 file system. Follow these steps to complete the formatting:
- Right-click on the external hard drive in the Disk Management window.
- Select the “Format” option from the context menu that appears.
- In the Format window, choose “FAT32” as the file system.
- Optionally, you can assign a new name to the external hard drive by entering it in the “Volume label” field.
- Ensure that the “Perform a quick format” checkbox is selected to speed up the formatting process.
- Double-check that you have selected the correct external hard drive for formatting.
- Click on the “OK” or “Format” button to start the formatting process.
Keep in mind that the formatting process may take some time, depending on the size and speed of your external hard drive. You can monitor the progress of the format in the Disk Management window or by checking the progress bar displayed in the formatting dialog box.
During the formatting process, it is important not to disconnect the external hard drive or turn off your computer as this may lead to data corruption and incomplete formatting. It is best to let the process complete without any interruptions.
Once the formatting is finished, you will receive a notification indicating the successful completion of the format. Your external hard drive is now formatted to the FAT32 file system and ready to be used.
Remember that formatting erases all the data on the external hard drive, so ensure that you have completed the backup process and have restored any necessary files to your computer or another storage device.
Now that your external hard drive is successfully formatted to FAT32, the next step is to assign a drive letter to it for easy access, which we will cover in the next step.
Step 6: Assign a Drive Letter
After formatting your external hard drive to the FAT32 file system, the next step is to assign a drive letter to it. Assigning a drive letter makes it easier to identify and access your external hard drive. Here’s how you can assign a drive letter:
- Open the Disk Management window, if it is not already open.
- Locate your formatted external hard drive in the list of disks.
- Right-click on the external hard drive and select the “Change Drive Letter and Paths” option.
- In the dialog box that appears, click on the “Change” button.
- Choose an available drive letter from the dropdown menu. You can select any letter that is not already assigned to another drive on your computer.
- Click on the “OK” button to confirm the assignment of the drive letter.
Once you have assigned a drive letter, you can now easily access your external hard drive through File Explorer or Finder by simply double-clicking on the assigned drive letter. The external hard drive will appear in the list of drives alongside your internal hard drive(s) and any other connected storage devices.
Assigning a drive letter not only simplifies the process of accessing your external hard drive but also enables you to create shortcuts, organize files, and perform other file management tasks more efficiently.
It is important to note that if you disconnect and reconnect your external hard drive in the future, it may not retain the same drive letter assignment. In such cases, you will need to follow these steps again to assign the drive letter to your external hard drive.
Now that you have assigned a drive letter to your formatted external hard drive, you are ready to use it for storing, accessing, and transferring your files.
Step 7: Wait for the Process to Complete
After formatting your external hard drive to the FAT32 file system and assigning a drive letter, the final step is to wait for the process to complete. Formatting a drive can take some time, especially if you have a large capacity external hard drive. Here’s what you need to do:
- Make sure that all the necessary settings, such as the file system selection and drive letter assignment, have been configured correctly before initiating the format.
- Click on the “OK” or “Format” button to start the formatting process.
- During the formatting process, a progress bar will be displayed to indicate the status of the format. The time required for the format will depend on the size and speed of your external hard drive.
- Avoid disconnecting the external hard drive or turning off your computer while the format is in progress. Doing so may lead to data corruption or an incomplete format.
- Monitor the progress of the format by periodically checking the progress bar or the Disk Management window.
- Once the format is complete, you will receive a notification indicating the successful completion of the process.
It’s important to be patient and allow the formatting process to finish without interruptions. The time it takes to format your external hard drive to FAT32 can vary, so it’s best to allocate sufficient time for the process to complete.
After the format is finished, your external hard drive is ready to use. You can start utilizing its storage capacity, transferring files, and organizing your data as needed.
Congratulations! You have successfully completed the formatting process and now have a formatted external hard drive ready to serve your storage needs.
Step 8: Safely Remove the External Hard Drive
Once you have finished using your external hard drive and are ready to disconnect it from your computer, it is essential to follow the proper procedure to avoid data loss or potential damage. Here’s how you can safely remove the external hard drive:
- Make sure all data transfers or file operations involving the external hard drive are completed.
- Save and close any open files or applications that are stored on the external hard drive.
- Click on the “Safely Remove Hardware and Eject Media” icon in the system tray or notification area of your computer. This icon usually looks like a USB plug with a green checkmark or an arrow pointing upwards.
- A list of connected devices will appear. Locate the external hard drive in the list.
- Click on the external hard drive in the list, and a notification will indicate that it is safe to remove the device. It may say something like “Safe to Remove Hardware” or “You can now safely remove the device.”
- Once you receive the notification, gently disconnect the USB cable from the USB port on your computer.
- If your external hard drive requires external power, make sure to disconnect it from the power outlet.
It is important to follow these steps to safely remove the external hard drive, as abruptly disconnecting it without going through the proper procedure can result in data corruption or damage to the drive.
By safely removing the external hard drive, you ensure that all data is written properly and any pending operations are completed before disconnecting the device. This helps protect the integrity of your data and prolongs the lifespan of the external hard drive.
Now that you have safely removed the external hard drive, you can either store it in a safe place or connect it to another device for further use.
Conclusion
Formatting an external hard drive to the FAT32 file system is a crucial step in preparing it for use. The benefits of FAT32 include wide compatibility, support for large storage sizes, simplicity, and compatibility with portable devices. By following the step-by-step guide provided in this article, you can easily format your external hard drive to FAT32 and enjoy seamless data storage and transfer across different platforms.
Remember to connect your external hard drive to your computer, open Disk Management, locate the external hard drive, and back up your data before proceeding with the format. After successfully formatting to FAT32, assign a drive letter for easy access and wait for the process to complete. Finally, remember to safely remove the external hard drive from your computer before disconnecting it.
While formatting erases all data on the external hard drive, proper backups and safe removal ensure the security of your files and protect against data loss. By following these steps, you can confidently format your external hard drive to FAT32 and optimize its functionality according to your storage needs.
Now that you have the knowledge and understanding of how to format an external hard drive to FAT32, take full advantage of this process to make your external storage device more versatile and efficient.