What is an External Hard Drive?
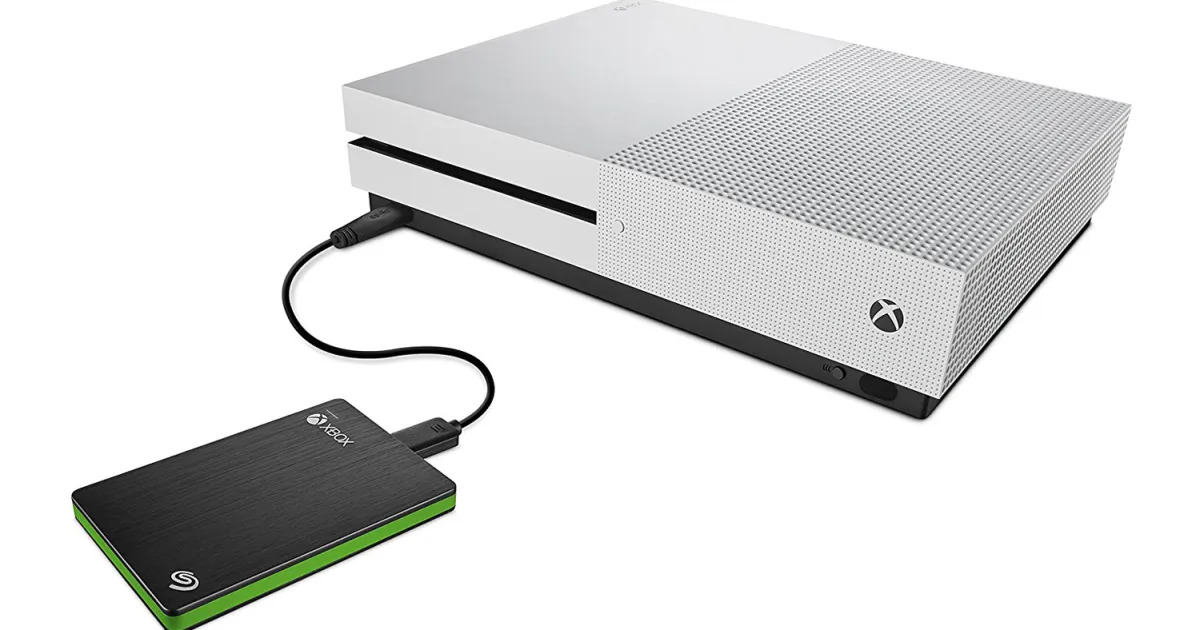
An external hard drive is a portable storage device that can be connected to a computer using various interfaces such as USB, Thunderbolt, or eSATA. Unlike the internal hard drive, which is built into the computer, an external hard drive is separate and can be easily connected or disconnected as needed.
External hard drives provide a convenient way to expand your computer’s storage capacity. They come in different sizes, ranging from compact portable drives that can fit in your pocket to larger desktop drives that require a power source. These drives usually have a higher storage capacity compared to the internal hard drive of a computer, allowing you to store large amounts of data, including documents, photos, videos, and other files.
Moreover, external hard drives offer flexibility in terms of compatibility. They can be used with various operating systems, including Windows, macOS, and Linux, making them accessible across different platforms. This makes them a popular choice for users who need to transfer large files or backup their data.
Additionally, external hard drives can be used for purposes other than storage expansion. They can serve as a backup solution, allowing you to keep copies of important files in case of a data loss disaster. They can also be used to store and transport files between different computers, making them a reliable option for sharing data.
Overall, external hard drives offer a convenient and portable solution for increasing storage capacity, backup purposes, and data transfer. With their versatility and compatibility, they have become an essential tool for individuals and businesses alike, ensuring that data can be easily accessed, backed up, and shared when needed.
Different Types of External Hard Drives
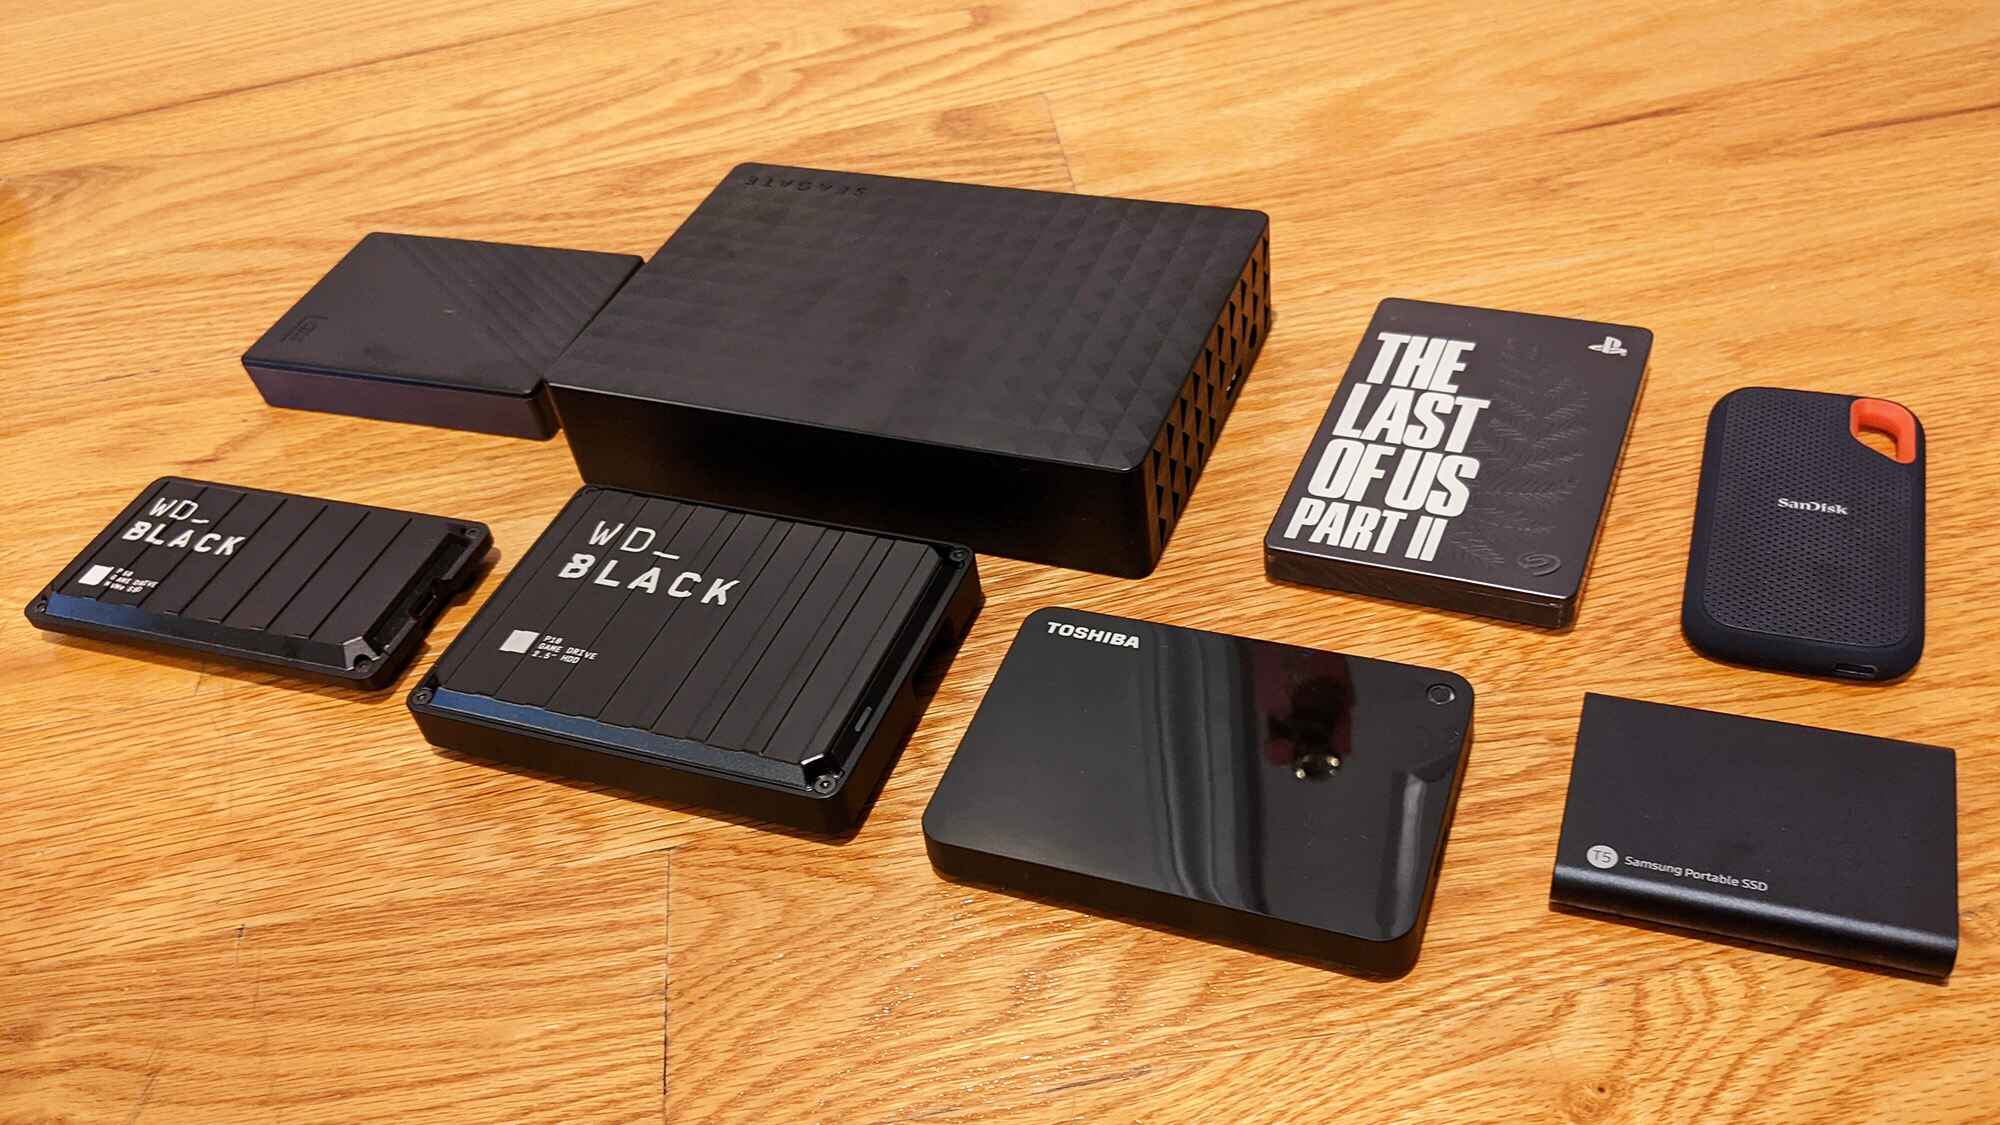
When it comes to external hard drives, there are a variety of options available, each with its own unique features and advantages. Understanding the different types can help you choose the right one for your needs. Here are some of the most common types of external hard drives:
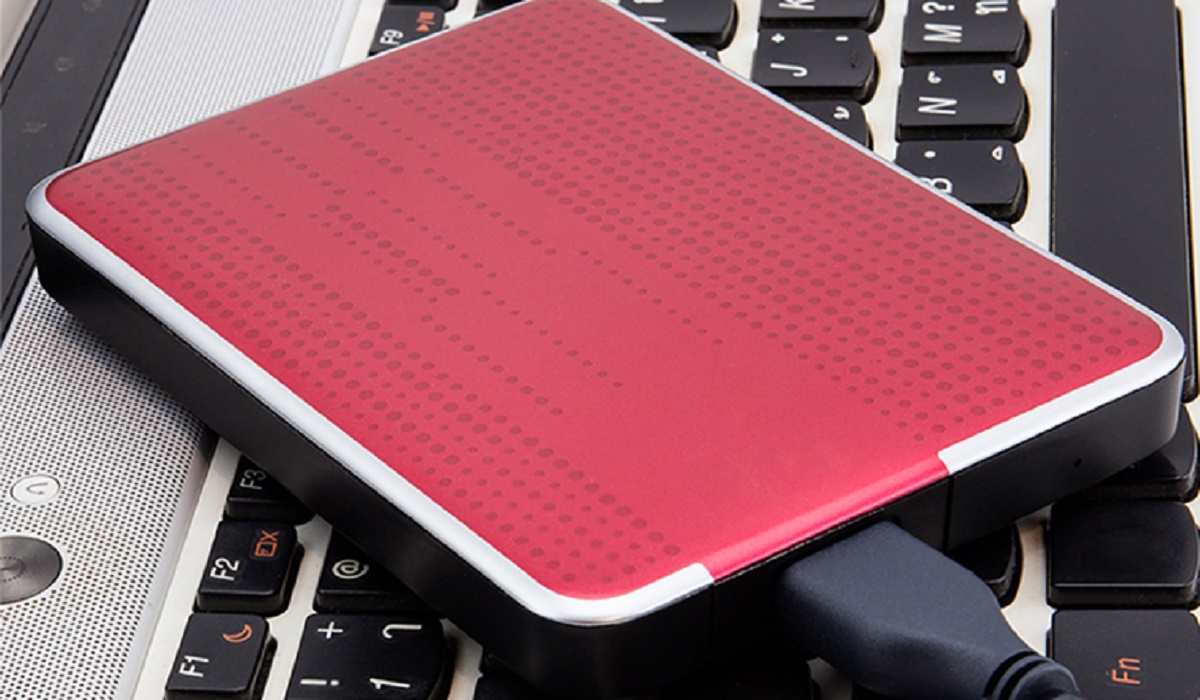
- Portable Hard Drives: These small and lightweight drives are designed for on-the-go use. They are powered via the USB or Thunderbolt connection and do not require an additional power source. Portable hard drives are perfect for individuals who need to carry their data with them and use it on multiple devices.
- Desktop Hard Drives: These larger and bulkier drives are designed for stationary use. They typically require an external power source and offer higher storage capacities compared to portable drives. Desktop hard drives are suitable for users who mainly work from a fixed location, such as a home or office.
- Wireless Hard Drives: These innovative drives connect to your computer or mobile device via Wi-Fi, eliminating the need for physical connections. They create their own wireless network, allowing multiple devices to access the stored data simultaneously. Wireless hard drives are ideal for sharing data among multiple users or devices without the hassle of cables.
- Solid-State Drives (SSD): Unlike traditional hard drives, which use spinning disks, SSDs have no moving parts. This makes them more durable, faster, and quieter. SSDs are often more expensive than traditional hard drives but offer enhanced performance and reliability. They are an excellent choice for users who require fast data access and transfer speeds.
It’s important to consider factors such as storage capacity, speed, portability, and connectivity options when selecting an external hard drive. Assess your needs and preferences to determine which type of drive best suits your requirements. Whether you need a portable solution for everyday use or a high-capacity drive for extensive file storage, there’s an external hard drive type out there to meet your needs.
Formatting an External Hard Drive
Formatting an external hard drive is the process of preparing it to store data. It involves creating a file system that organizes and manages the data on the drive. Formatting is necessary when setting up a new drive, switching between different operating systems, or resolving issues with an existing drive. Here are the steps to format an external hard drive:
- Backup Your Data: Before formatting, make sure to backup any important data on the drive. Formatting will erase all existing data, so it’s crucial to have a copy of your files stored elsewhere.
- Connect the Drive: Plug your external hard drive into your computer using the appropriate interface and ensure it is recognized by your operating system. Make sure there are no active processes or applications accessing the drive.
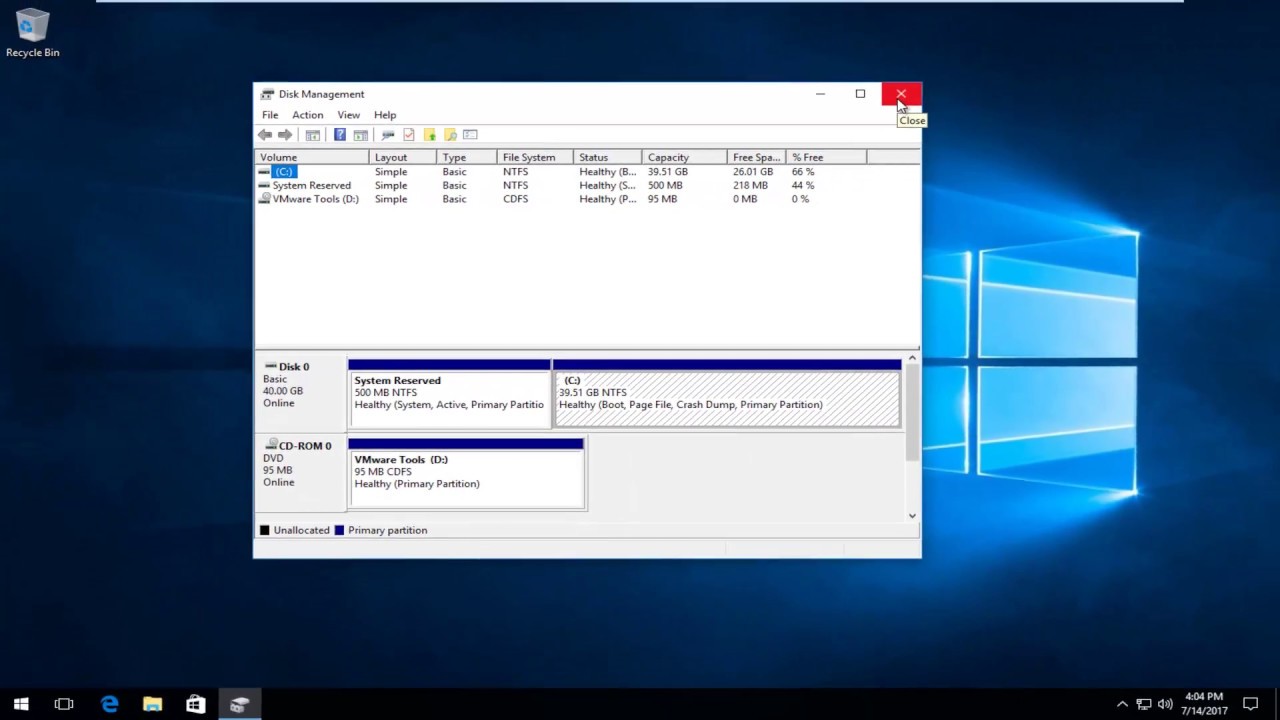
- Open Disk Management (Windows) or Disk Utility (Mac): On Windows, you can access Disk Management by right-clicking the Start button and selecting “Disk Management” from the menu. On Mac, go to “Applications,” then “Utilities,” and open “Disk Utility.”
- Select the Drive: In Disk Management or Disk Utility, locate your external hard drive in the list of available drives. Be careful to choose the correct drive, as formatting will erase all data on the selected drive.
- Choose the File System: Select the desired file system for your external hard drive. Windows supports NTFS and exFAT, while Mac supports APFS and exFAT. The file system determines the compatibility and capabilities of the drive.
- Assign a Volume Label (Optional): You can give your drive a name or label to easily identify it. This step is optional but can be helpful when managing multiple drives.
- Start the Formatting Process: Once you have selected the file system and assigned a volume label, click the appropriate button to start the formatting process. Confirm any warning or prompt that appears before proceeding.
- Wait for Formatting to Complete: The time it takes to format the drive depends on its size and type. Larger drives may take longer. Avoid interrupting the process to prevent data corruption.
- Eject the Drive: After formatting is complete, safely eject the drive from your computer. This ensures that all changes are properly saved before removing the drive.
Following these steps will allow you to format your external hard drive successfully. Remember that formatting erases all data on the drive, so it’s crucial to back up any important files before proceeding. Be mindful of selecting the appropriate file system for your needs and always exercise caution when handling and managing your external hard drive.
Finding Out the Format of Your External Hard Drive on Windows
If you’re using a Windows operating system and want to determine the format of your external hard drive, there are a few simple steps you can follow:
- Connect the External Hard Drive: Plug in your external hard drive to your Windows computer using the appropriate interface, such as USB or Thunderbolt. Ensure that the drive is properly connected and recognized by your computer.
- Open File Explorer: Right-click on the Start button and select “File Explorer” from the menu that appears. Alternatively, you can press the Windows key + E on your keyboard to open File Explorer.
- Locate the External Hard Drive: In the left sidebar of File Explorer, you will find a list of drives and storage devices. Look for your external hard drive and identify the drive letter assigned to it. It is usually labeled with a letter such as “D:” or “E:”.
- Right-Click and Select “Properties”: Once you have identified the drive letter associated with your external hard drive, right-click on it and select “Properties” from the dropdown menu.
- View File System: In the Properties window, under the “General” tab, you will see information about the drive, including its file system. The file system will be listed next to the “File system” label. Common file systems for Windows include NTFS and exFAT.
By following these steps, you can easily find out the format of your external hard drive on a Windows computer. Knowing the file system of your drive can be helpful when transferring files, troubleshooting issues, or ensuring compatibility with different devices or operating systems. Keep in mind that the ability to read certain file systems may be limited on different devices, so it’s important to choose the appropriate file system based on your specific needs and requirements.
Finding Out the Format of Your External Hard Drive on macOS
If you are using a macOS and want to determine the format of your external hard drive, you can easily find out by following these steps:
- Connect the External Hard Drive: Plug your external hard drive into your Mac using the appropriate interface, such as USB or Thunderbolt. Make sure the drive is properly connected and recognized by your Mac.
- Open Finder: Click on the Finder icon in the dock to open the Finder window. You can also press Command + Space on your keyboard to open Spotlight, then type “Finder” and press Enter.
- Locate the External Hard Drive: In the sidebar of the Finder window, you will see a list of drives and devices. Look for your external hard drive and click on it to select it.
- Get Info: With the external hard drive selected, click on “File” in the menu bar, then select “Get Info” from the dropdown menu. Alternatively, you can press Command + I on your keyboard.
- View Information: The “Get Info” window will open, displaying detailed information about the selected drive. Look for the “Format” section in the window. The format listed here indicates the file system of the external hard drive.
On macOS, the most common file systems include APFS (Apple File System), HFS+ (Mac OS Extended), and exFAT. APFS is the default file system for macOS running on SSDs, while HFS+ is widely used for hard drives formatted for macOS. exFAT is a file system that is compatible with both macOS and Windows, allowing for easy file transfer between the two operating systems.
By following these steps, you can quickly determine the format of your external hard drive on macOS. Knowing the file system is essential for compatibility and file transfer purposes. Whether you need to share files with Windows users, use the drive for Time Machine backups, or optimize it for a specific purpose, understanding the format of your external hard drive is crucial for proper usage and management.
Finding Out the Format of Your External Hard Drive on Linux
If you are using a Linux operating system and want to determine the format of your external hard drive, you can use the command-line interface to find out. Follow these steps:
- Connect the External Hard Drive: Plug your external hard drive into your Linux computer using the appropriate interface, such as USB or Thunderbolt. Make sure the drive is properly connected and recognized by your system.
- Open Terminal: Launch the terminal on your Linux system. You can usually find it in the applications menu or by pressing the appropriate key combination, such as Ctrl + Alt + T.
- Identify the Drive Name: In the terminal, type the command `lsblk` and press Enter. This command lists all the available block devices, including your external hard drive. Note down the name of your hard drive. It is typically listed as something like `/dev/sdX`, where “X” is a letter representing the specific drive.
- Use the fdisk Command: In the terminal, type the command `sudo fdisk -l /dev/sdX` (replace “X” with the letter corresponding to your drive) and press Enter. This command provides detailed information about the partitions and file systems on your external hard drive.
- View the File System: Look for the “System ID” or “Type” column in the output of the `fdisk` command. This column will indicate the file system type of each partition on the external hard drive. Common file systems on Linux include ext4, ext3, and FAT32.
By following these steps, you can determine the format of your external hard drive on Linux. Understanding the file system is important for compatibility, as different file systems have varying levels of support on Linux. This knowledge can also help you make informed decisions when mounting, formatting, or working with partitions on your external hard drive.
Understanding File Systems: FAT32, NTFS, exFAT, APFS, and More
File systems play a crucial role in organizing and managing data on storage devices, including external hard drives. Here are some commonly used file systems and their key characteristics:
- FAT32 (File Allocation Table 32): FAT32 is a widely compatible file system that supports both Windows and macOS. It has a maximum file size limit of 4GB and a maximum volume size limit of 2TB. While it offers good compatibility across different operating systems, it lacks some advanced features like file-level encryption and access control.
- NTFS (New Technology File System): NTFS is the default file system for modern Windows operating systems. It offers advanced features like file-level security, encryption, and compression. NTFS has powerful disk space management capabilities and supports larger file sizes and volume sizes compared to FAT32.
- exFAT (Extended File Allocation Table): exFAT is designed to be a lightweight and more capable successor to FAT32. It supports large file sizes and volume sizes, making it suitable for external storage devices and file exchange between different platforms. exFAT is compatible with Windows, macOS, and Linux.
- APFS (Apple File System): APFS is the default file system used by Apple on macOS and iOS devices. It is designed to optimize performance, security, and reliability. APFS supports features like snapshots for easy data backups, file cloning for efficient storage usage, and strong encryption. It is recommended for SSDs and flash storage devices.
- ext4 (Fourth Extended File System): ext4 is the default file system for many Linux distributions. It is a robust and mature file system that offers excellent performance and reliability. ext4 supports large file sizes, journaling for data integrity, and advanced features like data compression and encryption.
- Other File Systems: There are numerous other file systems used for specific purposes or on specific platforms. These include HFS+ (Hierarchical File System Plus) used by older versions of macOS, XFS (eXtended File System) used by some Linux distributions, and more.
When choosing the file system for your external hard drive, consider the compatibility with your operating system and the specific features or capabilities you require. If you need cross-platform compatibility, exFAT is a good choice. If you primarily use macOS devices, APFS offers advanced features. For Windows-based systems, NTFS provides a robust file system with advanced security features. Understanding the different file systems allows you to make an informed decision based on your needs and preferences.
Converting the Format of Your External Hard Drive
If you want to change the format of your external hard drive to a different file system, you can do so by following these steps:
- Backup Your Data: Before converting the format, it is essential to backup all the data on your external hard drive. Converting the format involves formatting the drive, which will erase all existing data.
- Choose the New File System: Determine which file system you want to convert your external hard drive to. Consider the compatibility with your operating system and any specific features or requirements you may have.
- Format the External Hard Drive: Connect the external hard drive to your computer and open the disk management utility specific to your operating system (such as Disk Management on Windows or Disk Utility on macOS).
- Select the External Hard Drive: Locate your external hard drive in the list of available drives and select it. Be careful to choose the correct drive, as formatting will erase all data on the selected drive.
- Initiate the Format: In the disk management utility, look for the option to format the drive and choose the new file system you want to convert to. Follow the prompts to start the formatting process.
- Wait for the Format to Complete: The time it takes to format the drive depends on its size. Larger drives may take longer. It is important not to interrupt the formatting process to prevent data corruption.
- Safely Eject the Drive: Once the format is complete, safely eject the external hard drive from your computer. This ensures that all changes are properly saved and the drive can be safely disconnected.
- Restore Your Data: After converting the format of your external hard drive, restore the backed-up data onto the drive. Make sure to copy the files back in a compatible format that works with the newly formatted drive.
Converting the format of your external hard drive allows you to change the file system to better suit your needs or compatibility requirements. However, it is important to note that the conversion process will erase all existing data. Therefore, make sure to back up your data before proceeding and ensure that you have a proper understanding of the potential impact the format conversion may have on your data and storage needs.
Choosing the Right Format for Your Needs
When it comes to selecting the format for your external hard drive, there are several factors to consider. The right format depends on your specific needs, preferences, and the operating systems you’ll be using. Here are some key points to keep in mind:
- Compatibility: Consider the operating systems and devices you plan to use with your external hard drive. If you need cross-platform compatibility, formats like exFAT or NTFS are suitable choices as they can be accessed by both Windows and macOS.
- File Size Support: Take into account the sizes of the files you’ll be storing. Some file systems, like FAT32, have limitations on maximum file size, while others, like exFAT and NTFS, can handle larger files more effectively.
- Security and Features: Consider the security features and advanced capabilities offered by different file systems. For example, if data security is a priority, NTFS and APFS provide file-level encryption and access controls.
- Operating System Default: If you primarily use a specific operating system, using the default file system for that system can provide the best performance and compatibility. For Windows, NTFS is the default, while macOS uses APFS.
- Usage Scenario: Think about how you plan to use the external hard drive. If you need it for general file storage and transfer, exFAT is a versatile option. If you’re using it for backups or specific applications like Time Machine on macOS, consider the file system recommended for that purpose.
Ultimately, the right format for your external hard drive depends on your unique circumstances. Assess your needs, consider the factors mentioned above, and choose a file system that offers the best compatibility, performance, and features for your requirements.