Introduction
Backing up your photos is essential in order to protect your precious memories and ensure their security. With the advancement of technology, it has become easier than ever to store and access large amounts of data. Mac users, in particular, have a variety of options available to them for backing up their photos, one of the most reliable being an external hard drive.
By backing up your photos from your Mac onto an external hard drive, you not only provide an additional layer of security but also free up valuable space on your computer. This ensures that your Mac runs smoothly, without being burdened by large photo files.
In this article, we will guide you through the process of backing up your photos from your Mac onto an external hard drive. We will cover the benefits of this approach, the steps involved in setting up the backup system, and how to organize and manage your backed-up photos effectively.
Now, without further ado, let’s explore how to safeguard your photo collection by backing it up onto an external hard drive.
Benefits of Backing Up Photos from Mac onto an External Hard Drive
Backing up your photos from your Mac onto an external hard drive offers numerous advantages that ensure the safety and accessibility of your valuable memories. Here are some key benefits of this approach:
- Data Protection: By creating a backup on an external hard drive, you safeguard your photos against potential data loss. Accidental deletion, hardware failures, and software malfunctions are a constant threat. Having a backup on an external hard drive ensures that your photos remain safe, even if something happens to your Mac.
- Extra Storage Space: Photos can quickly consume a significant amount of storage space on your Mac. By offloading them onto an external hard drive, you free up space on your computer’s internal storage, allowing it to run more efficiently.
- Easy Access and Mobility: An external hard drive provides the flexibility to access your photos from multiple devices. Whether you want to view your photos on a different Mac, a Windows computer, or even a smart TV, you can simply connect the external hard drive and access your photo library without any hassle.
- Improved Performance: As your photo library grows, it can slow down your Mac’s performance. By transferring your photos to an external hard drive, you can optimize your Mac’s speed and responsiveness, as it will have fewer files to manage.
- Protection Against Thefts or Disasters: In unfortunate situations like theft, fires, or natural disasters, your Mac and its internal storage could be lost or damaged. With a separate external hard drive, you have a reliable backup that remains unaffected by such events, ensuring the preservation of your cherished photo collection.
- Peace of Mind: Perhaps the most significant benefit of all is the peace of mind that comes with knowing your photos are secure. Losing precious memories can be devastating, but having a backup on an external hard drive provides reassurance and ensures that your photos are not prone to accidental or irreversible loss.
By backing up your photos onto an external hard drive, you can enjoy these benefits and have the peace of mind that comes with knowing your memories are protected and easily accessible.
Step 1: Choosing the Right External Hard Drive
Choosing the right external hard drive for backing up your photos is crucial. Consider the following factors to ensure you make the best choice:
- Storage Capacity: Determine the amount of storage space you need based on your current photo library size and anticipated future growth. External hard drives are available in various capacities, ranging from a few hundred gigabytes to multiple terabytes. It’s important to choose a drive that can accommodate your entire photo collection and leave room for future additions.
- Connectivity: Consider the connectivity options available on the external hard drive. USB 3.0 or USB-C ports provide fast transfer speeds, ensuring efficient backup and retrieval of your photos.
- Portability: If you plan to carry your external hard drive with you or use it for on-the-go photo storage, opt for a compact and lightweight model. It should be durable enough to withstand travel and provide easy portability.
- Reliability: Look for external hard drives from reputable brands known for their reliability and durability. Read customer reviews and check product ratings to gain insights into the drive’s performance and longevity.
- Backup Software Compatibility: Some external hard drives come with built-in backup software that simplifies the backup process. Ensure that the drive you choose is compatible with your Mac’s operating system and any backup software you intend to use.
- Budget: Set a budget for your external hard drive purchase. Consider the storage capacity and features you need, and find a balance between quality and affordability.
Once you have considered these factors, research different external hard drive models and compare their specifications and prices. Read user reviews to gather feedback on performance and reliability. Ultimately, choose an external hard drive that aligns with your storage needs, budget, and desired features.
A well-chosen external hard drive will ensure seamless and secure backup of your photos, providing you with peace of mind and accessibility to your memories.
Step 2: Preparing the External Hard Drive for Backup
Before you can start backing up your photos from your Mac onto an external hard drive, it’s essential to properly prepare the drive. Follow these steps to ensure a smooth backup process:
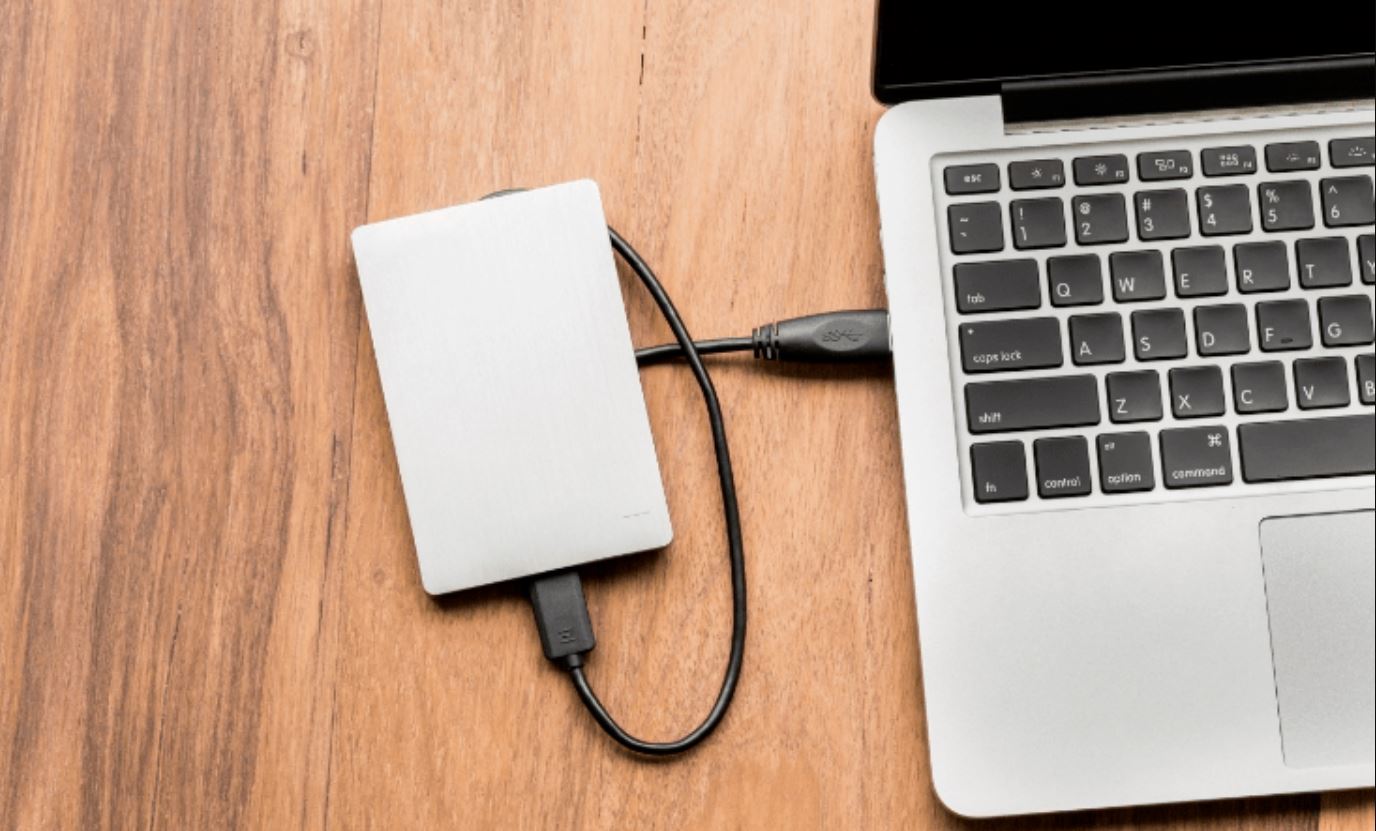
- Connect the External Hard Drive: Plug in your external hard drive to your Mac using the appropriate cable or connector. Ensure that the drive is properly connected and recognized by your Mac.
- Format the External Hard Drive: Most external hard drives come pre-formatted for Windows. To ensure compatibility with your Mac, you need to reformat the drive to a compatible file system such as macOS Extended (Journaled) or APFS (Apple File System). Please note that reformatting erases all existing data, so make sure to backup any important files before proceeding.
- Open Disk Utility: Go to Applications > Utilities and launch Disk Utility.
- Select the External Hard Drive: In Disk Utility, locate your external hard drive in the list on the left-hand side.
- Erase the Drive: Click on the Erase tab, select the desired file system (either macOS Extended or APFS), and give your drive a recognizable name.
- Confirm and Format: Double-check the settings and make sure you have selected the correct drive. Then, click on the Erase button to begin the formatting process. This may take a few minutes, so be patient.
- Verify the Formatting: Once the formatting is complete, Disk Utility will display a confirmation message. Take this opportunity to verify that the drive is now using the desired file system.
- Eject the Drive: Finally, eject the drive by right-clicking on its icon and selecting Eject. This ensures that no files are being read or written to the drive before safely disconnecting it from your Mac.
By following these steps, you have successfully prepared your external hard drive for the photo backup process. Now, you’re ready to move on to the next step of setting up the auto-backup system on your Mac, ensuring your photos are automatically and regularly backed up.
Step 3: Set Up Auto-Backup System on Mac
Setting up an auto-backup system on your Mac ensures that your photos are regularly and automatically backed up to your external hard drive. This eliminates the need for manual backups and provides an added layer of convenience and security. Follow these steps to set up the auto-backup system:
- Time Machine: On your Mac, navigate to System Preferences, either by clicking on the Apple menu and selecting System Preferences or by searching for it in Spotlight. In System Preferences, locate and open the Time Machine settings.
- External Hard Drive Selection: In the Time Machine settings, click on the Select Backup Disk button. Choose your external hard drive from the list of available options.
- Enable Time Machine: Once you have selected your external hard drive as the backup disk, click on the On/Off toggle to enable Time Machine.
- Optional: Exclude Items: If there are specific files or folders you do not want to back up, click on the Options button and add those files or folders to the Exclude list.
- Start the Backup: With the Time Machine settings configured, your Mac will start the initial backup process. This may take some time, depending on the size of your photo library. Ensure that your Mac is connected to the external hard drive during this process.
- Monitor the Backup: Once the initial backup is complete, Time Machine will automatically back up your photos at regular intervals. You can monitor the progress of the backup by checking the Time Machine menu in your Mac’s menu bar.
- Automatic Updates: Whenever you connect your external hard drive to your Mac, Time Machine will recognize it as the designated backup disk and automatically update your photo library backup.
- Verification and Restore: Periodically, it is important to verify that your backups are successfully completed. You can do this by accessing the Time Machine interface, navigating through different backups, and confirming that your photos are accessible. Should you need to restore your photos, Time Machine makes it easy to retrieve specific files or entire photo libraries.
By setting up Time Machine and enabling the auto-backup system, you ensure that your Mac automatically keeps your photo library securely backed up on the external hard drive. This provides peace of mind, knowing that your photos are protected and easily recoverable in the event of data loss.
Step 4: Manually Transferring Photos to External Hard Drive
In addition to setting up the auto-backup system, you may also want to manually transfer specific photos or folders to your external hard drive. This gives you more control over which photos are backed up and allows you to organize them in a way that suits your preferences. Follow these steps to manually transfer photos to your external hard drive:
- Connect the External Hard Drive: Ensure that your external hard drive is connected to your Mac.
- Open Finder: Open a new Finder window on your Mac.
- Navigate to Your Photos: In the Finder window, locate and select the photos or folders that you want to transfer to the external hard drive. You can navigate through various folders, such as Pictures or Photos, to access your photo library.
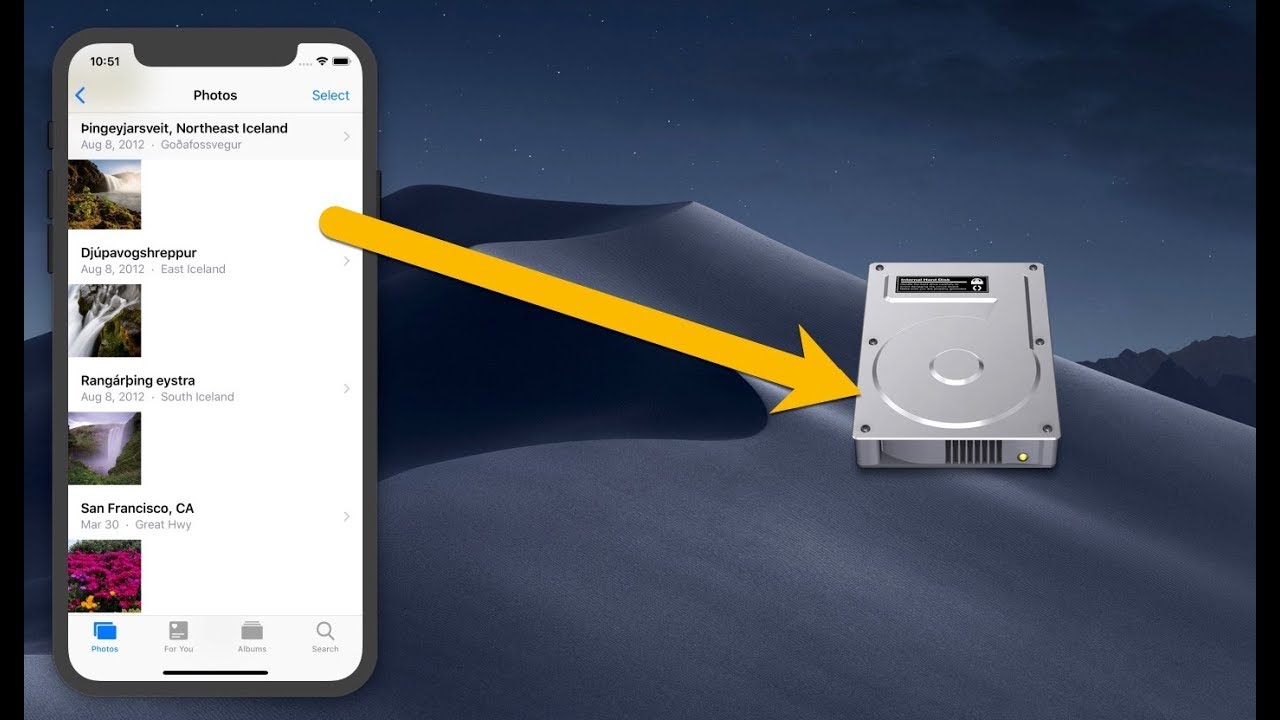
- Copy or Drag-and-Drop: With the desired photos or folders selected, you can either right-click and choose the Copy option or simply drag-and-drop them onto the external hard drive icon on your desktop or in the Finder sidebar.
- Monitor the Transfer: Depending on the number and size of the photos being transferred, the process may take some time. You can monitor the progress of the transfer by keeping an eye on the status bar that appears during the copying process.
- Eject the External Hard Drive: Once the transfer is complete, right-click on the external hard drive icon and choose the Eject option. This ensures that all files are safely written to the drive before disconnecting it from your Mac.
- Verification: After ejecting the external hard drive, disconnect it from your Mac and inspect the transferred photos. Open a few photos to confirm that they have been successfully copied and are accessible.
Manually transferring photos to your external hard drive provides flexibility and allows you to customize your backup strategy. You can selectively transfer specific photos or folders, keeping your backup organized and tailored to your preferences. Just remember to periodically repeat this step to ensure that your latest photos are backed up.
Step 5: Organizing and Managing Backed-up Photos
Once your photos are successfully backed up onto your external hard drive, it’s important to organize and manage them effectively. This will make it easier for you to locate specific photos and maintain a well-structured photo library. Follow these steps to organize and manage your backed-up photos:
- Create Folders: Start by creating folders on your external hard drive to categorize your photos. Consider organizing them based on events, dates, locations, or any other criteria that make sense for your photo collection.
- Move Photos: To maintain a well-organized backup, move the photos from the root directory of your external hard drive into the appropriate folders. You can do this by dragging and dropping them from the main directory into the desired folders you created in the previous step.
- Use Subfolders: If needed, create subfolders within your main folders to further organize your photos. For example, within a folder for a specific event, you can create subfolders for different activities or participants.
- Rename Files: Consider renaming your photo files using descriptive names or dates to make them more easily recognizable. This will assist you while browsing through your photo library and searching for specific photos in the future.
- Tag Photos: Some photo management software allows you to add tags or keywords to your photos. Utilize this feature to mark photos with relevant keywords, making them searchable and easier to locate based on specific criteria.
- Backup Metadata: If your photos contain important metadata such as date, location, or camera settings, ensure that the backup process preserves this information. Metadata can be crucial in organizing and searching for specific photos within your collection.
- Maintain Consistency: As you continue to add new photos to your library, follow the same organization and naming conventions to maintain consistency and ease of management. This will ensure that your backed-up photos remain well-organized over time.
- Regularly Update: Periodically review and update your organized photo library by adding new photos, deleting duplicates or unwanted images, and rearranging folders if needed.
By organizing and managing your backed-up photos, you can easily navigate through your collection, find specific photos when needed, and keep your photo library well-structured. This will help you make the most of your photo backup system and ensure that your memories are easily accessible and well-preserved.
Step 6: Verifying the Backup and Ensuring Data Integrity
After backing up your photos onto your external hard drive, it is crucial to verify the backup and ensure the integrity of your data. This step helps confirm that your photos have been successfully transferred and can be recovered if necessary. Follow these steps to verify the backup and ensure data integrity:
- Open Photos: Open your photo management software or use the built-in Photos app on your Mac to access your photo library.
- Navigate to Backup Drive: In the software or app, navigate to your external hard drive where the backup is stored. Ensure that the backup drive is connected to your Mac and recognized by the software.
- Browse Through Photos: Take some time to browse through different folders and albums to check if all your photos are present in the backup. Open a few photos to ensure they can be viewed properly without any issues.
- Check File Names and Metadata: Verify that the file names and metadata of the photos are consistent with those in your original photo library. Ensure that any important information, such as dates or locations, is accurately preserved in the backup.
- Restore Test: Perform a trial restore of a few photos from the backup to your Mac. This will help ensure that you can successfully retrieve photos from the backup in case of any unforeseen circumstances or data loss on your Mac.
- Compare File Sizes: Compare the file sizes of the photos in the backup with the original files on your Mac. While slight variations are normal due to compression or formatting, significant discrepancies may indicate issues with the backup process or data integrity.
- Delete Duplicates: If you notice any duplicate photos in the backup, make sure to delete them to avoid unnecessary clutter and wasted storage space.
- Backup Verification: If your photo management software or backup utility offers a verification feature, run a verification process to ensure the integrity of your backed-up photos. This will check for any potential errors or data corruption in the backup files.
By following these steps, you can ensure that your photo backup is accurate, complete, and securely stored on your external hard drive. Regularly performing backup verifications helps maintain the integrity of your data and provides peace of mind, knowing that your cherished memories are safely preserved.
Conclusion
Backing up your photos from your Mac onto an external hard drive is a crucial step in protecting your memories and ensuring their long-term security. By following the steps outlined in this guide, you can confidently safeguard your photo collection and enjoy the benefits that come with a reliable backup system.
Throughout this process, you’ve learned about the benefits of backing up photos to an external hard drive, including data protection, extra storage space, easy access, improved performance, and protection against thefts or disasters. These advantages highlight the importance of establishing a robust backup system for your valuable photos.
We’ve covered the step-by-step process, including choosing the right external hard drive, preparing it for backup, setting up an auto-backup system through Time Machine, manually transferring photos, organizing and managing your backed-up photos, and verifying the backup to ensure data integrity.
Remember, backing up your photos is not a one-time task. It is crucial to regularly update your backup with new photos and periodically verify the integrity of your backup to ensure the safety of your memories.
With your photos securely backed up on an external hard drive, you can have peace of mind knowing that your memories are protected from accidental loss, hardware failures, or disasters. Whether you want to free up space on your Mac, have easy access to your photos from multiple devices, or simply have a reliable backup in case of emergencies, backing up your photos onto an external hard drive is a wise choice.
So, take the time to implement the steps outlined in this guide and establish a robust backup system for your photo collection. By doing so, you will have the confidence of knowing that your cherished memories are safe, accessible, and preserved for many years to come.