Introduction
Welcome to our comprehensive guide on how to use a hard drive as an external hard drive. Whether you have an old hard drive lying around or you’re looking to expand your storage capacity, repurposing a hard drive as an external storage device can be a cost-effective and convenient solution. In this article, we will walk you through the process of choosing the right hard drive, formatting it, connecting it to your computer, and setting it up as an external hard drive on both Windows and Mac operating systems. We will also cover how to transfer files to the external hard drive, eject it safely, and troubleshoot common issues that may arise during the process.
By following the steps outlined in this guide, you will be able to transform your unused hard drive into a portable and reliable external storage solution. Whether you need extra space for storing large media files, creating backups, or simply decluttering your computer’s internal drive, using a hard drive as an external hard drive offers a range of benefits. Not only does it provide additional storage capacity, but it also allows you to transport your files conveniently, making it an ideal solution for students, photographers, professionals, and anyone in need of portable storage.
Before we dive into the step-by-step process, it’s important to note that working with computer hardware involves potential risks. Ensure you handle your hard drive with care, take necessary precautions, and follow the instructions closely to avoid any accidents or damaging your data. With that said, let’s get started on repurposing your hard drive and transforming it into a versatile external storage device!
Choosing the Right Hard Drive
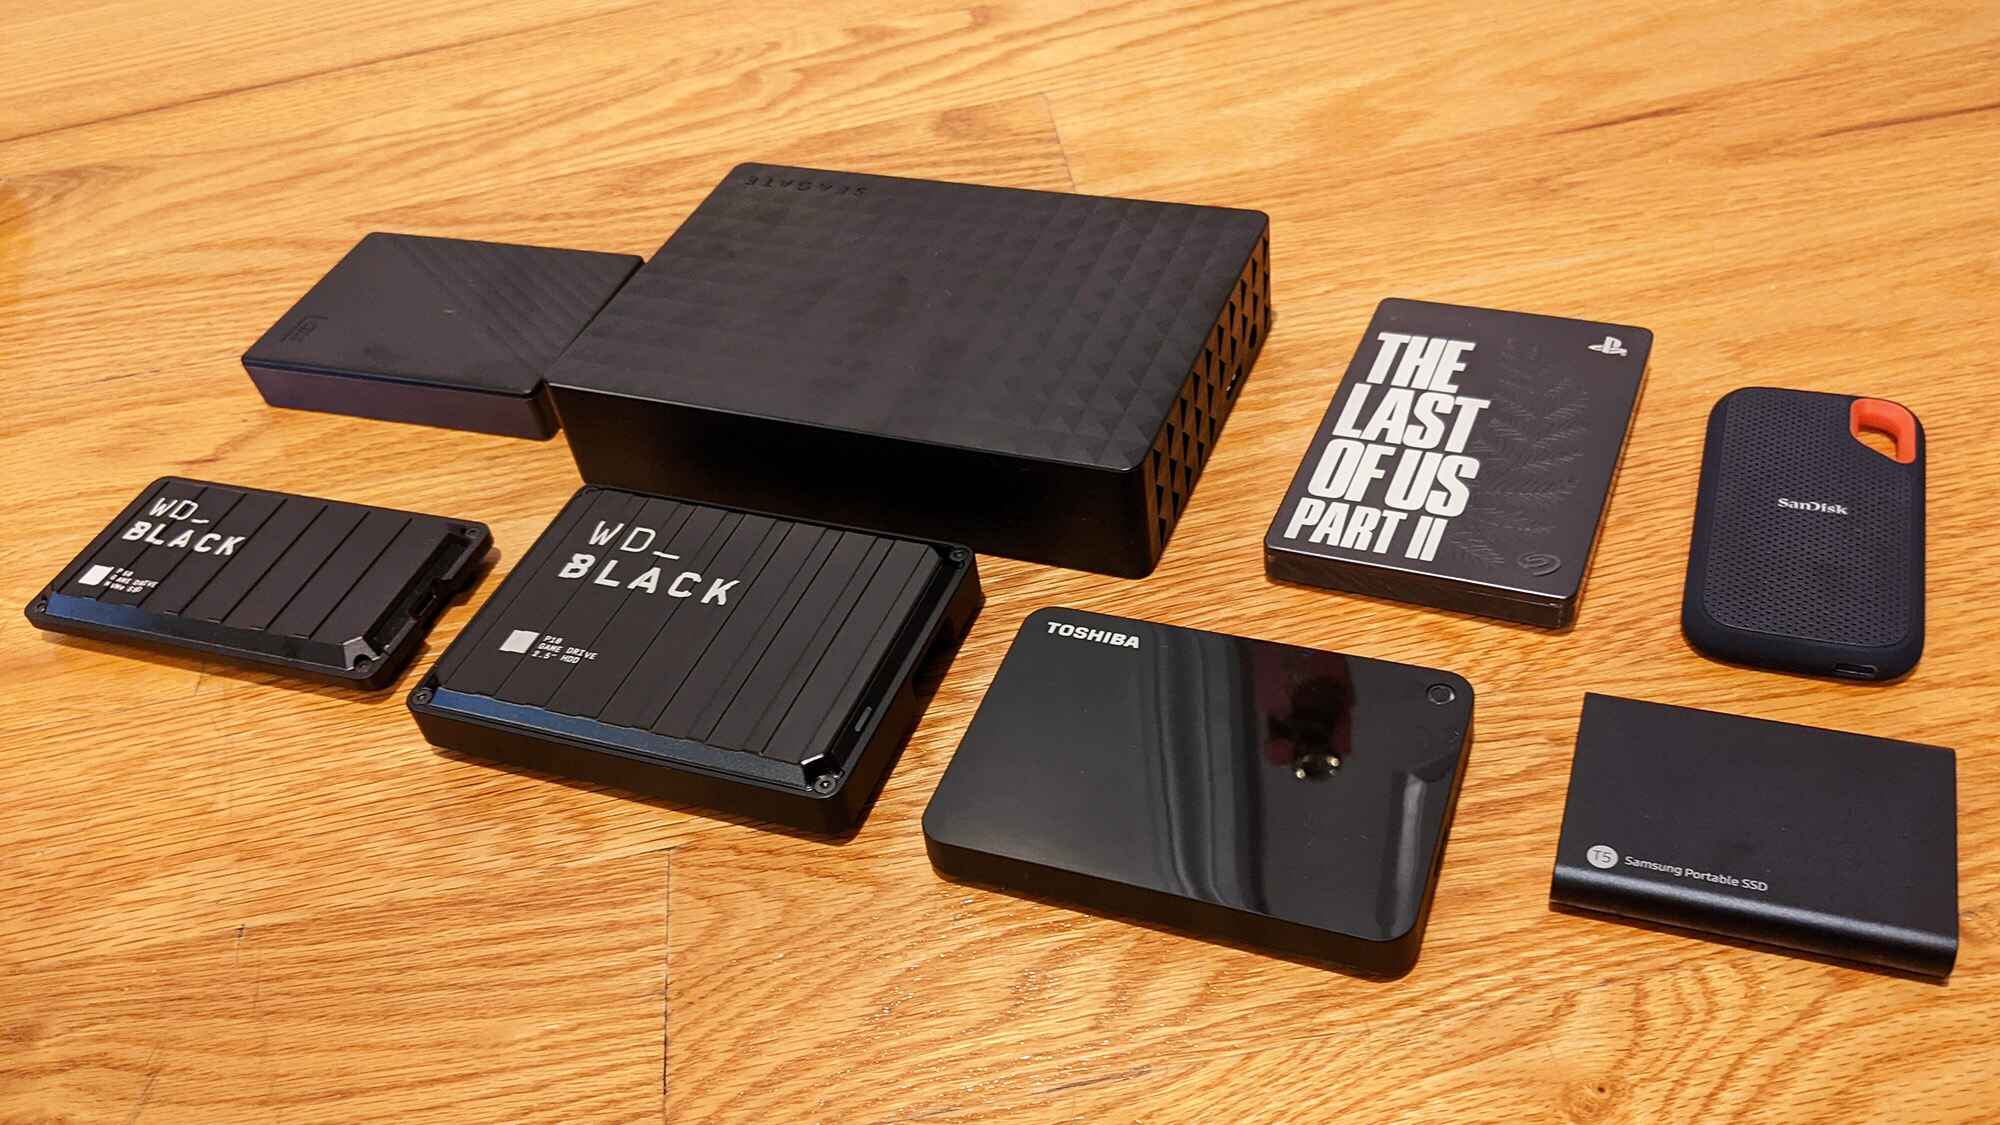
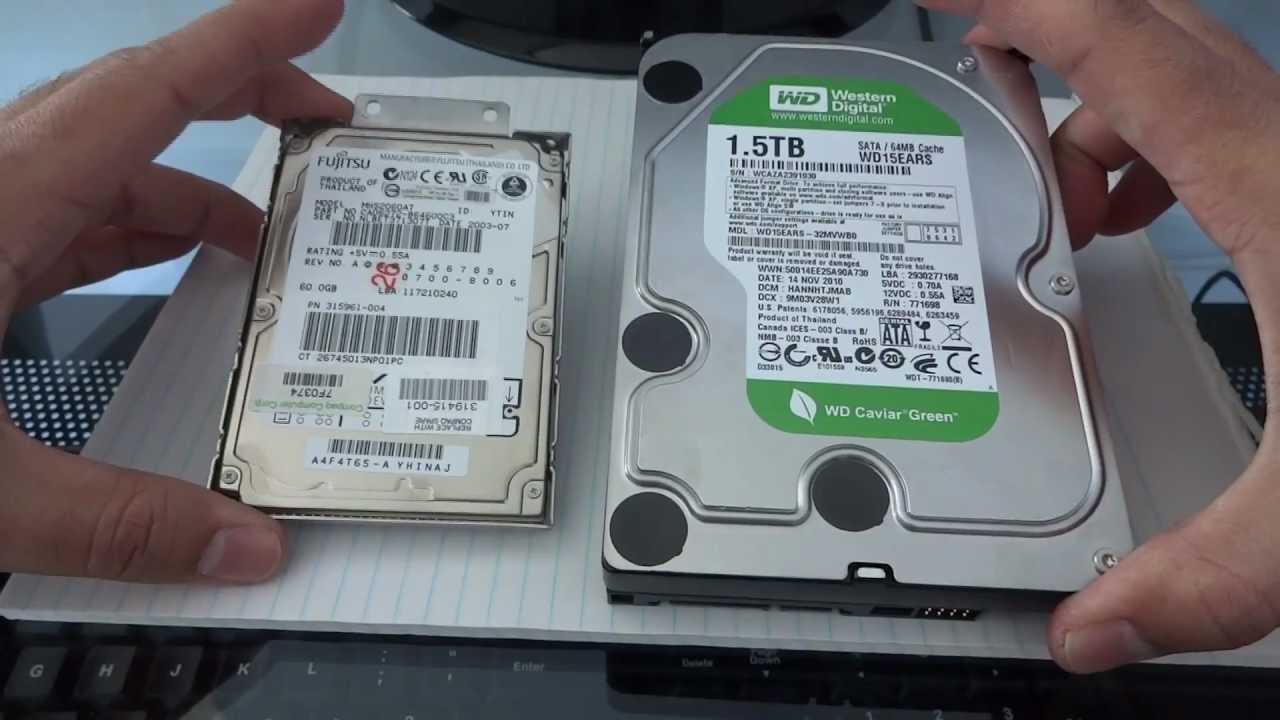
When repurposing a hard drive as an external hard drive, the first step is to choose the right hard drive that suits your requirements. There are a few key factors to consider before making your decision:
- Storage Capacity: Determine the amount of storage space you need for your external hard drive. Consider your current and future storage needs, such as storing large media files, backups, or even running applications directly from the drive. Hard drives come in various capacities, ranging from a few hundred gigabytes to multiple terabytes. Choose a size that offers ample storage for your needs.
- Hard Drive Type: There are two main types of hard drives commonly used for external storage: traditional hard disk drives (HDD) and solid-state drives (SSD). HDDs are more affordable and provide larger capacities, making them suitable for storing large files. SSDs, on the other hand, are faster, more durable, and consume less power. Consider your need for speed and durability when selecting a hard drive type.
- Interface: The interface of the external hard drive determines its compatibility and transfer speed. The most commonly used interfaces for external hard drives are USB 3.0, USB-C, and Thunderbolt. USB 3.0 is the standard interface and offers fast data transfer speeds, while USB-C and Thunderbolt provide even faster speeds and are compatible with newer devices. Choose an interface that is compatible with your computer and offers the desired transfer speed.
- Brand and Reliability: It’s important to choose a reliable brand when selecting a hard drive. Look for reputable manufacturers known for producing quality products with a good track record. Reading customer reviews and checking reliability ratings can help guide your decision-making process.
Consider these factors based on your specific needs and preferences. Take into account factors such as budget, intended use, and the importance of performance and reliability. Once you have chosen the right hard drive, it’s time to move on to the next step: formatting the hard drive to prepare it for use as an external storage device.
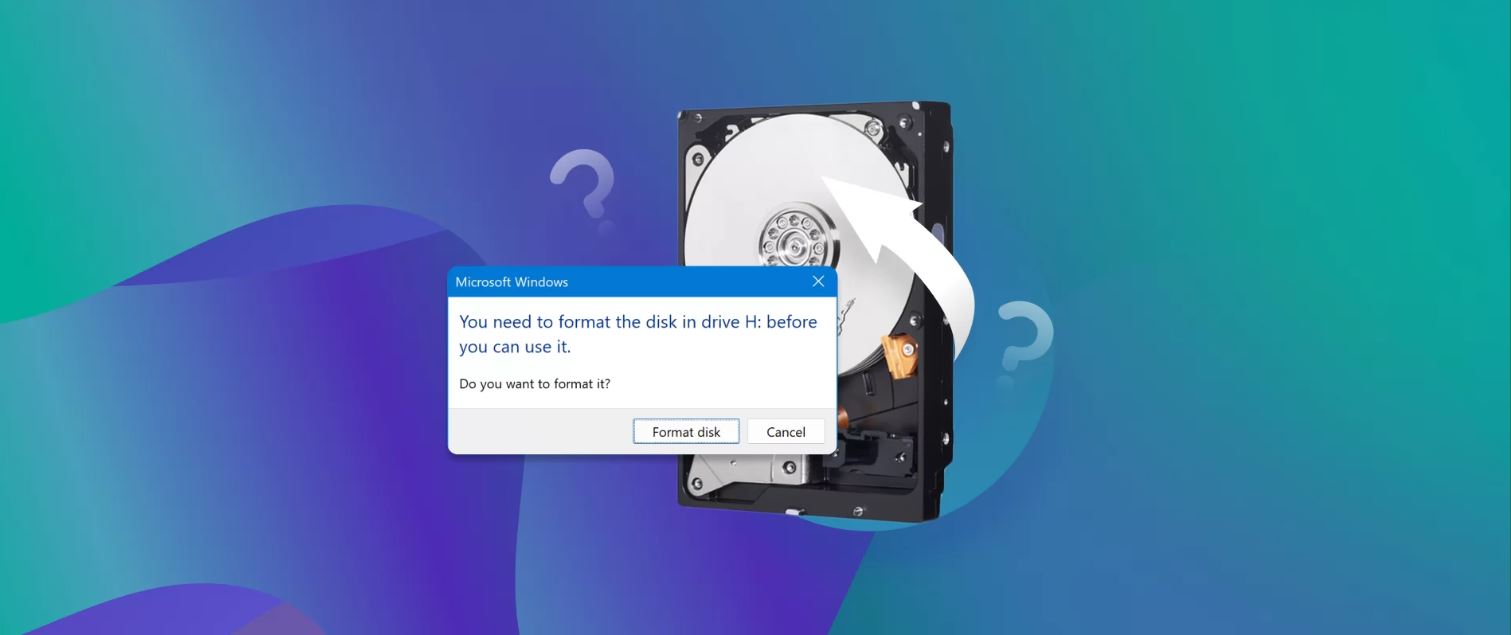
Formatting the Hard Drive
After choosing the right hard drive for your external storage needs, the next step is to format the drive to prepare it for use. Formatting involves setting up the file system and partition structure on the hard drive. Follow these steps to format the hard drive:
- Connect the hard drive to your computer using a compatible cable or adapter.
- Open the Disk Management tool on Windows or the Disk Utility on Mac. These utilities allow you to manage and format storage devices.
- Select the connected hard drive in the list of available drives.
- On Windows, right-click on the selected drive and choose “Format”. On Mac, click on the “Erase” tab.
- Choose the desired file system for your hard drive. For Windows, the recommended file system is NTFS, while for Mac, it is macOS Extended (Journaled).
- Assign a name to your external drive. Choose a descriptive name that will help you identify the drive easily.
- Double-check the formatting options and confirm the formatting process.
Formatting the hard drive will erase all existing data, so ensure you have backed up any important files before proceeding. The time it takes to format the drive will depend on its size and the speed of your computer.
After formatting is complete, your hard drive is now ready to be used as an external storage device. In the next section, we will discuss how to connect the hard drive to your computer.
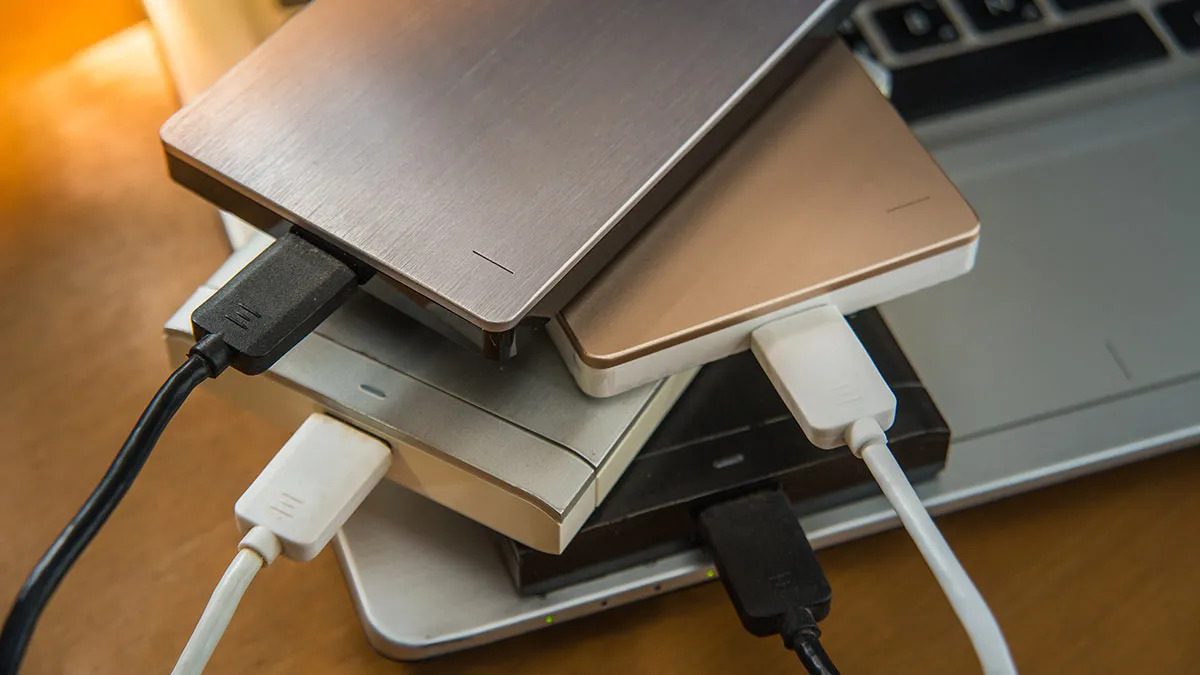
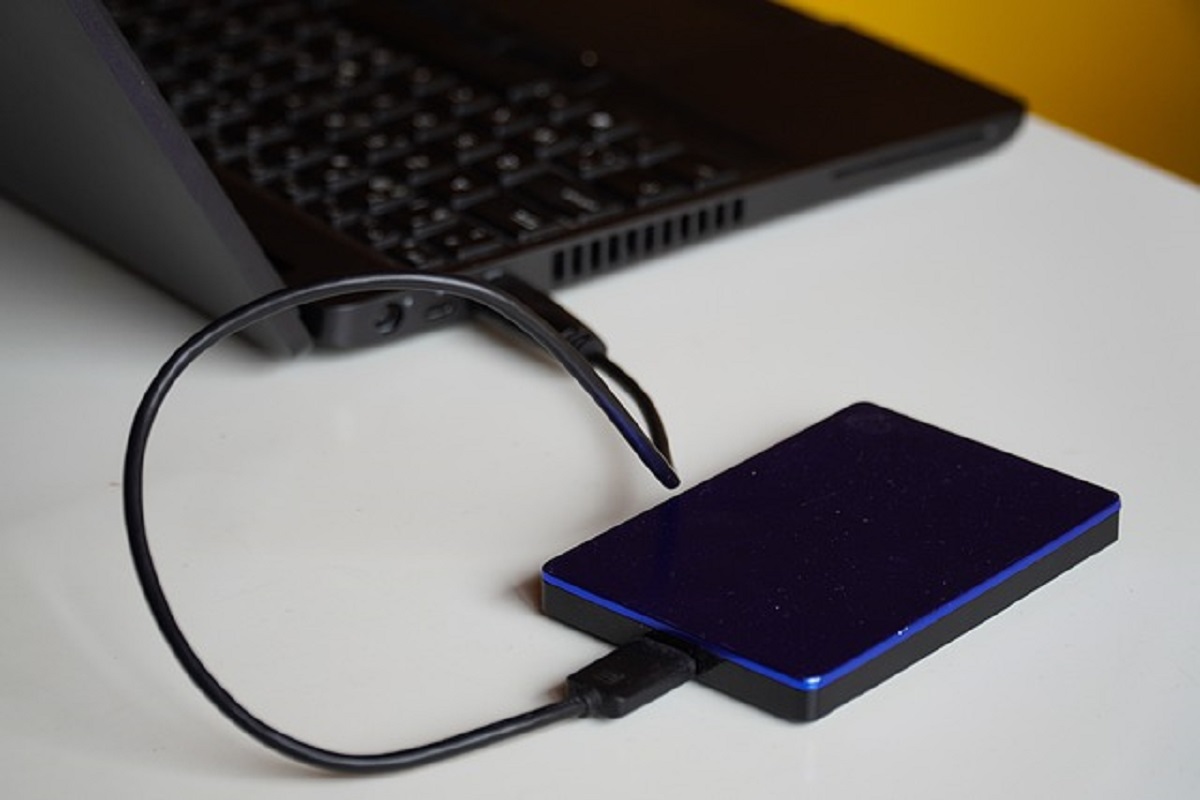
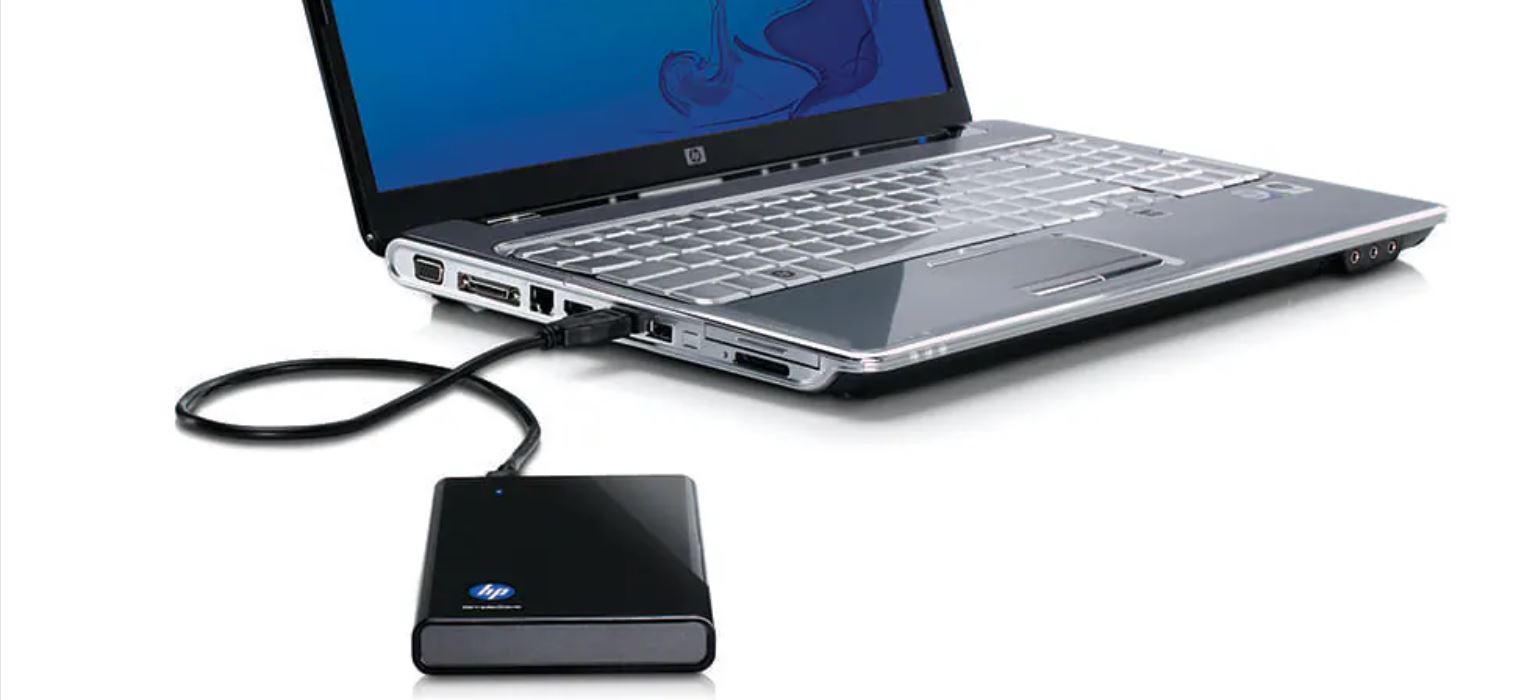
Connecting the Hard Drive
Once you have formatted your hard drive, the next step is to connect it to your computer. The method of connection will depend on the interface of your hard drive and the ports available on your computer. Follow these steps to connect the hard drive:
- Identify the type of interface your hard drive uses. Common interfaces include USB, USB-C, Thunderbolt, FireWire, and eSATA.
- Check the available ports on your computer. Determine which port matches the interface of your hard drive.
- Connect one end of the appropriate cable or adapter to your hard drive.
- Connect the other end of the cable or adapter to the corresponding port on your computer.
- Ensure the connection is secure and the cable is properly inserted into both the hard drive and the computer.
- If necessary, turn on your hard drive using any power switches or buttons provided.
- Your computer should recognize the newly connected hard drive and show it as a removable storage device.
If your computer does not detect the hard drive, try the following troubleshooting steps:
- Check the cable or adapter for any damages or loose connections.
- Try connecting the hard drive to a different port on your computer.
- Restart your computer and reconnect the hard drive.
- If you are using a USB hub, try connecting the hard drive directly to your computer.
- Consult the user manual or manufacturer’s website for specific troubleshooting steps related to your hard drive model.
Successfully connecting the hard drive to your computer is essential for utilizing it as an external storage device. In the next sections, we will cover the steps to set up the external hard drive on both Windows and Mac operating systems.
Setting Up the External Hard Drive on Windows
Setting up your external hard drive on Windows involves a few simple steps to ensure proper functionality and accessibility. Follow these instructions:
- Connect your external hard drive to an available USB port on your Windows computer.
- Wait for Windows to detect and recognize the connected drive. You may see a notification or hear a connection sound.
- Open Windows File Explorer by pressing the Windows key and E simultaneously, or by right-clicking the Start button and selecting File Explorer.
- In the left sidebar of File Explorer, you should see your external hard drive listed as a removable storage device. It will usually be labeled with a letter such as E: or F:.
- Right-click on the external hard drive and select “Format”. This step is only necessary if the drive is not already formatted or if you want to change the file system.
- Follow the formatting instructions provided in the previous section to format the drive with the desired file system and label it with a name.
- Once formatting is complete, your external hard drive is ready to use on Windows. You can now transfer files to and from the drive by simply dragging and dropping them or using copy and paste operations.
- When you are finished using the external hard drive, safely eject it from your computer to prevent data corruption. To do this, right-click on the drive in File Explorer and select “Eject”. Wait for the notification that it is safe to remove the hardware, and then unplug the drive from the USB port.
Setting up your external hard drive on Windows is a straightforward process, allowing you to easily expand your storage capacity and conveniently manage your files. In the next section, we will discuss how to set up the external hard drive on Mac.
Setting Up the External Hard Drive on Mac
Setting up your external hard drive on a Mac involves a few simple steps to ensure compatibility and optimal performance. Follow these instructions:
- Connect your external hard drive to an available USB or Thunderbolt port on your Mac.
- Wait for your Mac to recognize the connected drive. You may see a notification or icon on the desktop.
- Click on the “Finder” icon in the dock to open a Finder window.
- In the sidebar of the Finder window, you should see your external hard drive listed under the “Devices” section. It will usually be labeled with the name you assigned during formatting.
- If the drive is not already formatted, you may see a prompt asking if you want to format it. Click “Initialize” and follow the instructions to format the drive with the desired file system, usually macOS Extended (Journaled).
- Once formatting is complete, your external hard drive is ready to use on your Mac. You can access and manage the drive by simply dragging and dropping files, or using copy and paste operations.
- When you are done using the external hard drive, make sure to eject it properly to avoid data loss or damage. To eject the drive, right-click on its icon in the Finder sidebar and select “Eject”. Wait for the confirmation message, and then disconnect the drive from the USB or Thunderbolt port.
Setting up your external hard drive on a Mac is a straightforward process, enabling you to expand your storage capacity and conveniently manage your files. Remember to safely eject the drive each time before disconnecting it to ensure the integrity of your data. In the following sections, we will cover transferring files to the external hard drive, safely ejecting it, and troubleshooting common issues that may arise during the process.
Transferring Files to the External Hard Drive
Now that your external hard drive is set up and ready to use, it’s time to start transferring files to it. Follow these steps to transfer files to your external hard drive:
- Connect your external hard drive to your computer via the appropriate cable or adapter.
- Ensure that your computer recognizes the external hard drive. It should be visible in the File Explorer (Windows) or Finder (Mac).
- Open the folder or location on your computer where the files that you want to transfer are located.
- Select the files or folders that you want to transfer to the external hard drive.
- Copy the files by either right-clicking and selecting “Copy” or using the keyboard shortcut (Ctrl+C on Windows, Command+C on Mac).
- Navigate to the external hard drive in the File Explorer or Finder.
- Paste the files onto the external hard drive by right-clicking and selecting “Paste” or using the keyboard shortcut (Ctrl+V on Windows, Command+V on Mac).
- Wait for the file transfer to complete. The time it takes will depend on the size of the files being transferred and the speed of your computer and external hard drive.
- Verify that the files have been successfully transferred by checking the external hard drive’s folder in the File Explorer or Finder.
With the files transferred to the external hard drive, you now have a portable and accessible storage solution. You can access the files on any computer that has a compatible interface and operating system. Remember to safely eject the external hard drive before unplugging it to prevent data corruption.
In the next section, we will discuss the proper method of safely ejecting the external hard drive from your computer.
Safely Ejecting the External Hard Drive
When you are done using your external hard drive, it’s important to safely eject it from your computer before disconnecting it. Safely ejecting the drive ensures that all read and write operations are completed, reducing the risk of data loss or corruption. Follow these steps to safely eject your external hard drive:
- Make sure that all file transfer operations involving the external hard drive are completed. Close any open files or applications that are using the drive.
- On Windows, locate the external hard drive in the File Explorer and right-click on it.
- From the context menu that appears, select “Eject”. Wait for a notification that it is safe to remove the hardware.
- On a Mac, find the external hard drive in the Finder sidebar and right-click on it.
- Select “Eject” from the options. Wait for the confirmation message that it is safe to disconnect the drive.
- Once you receive the safe-to-remove notification, carefully unplug the cable or adapter from your computer.
- Store your external hard drive in a safe place, protecting it from dust, moisture, and physical damage.
By following these steps, you ensure that your files and the external hard drive remain intact and in good working condition. Skipping the safe ejection process can lead to data corruption and potential hardware problems. Take a moment to properly eject the external hard drive every time you finish using it to safeguard your files and maintain the drive’s longevity.
In the next section, we will discuss common issues that you may encounter when using an external hard drive, and provide some troubleshooting tips to help resolve them.
Troubleshooting Common Issues
While using an external hard drive, you may encounter some common issues. Here are a few troubleshooting tips to help you resolve them:
- Drive Not Recognized: If your computer does not recognize the external hard drive, try connecting it to a different USB or Thunderbolt port. Ensure that the cable or adapter is properly connected. If the issue persists, check if the drive is functioning properly on another computer or consult the manufacturer for further assistance.
- Slow Transfer Speed: If you are experiencing slow file transfer speeds, check if the external hard drive and computer support the same interface and data transfer rates. You can also try using a different cable or adapter. Additionally, closing other open applications and freeing up system resources can help improve transfer speed.
- File System Errors: If your external hard drive encounters file system errors, you can try running a disk check or repair utility specific to your operating system. On Windows, you can use the built-in utility called “Check Disk”. On a Mac, use the “First Aid” feature in the Disk Utility app.
- Data Corruption: To prevent data corruption, always make sure to safely eject the external hard drive before disconnecting it from your computer. Abruptly unplugging the drive can lead to file system errors and data loss.
- Noise or Mechanical Issues: If you hear unusual noises coming from the external hard drive or notice any mechanical issues, such as excessive vibration or heat, it may indicate a hardware problem. In such cases, it is recommended to stop using the drive and contact the manufacturer or a professional data recovery service for further assistance.
If you encounter other issues not mentioned here, refer to the user manual or the manufacturer’s website for troubleshooting guides specific to your external hard drive model. In some cases, the issue may require advanced technical support to resolve.
By following these troubleshooting tips, you can overcome common issues and ensure the smooth functioning of your external hard drive. With proper care and attention, your external hard drive will serve as a reliable storage solution for your files.
Conclusion
Congratulations! You have now learned how to repurpose a hard drive as an external hard drive. By following the steps outlined in this guide, you can transform your unused hard drive into a portable and reliable storage solution. From choosing the right hard drive to formatting it, connecting it to your computer, and safely transferring files, you are now equipped with the knowledge to maximize the functionality of your external hard drive.
Using a hard drive as an external storage device offers numerous benefits, such as increased capacity, portability, and convenience. Whether you need extra space for storing large media files, creating backups, or decluttering your computer’s internal drive, utilizing a hard drive as an external solution is a cost-effective and practical choice.
Remember to handle your hard drive with care, take necessary precautions, and follow the instructions closely to avoid any accidents or damaging your data. Always safely eject the external hard drive before unplugging it from your computer, ensuring the integrity of your files and the longevity of the drive.
We hope that this guide has been helpful in demystifying the process of using a hard drive as an external hard drive. Now, go ahead and repurpose that hard drive, expand your storage capacity, and enjoy the convenience and flexibility of portable storage for all your files and data needs!