Introduction
Welcome to the world of gaming! If you own a PlayStation 3 (PS3), chances are you know the struggle of managing limited storage space. Don’t worry, though, because there’s a solution that will greatly expand the capacity of your console – an external hard drive.
An external hard drive is a portable storage device that can be easily connected to your PS3. It allows you to store and access a vast amount of games, saves, and media files without worrying about running out of space on your console’s internal storage. In this article, we will guide you on how to use an external hard drive with your PS3, step by step.
Using an external hard drive on your PS3 offers numerous benefits. Firstly, it significantly increases the storage capacity of your console, allowing you to install and play more games without having to delete your existing ones. Moreover, it provides a convenient way to back up and transfer game saves, ensuring that your progress is always safe. Additionally, an external hard drive allows you to store and playback media files, such as movies, music, and photos, directly on your PS3.
Before we dive into the details, it’s important to note that not all external hard drives are compatible with the PS3. To ensure compatibility, the hard drive needs to support the FAT32 file system, as this is the format recognized by the console. Don’t worry if your hard drive currently uses a different format – we will guide you on how to format it later in this article.
Ready to unleash the full potential of your PS3? Let’s get started on adding an external hard drive and expanding your gaming experience!
Benefits of Using an External Hard Drive on PS3
Using an external hard drive with your PS3 brings a host of benefits that enhance your gaming experience. Let’s explore some of the key advantages:
- Expanded Storage Capacity: One of the biggest advantages of using an external hard drive is the ability to significantly increase the storage capacity of your PS3. With limited internal storage, you may find yourself constantly having to delete games, saves, or media files to make room for new ones. An external hard drive allows you to store a vast library of games, eliminating the need to choose between your favorites.
- Convenient Game Management: By storing games on an external hard drive, you can easily manage and access your game collection. You can install and play games directly from the external drive, saving you the hassle of reinstalling games from discs or re-downloading them from the PlayStation Store. This not only saves time but also helps keep your console clutter-free.
- Backup and Transfer Game Saves: Game progress is valuable, and losing it can be frustrating. With an external hard drive, you can back up your game saves and transfer them between consoles. So, even if you upgrade your PS3 or need to replace it, you can still retain your progress and continue gaming without starting from scratch.
- Seamless Media Playback: In addition to games, an external hard drive allows you to store and play media files on your PS3. Whether it’s your favorite movies, music, or photos, you can easily access and enjoy them directly from the external drive on your console. This reduces the need for separate media players and simplifies the entertainment experience.
- Portability and Flexibility: External hard drives are portable and easy to connect to your PS3. This means you can take your game library and media files with you wherever you go. Whether you’re visiting a friend’s house or going on a trip, you can simply connect your external hard drive to any compatible PS3 and continue gaming uninterrupted.
As you can see, using an external hard drive on your PS3 offers a multitude of benefits, from expanding storage capacity to convenient game management and seamless media playback. It’s a worthwhile investment that enhances your gaming experience and provides flexibility for your entertainment needs. Now let’s proceed to the next section and explore the compatible external hard drives for your PS3.
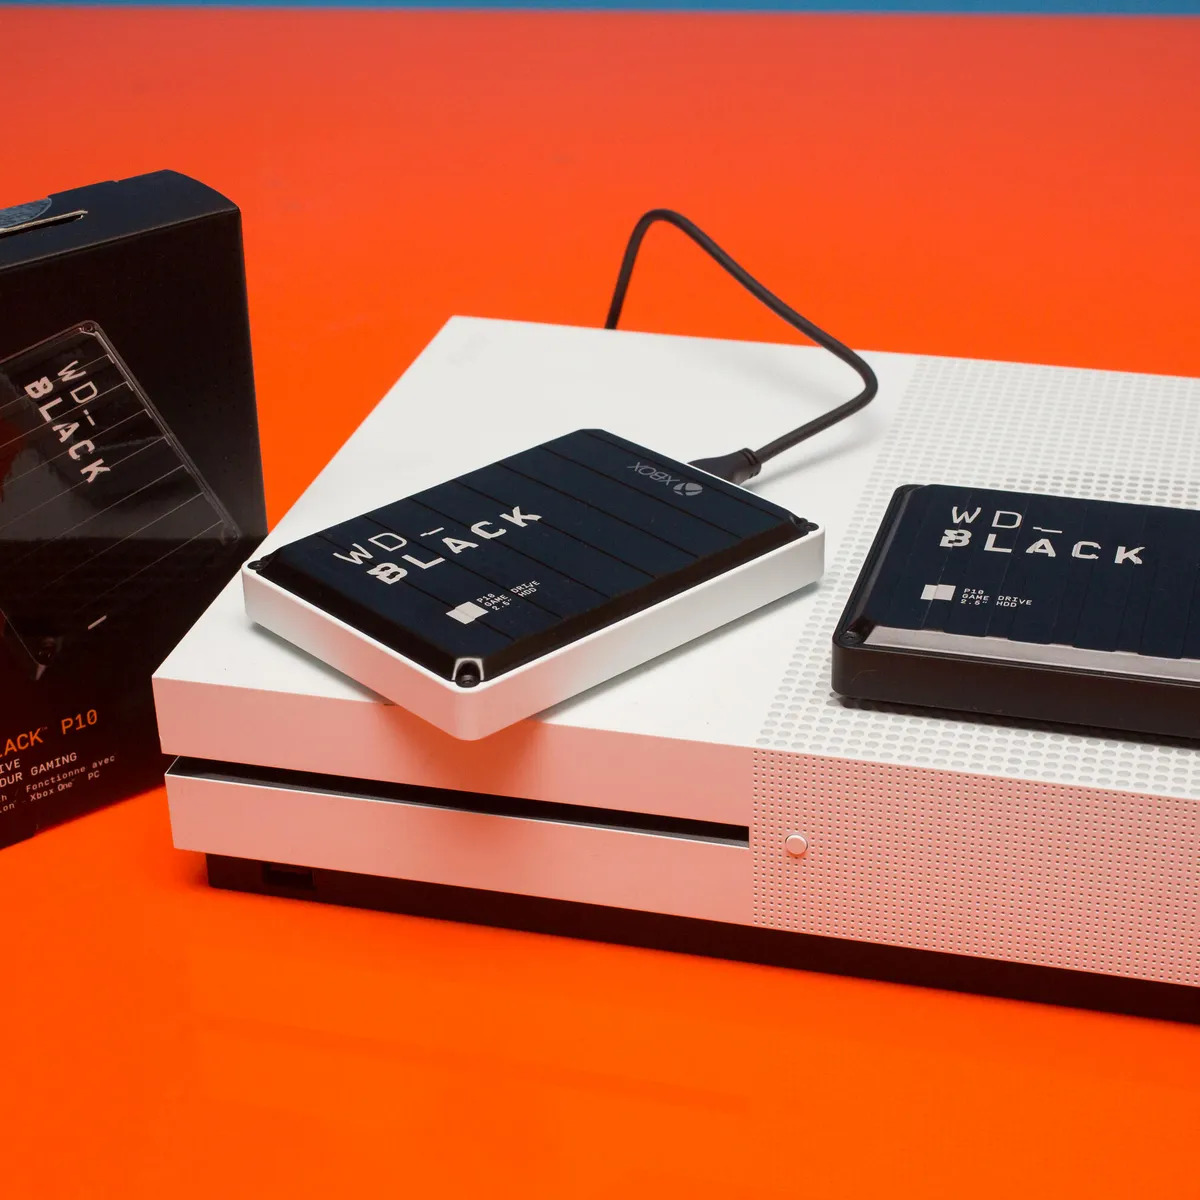
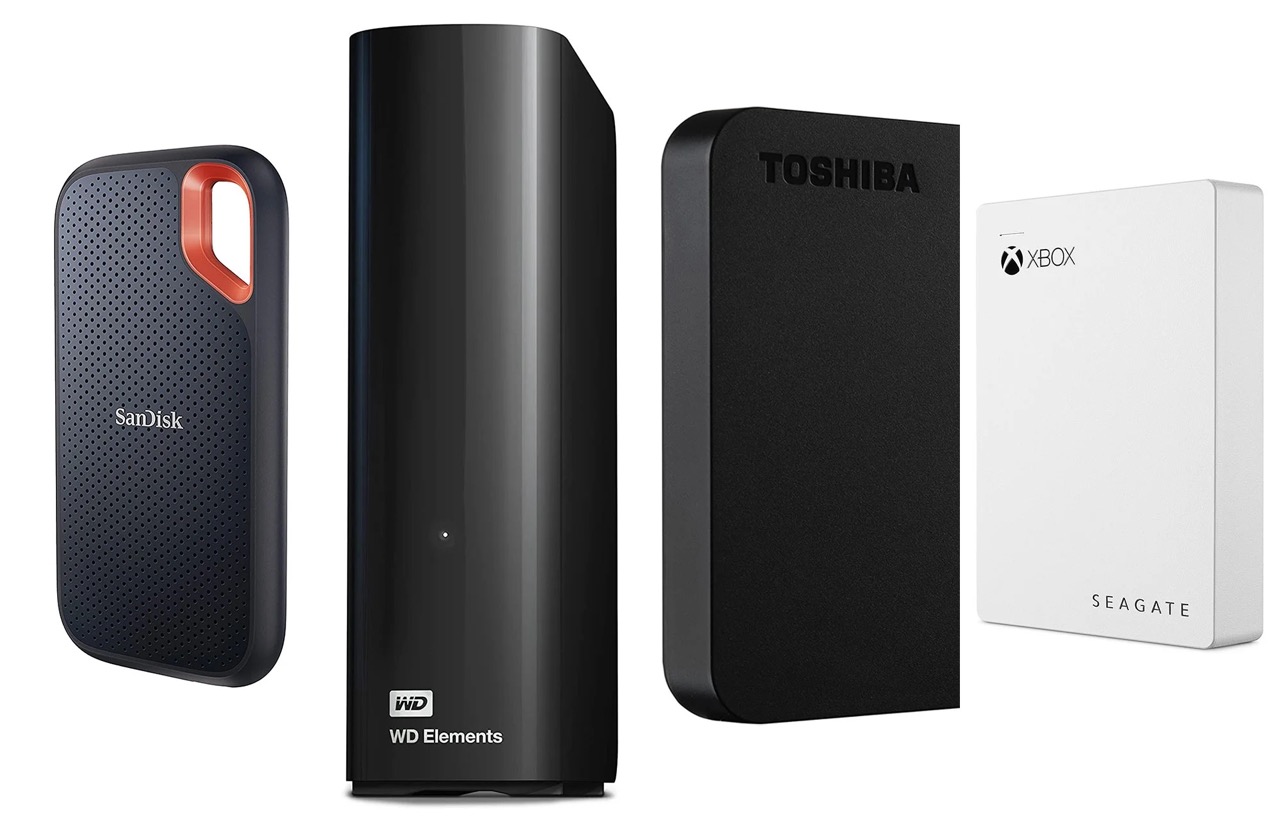
Compatible External Hard Drives
When selecting an external hard drive for your PS3, it’s essential to choose one that is compatible with the console. The PS3 requires the external hard drive to be formatted in the FAT32 file system, so make sure the drive either comes pre-formatted in FAT32 or can be reformatted to that format. Here are a few features to consider when looking for a compatible external hard drive:
- Storage Capacity: Determine how much storage space you need based on the number of games, saves, and media files you plan to store. External hard drives come in various sizes, ranging from a few hundred gigabytes to several terabytes. Choose a capacity that suits your needs, keeping in mind that games and media files can take up a significant amount of space.
- Connectivity: Ensure that the external hard drive has compatible connectivity options with your PS3. Most modern external hard drives use USB 3.0, which offers faster data transfer speeds compared to USB 2.0. However, keep in mind that the PS3 has USB 2.0 ports, so even if you have a USB 3.0 drive, it will operate at USB 2.0 speeds when connected to the console.
- Power Source: Consider whether the external hard drive draws power solely from the USB port or requires an additional power source. Some larger capacity drives may need external power, which means you will need an available power outlet to use the drive with your PS3.
- Reliability and Brand: Choose a reputable brand known for producing reliable and durable external hard drives. This ensures the longevity and performance of the drive, giving you peace of mind that your data is safe and accessible.
- Price: Set a budget and compare prices of different external hard drives. While it’s tempting to opt for the cheapest option, consider the overall value and quality of the drive to make an informed decision.
Popular external hard drive options that often work well with the PS3 include brands like Seagate, Western Digital, and Toshiba. It’s worth checking if the drive manufacturer provides specific compatibility information for the PS3.
Remember, if you already own an external hard drive that is not compatible with the PS3’s FAT32 file system, you can easily format it to the appropriate format using your computer. The next section will guide you on how to format the external hard drive for your PS3.
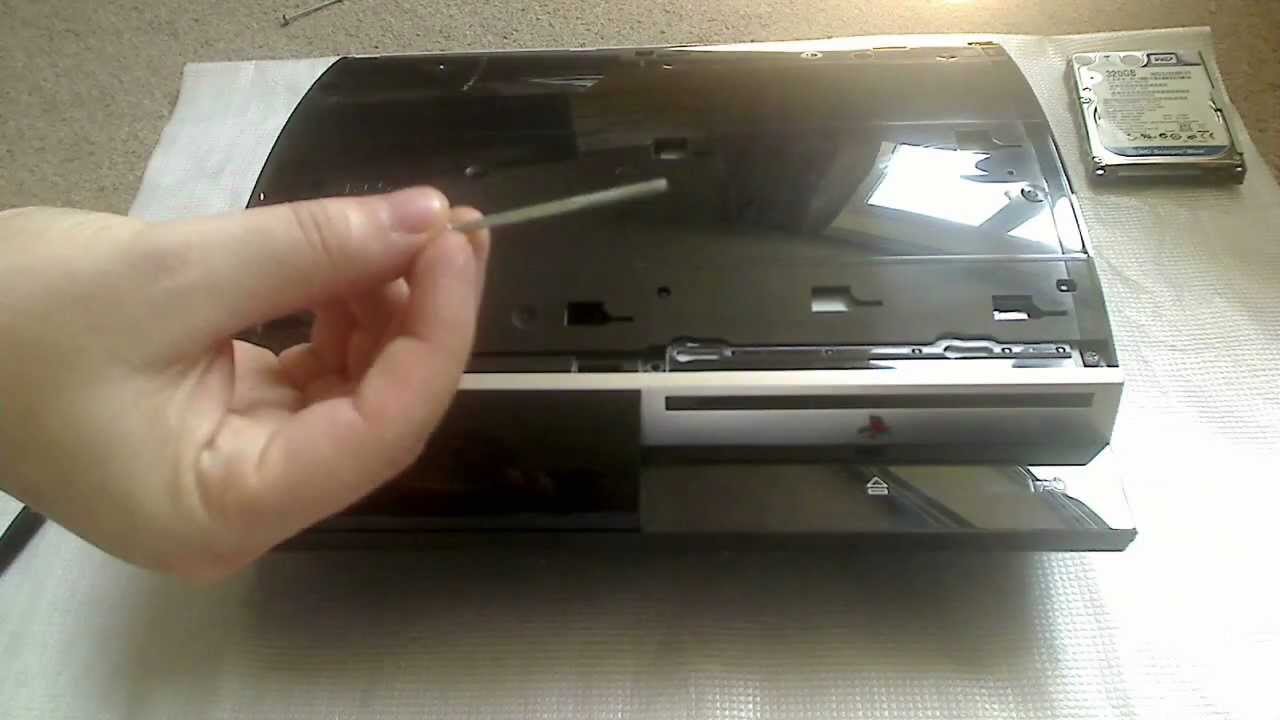
Formatting the External Hard Drive for PS3
Before you can use an external hard drive with your PS3, it needs to be formatted in a compatible file system. The PS3 requires the external hard drive to be in the FAT32 format. Follow the steps below to format your hard drive:
- Backup Your Data: Before formatting, make sure to back up any important data stored on the external hard drive. Formatting will erase all existing data, so it’s essential to have a backup to prevent data loss.
- Connect the External Hard Drive to Your Computer: Using the appropriate cable, connect your external hard drive to your computer. Ensure that the hard drive is recognized by your computer, and you can access its contents.
- Open Disk Management (Windows) or Disk Utility (Mac): On Windows, you can open Disk Management by right-clicking on the Start button and selecting “Disk Management.” On Mac, you can open Disk Utility by navigating to Applications > Utilities > Disk Utility.
- Locate Your External Hard Drive: In Disk Management (Windows) or Disk Utility (Mac), locate your external hard drive from the list of available drives. Make sure you select the correct drive to avoid accidentally formatting the wrong device.
- Format the Drive as FAT32: In Disk Management (Windows), right-click on your external hard drive, and choose “Format.” Select “FAT32” as the file system and give your drive a new name if desired. On Mac, click on your external hard drive and select the “Erase” tab. Choose “MS-DOS (FAT)” as the format and provide a new name for the drive.
- Confirm and Format: Double-check the settings, as formatting will erase all data on the drive. Click “Format” or “Erase” to begin the formatting process. Depending on the size of the drive, this may take a few minutes.
- Eject the External Hard Drive: Once the formatting is complete, safely eject the external hard drive from your computer. This ensures that the formatting process is finalized and prevents any potential data corruption.
Now your external hard drive is formatted in the FAT32 file system, making it compatible with your PS3. In the next section, we will guide you through the process of connecting the external hard drive to your PS3.
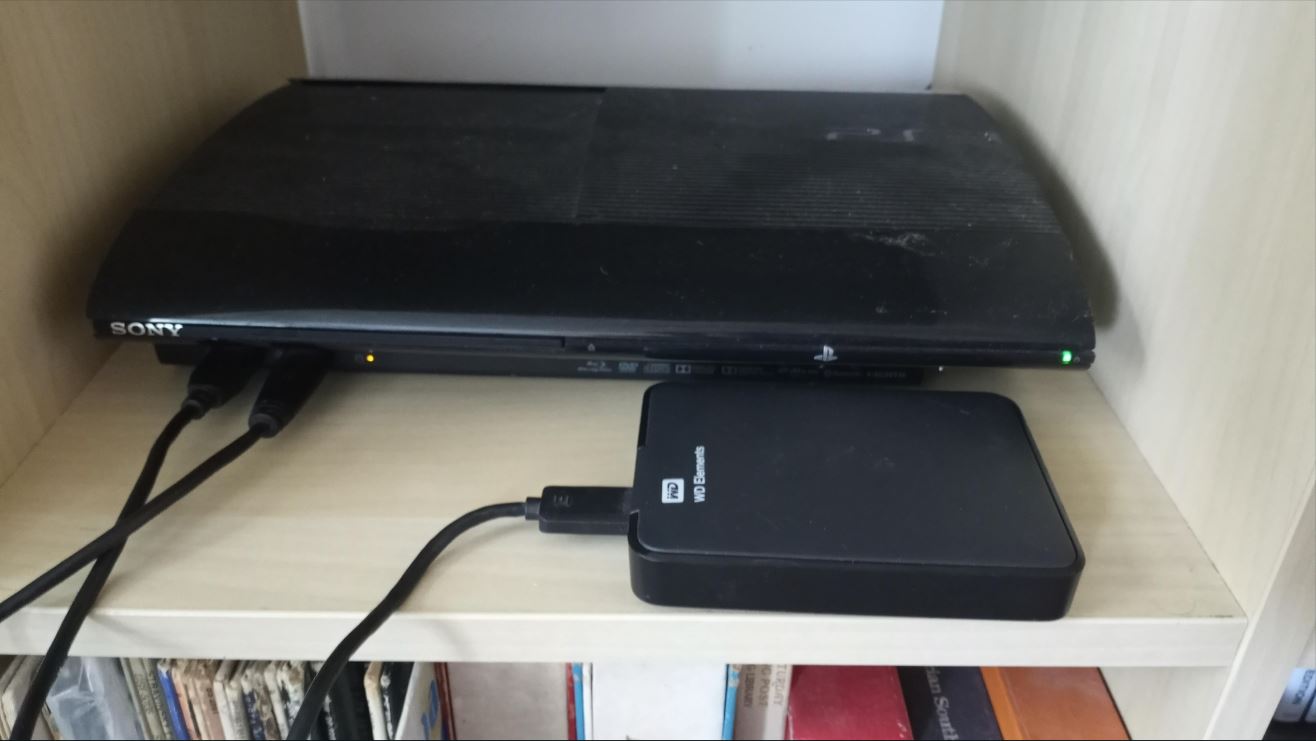
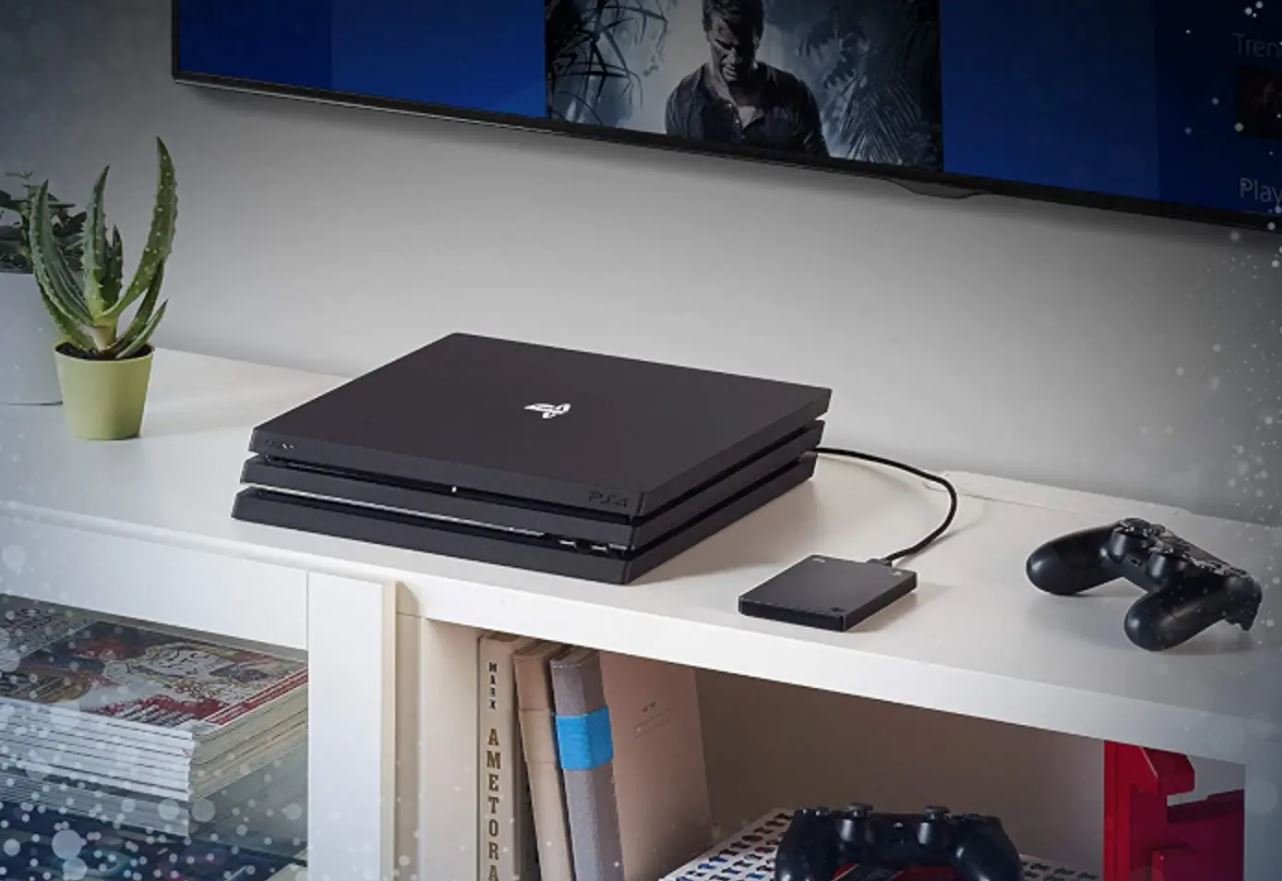
Connecting the External Hard Drive to PS3
Now that you have formatted your external hard drive in the compatible FAT32 file system, it’s time to connect it to your PS3. Follow the steps below to establish the connection:
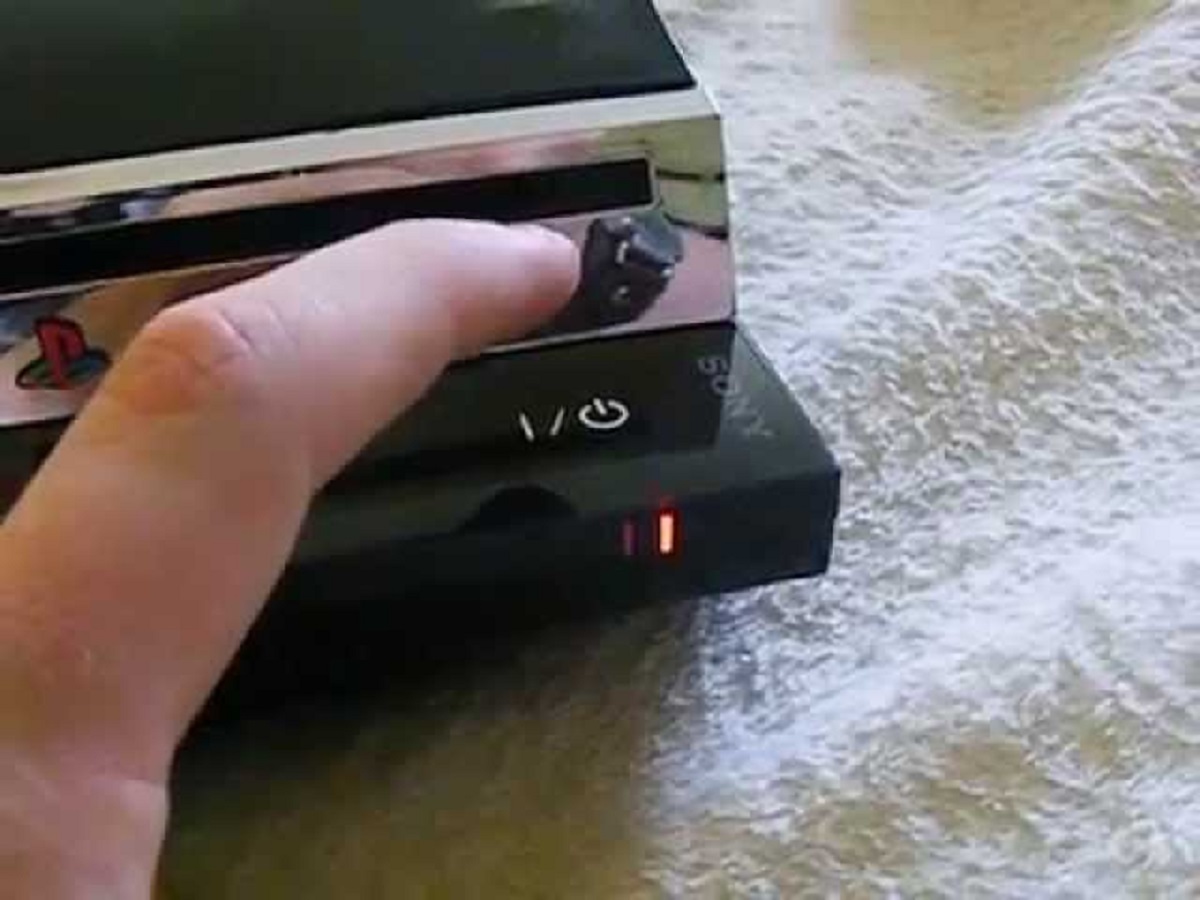
- Ensure Your PS3 Is Powered Off: Make sure your PS3 is turned off before connecting the external hard drive. This will prevent any potential data corruption or damage to the drive.
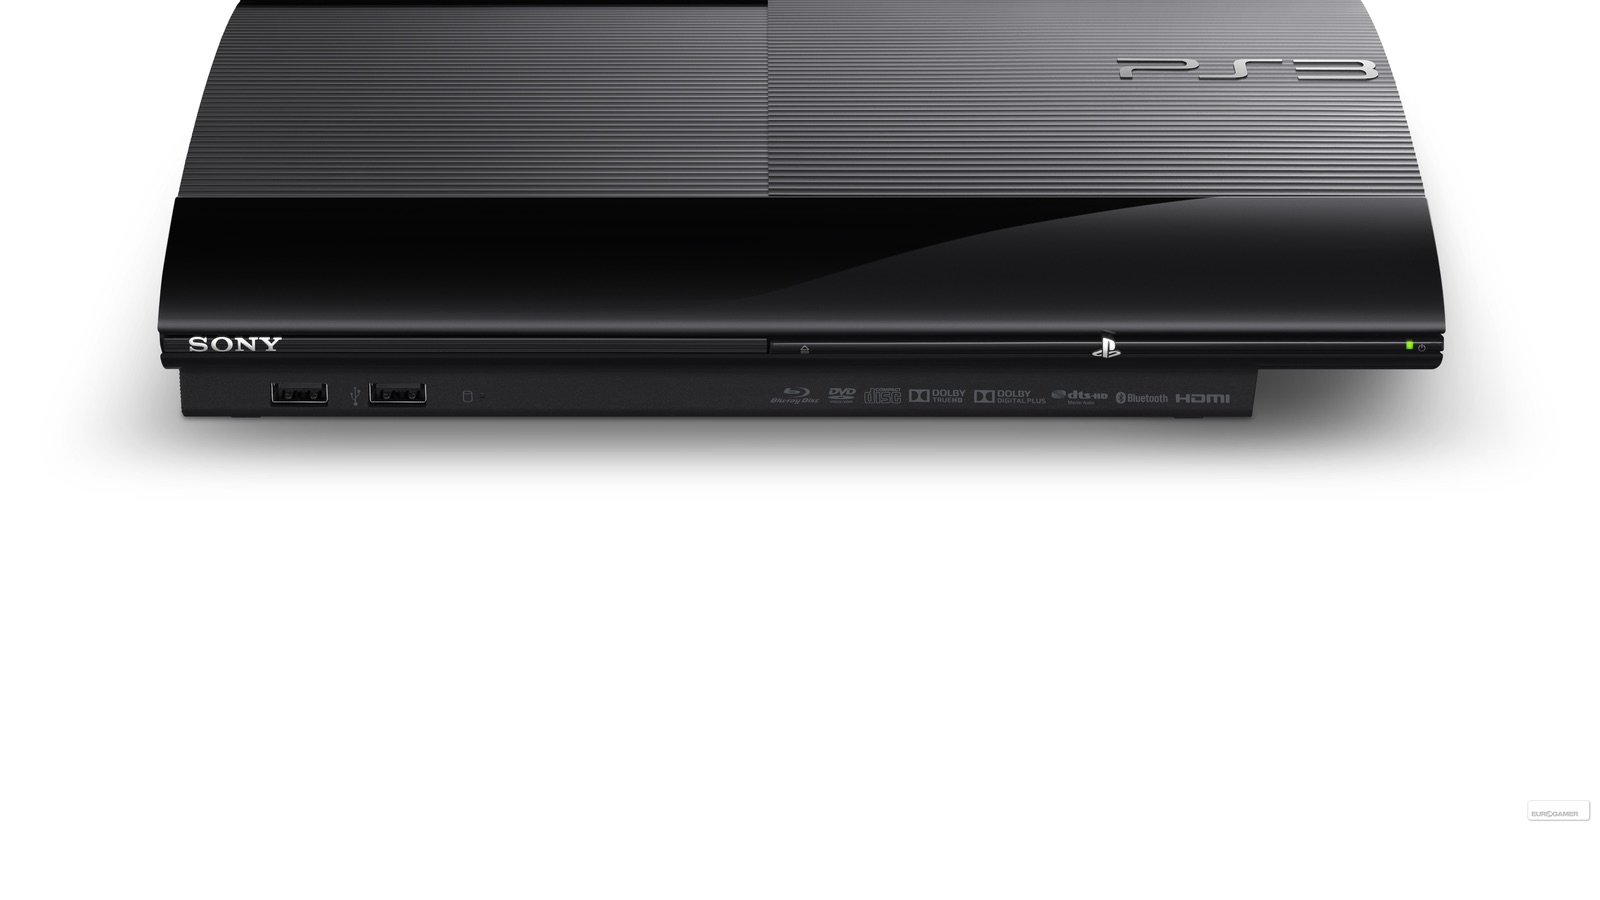
- Locate the USB Ports: On the front or back of your PS3, you will find USB ports where you can connect your external hard drive. Depending on the PS3 model, there may be multiple USB ports available.
- Plug in the External Hard Drive: Using the appropriate cable, connect one end to the USB port on your PS3 and the other end to your external hard drive. Ensure that the connection is secure.
- Power on Your PS3: Turn on your PS3 console and wait for it to boot up completely.
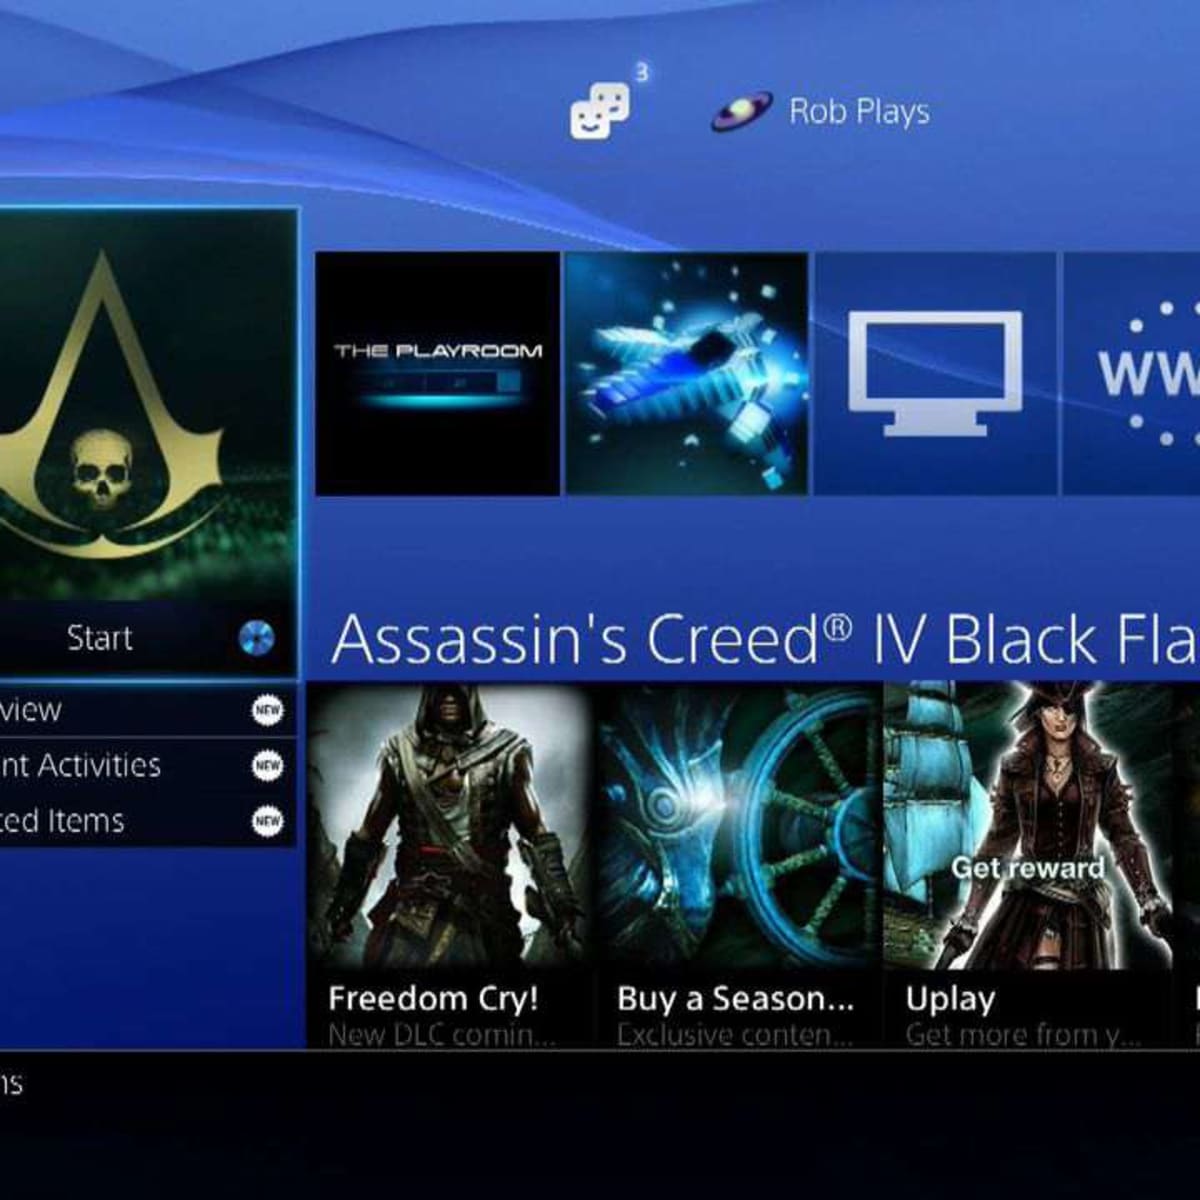
- Access the XMB (XrossMediaBar) Interface: Once the PS3 is powered on, you will be greeted with the XMB interface. This is the main menu where you can access various features and settings of your PS3.
- Navigate to the ‘System’ Tab: Using the controller, navigate to the ‘Settings’ section in the XMB interface. Scroll down and select the ‘System’ tab.
- Select ‘Manage Devices’ and ‘USB Mass Storage Device’: In the ‘System’ tab, select ‘Manage Devices,’ followed by ‘USB Mass Storage Device.’ This will prompt your PS3 to recognize and mount the external hard drive.
- Access Your External Hard Drive: Once the PS3 recognizes the external hard drive, you can now access it from the ‘Game’ or ‘Video’ section of the XMB interface. You will find your games, saves, or media files on the external hard drive, ready to be played or viewed.
That’s it! Your external hard drive is now connected to your PS3, and you can start enjoying the expanded storage capacity and seamless access to your games and media. In the next section, we will guide you on how to transfer games, saves, and media files to your external hard drive. Stay tuned!
Transferring Games, Saves, and Media to the External Hard Drive
Now that your external hard drive is connected to your PS3, it’s time to transfer your games, saves, and media files to the external drive. Follow these steps to begin the transfer:
- Select the ‘Game’ or ‘Video’ Section: Access the XMB interface on your PS3 and navigate to either the ‘Game’ or ‘Video’ section, depending on the type of content you want to transfer.
- Choose the Content to Transfer: From the list of available games, saves, or media files, select the content you wish to transfer to the external hard drive. Use the controller to highlight the desired item.
- Press the Triangle Button: Once you have selected the content, press the triangle button on your controller. This will open a context menu with various options.
- Select ‘Copy’ or ‘Move’ Option: In the context menu, choose either the ‘Copy’ or ‘Move’ option, depending on your preference. Selecting ‘Copy’ will create a duplicate of the content on the external hard drive, while selecting ‘Move’ will transfer the content, removing it from the PS3’s internal storage.
- Choose the External Hard Drive as the Destination: After selecting ‘Copy’ or ‘Move,’ you will be prompted to choose the external hard drive as the destination location. Select the external hard drive from the list of available storage devices.
- Confirm the Transfer: Once you have selected the external hard drive, confirm the transfer by pressing the X button. The transfer process will begin, and a progress notification will be displayed on the screen.
- Repeat for Additional Content: If you have more games, saves, or media files to transfer, repeat the process by selecting the desired content, choosing the ‘Copy’ or ‘Move’ option, and selecting the external hard drive as the destination.
- Monitor the Transfer Progress: During the transfer, monitor the progress notification to see how much data has been transferred and how much time is remaining. The transfer speed will depend on the size of the content being transferred and the speed of the external hard drive.
Once the transfer is complete, you can access your games, saves, and media files directly from your external hard drive. This frees up space on your PS3’s internal storage, allowing you to install new games and media without worrying about running out of space.
Now that your content is safely stored on the external hard drive, you can enjoy your games and media files from your expanded storage. In the next section, we will guide you on how to manage the data on your external hard drive.
Managing Data on the External Hard Drive
Now that you have transferred your games, saves, and media files to your external hard drive, it’s important to know how to manage the data effectively. Here are some tips for managing data on your external hard drive:
- Organize Your Files: Maintain a well-organized structure on your external hard drive to easily locate and access your games, saves, and media files. Create folders for different categories, such as Games, Saves, Movies, Music, etc. Within each folder, you can further categorize your files based on genre, title, or date.
- Naming Conventions: Use clear and concise names for your files to make them easily identifiable. Avoid using long and complicated filenames that might make it difficult to navigate through your files later on.
- Delete Unwanted Files: Periodically review your files on the external hard drive and delete any games, saves, or media files that you no longer need or want. This will help optimize the available storage space and keep your external hard drive organized.
- Backup Your External Hard Drive: Just as you would back up your internal hard drive, it’s important to also back up your external hard drive. Consider creating a backup of your game saves and important files to a separate storage device for added peace of mind.
- Update Games and Firmware: Regularly check for updates to your games and PS3 firmware. Some updates may improve performance, fix bugs, or add new features. Ensure that you keep your games and console firmware up to date to enjoy the best gaming experience.
- Protect Your External Hard Drive: Keep your external hard drive in a safe and secure location to prevent physical damage or theft. Avoid exposing it to extreme temperatures, humidity, or water, and handle it with care when connecting or disconnecting from your PS3.
- Scan for Viruses: Although it’s less common for external hard drives to be infected with viruses, it’s still a good practice to scan your drive periodically using reliable antivirus software. This helps ensure that your files and your PS3 remain protected from any potential threats.
By following these tips, you can effectively manage the data on your external hard drive and maintain a clutter-free and organized gaming experience. Remember to regularly review and backup your files to ensure the safety and availability of your game saves and media files.
In the next section, we will guide you on how to safely disconnect your external hard drive from your PS3. Stay tuned!
Disconnecting the External Hard Drive from PS3 Safely
When you’re done using your PS3 or need to disconnect the external hard drive for any reason, it’s important to do so safely to avoid any potential data loss or damage. Follow these steps to safely disconnect your external hard drive from your PS3:
- Save and Exit: Make sure you save any ongoing game progress and exit the game or application you’re currently using on your PS3. This ensures that any pending writes or data transfers are completed before disconnecting the external hard drive.
- Return to the XMB Interface: Navigate back to the XMB interface on your PS3 by pressing the PS button on your controller. Ensure that you’re on the main menu without any games or applications running in the background.
- Access the ‘Game’ or ‘Video’ Section: Using the controller, navigate to the ‘Game’ or ‘Video’ section of the XMB interface, depending on where you stored your games, saves, or media files on the external hard drive.
- Press the Triangle Button: Press the triangle button on your controller while highlighting the external hard drive connected to your PS3. This will open a context menu with various options.
- Select ‘Eject’ or ‘Safely Remove’: In the context menu, choose either the ‘Eject’ or ‘Safely Remove’ option to initiate the disconnection process. This tells the PS3 to stop accessing the external hard drive and prepares it for safe removal.
- Wait for Confirmation: After selecting the ‘Eject’ or ‘Safely Remove’ option, wait for the PS3 to confirm that it’s safe to disconnect the external hard drive. This usually happens within a few seconds and is indicated by a notification on the screen.
- Disconnect the External Hard Drive: Once you receive the confirmation, you can safely disconnect the external hard drive from the USB port on your PS3. Gently remove the cable without applying excessive force or pulling at an angle.
By following these steps, you can safely disconnect your external hard drive from your PS3 without risking data loss or damage to the drive. Remember to always wait for the confirmation notification before disconnecting and handle the external hard drive with care.
In the next section, we will discuss some common troubleshooting tips to help you overcome any issues you may encounter when using an external hard drive with your PS3. Stay tuned!
Troubleshooting Common Issues
Using an external hard drive with your PS3 can be a convenient way to expand your storage and enhance your gaming experience. However, you may encounter some common issues along the way. Here are a few troubleshooting tips to help you overcome these issues:
- Compatibility Issues: If your PS3 does not recognize the external hard drive or displays an error message, double-check that the hard drive is compatible with the PS3’s FAT32 file system. Confirm that the hard drive is properly formatted and meets the necessary requirements.
- Power Supply: If your external hard drive requires an external power supply, make sure it is properly connected and powered on. Insufficient power supply can cause the hard drive not to function correctly or be recognized by the PS3.
- USB Port Issues: If the PS3 fails to detect the external hard drive, try connecting it to a different USB port. Some USB ports on the PS3 may have limited power or data transfer capabilities. Switching ports can help resolve any connectivity issues.
- Reformatting: If you previously used the external hard drive with a different file system, such as NTFS or exFAT, it may not be recognized by the PS3. In this case, you will need to reformat the drive to FAT32 using a computer before it can be used with the console.
- File System Corruption: In rare cases, the file system on the external hard drive may become corrupted, leading to data access issues or errors. If this happens, you can try connecting the hard drive to your computer and running disk repair tools to fix any file system errors.
- Insufficient Space: If you are unable to transfer or install games on your external hard drive due to insufficient space, consider deleting unwanted or unnecessary files from the drive to free up storage. Alternatively, you may need to upgrade to a higher-capacity external hard drive to accommodate your growing library.
- Updates and Compatibility: Ensure that your PS3’s firmware is up to date as some older versions may have compatibility issues with certain external hard drives. Also, check for any available firmware updates for your external hard drive if the manufacturer provides them.
If you continue to experience issues with your external hard drive, it’s always a good idea to consult the manufacturer’s support documentation or contact their customer support for further assistance.
In this article, we have covered everything from connecting and transferring data to managing and troubleshooting common issues when using an external hard drive with your PS3. We hope this guide has been helpful in expanding your storage capacity and enhancing your gaming experience. Enjoy your games and multimedia content on your newly expanded storage!
Conclusion
Using an external hard drive with your PlayStation 3 (PS3) is a game-changer when it comes to expanding storage and improving your gaming experience. With the ability to store more games, saves, and media files, you no longer have to worry about running out of space on your console’s internal storage. This guide has provided you with step-by-step instructions on how to use an external hard drive with your PS3. From understanding the benefits and selecting a compatible drive to formatting, connecting, and managing data, you now have the knowledge to make the most of this storage solution.
By using a compatible external hard drive, you can significantly increase your storage capacity and conveniently manage your game library. Backing up and transferring game saves become effortless, ensuring that your gaming progress is always safe. Additionally, the ability to store and play media files directly from the external hard drive enhances your entertainment options. The freedom and flexibility that come with using an external hard drive on your PS3 are truly invaluable.
Throughout this guide, we have highlighted the importance of proper formatting, safe disconnection, and troubleshooting common issues. These tips ensure that both your external hard drive and your PS3 are protected from data loss or damage. Remember to follow these guidelines and always handle your external hard drive with care.
With your external hard drive connected, you can now enjoy an expanded gaming library, seamless media playback, and peace of mind knowing that your game saves are backed up. Take advantage of the benefits it offers, such as increased storage capacity, convenient game management, and the ability to access and enjoy media files without restrictions.
We hope this guide has equipped you with the knowledge and confidence to use an external hard drive with your PS3. Now it’s time to maximize your gaming experience and take your entertainment to the next level. Happy gaming!