Introduction
Are you tired of having to constantly switch out game discs on your PlayStation 3 (PS3)? Well, you’re in luck! In this guide, we will walk you through the process of downloading PS3 games from a disc onto your PS3’s hard drive, allowing for convenient and seamless gameplay without the need for physical discs.
The ability to install games directly onto your PS3’s hard drive comes with a range of benefits. Firstly, it reduces wear and tear on your game discs, ensuring they last longer. It also eliminates the hassle of rummaging through your collection to find a specific game, as all your games will be readily accessible with a few clicks. Plus, the faster loading times from the hard drive can enhance your gaming experience.
It’s important to note that not all PS3 games can be installed onto the hard drive. Some games have restrictions that prevent them from being installed, so it’s a good idea to check the game’s manual or online documentation to see if it supports installation.
Now that you understand the benefits and limitations, let’s dive into the step-by-step process of downloading PS3 games from a disc to your hard drive. By following these instructions, you’ll be able to enjoy your favorite games with ease and convenience.
Step 1: Prepare your PS3
Before you can begin installing games onto your PS3’s hard drive, it’s crucial to ensure that your console is properly set up and ready to go.
The first thing you’ll want to do is make sure your PS3 is connected to a stable internet connection. This step is important because some games require online updates or patches to be downloaded during the installation process. By having a reliable internet connection, you’ll be able to access these updates and ensure smooth gameplay.
Next, check for any available system updates for your PS3. These updates not only provide new features but also help optimize the performance of your console. To check for updates, go to the Settings menu on your PS3 and select System Update. If there are any available updates, follow the on-screen instructions to download and install them.
Additionally, ensure that you have enough free space on your PS3’s hard drive to accommodate the games you want to install. Some games can take up a significant amount of space, so it’s essential to check your available storage. To view the free space on your PS3, go to the Settings menu, select System Settings, and then choose System Information. The available free space will be displayed on the screen.
Lastly, it’s a good idea to organize your game discs and keep them in a safe and easily accessible location. Although the goal is to install games onto the hard drive, you may still need the discs for verification purposes or if you want to play the game on another console.
By following these preparatory steps, you’ll ensure that your PS3 is ready for the installation process and have a smooth gaming experience. Once you’ve completed these steps, it’s time to move on to the next stage: connecting an external hard drive.
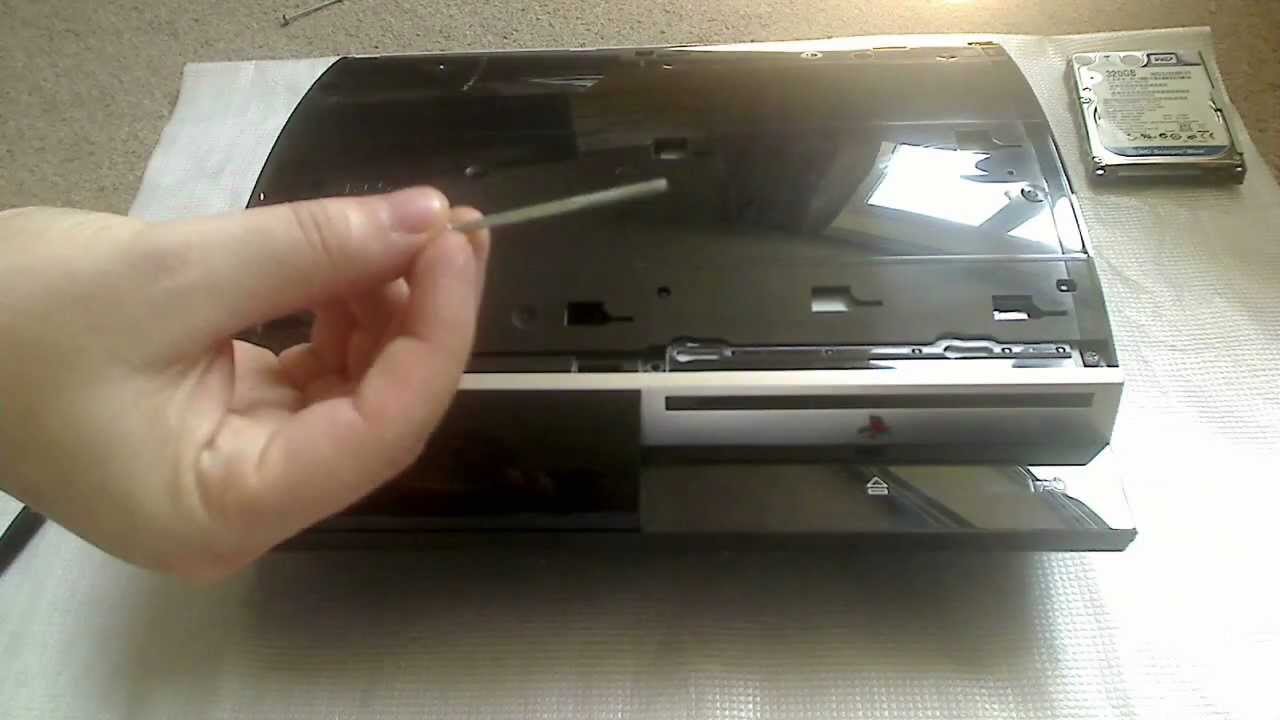
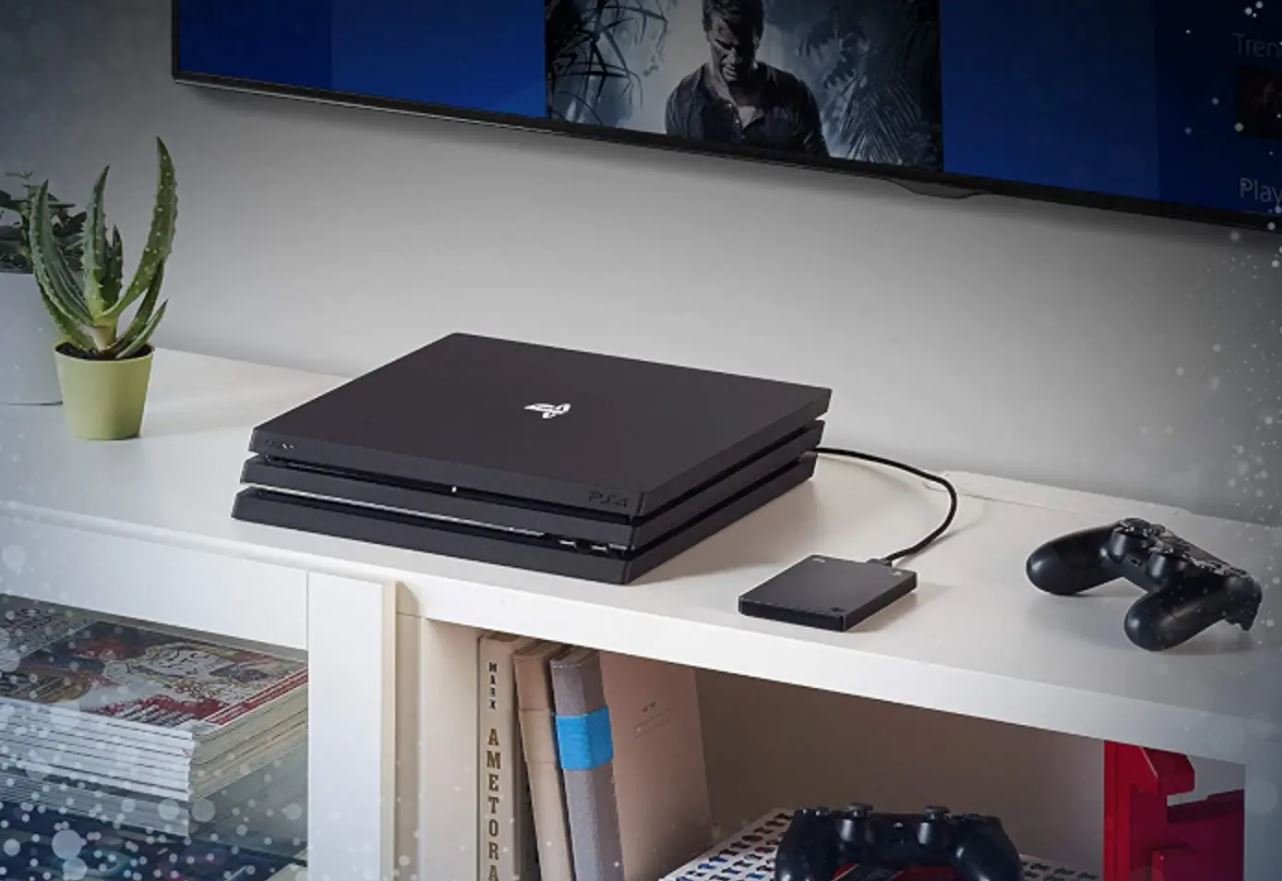
Step 2: Connect an External Hard Drive
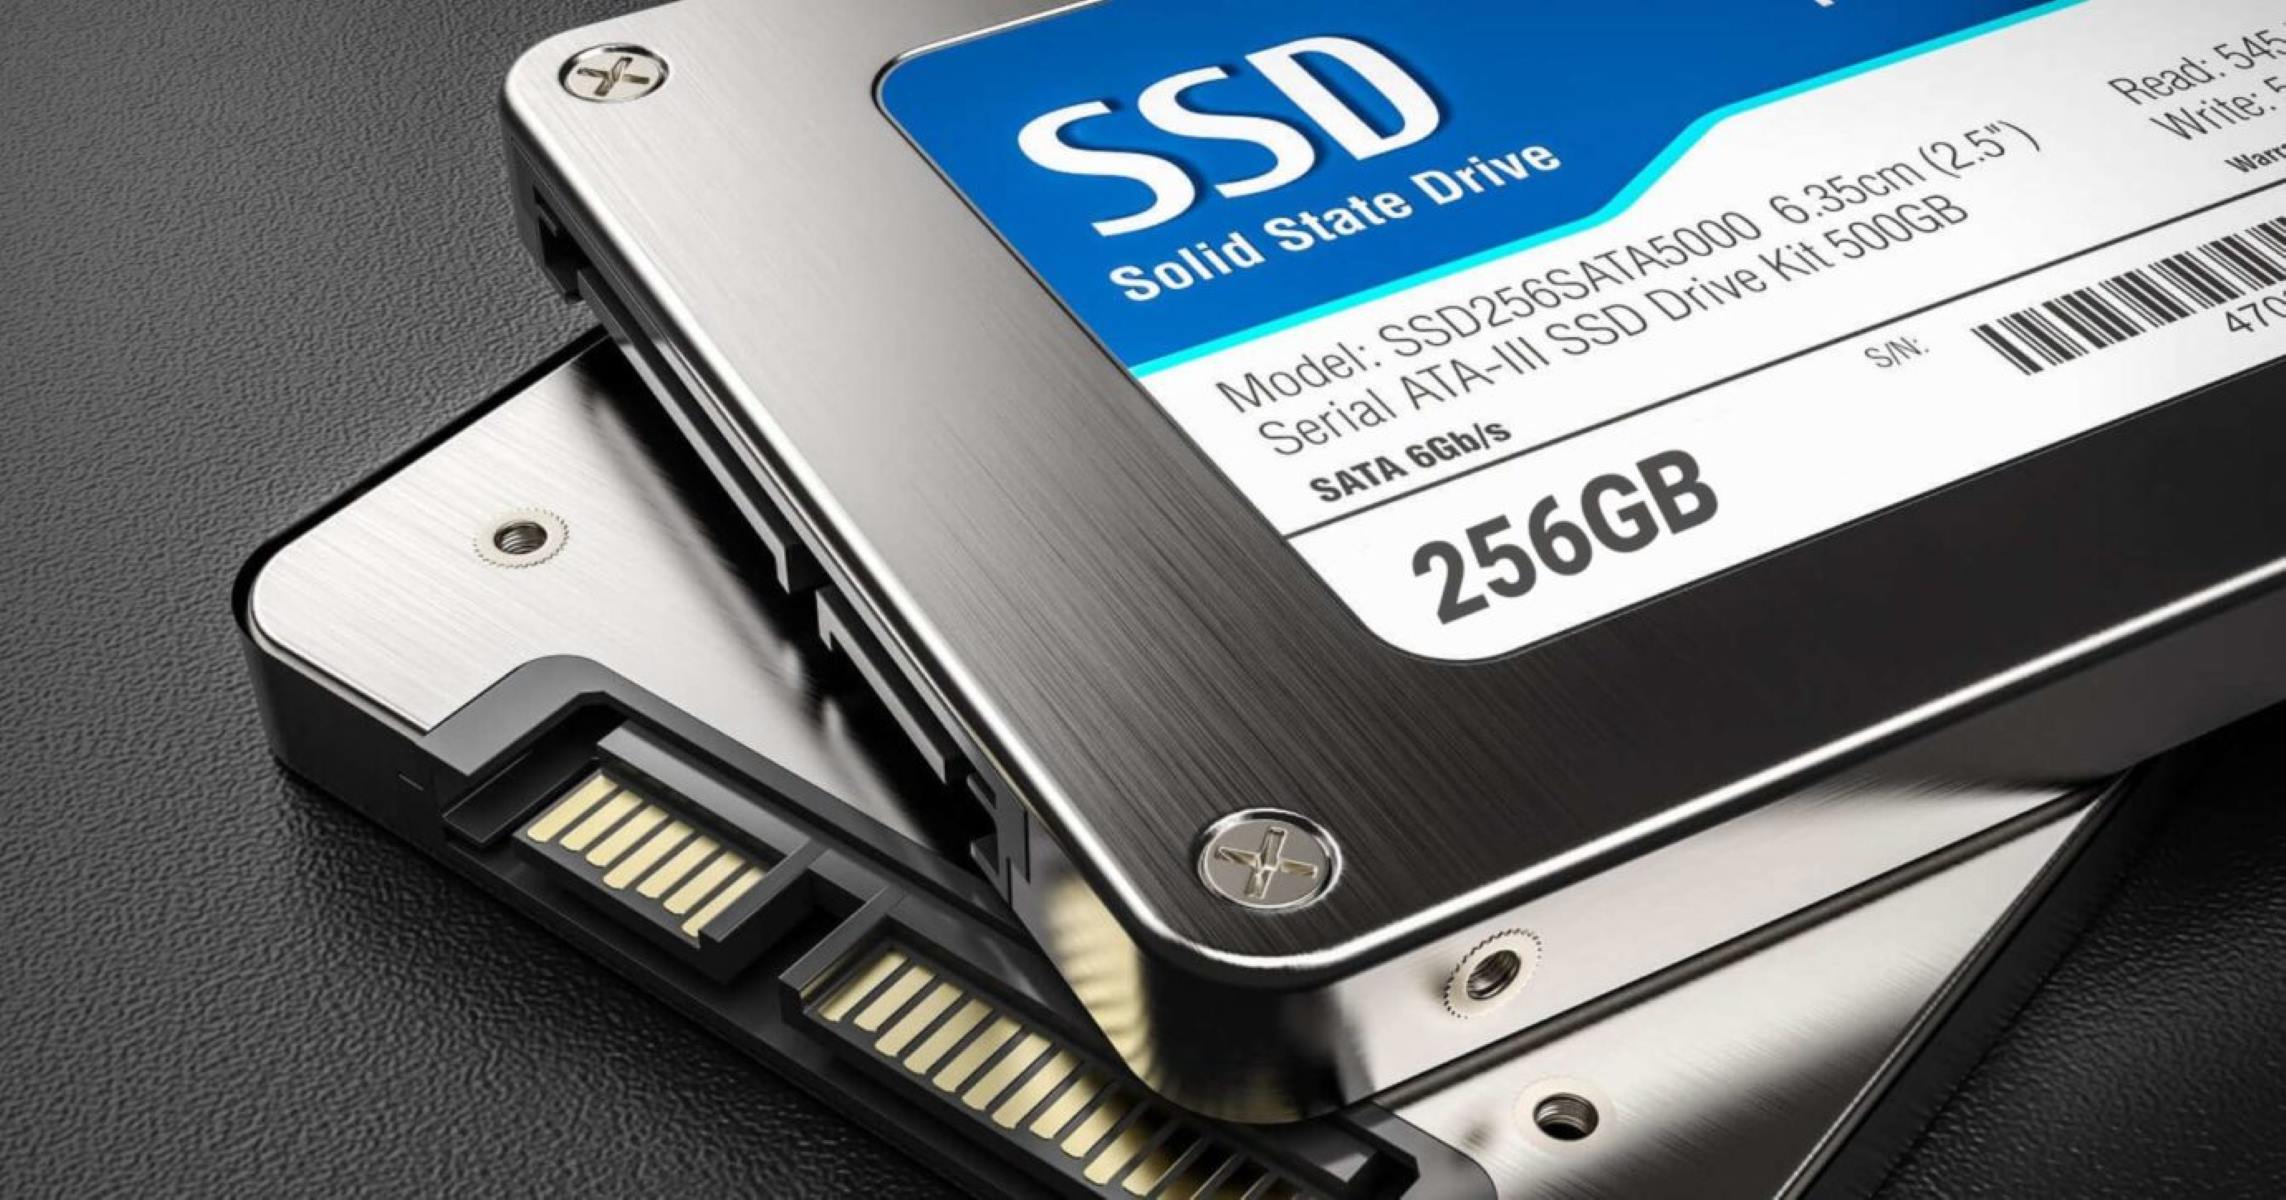
To download and store games from your PS3’s disc onto a hard drive, you’ll need to connect an external hard drive to your console. This will serve as the storage device for the game installations.
First, ensure that your external hard drive is compatible with the PS3. The PS3 supports both USB 2.0 and USB 3.0 connections, so make sure your hard drive has either of these interfaces. Additionally, check the capacity of your external hard drive to ensure it has enough space to accommodate the games you want to download.
Once you have a compatible and appropriately sized external hard drive, follow these steps to connect it to your PS3:
- Turn off your PS3 console.
- Connect the external hard drive to one of the available USB ports on your PS3. Make sure the connection is secure.
- Power on your PS3 console.
- Wait for the PS3 to recognize the connected external hard drive. You may receive a notification on your screen indicating that the hard drive has been successfully detected.
- Verify that the external hard drive is recognized by navigating to the Settings menu on your PS3. Select System Settings, followed by System Information. The external hard drive should be listed along with its storage capacity.
By following these steps, you’ll have successfully connected an external hard drive to your PS3. This will serve as the storage space for your game installations. With the external hard drive in place, you can now proceed to the next step: inserting the game disc into your PS3.
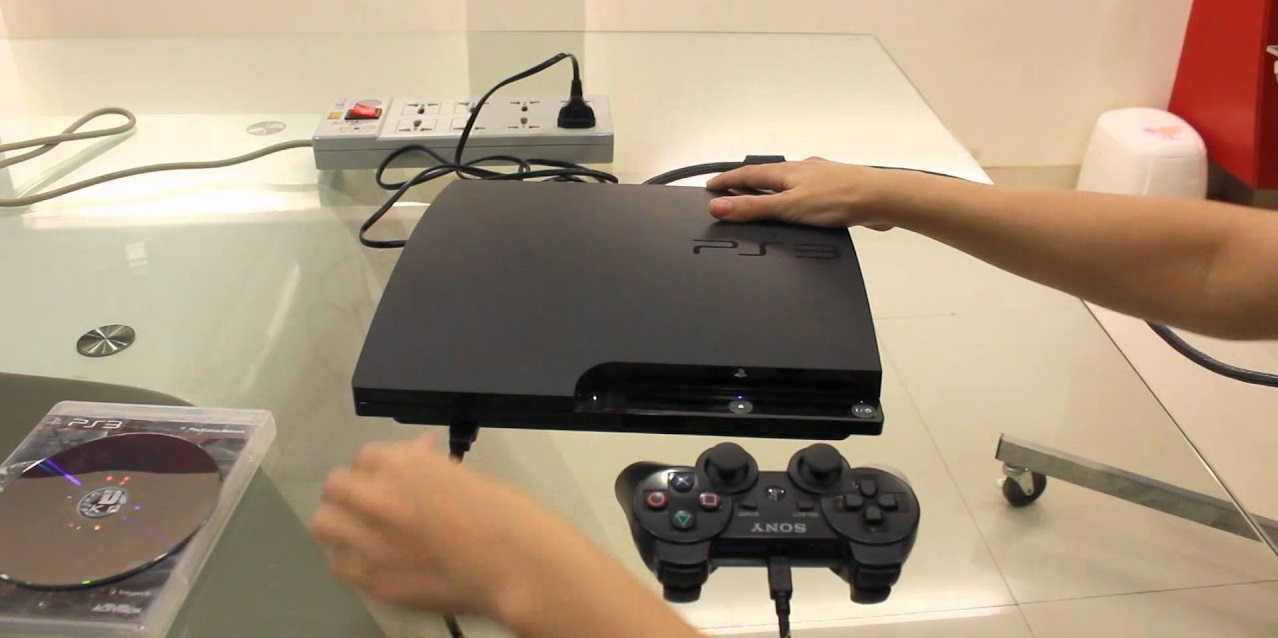
Step 3: Insert the Game Disc
With your external hard drive connected to your PS3, it’s time to insert the game disc from which you want to install the game. This step is essential as it will initiate the installation process.
Follow these straightforward steps to insert the game disc into your PS3:
- Ensure that your PS3 is powered on and that you are logged in to your account.
- Gently hold the game disc by its edges, making sure not to touch the shiny side (the side with the game data).
- Locate the disc tray on your PS3. For most PS3 models, the disc tray is located on the front of the console, just above the power and eject buttons. Press the eject button to open the disc tray.
- Place the game disc onto the disc tray with the shiny side facing down.
- Carefully push the disc tray back into the console, ensuring that it is securely closed.
Once the game disc is inserted, your PS3 will automatically recognize it and begin the installation process. You may see a progress bar or on-screen prompts indicating that the installation is in progress. The duration of the installation can vary depending on the game size and the speed of your external hard drive.
It’s important to note that during the installation process, you should avoid removing the game disc or disconnecting the external hard drive to prevent any interruptions. Allow the installation to complete fully before moving on to the next step.
With the game disc inserted and the installation process underway, you’re one step closer to enjoying your game directly from the hard drive. Wait patiently for the installation to finish, and once it’s done, you can move on to the next step to access the game from the hard drive.
Step 4: Start the Installation Process
Now that you have inserted the game disc into your PS3, it’s time to start the installation process. This step involves initiating the installation from the game disc onto your external hard drive.
Follow these steps to start the installation process:
- Ensure that your PS3 is still powered on and that the game disc is inserted.
- Navigate to the “Game” section on the PS3’s home menu using the directional pad on your controller.
- Locate the game you want to install from the disc and select it.
- Once you have selected the game, you should see an option to start the installation process. Choose this option to proceed.
- Follow any on-screen prompts or instructions that may appear. These may vary depending on the game, but generally, you’ll be asked to confirm the installation and accept any necessary terms or agreements.
- Once you’ve confirmed the installation, the PS3 will begin copying the necessary game files from the disc to your external hard drive. You may see a progress bar indicating the installation’s status.
It’s important to note that the installation process may take some time, especially for larger games or those with extensive content. The speed of your external hard drive and the overall performance of your PS3 may also affect the installation duration. It’s best to be patient and let the installation process complete without interruption.
During the installation process, it’s recommended to avoid using your PS3 for other tasks to ensure smooth and efficient copying of the game files. You can take this time to grab a snack, catch up on some reading, or engage in another activity to pass the time.
Once the installation process is finished, you’re ready to move on to the next step and wait for the installation to complete.
Step 5: Wait for the Installation to Complete
After starting the installation process, it’s important to allow sufficient time for the installation to complete. This step involves waiting patiently until the game files are fully copied from the disc to your external hard drive.
During the installation process, it’s normal to see a progress bar or on-screen prompts indicating the status of the installation. The length of time it takes for the installation to complete can vary depending on factors such as the size of the game, the speed of your external hard drive, and the overall performance of your PS3.
It’s crucial to avoid interrupting the installation process by ejecting the game disc or disconnecting the external hard drive. Doing so may result in incomplete game files and can lead to errors or issues while playing the game.
While waiting for the installation to finish, you can take this time to prepare for the next steps. Ensure that your PS3 is connected to a power source and that your external hard drive remains connected and secure. You can also use this time to organize your gaming setup or explore other features and games on your PS3.
It’s recommended to periodically check on the progress of the installation, but avoid obsessively monitoring it. Trust that the installation process will complete, and try to occupy yourself with other activities while you wait.
Once the installation progress bar reaches 100% or you receive an on-screen notification indicating completion, you’ll know that the installation process is finished. At this point, you’re ready to proceed to the next step and access your game from the hard drive.
Step 6: Access your Game from the Hard Drive
Now that the installation is complete, it’s time to access and play the game directly from your external hard drive. By following these steps, you’ll be able to conveniently launch your game without the need for the physical game disc.
Follow these instructions to access your game from the hard drive:
- Ensure that your PS3 is powered on and that the external hard drive with the installed game is still connected.
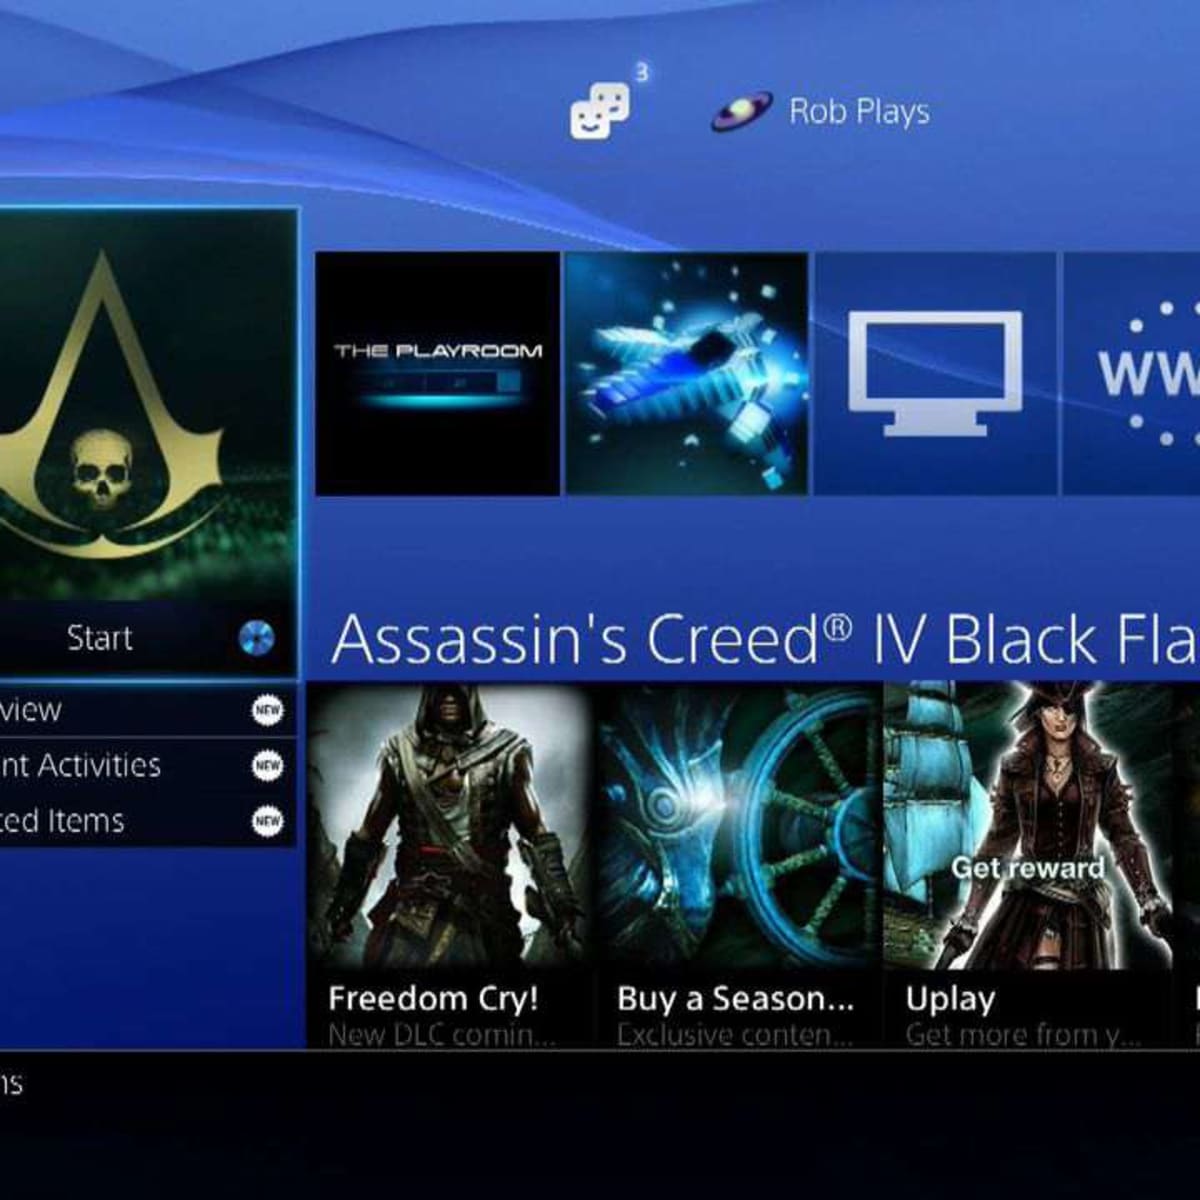
- Navigate to the “Game” section on the PS3’s home menu using the directional pad on your controller.
- Scroll through the list of games until you find the one you installed. The game should now appear with an icon on the menu, indicating that it is installed and ready to be played.
- Select the game from the list and press the X button on your controller to launch it.
Once you’ve launched the game, the PS3 will load the necessary game files from the external hard drive. This process may take a few moments, depending on the complexity of the game and the read speed of your external hard drive.
While the game is loading, you may see loading screens or on-screen prompts. Some games may also require additional updates or patches to be downloaded before you can start playing. If prompted, follow the on-screen instructions to download and install any required updates. These updates can enhance gameplay, fix bugs, and add new features to the game.
After the game has finished loading, you’ll be able to enjoy playing it directly from the hard drive. The game will run smoothly, just as if you were playing it from the original disc.
Remember to keep your external hard drive connected during gameplay to ensure smooth operation. If you encounter any issues while playing, such as freezes or glitches, try disconnecting and reconnecting the external hard drive or restarting your PS3.
With your game accessible from the hard drive, you can now fully enjoy the convenience and streamlined experience of playing without the need for game discs.
Step 7: Play and Enjoy!
Congratulations! You have successfully downloaded and installed your game onto the external hard drive, and now it’s time to play and immerse yourself in the gaming experience.
With the game accessible from the hard drive, you’ll experience faster loading times and seamless gameplay, without the need to swap out discs. This convenience allows you to jump right into the action and enjoy your favorite games without any unnecessary hassle.
As you begin playing, remember to make use of all the features and settings available to you. Customize your gaming experience by adjusting graphics, audio, and control settings to suit your preferences. Explore additional features, such as multiplayer modes, downloadable content, and online communities, to enhance your gaming experience even further.
While enjoying your game, keep in mind a few key points:
- Regularly back up your external hard drive to ensure your game installations are safe. This will protect your game library from any unexpected data loss.
- Update your game regularly. Developers often release updates to fix bugs, improve performance, and add new features. Stay connected to the internet and download any available updates to keep your game up to date.
- Take breaks and maintain balance. Gaming is meant to be enjoyed, but it’s essential to take breaks, stretch, and allow time for other activities to maintain a healthy gaming lifestyle.
- Explore other games in your library. With the convenience of having multiple games installed on your external hard drive, take the opportunity to discover new titles and genres that you may not have tried before.
Remember, gaming is all about having fun and immersing yourself in exciting virtual worlds. Whether you’re playing alone or with friends, the ability to download and play games directly from the hard drive gives you the freedom and flexibility to enjoy gaming on your own terms.
So grab your controller, start up your PS3, and dive into the adventure that awaits you. Play, have fun, and let your imagination soar!