Introduction
Welcome to the world of gaming! The Playstation 3 (PS3) is a popular gaming console that offers a rich and immersive gaming experience. Whether you’re a seasoned gamer or new to the world of gaming, setting up your PS3 is an essential first step towards enjoying all the thrilling games it has to offer.
In this guide, we will walk you through the process of setting up your Playstation 3 so that you can start playing your favorite games in no time. From connecting the necessary equipment to configuring the initial settings, we will provide you with easy-to-follow instructions to get you up and running.
Before we dive into the setup process, let’s briefly discuss the equipment you’ll need. Firstly, you’ll need a PS3 console, which typically comes with a power cord, HDMI cable, and a controller. Additionally, ensure that you have a stable internet connection to take advantage of online features and multiplayer gaming experiences.
Now that we have an overview of what’s to come, let’s begin with the first step: gathering the necessary equipment.
Step 1: Gather the necessary equipment
Before you can start setting up your Playstation 3, it’s important to gather all the necessary equipment. Here’s a list of items you’ll need:
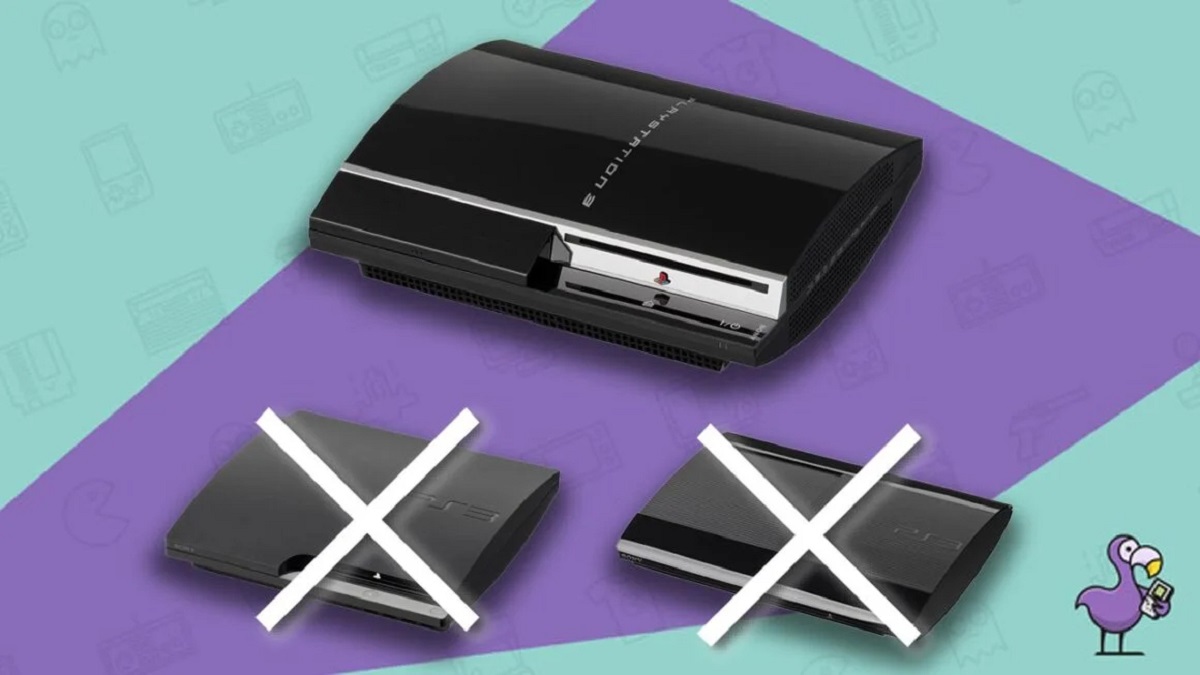
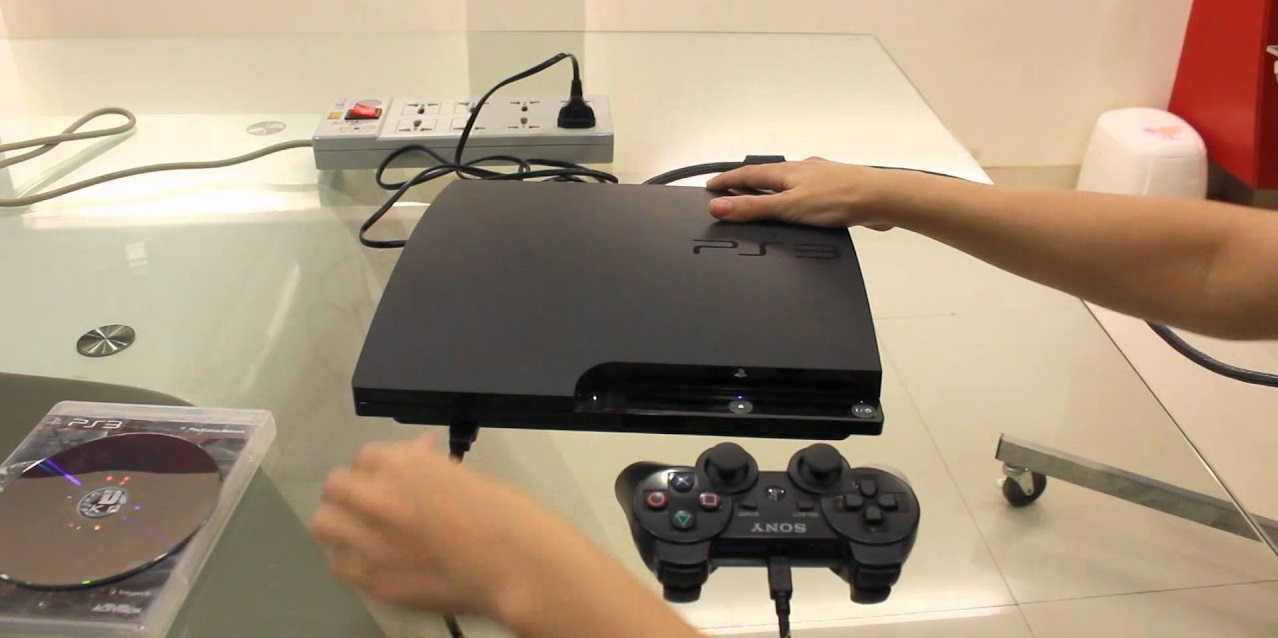
- Playstation 3 console: This is the central component of your gaming setup. The console houses all the necessary hardware to run your games and provides the interface for you to interact with the system.
- Power cord: The power cord is used to supply power to the console. Make sure you have a compatible power cord that is in good condition.
- HDMI cable: The HDMI cable is used to connect your PS3 to your TV or monitor. This cable carries both high-definition video and audio signals, ensuring a crisp and clear gaming experience. If your TV or monitor doesn’t have an HDMI port, you can use other connection options like component cables.
- Controller: The PS3 controller is your gateway to controlling the games. It features a range of buttons, triggers, and analog sticks that allow you to navigate through menus, interact with in-game objects, and control your character’s movements.
- Internet connection: Although not essential for setting up your PS3, having a stable internet connection opens up a world of online features, including multiplayer gaming, downloading updates and patches, and accessing streaming services.
Once you have gathered all the necessary equipment, you’re ready to move on to the next step: connecting the power cord.
Step 2: Connect the power cord
Now that you have all the necessary equipment, it’s time to connect the power cord to your Playstation 3. Follow these simple steps:
- Locate the power port: On the back of your PS3 console, you will find a small power port. It is usually labeled as “AC in” or something similar.
- Plug in the power cord: Take the power cord and insert one end into the power port on the back of the console.
- Connect to a power outlet: Plug the other end of the power cord into a nearby power outlet. Ensure that the outlet is in good condition and properly grounded.
- Power on the console: Once the power cord is securely connected, you can power on the console by pressing the power button located on the front of the PS3.
- Verify the power indicator: Look for a red light on the front of the console. This indicates that the PS3 is receiving power. If you don’t see a red light, double-check the power cord connection and try again.
It’s important to note that you should only use the power cord provided with your PS3 or obtain a replacement cord from an authorized retailer. Using a different power cord can potentially damage the console and void your warranty.
With the power cord successfully connected, you’re ready to move on to the next step: connecting the HDMI cable.
Step 3: Connect the HDMI cable
Now that your Playstation 3 is powered on, it’s time to connect the HDMI cable to your TV or monitor for a high-definition gaming experience. Here’s how:
- Locate the HDMI port: On the back of your PS3 console, you will find an HDMI port. It is usually labeled as “HDMI out” or something similar.
- Connect one end of the HDMI cable: Take one end of the HDMI cable and insert it firmly into the HDMI port on the back of the PS3 console. Make sure it is securely connected.
- Locate the HDMI input on your TV or monitor: Look for an HDMI input on your TV or monitor. It is usually labeled as “HDMI 1,” “HDMI 2,” or something similar.
- Connect the other end of the HDMI cable: Take the other end of the HDMI cable and insert it into the HDMI input on your TV or monitor. Ensure it is inserted fully and securely.
- Select the correct HDMI input: Use your TV or monitor’s remote control to select the corresponding HDMI input. This allows the video and audio signals from your PS3 to be displayed on the screen.
Once the HDMI cable is properly connected and the correct input is selected on your TV or monitor, you should see the PS3 home screen or a prompt asking you to perform initial setup.
If your TV or monitor doesn’t have an HDMI input, you can use alternative connection options like component cables. These cables provide lower-quality video but still deliver a decent gaming experience.
With the HDMI cable successfully connected, you can move on to the next step: connecting the controller.
Step 4: Connect the controller
With your Playstation 3 powered on and the HDMI cable connected, it’s time to connect the controller for seamless gaming control. Follow these steps to connect your PS3 controller:
- Turn on the controller: To turn on the PS3 controller, press and hold the “PS” button located in the center of the controller. The LED lights on the front of the controller will start flashing.
- Enter pairing mode: On the front of the PS3 console, you’ll find a small button labeled “Connect.” Press and hold this button until the LED lights on the console start flashing.
- Sync the controller: While the LED lights on the console are flashing, press and hold the “PS” button on the controller until the controller’s LED lights stop flashing and a single LED remains lit. This indicates that the controller is successfully paired with the console.
- Verify the connection: Once the controller is synced, you should see a notification on the screen confirming the successful connection. You can now use the controller to navigate through the PS3 interface and control your games.
If you have multiple PS3 controllers, you can repeat these steps to connect additional controllers. The PS3 supports up to four controllers, allowing you to enjoy multiplayer gaming with friends and family.
It’s worth noting that if your controller doesn’t connect or stay connected, you may need to charge it using a USB cable connected to the PS3 console or a compatible charger. Once charged, repeat the syncing process to establish a stable connection.
With the controller successfully connected, you’re one step closer to gaming bliss. The next step is to set up the internet connection to unlock online features and multiplayer gaming capabilities.
Step 5: Set up the internet connection
Setting up your Playstation 3 with an internet connection opens the door to a wide range of online features, including multiplayer gaming, accessing the Playstation Store, and streaming media content. Follow these steps to connect your PS3 to the internet:
- Access the network settings: Navigate to the “Settings” menu on your PS3 by scrolling to the left on the XMB (XrossMediaBar) interface. From there, select “Network Settings” and press the “X” button on your controller.
- Select the internet connection type: Choose either “Internet Connection Settings” or “Wireless Settings” depending on your preferred type of connection. If using a wired connection, select “Internet Connection Settings” and proceed to the next step. If using a wireless connection, select “Wireless Settings” and follow the prompts to connect to your Wi-Fi network.
- Select the easy setup method: Choose “Easy” when prompted to select the setup method. This option will automatically configure most of the settings for you.
- Select the connection type: If using a wired connection, choose “Wired Connection.” Your PS3 will automatically detect the network settings and establish a wired connection. If you’re using a wireless connection, select “Wireless Connection” and follow the on-screen instructions to select your Wi-Fi network, enter the password, and establish the connection.
- Test the internet connection: Once the connection setup is complete, the PS3 will prompt you to test the internet connection. Select “Test Connection” and wait for the test to complete. If successful, you’ll see a confirmation message indicating that your PS3 is connected to the internet.
It’s important to ensure that your internet connection is stable and offers sufficient bandwidth to support online gaming. For the best experience, a high-speed internet connection is recommended.
With your PS3 successfully connected to the internet, you can now take advantage of online features, download game updates, access online multiplayer, and explore the wide array of content available through the Playstation Network.
The next step is to insert a game or Blu-ray disc and get ready to immerse yourself in the world of gaming.
Step 6: Insert a game or Blu-ray disc
With your Playstation 3 connected to the internet and ready to go, it’s time to insert a game or Blu-ray disc and begin your gaming experience. Follow these steps:
- Locate the disc drive: On the front of your PS3 console, you will find a slot-loading disc drive. It is typically located in the middle or towards the right side of the console.
- Prepare the disc: Grab the game or Blu-ray disc that you want to play and make sure it is clean and free from scratches or smudges. Hold the disc carefully by the edges to avoid any fingerprints or damage.
- Insert the disc: Gently insert the disc into the disc drive with the label facing up. Push it in until you feel slight resistance, and the disc will automatically be pulled into the console.
- Wait for the disc to load: Once the disc is inserted, the PS3 will start reading it. Depending on the size of the game or disc, it may take a few moments for the console to load the content.
It’s important to note that the PS3 also serves as a Blu-ray player, allowing you to watch high-definition movies on your TV. The process of inserting a Blu-ray disc is the same as inserting a game disc.
If you encounter any issues with the disc not being recognized or loading properly, check for any visible damage on the disc and clean it using a soft, lint-free cloth. If the problem persists, try inserting a different disc to determine if the issue is with the console or the specific disc.
With the disc successfully inserted and loaded, you can now start playing your game or enjoying the movie on your Blu-ray disc. Get ready to dive into a world of immersive gaming or cinematic entertainment!
The next step is to power on the Playstation 3 and configure the initial settings.
Step 7: Power on the Playstation 3
With the game or Blu-ray disc inserted into the disc drive, it’s time to power on your Playstation 3 and get ready for an incredible gaming experience. Follow these steps to turn on your PS3:
- Locate the power button: On the front of your PS3 console, you will find the power button. It is usually situated on the right side of the console, near the disc slot.
- Press the power button: Press the power button once to turn on your PS3. You should see the power indicator light on the front of the console turn green, indicating that the system is booting up.
- Wait for the PS3 to start up: The Playstation 3 will now begin its startup process. You may see the PS3 logo appear on your screen, and the system will go through a series of checks and configurations.
- Navigate the XMB interface: Once the startup process is complete, you will be taken to the XMB (XrossMediaBar) interface. This is the main home screen of the PS3, where you can access various settings, games, media, and other features.
It’s important to note that the initial startup process may take a few moments, especially if there are system updates or patches to be installed. The PS3 will automatically download and install any necessary updates if connected to the internet.
If your PS3 does not power on when you press the power button, double-check the power cord connection and ensure that the power outlet is functioning correctly. If the issue persists, you may need to contact Playstation support for further assistance.
With your PS3 successfully powered on, you’re now ready to configure the initial settings and personalize your gaming experience. The next step is to proceed to the configuration process.
Step 8: Configure the initial settings
After powering on your Playstation 3, it’s time to configure the initial settings to tailor the console to your preferences. Follow these steps to set up your PS3:
- Select the system language: When prompted, choose your preferred system language from the list provided. This will determine the language used in system menus, messages, and prompts.
- Set the time and date: Enter the current time and date to ensure accurate timestamps for game saves, achievements, and other time-sensitive features. You can set the time and date manually or choose the automatic option to sync it with internet time servers.
- Configure display and audio settings: Depending on your TV or monitor, you may need to adjust the display and audio settings to ensure the best gaming experience. Follow the on-screen instructions to select the appropriate resolution, aspect ratio, and audio output settings.
- Sign in to or create a Playstation Network (PSN) account: If you have an existing PSN account, enter your login credentials to sign in. If not, you can create a new account by following the on-screen instructions. Having a PSN account allows you to access online features, purchase and download games, and join the Playstation community.
- Customize settings and preferences: Explore the settings menu to customize various aspects of your PS3 experience. This includes adjusting system sounds, controller settings, network settings, privacy settings, and more. Take your time to personalize the settings to your liking.
During the initial setup process, you may also be prompted to update the system software if a newer version is available. It is recommended to keep your PS3 updated to benefit from the latest features and security enhancements. Ensure that your PS3 is connected to the internet for seamless updates.
By configuring the initial settings, you are tailoring the Playstation 3 experience to suit your preferences. Once you have completed the initial setup, you’re ready to enjoy all the fantastic features and games the PS3 has to offer.
The next and final step is to start exploring the wide array of games and entertainment options available on your Playstation 3.
Step 9: Enjoy your gaming experience
Congratulations! You have successfully set up your Playstation 3 and configured all the necessary settings. Now it’s time to sit back, relax, and enjoy the world of gaming that awaits you. Here are a few tips to enhance your gaming experience:
- Explore the game library: Take some time to browse through the vast collection of games available for the PS3. From action-packed adventures to immersive role-playing games, there’s something for every gaming preference.
- Connect with friends: The PS3 offers various ways to connect with friends and other like-minded gamers. Use the built-in messaging system to chat, join online multiplayer matches, or invite friends to play together for a truly social gaming experience.
- Stay updated: Keep your PS3 updated with the latest system software and game updates. Regularly check for system updates and install them to benefit from new features, security enhancements, and improved game performance.
- Experiment with different settings: Don’t be afraid to adjust display, audio, and controller settings based on your preferences. Play around with different options to find the setup that provides the best gaming experience for you.
- Take advantage of online features: If you have a stable internet connection, make the most of the PS3’s online features. Download game demos, purchase additional content, participate in online events, and connect with fellow gamers from around the world.
Remember to take regular breaks while gaming to rest your eyes and avoid fatigue. Playing in moderation ensures a healthier and more enjoyable gaming experience.
With your Playstation 3 up and running, you are now ready to embark on countless hours of gaming excitement. Immerse yourself in captivating worlds, engage in thrilling battles, and embark on unforgettable adventures. Let the magic of the Playstation 3 transport you to new realms of gaming entertainment.
Thank you for following this guide, and we hope you have a fantastic time exploring and enjoying your Playstation 3!