Introduction
Are you tired of running out of storage space on your PS3? Do you want to keep all your favorite games, movies, and music in one place? Look no further than an external hard drive. With an external hard drive, you can expand the storage capacity of your PS3 and have the freedom to store all your digital content without worrying about limited space. In this article, we will guide you through the process of using an external hard drive on your PS3, from formatting the drive to managing files and transferring data.
Using an external hard drive on your PS3 not only provides additional storage but also gives you the flexibility to access your media from any PS3 console. Whether you want to store a vast collection of movies, back up your game saves, or transfer files between your PS3 and PC, an external hard drive can be a game-changer.
It is important to note that not all external hard drives are compatible with the PS3. Before purchasing an external hard drive, make sure it meets the specifications required by the PS3 system. Generally, the PS3 works best with a USB 3.0 external hard drive that has a capacity between 250GB and 8TB.
Now that you understand the benefits of using an external hard drive with your PS3, let’s dive into the step-by-step process of setting it up. Don’t worry, even if you’re not a tech-savvy individual, the following instructions are easy to follow and will have you up and running in no time.
Step 1: Format the External Hard Drive
The first step in using an external hard drive on your PS3 is to format the drive to a compatible file system. This ensures that the PS3 can recognize and utilize the storage space effectively. Here’s how you can format the external hard drive:
- Connect your external hard drive to your computer using the appropriate USB cable.
- Once connected, open your computer’s file explorer and locate the external hard drive.
- Right-click on the external hard drive and select “Format” from the drop-down menu.
- Choose the file system format that is compatible with the PS3. The PS3 supports FAT32 and exFAT file systems. FAT32 is recommended for compatibility with most PS3 systems.
- Give your external hard drive a name or label, if desired.
- Click on the “Start” or “Format” button to begin the formatting process.
- Wait for the formatting process to complete. This may take a few minutes, depending on the size of your external hard drive.
- Once the formatting is done, safely eject the external hard drive from your computer.
Formatting the external hard drive will erase all existing data on the drive, so make sure to back up any important files before proceeding. It’s important to note that formatting the drive for use with the PS3 may not allow you to access the drive on other devices without reformatting it again.
Now that your external hard drive is formatted and ready to be used with the PS3, let’s move on to the next step: connecting the drive to the PS3.
Step 2: Connect the External Hard Drive to the PS3
Now that you have formatted your external hard drive, it’s time to connect it to your PS3 console. Follow these simple steps to establish the connection:
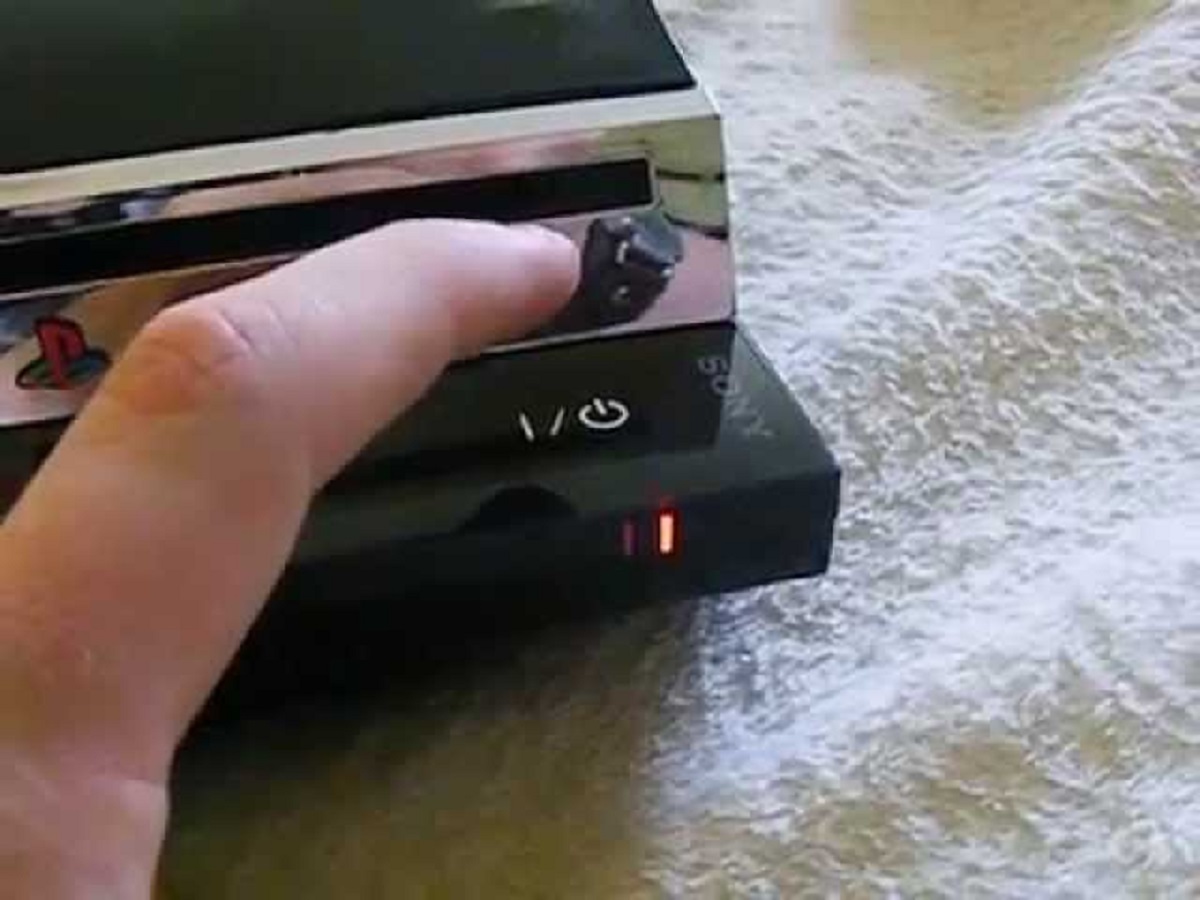
- Ensure that your PS3 is turned off.
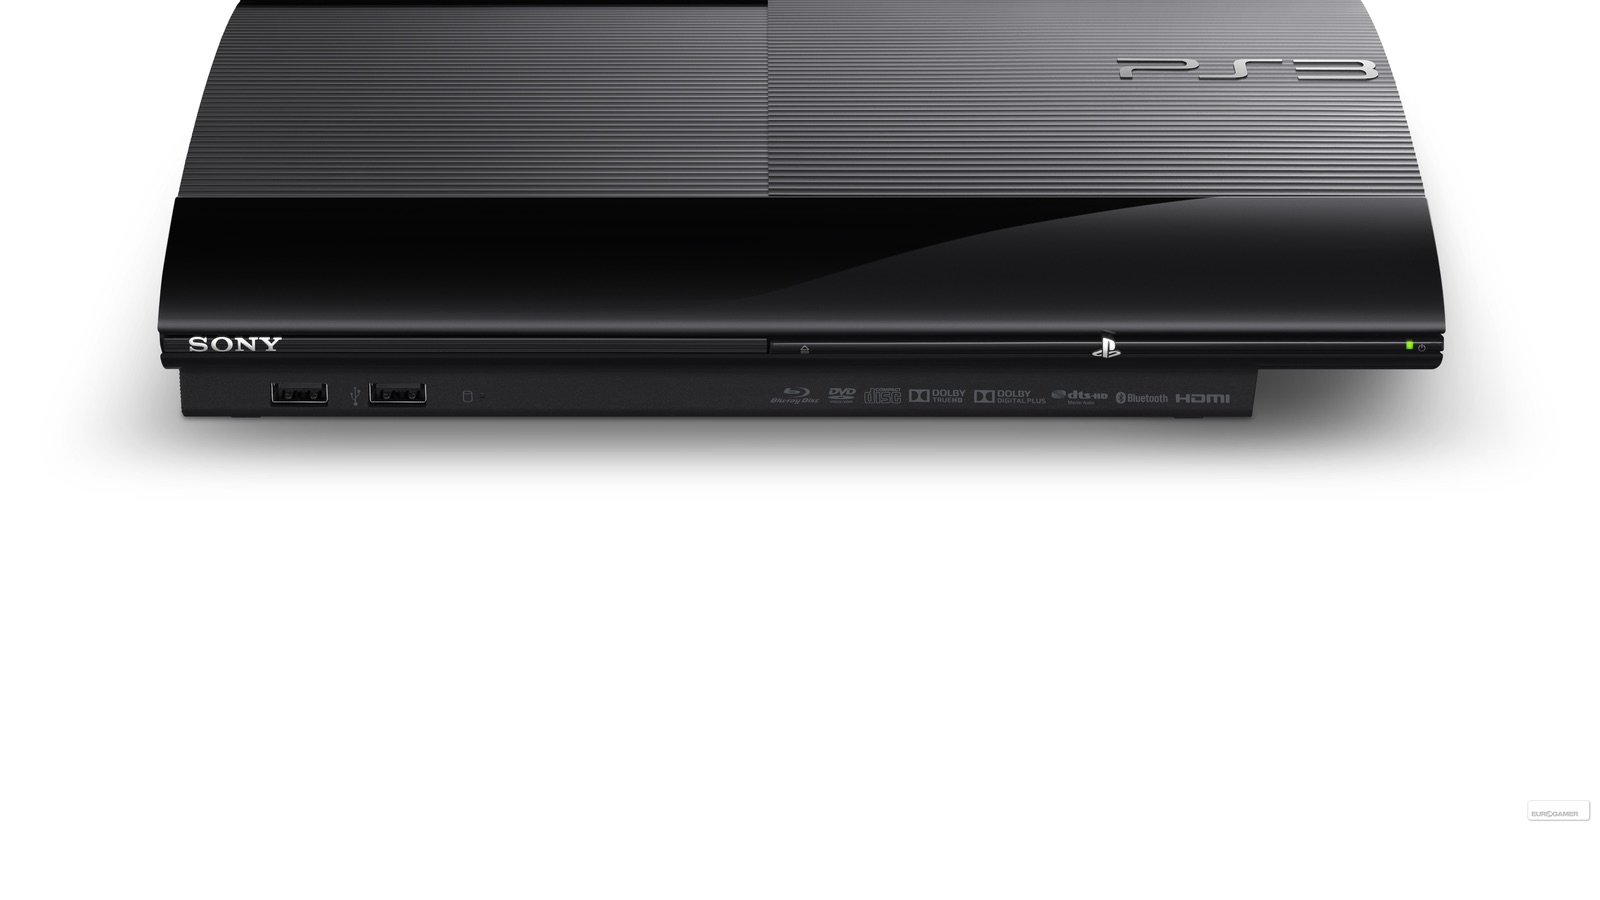
- Locate the USB ports on the front or back of your PS3 console.
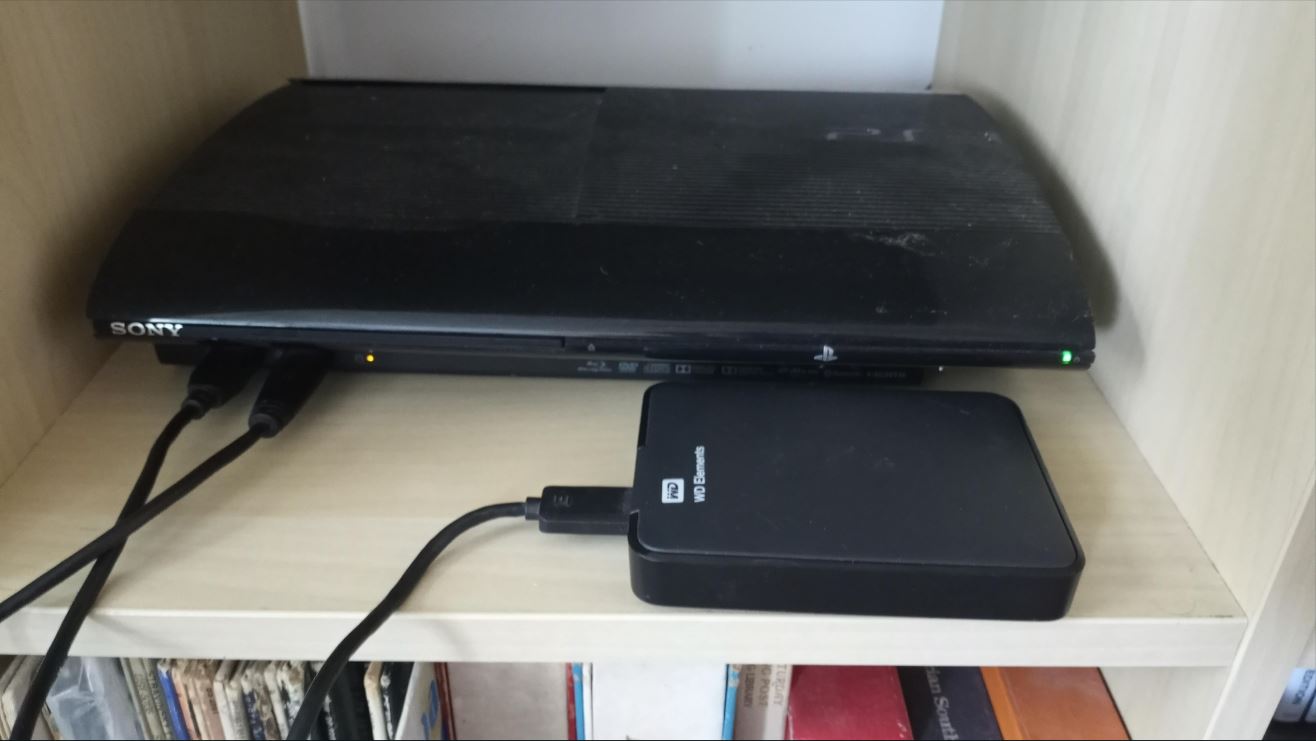
- Take the USB cable that came with your external hard drive and connect one end to the USB port on the external hard drive.
- Connect the other end of the USB cable to one of the USB ports on your PS3 console.
- Turn on your PS3 console.
Once the external hard drive is connected to the PS3, the console will automatically detect the drive. You may see a notification on your PS3 screen indicating that a new device has been connected.
If your PS3 does not recognize the external hard drive, try connecting it to a different USB port on the console. Additionally, ensure that the USB cable is securely plugged into both the external hard drive and the PS3.
Now that your external hard drive is successfully connected to the PS3, let’s move on to the next step: enabling external storage on the PS3.
Step 3: Enable External Storage on the PS3
After connecting the external hard drive to your PS3, you need to enable external storage on the console to ensure that it can access and utilize the storage space. Follow these steps to enable external storage:
- Turn on your PS3 console if it’s not already on.
- Go to the “Settings” menu on the PS3 home screen.
- Scroll down and select “System Settings.”
- Within the System Settings, select “Manage Storage.”
- Choose “Format Utility.”
- Select the external hard drive that you connected to the PS3.
- Confirm that you want to format the external hard drive by selecting “Yes.”
- Wait for the formatting process to complete. This may take a few minutes.
- Once the formatting is finished, the PS3 will recognize the external hard drive as an available storage option.
Enabling external storage on the PS3 allows you to save games, store media files, and perform backups directly on the external hard drive. It gives you the freedom to manage your storage space efficiently and access your content with ease.
Now that external storage is enabled on your PS3, you are ready to start accessing and managing files on the external hard drive. In the next step, we will explore how to navigate and interact with the files stored on the drive.
Step 4: Accessing and Managing Files on the External Hard Drive
Now that your external hard drive is recognized by your PS3 and external storage is enabled, it’s time to explore how to access and manage the files stored on the drive. Here are the steps to navigate and interact with your files:
- From the PS3 home screen, go to the “Game” or “Video” tab, depending on the type of file you want to access.
- Select the desired category, such as “Game Data” or “Movies.”
- Scroll through the list of files until you reach the external storage option. It should be labeled with the name you assigned to the external hard drive during the formatting process.
- Select the external storage option to view the contents of the drive.
- Use the directional buttons or thumbsticks on your controller to navigate through the folders and files on the external hard drive.
- Highlight a file or folder and press the X button on your controller to open or play it.
- To manage files on your external hard drive, you can use the options available on the PS3 menu. For example, you can copy, delete, or move files between the external hard drive and the PS3’s internal storage.
- To copy or move files, highlight the desired file, press the Triangle button on your controller, and select the appropriate action from the menu that appears.
- To delete files, highlight the file, press the Triangle button, and select “Delete.”
By following these steps, you can easily access and manage the files stored on your external hard drive through your PS3 console. This gives you the ability to have all your favorite games, movies, and media at your fingertips without the restrictions of limited internal storage.
In the next step, we will discuss how to transfer files between the PS3 and the external hard drive, allowing you to conveniently back up your game saves and share content between devices.
Step 5: Transferring Files between the PS3 and the External Hard Drive
One of the major advantages of using an external hard drive with your PS3 is the ability to transfer files between the console and the external storage. Whether you want to back up your game saves, transfer downloaded content, or share files between devices, here’s how you can do it:
- Connect the external hard drive to your PS3 following the steps mentioned earlier.
- From the PS3 home screen, select the “Game” or “Video” tab, depending on the type of file you want to transfer.
- Navigate to the internal storage of your PS3 and select the desired file or folder you want to transfer.
- Press the Triangle button on your controller to open the options menu.
- Select “Copy” or “Move” from the menu. Choose “Copy” if you want to create a duplicate file on the external hard drive, or select “Move” if you want to remove it from the PS3’s internal storage.
- Navigate to the external storage option and select it to access the contents of the external hard drive.
- Choose a folder or create a new one to which you want to transfer the file.
- Select “Paste” to complete the transfer process.
- The file will be copied or moved from the PS3’s internal storage to the external hard drive.
Transferring files between the PS3 and the external hard drive allows you to back up your game saves, free up space on the PS3’s internal storage, and share files with other devices. It provides an efficient way to manage your digital content and ensure its safety.
Now that you know how to transfer files between the PS3 and the external hard drive, we will move on to the final step: safely disconnecting the external hard drive from the PS3.
Step 6: Safely Disconnecting the External Hard Drive from the PS3
When you’re finished using your external hard drive with the PS3, it’s important to properly disconnect it to ensure the safety of your data. Follow these steps to safely disconnect the external hard drive from the PS3:
- Make sure the PS3 is powered off.
- From the PS3 home screen, navigate to the “Settings” menu.
- Select “System Settings” and then choose “Manage Storage.”
- Highlight the external storage option and press the Triangle button on your controller.
- Select “Safely Remove Storage Media” from the menu that appears.
- Wait for the PS3 to display a notification indicating that it is safe to remove the external hard drive.
- Once you see the notification, disconnect the USB cable from the PS3’s USB port.
- You can now safely unplug the USB cable from the external hard drive.
It is crucial to follow these steps to prevent any data corruption or loss on your external hard drive. Abruptly disconnecting the drive without going through the proper procedure can lead to file errors or damage.
Remember, if you plan to use the external hard drive with another device after disconnecting it from the PS3, ensure you safely eject it from that device as well to prevent any potential data issues.
Now you know how to safely disconnect the external hard drive from the PS3. Congratulations! You have successfully learned how to use an external hard drive on your PS3, from formatting the drive to managing and transferring files. With the expanded storage capacity, you can now enjoy more games, movies, and media on your PS3. Happy gaming!
Conclusion
Using an external hard drive on your PS3 can greatly enhance your gaming and entertainment experience by providing you with ample storage space for games, movies, and media files. In this article, we have walked through the step-by-step process of using an external hard drive on your PS3, from formatting the drive to safely disconnecting it when you’re done.
By formatting the external hard drive to a compatible file system, you ensure that the drive can be recognized and utilized by the PS3. Connecting the drive to your PS3 is a straightforward process, and enabling external storage on the console allows you to make the most of the additional storage space.
Once your external hard drive is connected and recognized by your PS3, you can access and manage your files with ease. Navigating through folders and files on the external hard drive is simple, and you can copy, move, or delete files as needed.
Transferring files between the PS3 and the external hard drive allows you to perform backups, free up space on the PS3’s internal storage, and share files with other devices. This provides you with flexibility and convenience in managing your digital content.
Finally, when you’re finished using the external hard drive with your PS3, it is crucial to safely disconnect it to prevent any data corruption or loss. By following the proper procedure, you ensure the longevity and integrity of your files.
With these steps and guidelines, you are well-equipped to make the most of your external hard drive and expand the storage capacity of your PS3. Enjoy the convenience and flexibility that an external hard drive brings to your gaming and media experiences!