Introduction
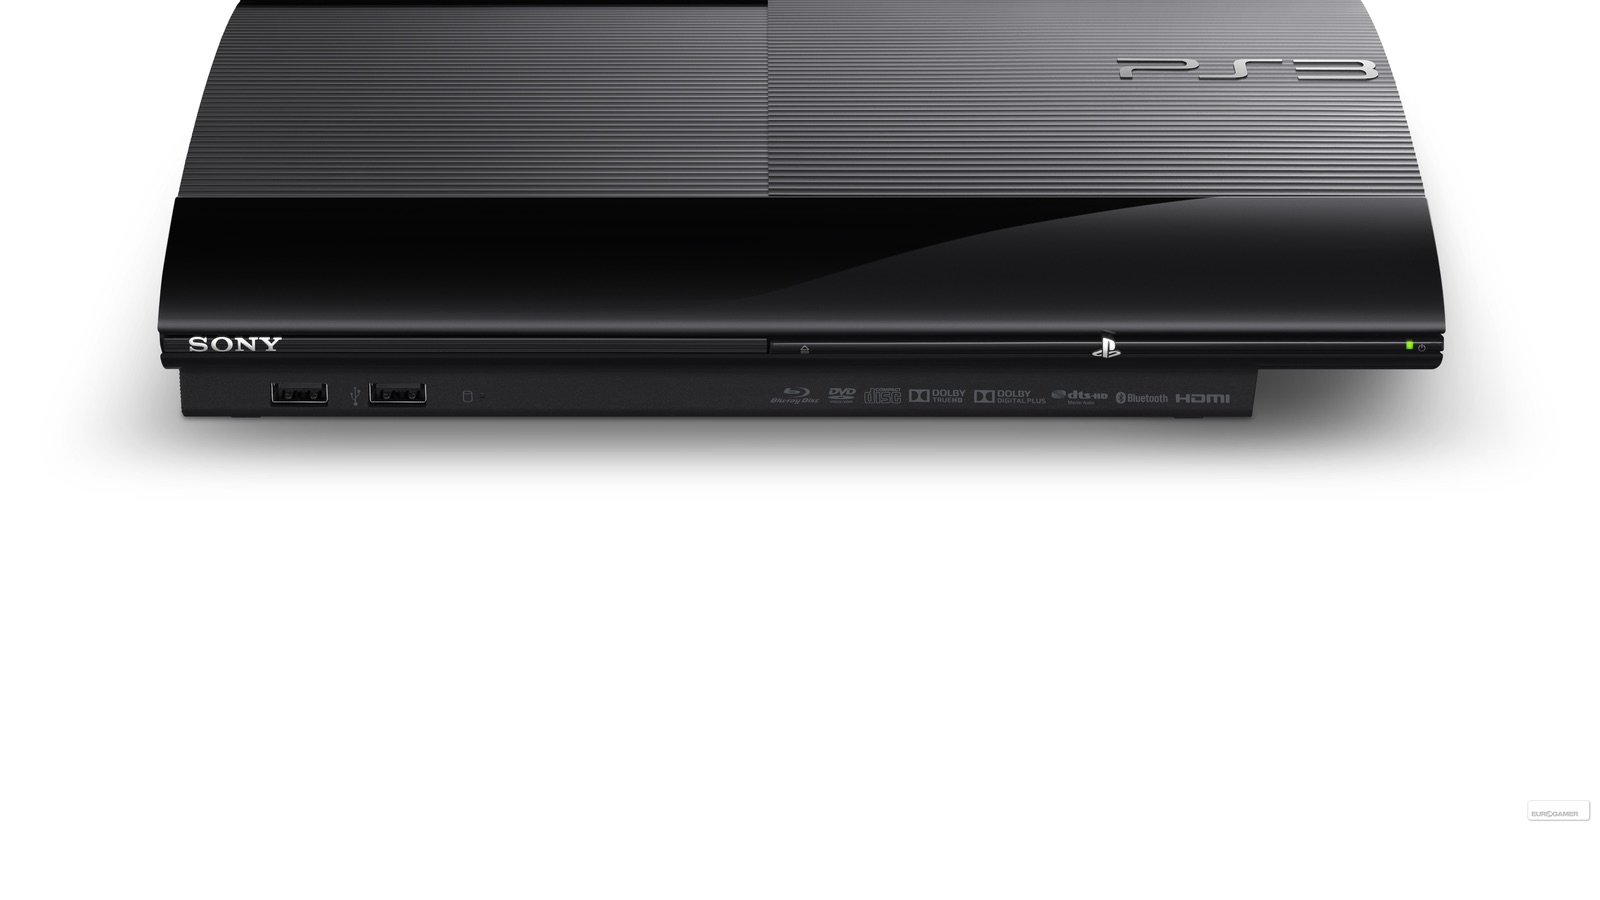
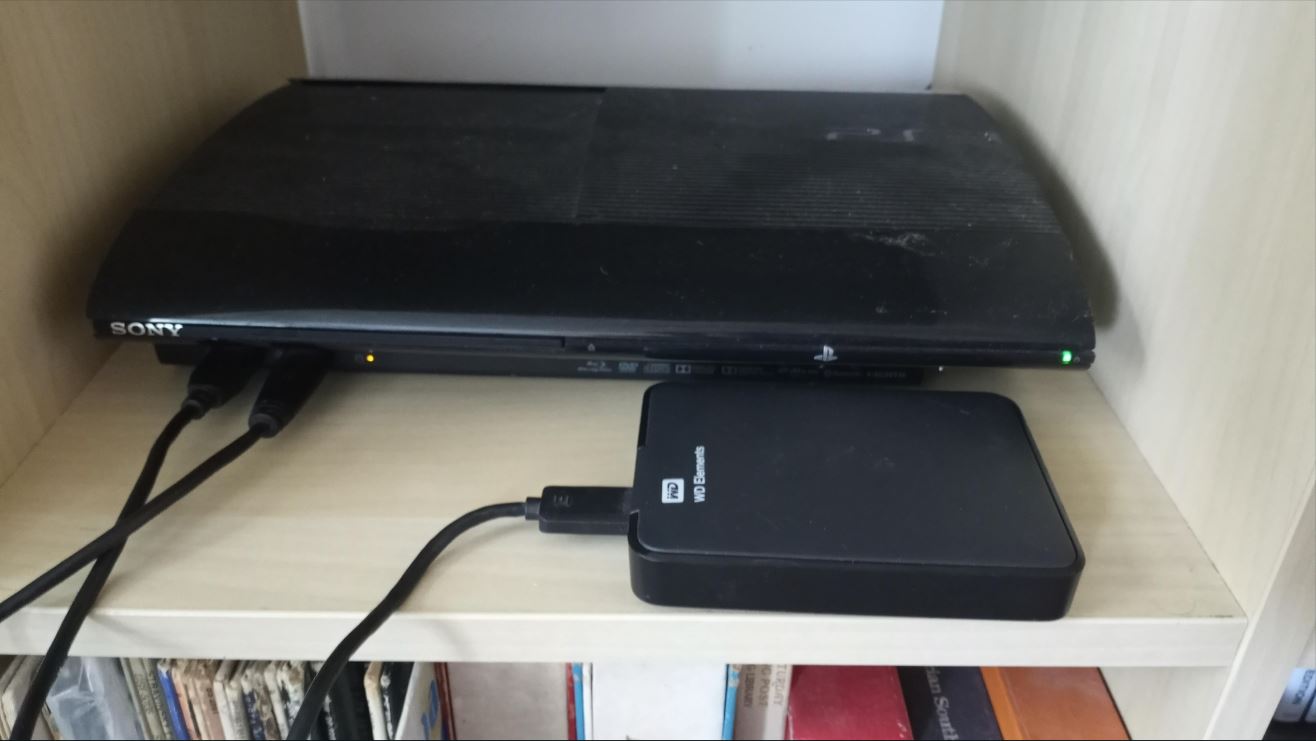
The PlayStation 3 (PS3) console offers a versatile gaming experience, allowing you to play a wide range of games and media. One of the great features of the PS3 is the ability to transfer files to its internal hard disk drive, giving you the opportunity to store and access your favorite content directly on the console.
Transferring files to the PS3’s internal hard disk drive is useful for several reasons. It allows you to free up storage space on your PC or external devices by transferring media files such as photos, videos, and music to the PS3. Additionally, it gives you the convenience of having all your content available on the console, making it easily accessible for playback or sharing with friends.
In this guide, we will walk you through the step-by-step process of transferring files to the internal hard disk drive of the PS3 console. We will cover how to connect the PS3 to your PC, set up a file transfer protocol (FTP) connection, access the PS3’s internal hard disk drive with FTP, transfer files from your PC to the PS3, and finally, disconnect the FTP connection and test the transferred files on the PS3.
By following the instructions in this guide, you will be able to seamlessly transfer your favorite files to the PS3’s internal hard disk drive and enjoy them on your console whenever you want. So let’s get started and unlock the full potential of your PS3!
Step 1: Connect the PS3 Console to your PC
Before you can transfer files to the PS3’s internal hard disk drive, you need to establish a connection between your PC and the console. There are a few different methods you can use to achieve this:
- Wired Connection: The simplest way to connect your PS3 to your PC is by using an Ethernet cable. Connect one end of the cable to the Ethernet port on your PS3 and the other end to an available Ethernet port on your PC.
- Wireless Connection: If you prefer a wireless connection, you can connect your PS3 to your PC over a local Wi-Fi network. Make sure both your PC and PS3 are connected to the same network, then configure the wireless settings on your PS3 to connect to the network.
- Ad-hoc Connection: If you don’t have access to a Wi-Fi network, you can create an ad-hoc network on your PC and connect your PS3 to it. To do this, go to your PC’s network settings and create an ad-hoc network. Then, on your PS3, search for available networks and connect to the ad-hoc network you just created.
Once you have established the connection between your PC and the PS3 console, you’re ready to move on to the next step in the file transfer process. It’s important to ensure a stable and reliable connection to avoid any interruptions during the transfer process. This will ensure that your files are transferred successfully and without any issues.
With the PS3 console now connected to your PC, you have overcome the first hurdle in the file transfer process. In the next step, we will guide you through setting up the file transfer protocol (FTP) connection, which will allow you to access the PS3’s internal hard disk drive for file transfer.
Step 2: Set Up the File Transfer Protocol (FTP) Connection
In order to transfer files to the internal hard disk drive of your PS3 console, you will need to set up a File Transfer Protocol (FTP) connection. FTP is a widely used protocol for transferring files over a network. Follow the steps below to set up the FTP connection:
- Download and install an FTP client software on your PC. There are many FTP client options available, such as FileZilla, CyberDuck, and WinSCP. Choose the one that suits your preferences and install it on your PC.
- Launch the FTP client software and navigate to the settings or connection manager section. Here, you will need to enter the necessary information to establish the FTP connection.
- Enter the IP address of your PS3 console. To find the IP address, go to the PS3’s settings menu, select “System Settings,” then “System Information.” Note down the IP address displayed on the screen.
- Specify the port number for the FTP connection. The default port for FTP is 21, but some FTP servers may require a different port. Check the user manual or documentation of your FTP client software for more information.
- Choose the FTP protocol option, which is usually set to “FTP” or “FTP explicit SSL/TLS.”
- Enter the login credentials for the FTP connection. By default, the username is “anonymous,” and you can leave the password field empty or use “anonymous” as well. However, if you have set a custom username and password for your PS3 console, enter those credentials instead.
Once you have entered all the necessary information, save the FTP connection settings and establish the connection. The FTP client software will attempt to connect to your PS3 console using the provided IP address and credentials.
If the connection is successful, you will be able to see the PS3’s internal hard disk drive directory structure in the FTP client software. Congratulations! You have now set up the FTP connection to access the PS3’s internal hard disk drive.
In the next step, we will guide you through how to access the PS3’s internal hard disk drive using FTP and transfer files from your PC. Stay tuned!
Step 3: Access the PS3’s Internal Hard Disk Drive with FTP
Now that you have successfully set up the File Transfer Protocol (FTP) connection between your PC and the PlayStation 3 (PS3) console, it’s time to access the PS3’s internal hard disk drive and navigate through its directory structure for file transfer.
- Open your FTP client software on your PC and connect to the PS3 console using the saved connection settings. The software will establish a connection to the PS3’s internal hard disk drive.
- You will see the directory structure of the PS3’s internal hard disk drive on the FTP client software. This structure may include folders such as “games,” “music,” “videos,” and “photos.”
- To navigate through the folders, double-click on any folder to open it. Continue navigating through the directories until you reach the desired location where you want to transfer your files.
- At this point, you can see the files and folders within the selected location on the PS3’s internal hard disk drive. You can also create new folders as needed by right-clicking and selecting “New Folder” or a similar option in the FTP client software.
- Ensure that you have the files you want to transfer on your PC. You can simply drag and drop the files from your PC’s file explorer into the FTP client software to initiate the transfer. Alternatively, you can right-click on the files and select “Upload” or a similar option.
- Depending on the size and number of files, the transfer process may take some time. It’s important to have a stable internet connection during this process to avoid any disruptions.
- Once the file transfer is complete, you can close the FTP client software or disconnect from the PS3 console using the designated options in the software.
By following these steps, you can easily access the PS3’s internal hard disk drive using FTP and navigate through its directories to transfer files from your PC. In the next step, we will guide you on how to transfer files from your PC to the PS3 console. Stay tuned!
Step 4: Transfer Files from PC to PS3
Now that you have accessed the PlayStation 3 (PS3) console’s internal hard disk drive using the File Transfer Protocol (FTP) connection, it’s time to transfer files from your PC to the PS3. Here’s how:
- Ensure that you have the files you want to transfer stored on your PC in a location that is easily accessible.
- In your FTP client software, navigate to the location on the PS3’s internal hard disk drive where you want to transfer the files. This could be a specific folder or a new folder you create.
- Open the folder on your PC where the files you want to transfer are stored.
- Select the files you want to transfer. You can hold down the Ctrl key and click on multiple files to select them, or you can select all files by pressing Ctrl + A.
- Drag and drop the selected files from your PC’s file explorer directly into the FTP client software interface. Alternatively, you can right-click on the selected files and choose the “Upload” option or a similar one.
- The FTP client software will initiate the file transfer process, and you will see a progress indicator for each file being transferred. The time it takes to complete the transfer will depend on the size of the files and the speed of your internet connection.
- Once the file transfer is complete, you can verify that the files have been successfully transferred by checking the location on the PS3’s internal hard disk drive where you transferred them to.
It’s important to note that some files may not be supported by the PS3 console. Ensure that the files you transfer are compatible with the PS3’s supported formats, such as MP3 for music, JPEG for photos, and MP4 for videos.
With these steps, you can easily transfer files from your PC to the PS3 console using the FTP connection. In the next step, we will guide you on how to disconnect the FTP connection and test the transferred files on the PS3. Stay tuned!
Step 5: Disconnect the FTP Connection and Test Files on PS3
After successfully transferring files from your PC to the PlayStation 3 (PS3) console using the File Transfer Protocol (FTP) connection, it’s time to disconnect the FTP connection and ensure that the transferred files are functioning properly on the PS3. Here’s what you need to do:
- In your FTP client software, locate the option to disconnect or logout from the FTP connection. This can usually be found in the menu or toolbar of the software.
- Select the option to disconnect or logout from the FTP connection. This will terminate the connection between your PC and the PS3 console.
- On your PS3 console, navigate to the location where you transferred the files. This could be a specific folder or a newly created one.
- Open the folder and navigate through the files to find the transferred files. Ensure that they are displayed correctly and can be accessed without any issues.
- Test the functionality of each transferred file by playing a video file, listening to a music file, or viewing a photo file. Verify that all the transferred files are working as expected.
- If you encounter any issues or errors with the transferred files, double-check that they are in a compatible format supported by the PS3 console. You may need to convert the files to a supported format or troubleshoot any playback issues.
By disconnecting the FTP connection and testing the transferred files on the PS3 console, you can ensure that the files you transferred are accessible and functioning properly. This step allows you to enjoy your favorite media files, photos, and other content directly on your PS3 console.
With these steps complete, you have successfully transferred files to the internal hard disk drive of your PS3 console and verified their functionality. You can now enjoy your media files and other content on your PS3 without the need for external devices or cluttering up your PC’s storage.
Now that you have learned how to transfer files to the PS3 console’s internal hard disk drive, you can easily manage and access your favorite content directly on the console. Happy gaming and media streaming on your PS3!
Conclusion
Transferring files to the internal hard disk drive of the PlayStation 3 (PS3) console opens up a world of possibilities for entertainment and convenience. By following the steps outlined in this guide, you can seamlessly transfer your favorite media files, photos, and other content directly to the PS3, eliminating the need for external devices and freeing up storage space on your PC.
Throughout this guide, we covered the process step-by-step, starting with connecting the PS3 console to your PC using either a wired or wireless connection. We then walked you through setting up a File Transfer Protocol (FTP) connection to access the PS3’s internal hard disk drive, allowing you to easily navigate through its directories.
Once the FTP connection was established, we explained how to transfer files from your PC to the PS3 console. Simply drag and drop or use the upload function in your FTP client software to initiate the transfer process. It’s important to ensure that the transferred files are in a compatible format supported by the PS3 for seamless playback.
Lastly, we discussed how to disconnect the FTP connection and test the transferred files on the PS3 to ensure that they are functioning as expected. Verifying the functionality of the transferred files allows you to enjoy your media and other content directly on the PS3 console without any issues.
By following these steps, you can fully utilize the capabilities of your PS3 console and create a personalized library of files that you can access anytime for an enhanced gaming and media experience.
Now that you have successfully mastered the process of transferring files to the internal hard disk drive of your PS3 console, you can enjoy gaming, music, videos, and other content directly on your console. So grab your favorite media files, follow the steps outlined in this guide, and take your PS3 experience to the next level!