Introduction
Welcome to the world of hard disk drive imaging! If you’ve ever encountered a situation where you needed to back up or duplicate the contents of a hard disk drive, then you’ve come to the right place. In this article, we will guide you through the process of creating an image of a hard disk drive, step by step.
A hard disk drive is a vital component of any computer system, storing your operating system, software, documents, and multimedia files. However, they can be susceptible to failure or corruption, which can result in data loss. That’s where creating an image becomes crucial. By creating a disk image, you capture an exact replica of the drive, including the operating system, files, and folder structure.
Creating an image of a hard disk drive offers several benefits. First and foremost, it acts as a backup mechanism, enabling you to restore your system in the event of a drive failure or the accidental deletion of important files. Additionally, disk imaging is an essential process when it comes to system migration or upgrading to a larger hard drive.
To successfully create a disk image, you will need a few tools and equipment, as well as the right software. In the following sections, we will discuss the necessary tools, the steps involved in the imaging process, and how to effectively store and manage your disk images. Let’s get started!
Understanding Hard Disk Drives
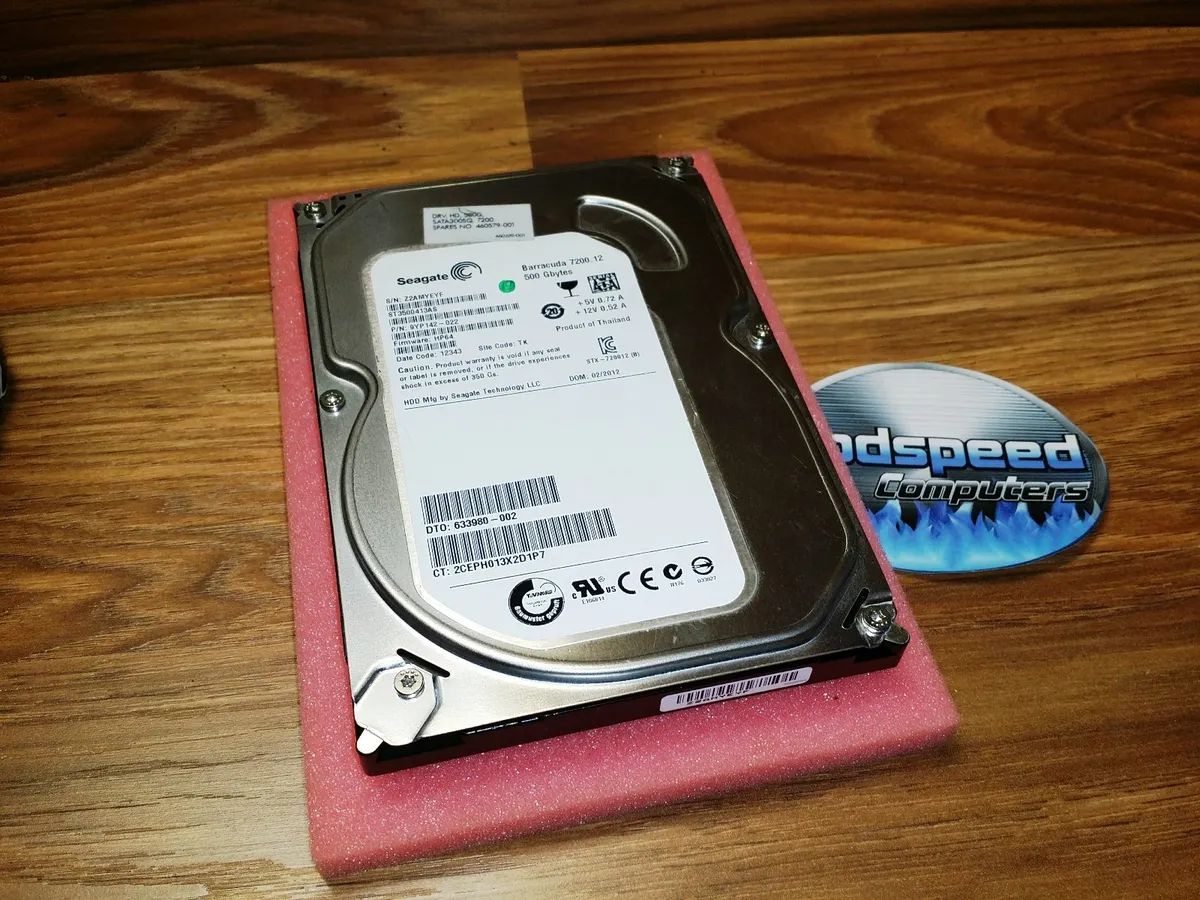
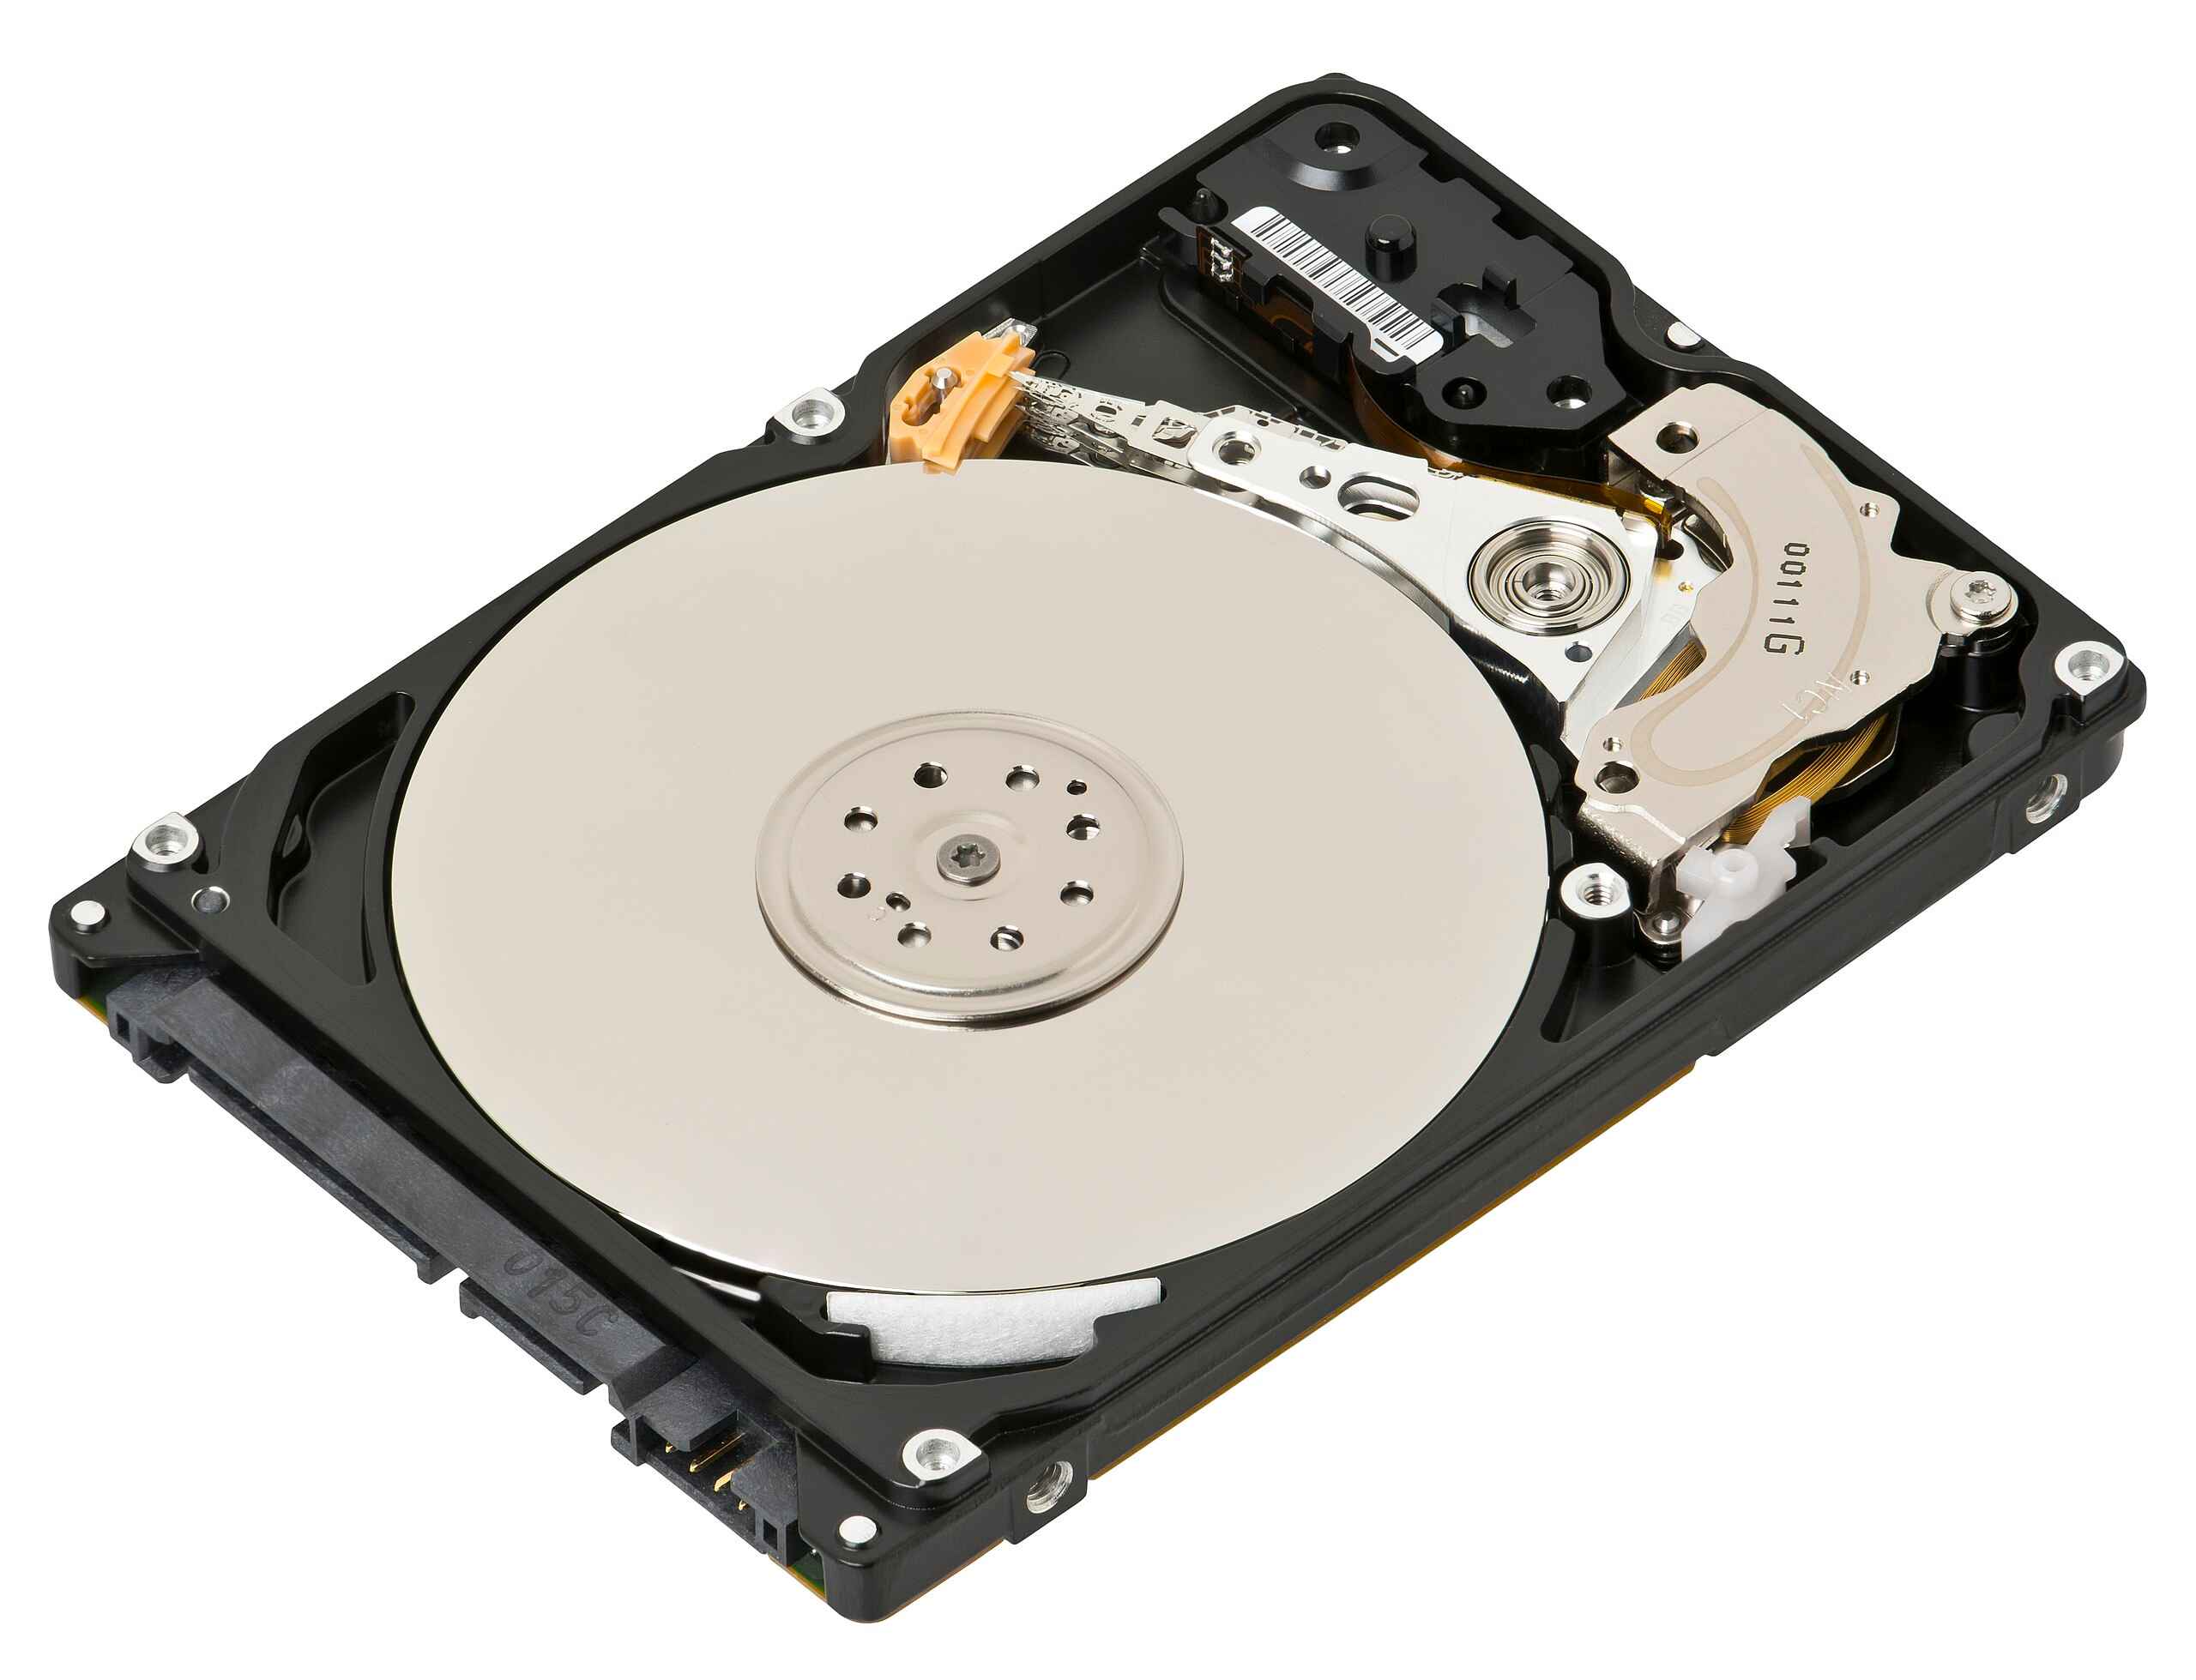
Before diving into the intricacies of creating a hard disk drive image, it’s essential to have a basic understanding of how these storage devices work. A hard disk drive (HDD) is a data storage device that uses magnetism to store and retrieve digital information. It consists of one or more spinning platters coated with a magnetic material, along with read/write heads that move over the platters to access and store data.
The platters in a hard disk drive are divided into concentric circles called tracks, and each track is further divided into smaller sections known as sectors. The read/write heads float above the spinning platters on a thin layer of air created by the rotation of the disks. They can move across the platters to access specific tracks and sectors.
When data is written to or read from a hard disk drive, the read/write heads position themselves over the appropriate track and sector. When writing data, the read/write heads apply a magnetic field to the platters to alter the polarity of the magnetic particles, representing the data in binary form (0s and 1s). To read the data, the heads sense the magnetic field changes on the platters and translate them back into binary data.
Hard disk drives come in various capacities, typically ranging from a few hundred gigabytes (GB) to multiple terabytes (TB). They are commonly used in desktop computers, laptops, servers, and external storage devices.
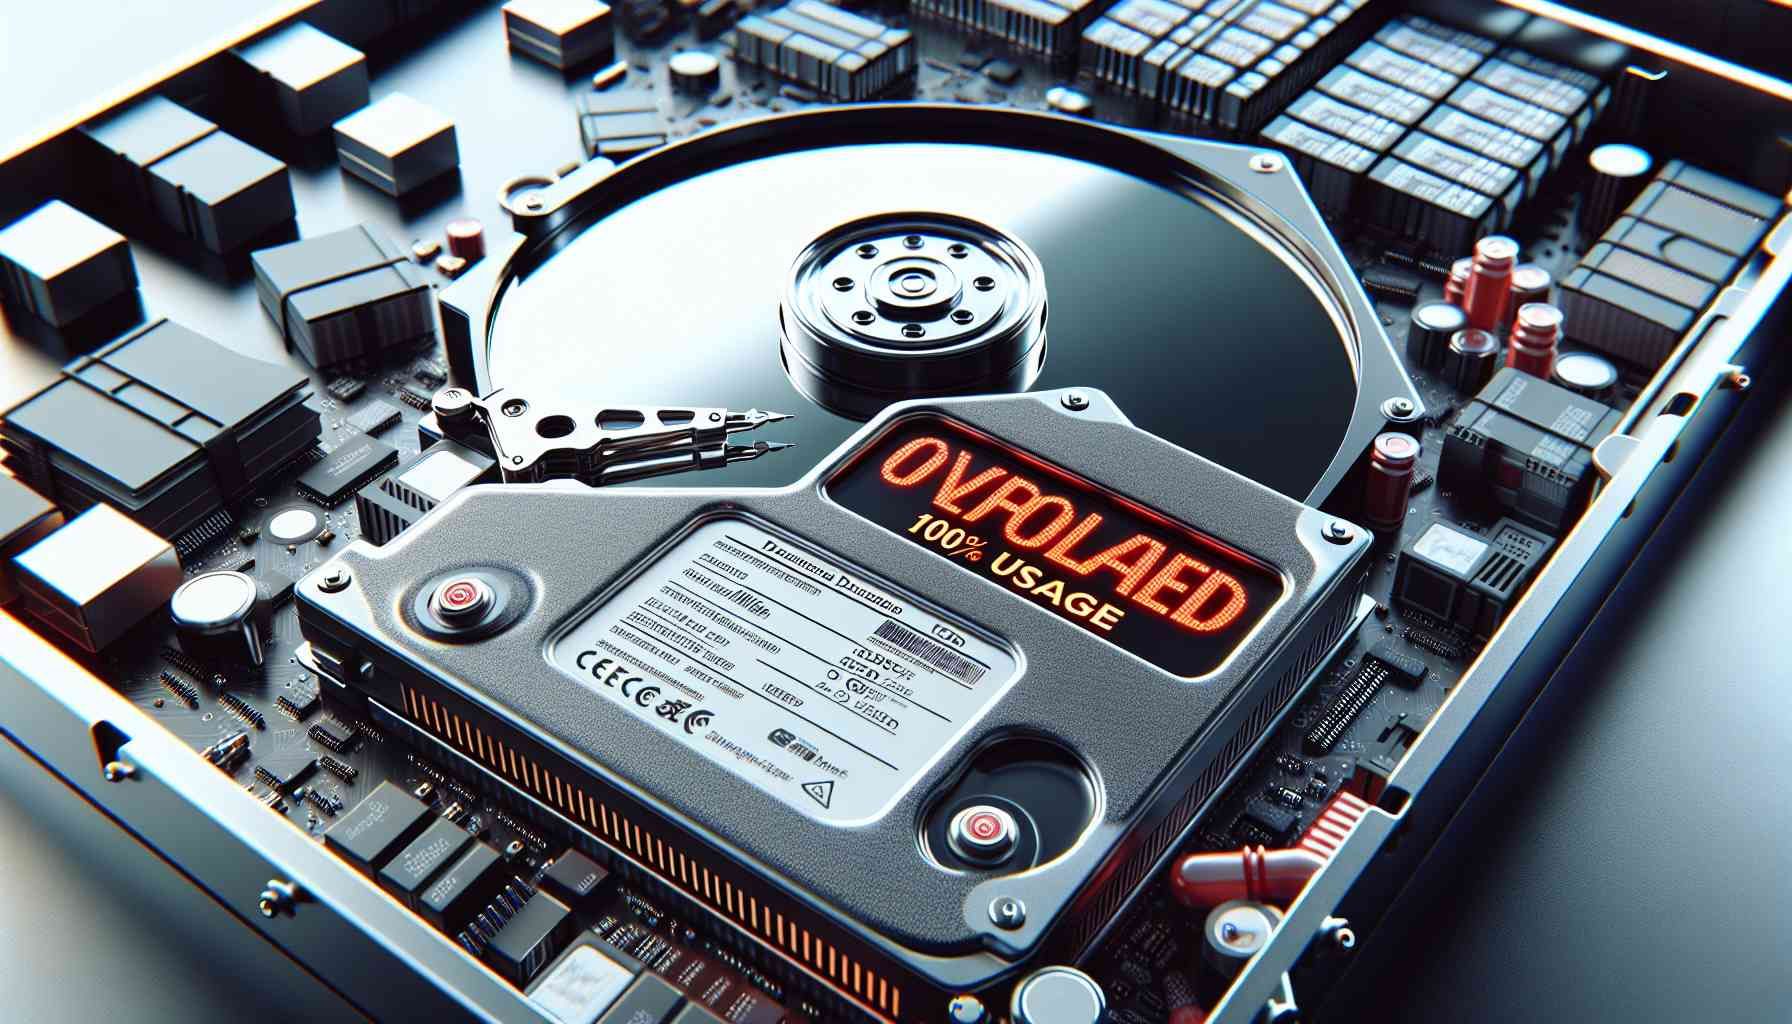
It’s important to note that hard disk drives are mechanical devices and can be prone to failure over time due to factors like wear and tear, power surges, or manufacturing defects. Therefore, regular backup methods, such as creating disk images, are essential to preserve your data and ensure its availability even in the face of hard drive failure.
With a basic understanding of hard disk drives, you’re now ready to proceed to the next section, where we will discuss the tools and equipment needed to create an image of a hard disk drive.
Tools and Equipment Needed
In order to successfully create an image of a hard disk drive, you will need a few essential tools and equipment. Here is a list of what you’ll need:
- HDD Enclosure or SATA-to-USB Adapter: To connect the hard disk drive to your computer, you will need an HDD enclosure or a SATA-to-USB adapter. These devices allow you to convert the internal hard drive into an external one, making it easier to connect and use.
- Working Computer: You will need a working computer with a functioning USB port or an available SATA port to connect the hard disk drive.
- Imaging Software: Choose a reliable disk imaging software that suits your needs. There are many options available, both free and paid, such as Clonezilla, Macrium Reflect, or Acronis True Image. Make sure to research and select a software that supports the features you require.
- Blank Storage Media: You will need a blank storage media, such as a USB flash drive or an external hard drive, to store the disk image. Make sure the storage media has enough capacity to accommodate the size of the hard drive you are imaging.
In addition to these essential tools and equipment, it’s important to ensure the following:
- Compatibility: Ensure that the HDD enclosure or SATA-to-USB adapter is compatible with the type and size of the hard drive you are imaging. Check the specifications to ensure a proper fit.
- Power Source: If you are using an HDD enclosure, make sure it has its own power source or can draw power from the computer. Some larger hard drives may require additional power.
- Data Cables: The HDD enclosure or adapter should come with the necessary data cables to connect the hard disk drive to your computer. Ensure you have the correct cables available.
Having the right tools and equipment is crucial to ensure a smooth and successful hard disk drive imaging process. Once you have gathered all the necessary items, you’re ready to move on to the next section, where we will discuss the preparations required before imaging the hard disk drive.
Preparing for Imaging
Before you begin the process of creating an image of a hard disk drive, you need to make a few preparations to ensure a smooth and successful imaging process. It’s important to follow these steps to avoid any potential data loss or errors:
- Backup Important Data: Before you start imaging your hard disk drive, it’s a good practice to back up any important data or files that you don’t want to risk losing. This includes documents, photos, videos, or any other files that are valuable to you.
- Organize Drive Contents: If possible, organize and declutter the contents of your hard disk drive. Remove any unnecessary files or folders to ensure a more efficient imaging process and reduce the overall image size.
- Scan for Malware: Run a thorough antivirus scan on the hard disk drive to ensure it is free from any malware or viruses. This will help prevent any potential infections from being transferred to the disk image.
- Close Unnecessary Programs: Close any unnecessary programs or applications running on your computer. This will free up system resources and minimize the chances of any conflicts or interruptions during the imaging process.
- Ensure Adequate Power: Make sure your computer or the external HDD enclosure has a reliable power source. Sudden power loss during the imaging process can lead to data corruption or an incomplete image.
- Create Bootable Media (Optional): If you are imaging the hard disk drive of a non-bootable system, consider creating a bootable media, such as a USB drive or a disc, that contains the necessary imaging software. This will allow you to boot from the media and perform the imaging process without accessing the operating system on the target drive.
By following these preparation steps, you are setting the stage for a successful imaging process and minimizing the risk of any issues or data loss. Once you have completed these preparations, you are now ready to proceed to the next section, where we will discuss the steps involved in connecting the hard disk drive for imaging.
Connecting the Hard Disk Drive
Now that you are prepared for the imaging process, it’s time to connect the hard disk drive to your computer. Follow these steps to ensure a proper connection:
- Power off your computer: Before connecting the hard disk drive, make sure your computer is powered off. This will prevent any potential damage or data loss.
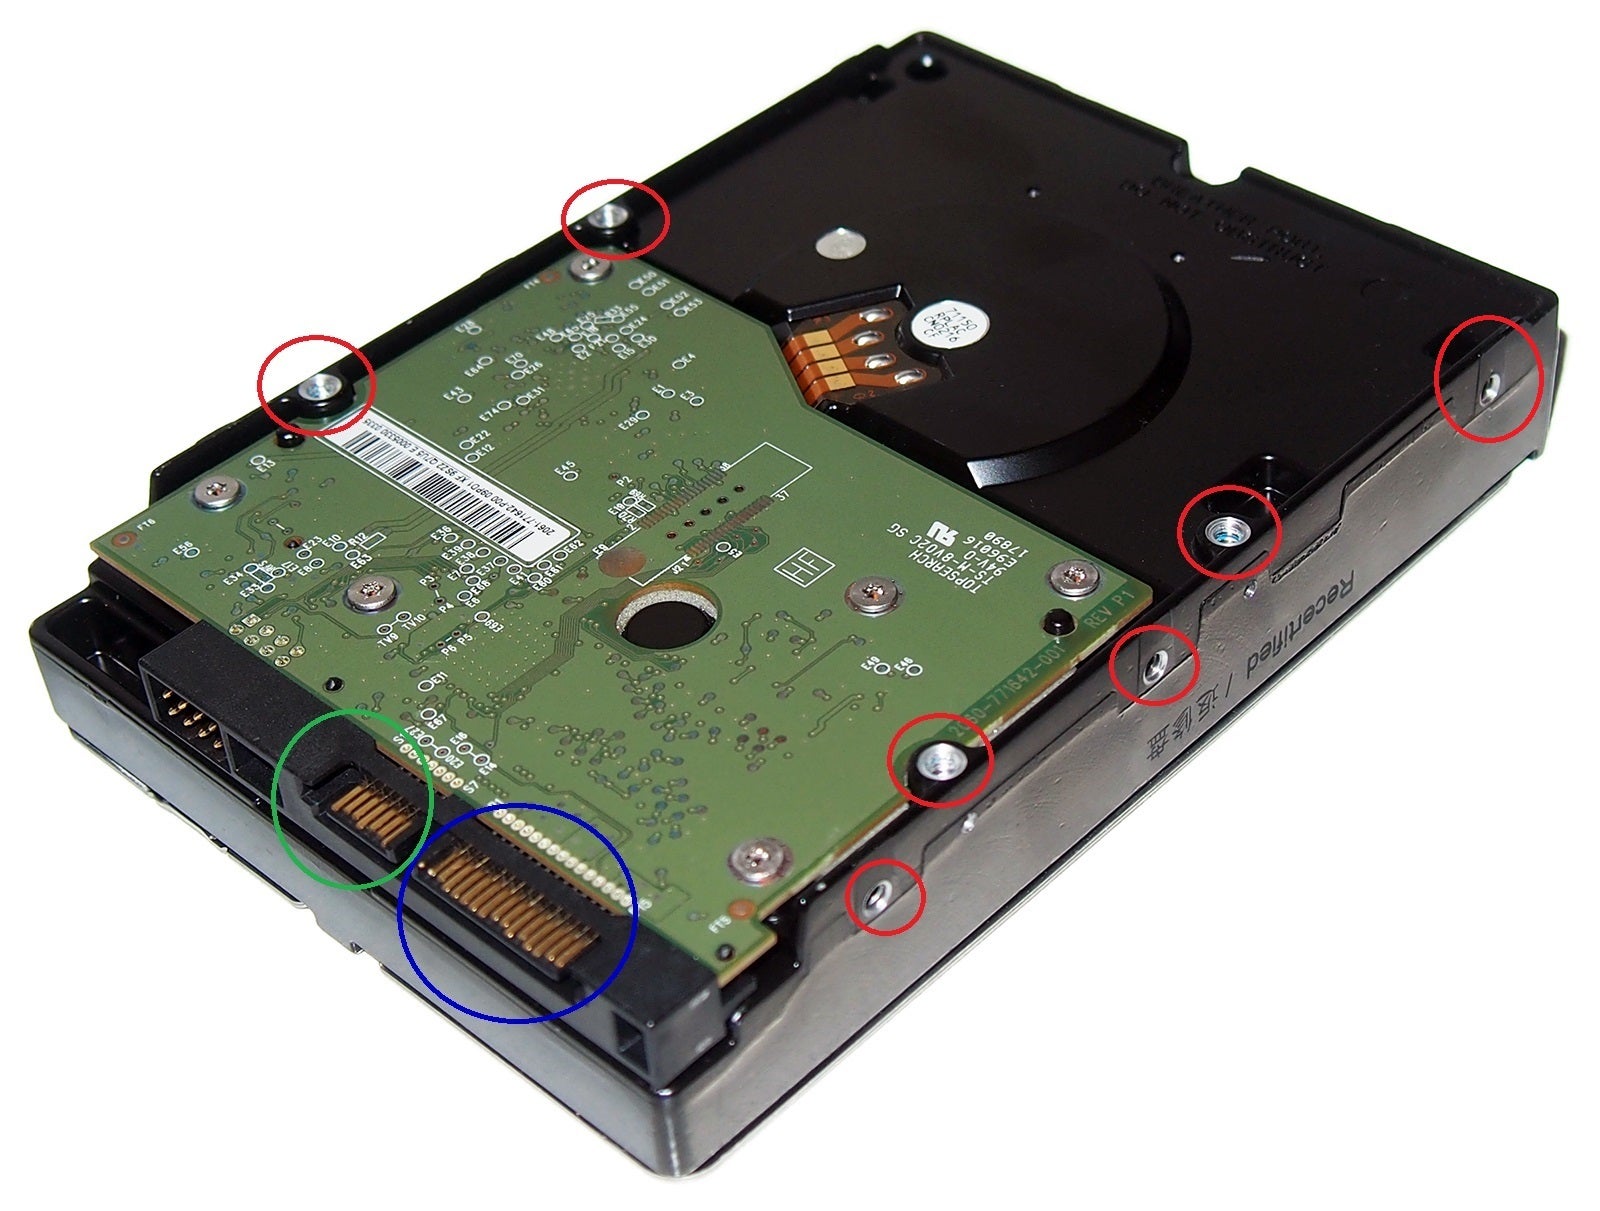
- If using an HDD enclosure: If you are using an HDD enclosure, open the enclosure and insert the hard disk drive into the designated slot. Make sure that it is properly inserted and securely connected to the enclosure’s SATA connectors. Close the enclosure once the connection is made.
- If using a SATA-to-USB adapter: If you are using a SATA-to-USB adapter, connect one end of the adapter to the hard disk drive’s SATA connectors. Connect the other end of the adapter to an available USB port on your computer.
- If using a secondary SATA port: If your computer has a secondary SATA port available, you can connect the hard disk drive directly to the motherboard using a SATA data cable and a SATA power cable. Ensure that the drive is securely connected to both the data and power connectors.
- Power on your computer: After making the connection, power on your computer. The operating system should detect the newly connected hard disk drive.
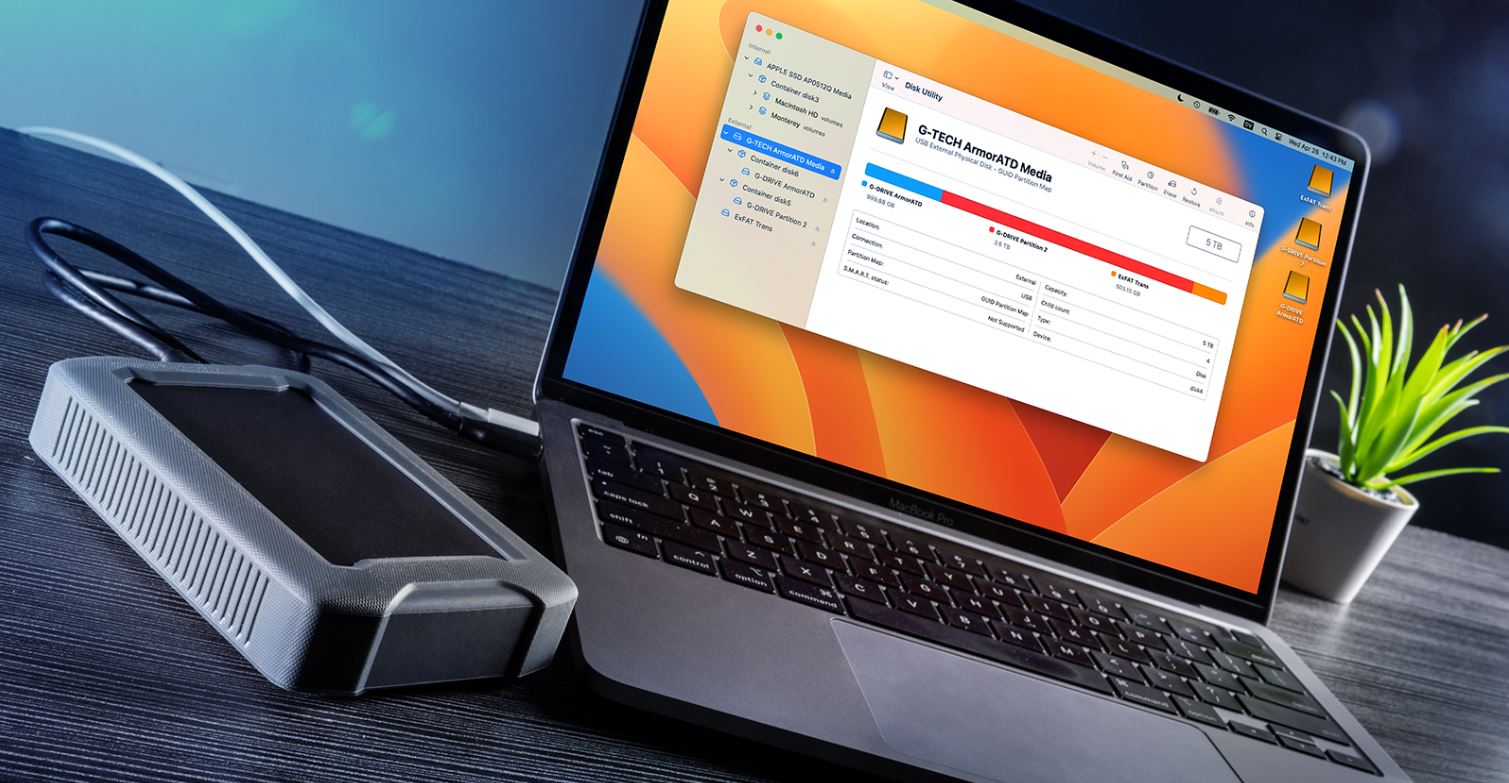
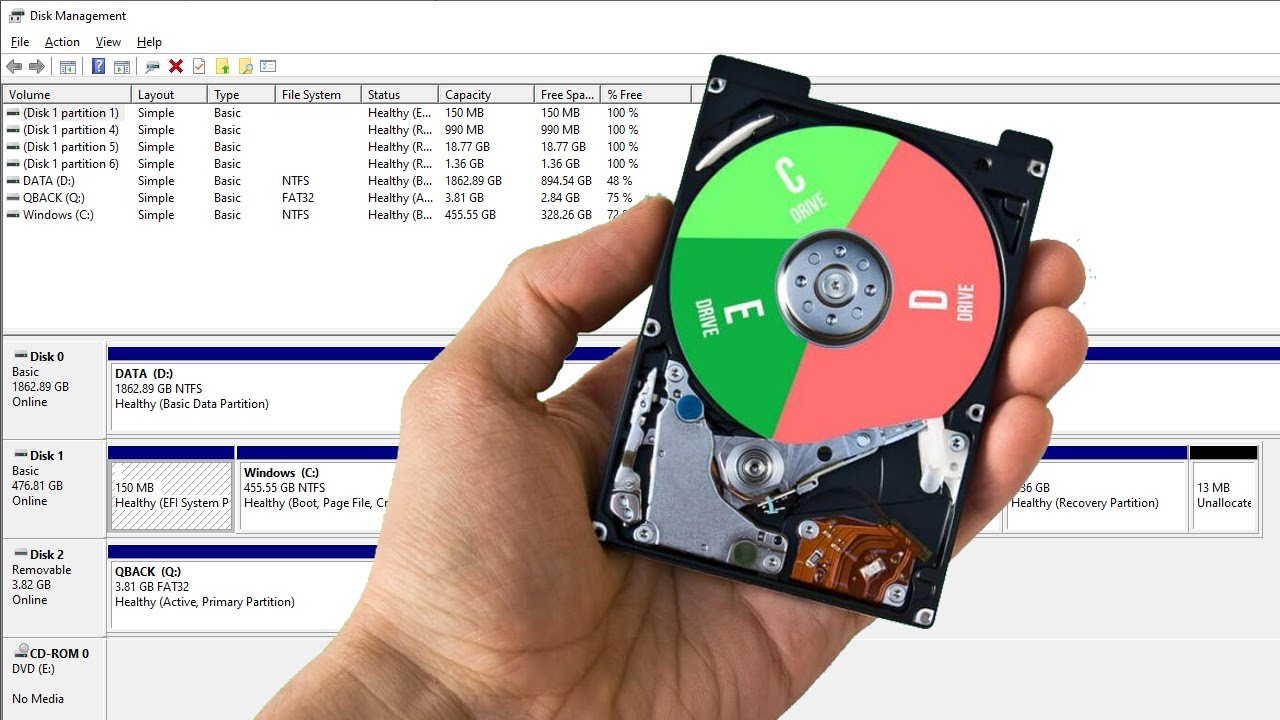
- Check disk detection: Open your computer’s Disk Management (Windows) or Disk Utility (Mac) to verify that the detected hard disk drive is listed and recognized. Ensure that it is showing the correct capacity and doesn’t display any errors or warnings.
Once you have successfully connected the hard disk drive to your computer, you are now ready to move on to the next section, where we will discuss selecting the appropriate imaging software for creating the disk image.
Selecting the Imaging Software
Now that your hard disk drive is connected and detected by your computer, the next step is to select the appropriate imaging software to create a disk image. There are various options available, each with its own set of features and capabilities. Consider the following factors when choosing imaging software:
- Compatibility: Ensure that the imaging software is compatible with your operating system and the file system used on the hard disk drive. Most imaging software supports popular file systems like NTFS, FAT32, and exFAT, but it’s important to double-check to avoid any compatibility issues.
- Features: Look for essential features such as the ability to create a complete image of the entire hard disk drive, including the operating system, programs, and files. Other useful features include compression options to reduce the image size and encryption for added security.
- User-Friendliness: Consider the ease of use and user-friendly interface of the imaging software. It should have a straightforward process for creating a disk image, with clear instructions and intuitive controls.
- Speed and Efficiency: Take into account the speed at which the imaging software can create the disk image. Efficient software will minimize the overall time required for the imaging process, allowing you to save time and resources.
- Reliability and Support: Read reviews and user experiences to ensure that the imaging software is reliable and stable. Look for software that has regular updates and a responsive support system in case you encounter any issues or need assistance.
Once you have considered these factors, you can select the imaging software that best fits your requirements. Popular options include Clonezilla, Macrium Reflect, Acronis True Image, and EaseUS Todo Backup, among others. Take the time to explore the software’s documentation and tutorials to familiarize yourself with its features and functionalities.
In the next section, we will discuss the process of creating a disk image using the selected imaging software. This step is crucial in capturing an exact replica of the hard disk drive.
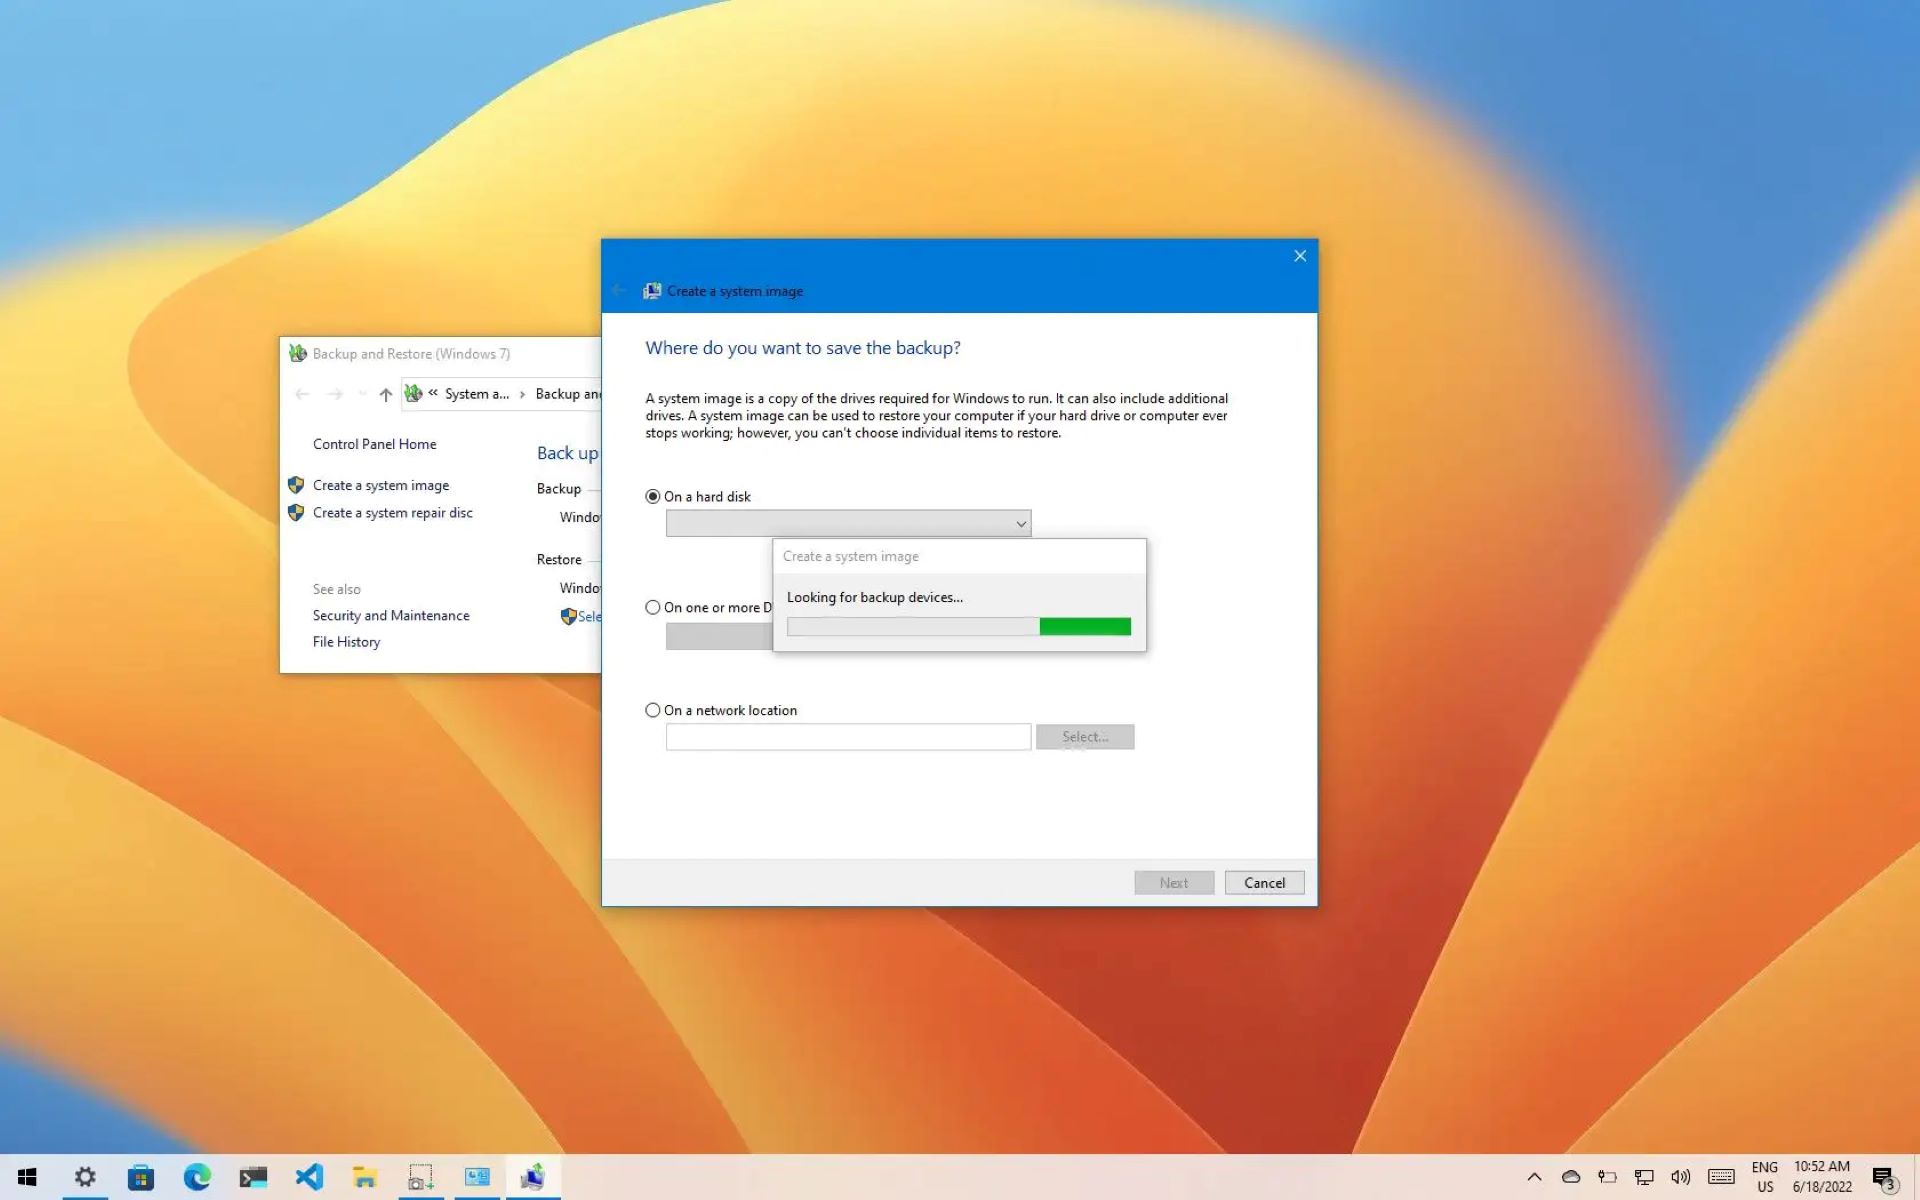
Creating a Disk Image
Now that you have selected your imaging software, it’s time to create a disk image of your hard disk drive. The process may vary slightly depending on the software you are using, but the general steps are as follows:
- Launch the Imaging Software: Open the imaging software on your computer. Depending on the software, you may need to run it as an administrator for full access and privileges.
- Select the Source Drive: Choose the connected hard disk drive as the source drive from which you want to create the disk image. Ensure that you have selected the correct drive to avoid imaging the wrong disk.
- Choose the Destination: Specify the location where you want to save the disk image. This can be an external hard drive, a network location, or any other storage medium with sufficient space to accommodate the image.
- Select Imaging Options: Depending on the software, you may have various imaging options to choose from. These options can include compression settings, encryption options, and the choice to create a full or partial image. Customize these options according to your needs.
- Start the Imaging Process: Once you have made the necessary selections and configurations, start the imaging process. This will initiate the creation of the disk image, which may take some time depending on the size of the hard disk drive and the speed of your computer.
- Monitor the Progress: Keep an eye on the progress bar or percentage displayed by the imaging software. This will give you an idea of how much time is remaining until the disk image creation process is complete.
- Verify the Disk Image: After the imaging process finishes, it’s crucial to verify the integrity of the disk image. Most imaging software provides a verification feature to ensure that the image was successfully created without any errors or corruption.
Once you have successfully created and verified the disk image, you can proceed to the next section to learn about storing and managing your disk image effectively. This will ensure that your valuable data is secure and easily accessible when needed.
Verifying the Disk Image
After creating a disk image of your hard disk drive, it is crucial to verify the integrity and accuracy of the image. Verification ensures that the disk image is a true and complete replica of the source drive, without any errors or corruption. This step is vital to guarantee the reliability of your backup and to minimize the risk of data loss. Follow these steps to verify your disk image:
- Access your imaging software: Open the imaging software that you used to create the disk image. Make sure you have administrative privileges for full access.
- Select the verification option: Look for the option to verify or validate the disk image. Different software may have varying terms, but the purpose is to ensure the integrity of the image.
- Choose the disk image: Specify the location of the disk image file that you want to verify. It should be the same location where it was initially saved.
- Start the verification process: Initiate the verification process by clicking the appropriate button or selecting the corresponding option. The software will compare the original source drive with the disk image to check for any discrepancies or errors.
- Monitor the verification: Keep an eye on the progress of the verification process. The software will display the status, whether it is currently verifying the image, comparing file checksums, or analyzing the data integrity.
- Check the verification results: Once the verification process is complete, review the results. If the verification is successful, it means that the disk image matches the source drive, ensuring the accuracy and reliability of the backup. If any errors or discrepancies are detected, you may need to recreate the disk image or investigate further to resolve any issues.
By verifying the disk image, you ensure the integrity of your backup and gain confidence that your data can be restored accurately when needed. It is recommended to perform regular verifications periodically or whenever you create a new disk image to maintain the consistency and reliability of your backups.
Now that you have successfully verified your disk image, you can proceed to the next section to learn how to store and manage your disk images effectively. This will help you keep your backups organized and easily accessible for future use.
Storing and Managing the Disk Image
Once you have created and verified the disk image of your hard disk drive, it is crucial to properly store and manage it. Effective storage and management practices ensure the safety, accessibility, and longevity of your disk image. Here are some important considerations:
- Choose a reliable storage medium: Select a storage medium that offers durability and longevity for your disk image. External hard drives, network-attached storage (NAS) devices, or cloud storage services can be excellent options. Ensure that the storage medium has sufficient capacity to accommodate the size of your disk image.
- Organize your disk images: Maintain a logical and consistent organization system for your disk images. Create a dedicated folder structure with clear labels and descriptions. Consider organizing them by date, source drive, or purpose to easily locate specific disk images when needed.
- Implement redundancy: To enhance the security of your disk images, consider implementing redundancy by creating multiple copies. Storing your disk images in different locations or on different storage mediums provides an additional layer of protection against hardware failure, accidents, or disasters.
- Encrypt sensitive disk images: If your disk image contains sensitive or confidential data, consider encrypting it. Encryption adds an extra layer of security, ensuring that only authorized individuals can access the disk image. Use strong encryption algorithms and keep the encryption keys or passwords in a secure location.
- Regularly test your disk images: Periodically test the restoration process by restoring your disk image to a test system. This ensures that your disk image is valid and can be successfully restored whenever needed. Be sure to verify that the restored system functions correctly and all the data is intact.
- Update your disk images: As your system changes or updates occur, it is essential to update your disk images accordingly. Regularly create new disk images to capture system changes, software installations, or critical updates. This ensures that your backups are up to date and reflect the current state of your system.
By following these storage and management practices, you can ensure the integrity and accessibility of your disk images. These measures protect your valuable data and provide peace of mind knowing that you can restore your system quickly and effectively if the need arises.
Now that you understand the importance of storing and managing your disk images effectively, you can move forward with confidence, knowing that you have taken the necessary steps to safeguard your important data.
Conclusion
Creating an image of a hard disk drive is an essential process for data backup, system migration, and system recovery. By following the steps outlined in this article, you can successfully create a disk image that captures an exact replica of your hard disk drive, ensuring the safety and accessibility of your valuable data.
Understanding the fundamentals of hard disk drives, gathering the necessary tools and equipment, and properly preparing for the imaging process are crucial first steps. Selecting reliable imaging software and following the guidelines for creating a disk image and verifying its integrity are equally important. Additionally, storing and managing your disk images in a secure and organized manner ensures their long-term viability and accessibility.
Remember to regularly test and update your disk images to reflect system changes and keep your backups current. By taking these proactive measures, you can mitigate the risk of data loss, system failure, or other unforeseen circumstances.
Creating a disk image is a proactive approach to safeguarding your system and data. It provides you with the ability to restore your system to a previous working state, recover individual files, or migrate to a new hard drive seamlessly.
Now that you have a comprehensive understanding of how to create a disk image of a hard disk drive, you can confidently implement this practice as part of your data protection strategy. Remember, prevention is always better than cure, and having a reliable disk image backup can be a lifesaver in times of system failure or data loss.
So, embrace the power of disk imaging and ensure the security and continuity of your precious data!