Introduction
Encrypting your external hard drive is essential for protecting your sensitive data, especially when using it with your Mac. Encryption ensures that even if your external hard drive falls into the wrong hands, your information remains secure and inaccessible. Luckily, Mac offers built-in encryption tools that make the process straightforward and reliable.
In this guide, we will walk you through the step-by-step process of encrypting an external hard drive on your Mac. Whether you use your external hard drive for personal files, work documents, or important backups, encrypting it will provide an extra layer of security and peace of mind.
By encrypting your external hard drive, you ensure that only authorized users with the decryption password can access its contents. Even if your external hard drive gets lost, stolen, or misplaced, your data will remain safe from prying eyes.
Additionally, with the encryption process, you won’t have to worry about potentially compromising your data when sharing your external hard drive with others or connecting it to different devices. Only those with the proper authentication will be able to unlock and view the encrypted files.
In the following sections, we will guide you through the entire process of encrypting an external hard drive on your Mac, covering everything from choosing an encryption method to accessing your encrypted data. So, let’s dive in and start securing your important information!
Step 1: Choose an encryption method
The first step in encrypting your external hard drive on a Mac is to choose an encryption method. Mac offers two options for encrypting external drives: FileVault and Disk Utility.
FileVault: FileVault is a full-disk encryption feature built into macOS. When you enable FileVault, it encrypts all the data on your Mac, including your external hard drive. This ensures that both your internal and external drives are protected. To enable FileVault, go to System Preferences, click on Security & Privacy, and navigate to the FileVault tab. From there, you can enable FileVault and set a recovery key in case you forget your password.
Disk Utility: Disk Utility is a versatile tool that allows you to format, partition, and encrypt your external hard drive. With Disk Utility, you can create an encrypted disk image, which acts as a secure container for your files. To use Disk Utility, open the application (located within the Utilities folder in the Applications folder), select your external hard drive from the sidebar, click on the Erase button, and choose the format as “Mac OS Extended (Journaled, Encrypted)”. Set a password for the drive, and Disk Utility will encrypt the contents.
Both FileVault and Disk Utility provide secure encryption options for your external hard drive. The method you choose depends on your specific needs and preferences. If you want to encrypt both your internal and external drives, FileVault is the way to go. However, if you only want to encrypt your external hard drive, Disk Utility offers a more targeted approach.
Once you have decided on the encryption method, you can move on to the next step of connecting your external hard drive to your Mac.
Step 2: Connect the external hard drive to your Mac
Before you can begin encrypting your external hard drive, you need to ensure that it is properly connected to your Mac. Here are the steps to follow:
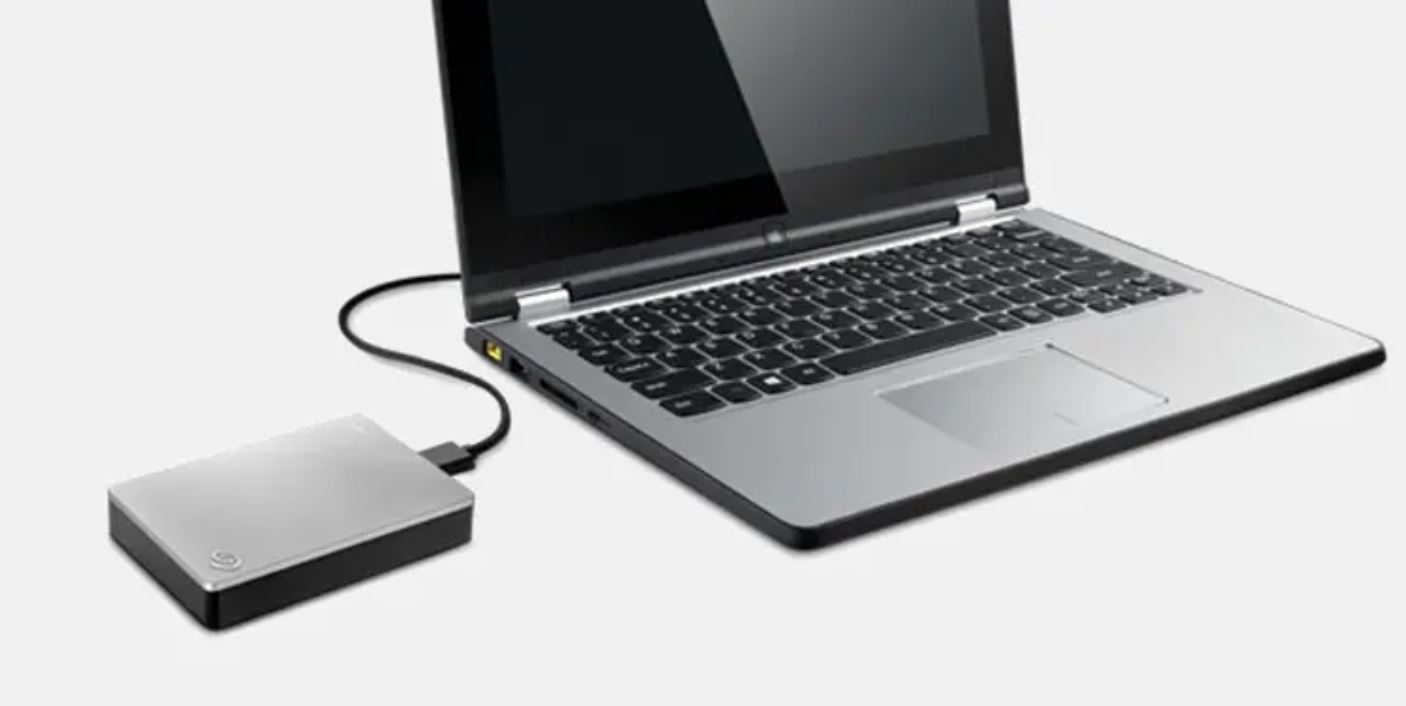
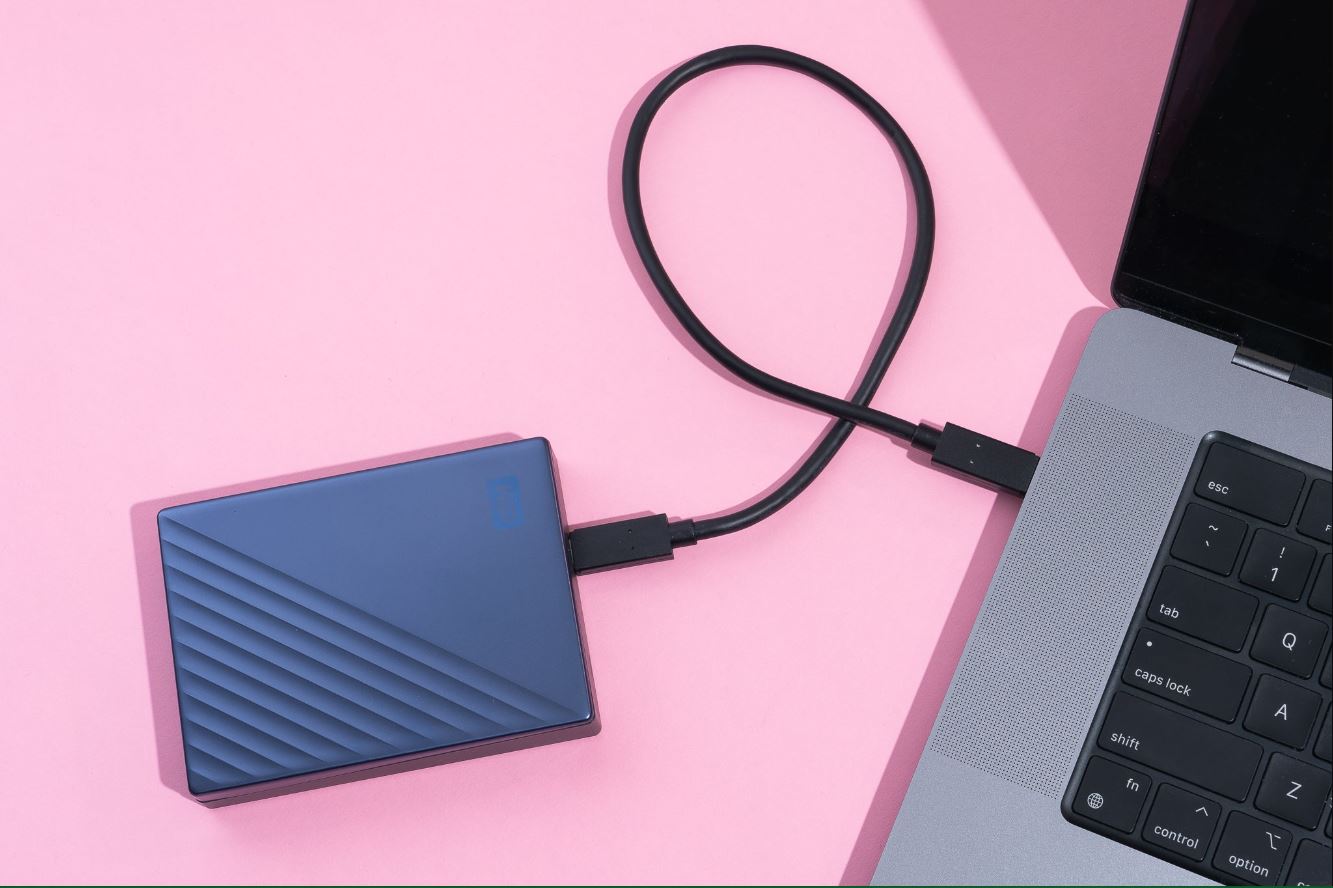
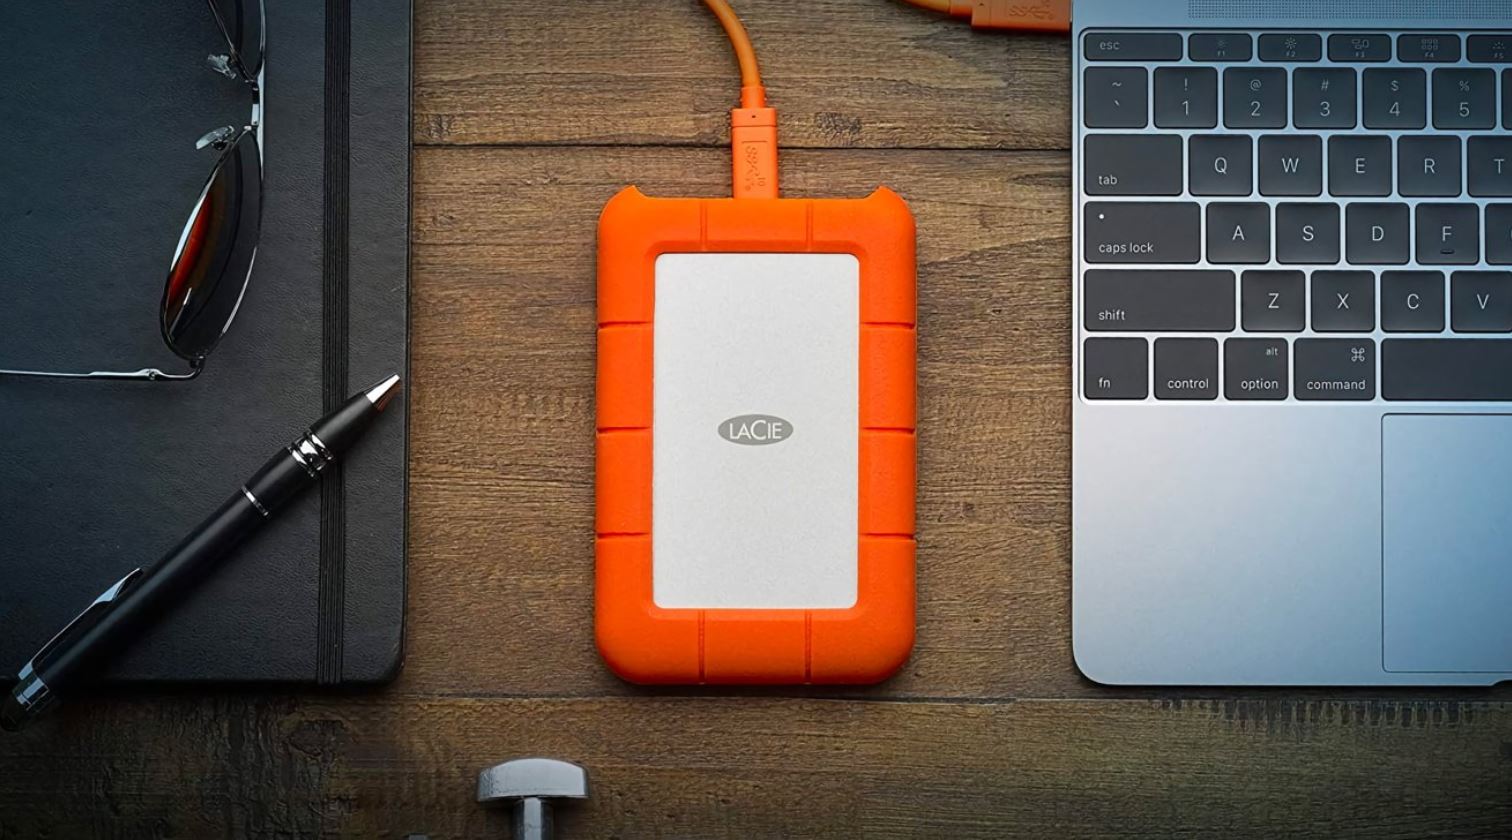
1. Locate the appropriate cable: Depending on the type of external hard drive you have, you will need to find the appropriate cable to connect it to your Mac. This could be a USB cable, Thunderbolt cable, or another type of connector.
2. Connect the cable to the external hard drive: Plug one end of the cable into the port on your external hard drive. Ensure that the connection is secure.
3. Connect the cable to your Mac: Locate the corresponding port on your Mac and connect the other end of the cable to it. Again, make sure the connection is secure.
4. Power on the external hard drive: If your external hard drive requires power, turn it on using the appropriate power button or switch.
5. Wait for your Mac to recognize the external hard drive: Once the external hard drive is connected and powered on, your Mac should automatically detect it and display it on your desktop or in the Finder sidebar.
It’s important to ensure that the connection between your Mac and the external hard drive is stable throughout the encryption process. Any interruptions or disconnections could result in data loss or corruption.
With your external hard drive successfully connected to your Mac, you are now ready to proceed to the next step of locating the drive in Finder.
Step 3: Open Finder and locate the external hard drive
Once you have connected your external hard drive to your Mac, the next step is to open Finder and locate the drive. Here’s how you can do it:
1. Click on the Finder icon: Look for the blue and white face-shaped icon in your Dock and click on it. Alternatively, you can press Command + Space to open Spotlight Search and type “Finder” to launch the application.
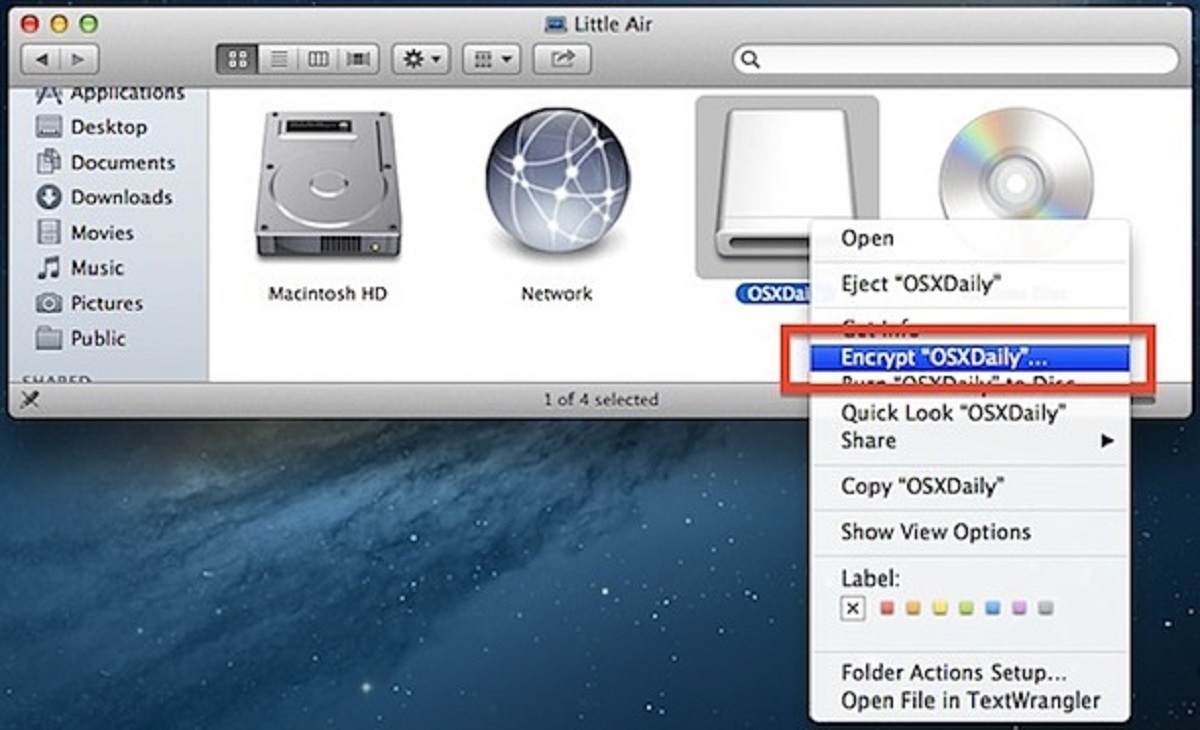
2. Locate the external hard drive in the sidebar: In the Finder window that opens, you will see a sidebar on the left-hand side. Look for the “Devices” section and find the name of your external hard drive listed here. It may appear with the manufacturer’s name or a custom name you have assigned to it.
3. Click on the external hard drive: Once you have located your external hard drive in the sidebar, click on it to open and view its contents. The contents of the external hard drive will be displayed in the main Finder window.
Now that you have successfully located your external hard drive in Finder, you are ready to proceed with the next step of formatting the drive.
Note: If you do not see your external hard drive listed in the Finder sidebar, make sure it is properly connected and powered on. You may also need to check if the drive requires special drivers or software for compatibility with your Mac.
Step 4: Format the drive
Before you can encrypt your external hard drive, you need to format it to ensure compatibility with the encryption process. Follow these steps to format your drive:
1. In Finder, make sure your external hard drive is selected in the sidebar.
2. Click on the “File” menu at the top of the screen, then select “Get Info” from the dropdown menu. Alternatively, you can press Command + I as a shortcut.
3. In the Info window that appears, under “General,” locate the “Format” section. Click on the format dropdown menu to view the available options.
4. Select the desired format: You can choose between “Mac OS Extended (Journaled),” “APFS (Apple File System)” if your macOS version supports it, or another suitable format. It is recommended to use the “Mac OS Extended (Journaled)” format for maximum compatibility.
5. Click on the “Erase” button: This will format your external hard drive using the selected format. Be aware that formatting will erase all data on the drive, so make sure you have backed up any important files before proceeding.
6. Wait for the formatting process to complete: The time it takes to format the drive depends on the size and speed of the drive. You can monitor the progress in the Erase window.
Once the formatting process is finished, your external hard drive will be ready for encryption. The next step is to set up a password-protected encrypted disk image on the drive.
Note: If you have already formatted your drive or it is in a compatible format, you can skip this step and proceed to the next step.
Step 5: Set up a password-protected encrypted disk image
Now that you have formatted your external hard drive, the next step is to set up a password-protected encrypted disk image. Follow these steps to secure your data:
1. Open Disk Utility: Launch Disk Utility from the Applications/Utilities folder, or you can search for it using Spotlight (Command + Space) and typing “Disk Utility.”
2. Select your external hard drive: In the Disk Utility window, locate your external hard drive listed in the sidebar on the left-hand side. Click on it to select it.
3. Click on the “File” menu: At the top of the screen, click on the “File” menu and choose “New Image” from the dropdown menu. Then select “Blank Image” from the submenu that appears.
4. Configure the image settings: In the “Save As” dialog box, you can specify the name for the encrypted disk image, select the location where you want to save it, and choose the size of the image. Make sure to select a size that accommodates your data needs.
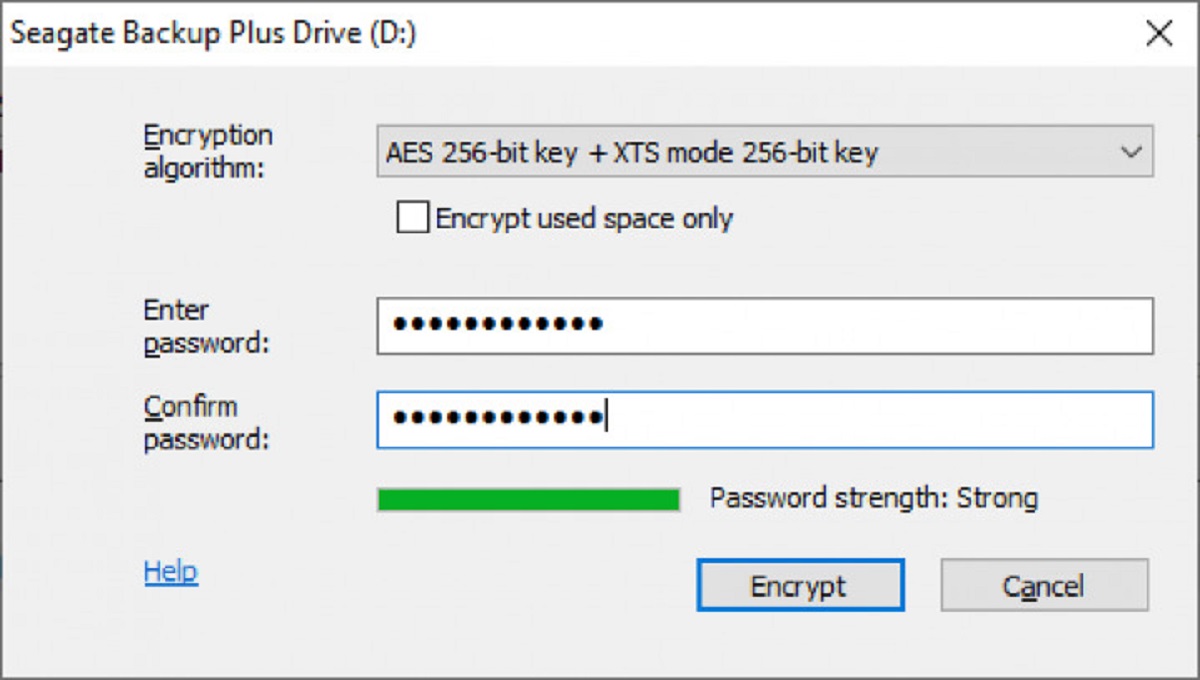
5. Set the encryption options: Under the “Encryption” dropdown menu, select “128-bit or 256-bit AES encryption.” This ensures strong encryption for your disk image.
6. Create a password: Enter a secure password in the “Password” field. Make sure to choose a strong, unique password that is easy for you to remember but difficult for others to guess. You can use a combination of uppercase and lowercase letters, numbers, and symbols to enhance the password’s strength.
7. Set the image format: Choose the format for the disk image from the dropdown menu. It is recommended to use “Sparse Bundle Disk Image” for maximum efficiency and flexibility.
8. Click on the “Save” button: After configuring the image settings and password, click on the “Save” button to create the password-protected encrypted disk image on your external hard drive.
Now, your encrypted disk image is created and ready for use. In the next step, we will cover the encryption options that you can choose for your disk image.
Step 6: Choose the encryption options
After setting up a password-protected encrypted disk image on your external hard drive, the next step is to choose the encryption options for added security. Here’s how you can do it:
1. Locate the encrypted disk image: Open Finder and navigate to the location where you saved the encrypted disk image on your external hard drive.
2. Double-click on the disk image: This will mount the disk image and make it accessible for further configuration.
3. Open the disk image: Double-click on the mounted disk image to open it and view its contents in Finder.
4. Click on the “File” menu: At the top of the screen, click on the “File” menu and select the “Get Info” option from the dropdown menu.
5. Configure the encryption options: In the Info window that appears, you will see an option for “Encryption” under the “General” section. Click on the dropdown menu next to “Encryption” to reveal the available encryption options.
6. Choose the desired encryption level: You can select from the available options, such as “None” for no encryption, “AES-128” for 128-bit encryption, or “AES-256” for 256-bit encryption. Remember that higher encryption levels offer greater security but may also impact performance.
7. Close the Info window: Once you have chosen the encryption level, close the Info window to save the changes.
By selecting the appropriate encryption level, you can customize the security of your encrypted disk image according to your needs and the sensitivity of the data stored within it.
It’s important to choose a strong encryption level to protect your information, especially if your external hard drive contains highly sensitive or confidential files. However, keep in mind that higher encryption levels may also result in a slightly slower performance when accessing the encrypted data.
With the encryption options configured, you are now one step closer to securing your external hard drive. The next step is to wait for the encryption process to complete.
Step 7: Wait for the encryption process to complete
Once you have chosen the encryption options for your encrypted disk image on your external hard drive, the next step is to wait for the encryption process to complete. The duration of this process depends on the size of the disk image and the speed of your computer. Here’s what you need to do:
1. Close the Info window: If it’s still open, close the Info window for the disk image.
2. Allow the encryption process to run: The encryption process will begin once you close the Info window. During this time, it is important to keep your Mac powered on and avoid disconnecting your external hard drive. Interrupting the process may result in data loss or corrupted encryption.
3. Monitor the progress: To check the progress of the encryption process, you can view the status in the Finder window. Look for a progress bar or indicator that shows the encryption percentage. This will give you an idea of how much time is remaining.
4. Be patient: Depending on the size of the disk image and the speed of your computer, the encryption process may take some time. It is important to be patient and let the process complete without interruption.
While the encryption process is running, you can continue using your Mac for other tasks. However, keep in mind that the encryption process may slow down the overall performance of your computer temporarily.
Once the encryption process is complete, your encrypted disk image will be secured and ready for use. In the next step, we will cover how to mount and access the encrypted external hard drive.
Step 8: Mount and access the encrypted external hard drive
After the encryption process is complete, the final step is to mount and access your encrypted external hard drive on your Mac. Here’s how to do it:
1. Open Finder: Click on the Finder icon in your Dock, or press Command + Space to open Spotlight Search and type “Finder” to launch the application.
2. Locate the encrypted disk image: In the Finder sidebar, navigate to the location where you saved the encrypted disk image on your external hard drive.
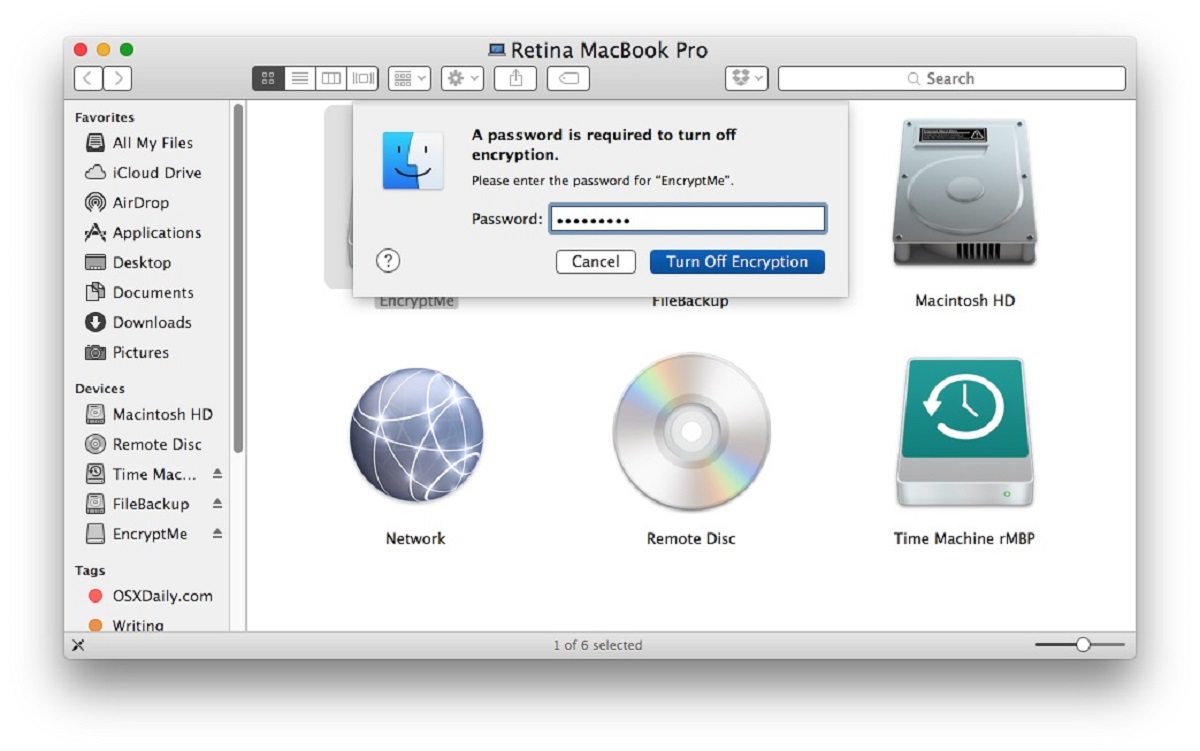
3. Double-click on the disk image: This will mount the encrypted disk image and make it accessible for use.
4. Enter your password: When prompted, enter the password you set for the encrypted disk image. Make sure to enter it correctly to unlock and access the encrypted files.
5. Access your encrypted files: Once you have entered the correct password, you can now access the contents of the encrypted disk image. Treat it like any other mounted external hard drive or folder in Finder.
6. Use the encrypted external hard drive: You can now copy, move, edit, or delete files within the encrypted disk image. Any changes you make to the files will be automatically encrypted and secured.
After you have finished using the encrypted external hard drive, it is important to properly eject it from your Mac. Simply right-click on the mounted disk image and select the “Eject” option. This will unmount the encrypted disk image and ensure the security of your data.
By following these steps, you have successfully mounted and accessed your encrypted external hard drive on your Mac. Your data is now protected and only accessible with the correct password.
Remember to keep your password secure and avoid sharing it with unauthorized individuals. Additionally, make sure to back up your files regularly to avoid any potential data loss.
Conclusion
Encrypting your external hard drive on a Mac is a crucial step in safeguarding your sensitive data. By following the step-by-step process outlined in this guide, you can ensure that your information remains secure even if your external hard drive falls into the wrong hands.
From choosing an encryption method to formatting the drive, setting up a password-protected encrypted disk image, and accessing the encrypted external hard drive, each step plays a vital role in achieving a secure and protected storage solution.
Remember, FileVault and Disk Utility are the two primary encryption methods offered by Mac. FileVault encrypts the entire disk, including your internal and external drives, while Disk Utility allows you to create an encrypted disk image specifically for your external hard drive.
When formatting the drive, make sure to select an appropriate format, such as “Mac OS Extended (Journaled),” for maximum compatibility. Set up a strong password during the creation of the encrypted disk image, and consider choosing an encryption level that matches the sensitivity of the data.
While waiting for the encryption process to complete, be patient and avoid interrupting the process to prevent any potential data loss or corruption. Finally, mount and access your encrypted external hard drive using the assigned password, and ensure proper ejecting after use.
By implementing these steps, you can confidently store your important files and sensitive information on your encrypted external hard drive with peace of mind, knowing that your data is secure from unauthorized access or theft.
Remember to regularly backup your important files and update your encryption methods as technology advances and new security measures become available.
Take control of your data security and protect your information by encrypting your external hard drive on your Mac today.