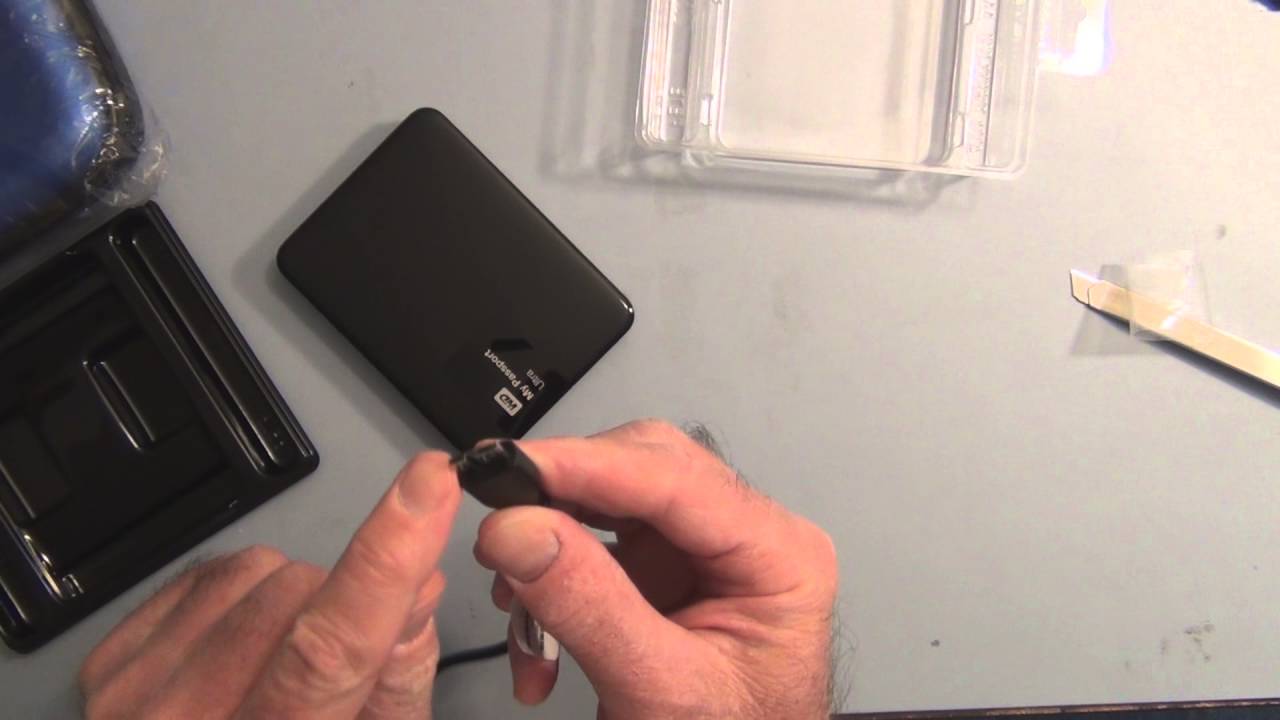
Connecting the External Hard Drive to your Mac
Before you can begin decrypting your external hard drive on your Mac, you first need to ensure that it is properly connected to your computer. Follow these steps to establish a connection:
- 1. Identify the interface: Determine which type of connection your external hard drive uses. It may have a USB, Thunderbolt, or FireWire interface. Make sure that you have the appropriate cable for your specific interface.
- 2. Power on the hard drive: Connect the power cable to your external hard drive, if required, and plug it into a power source. Switch on the drive and allow it to boot up.
- 3. Connect the cable: Take the appropriate cable for your interface and plug one end into the external hard drive. Insert the other end into the corresponding port on your Mac. Ensure that the connection is secure.
- 4. Check for recognition: Once the connection is established, your Mac should recognize the external hard drive. You can confirm this by hearing a sound or by checking if the drive appears on the desktop or in the Finder.
Upon successfully connecting your external hard drive to your Mac, you are ready to proceed with decrypting it. Keep in mind that some external hard drives may require additional steps, such as entering a password or providing a decryption key. Follow the instructions provided by your specific hard drive manufacturer for any additional requirements.
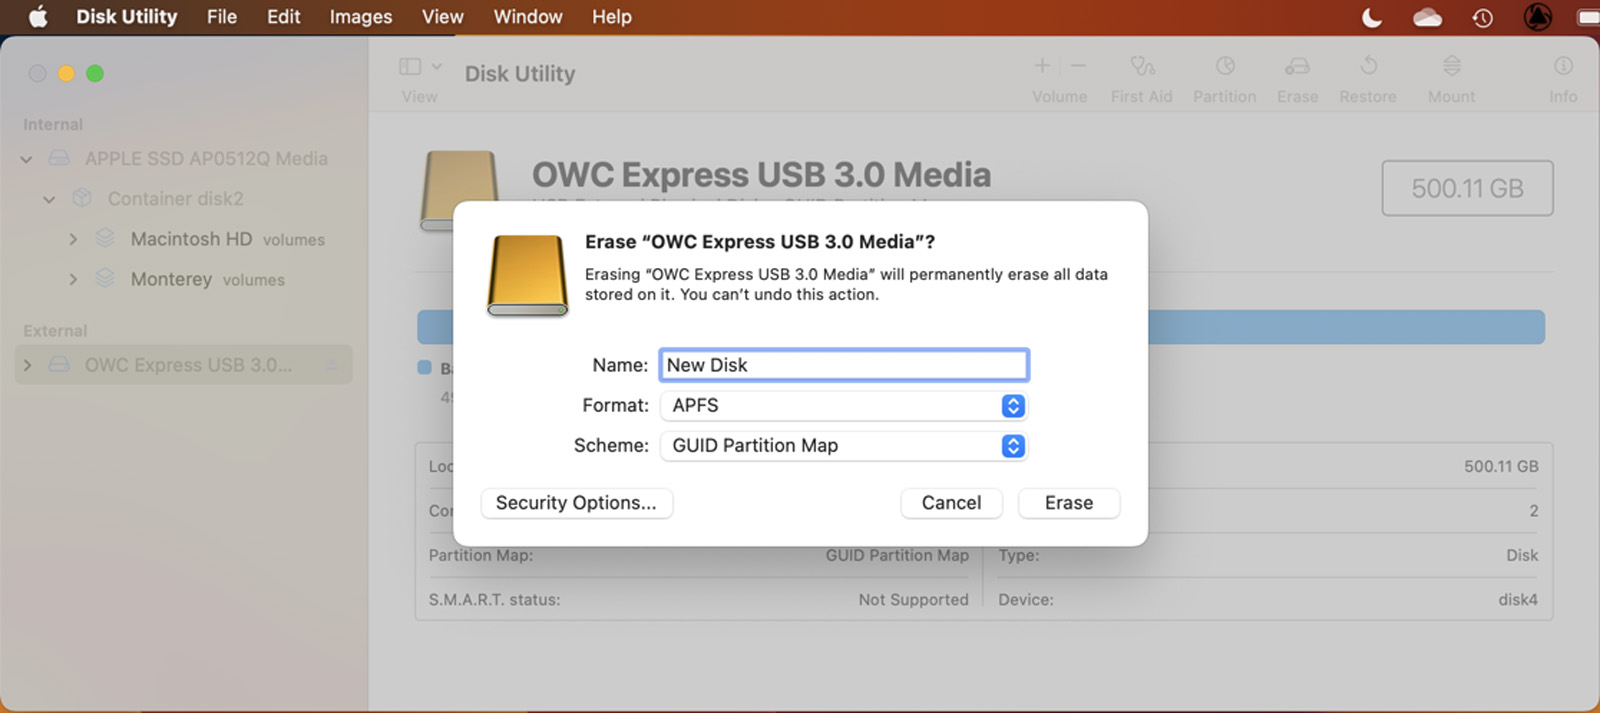
Opening the Disk Utility Application
To decrypt your external hard drive on your Mac, you will need to utilize the Disk Utility application. Disk Utility is a built-in tool that allows you to manage and manipulate storage devices connected to your Mac. Follow these steps to open the Disk Utility application:
- 1. Launch Finder: Click on the Finder icon, which is typically located in the dock at the bottom of your screen.
- 2. Go to Applications: In the left-hand sidebar of Finder, click on the “Applications” folder to open it.
- 3. Locate Disk Utility: Scroll through the list of applications until you find the “Disk Utility” icon. It resembles a hard drive with a stethoscope wrapped around it.
- 4. Open Disk Utility: Double-click on the Disk Utility icon to launch the application.
Alternatively, you can also use the Spotlight search feature to quickly locate and open Disk Utility. Simply press the Command + Spacebar keys on your keyboard to activate Spotlight, then type “Disk Utility” in the search bar and press Enter.
Once the Disk Utility application is open, you will see a list of all connected storage devices, including your external hard drive. Proceed to the next section to learn how to select the encrypted external hard drive in Disk Utility.
Selecting the Encrypted External Hard Drive
After opening the Disk Utility application on your Mac, the next step is to select the encrypted external hard drive that you want to decrypt. Follow these instructions to locate and select your drive:
- 1. Identify the drive: In the Disk Utility window, you will see a list of all the connected storage devices. Look for the name or label of your encrypted external hard drive.
- 2. Select the drive: Click on the encrypted external hard drive to highlight it in the list. Make sure you select the correct drive to avoid making changes to other drives by mistake.
You can usually identify your encrypted external hard drive by its name, size, or the file system being displayed as “encrypted.” Take extra care to double-check the drive you select before proceeding.
If you are having trouble finding the encrypted external hard drive, you can use the search bar located in the top-right corner of the Disk Utility window. Simply type in the name or any identifiable information related to your drive, and Disk Utility will filter and display the matching results.
Now that you have successfully selected the encrypted external hard drive in Disk Utility, you are ready to move on to the next step, which involves entering your password or recovery key to initiate the decryption process.
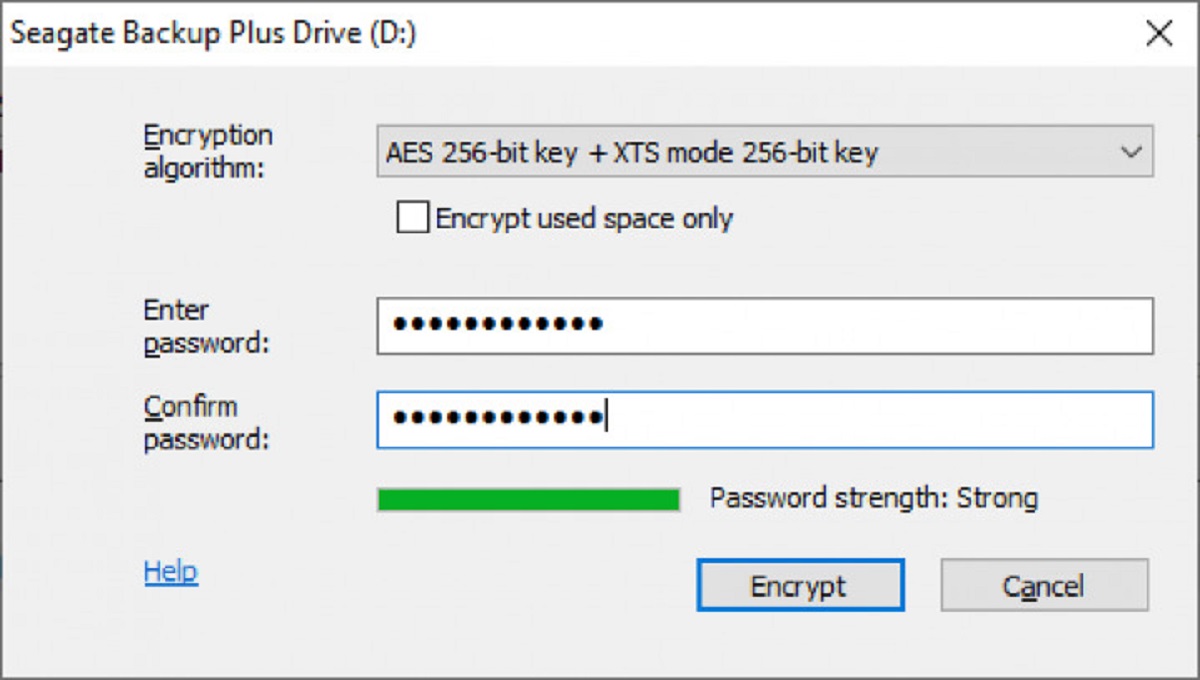
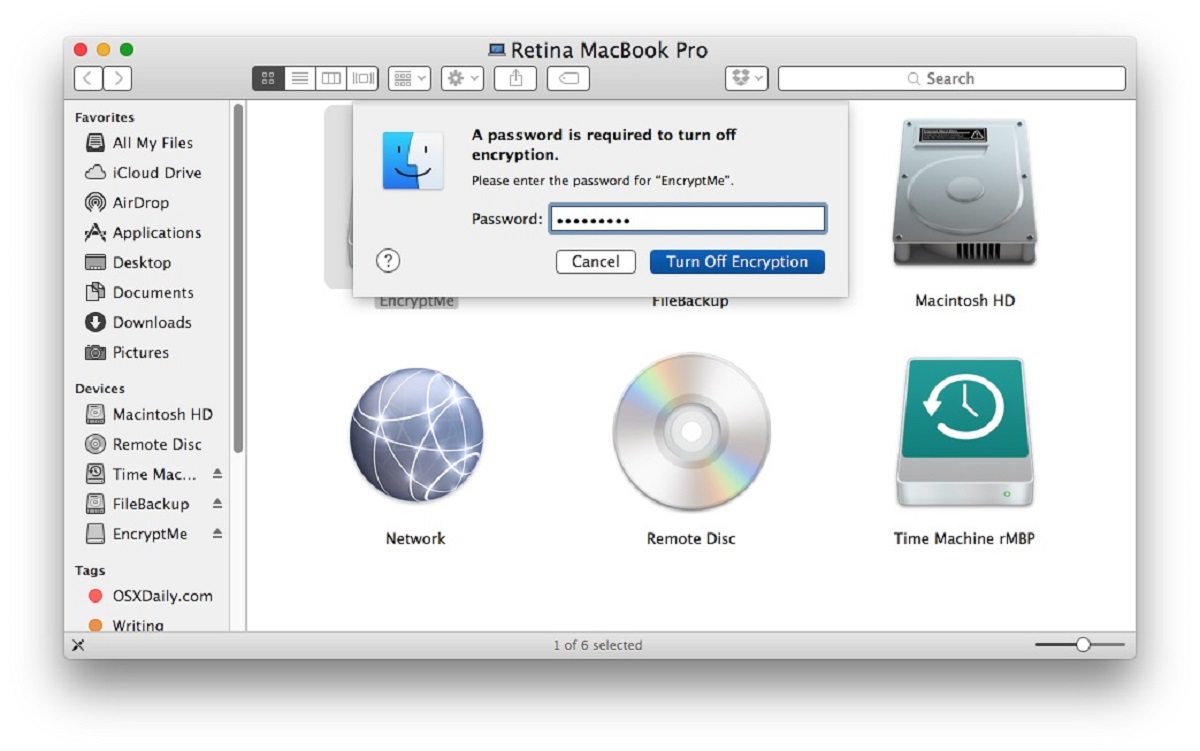
Entering your Password or Recovery Key
Once you have selected the encrypted external hard drive in Disk Utility, the next step is to enter your password or recovery key to initiate the decryption process. Here’s how you can do it:
- 1. Look for the “Unlock” option: In the Disk Utility window, you may see an “Unlock” button or an option to enter the password for the selected encrypted external hard drive. Click on this option to proceed.
- 2. Enter your password: A prompt will appear, asking you to enter the password associated with the encrypted external hard drive. Type in your password in the provided field. Make sure to enter it correctly to avoid any errors.
- 3. Use the recovery key (if applicable): If you don’t remember or have the password for the encrypted external hard drive, you may need to use a recovery key, if available. Locate your recovery key and enter it in the designated field instead of the password.
- 4. Authenticate your credentials: Once you have entered your password or recovery key, click on the “Authenticate” or “Unlock” button to verify your credentials.
If your password or recovery key is correct, Disk Utility will proceed to decrypt the external hard drive. If there are any issues with the credentials entered, you will receive an error message. Ensure that you have the correct password or recovery key before attempting to unlock the drive again.
Entering the correct password or recovery key is crucial to successfully decrypt the external hard drive. Once authenticated, the decryption process will begin, and you can move on to the next section to learn about the progress checking and verification steps.
Decrypting the External Hard Drive
After entering your password or recovery key in Disk Utility to authenticate your credentials, you can proceed with decrypting the external hard drive. The decryption process will remove the encryption from the drive, rendering it accessible without the need for any decryption tools. Here’s how to decrypt the external hard drive:
- 1. Wait for the decryption process to start: Once you have successfully authenticated your credentials, Disk Utility will begin the decryption process automatically. You will see a progress bar or status indicator indicating that the decryption is in progress.
- 2. Be patient during the process: The decryption process may take some time, depending on the size of the drive and the amount of data stored on it. It is recommended to be patient and avoid interrupting or disconnecting the drive during this time.
- 3. Monitor the progress: Keep an eye on the progress bar or status indicator in Disk Utility to track the decryption progress. You can also view the estimated time remaining, if available, to get an idea of how long it will take to complete.
- 4. Avoid using the drive: It is advisable to refrain from using or accessing the external hard drive while the decryption process is ongoing. This helps ensure that the process completes smoothly and without any interruptions.
Once the decryption process is complete, the external hard drive will no longer be encrypted. You can now access the contents of the drive without any encryption restrictions or requirements. In the next section, we will discuss how you can verify the decryption process and ensure the successful removal of encryption.
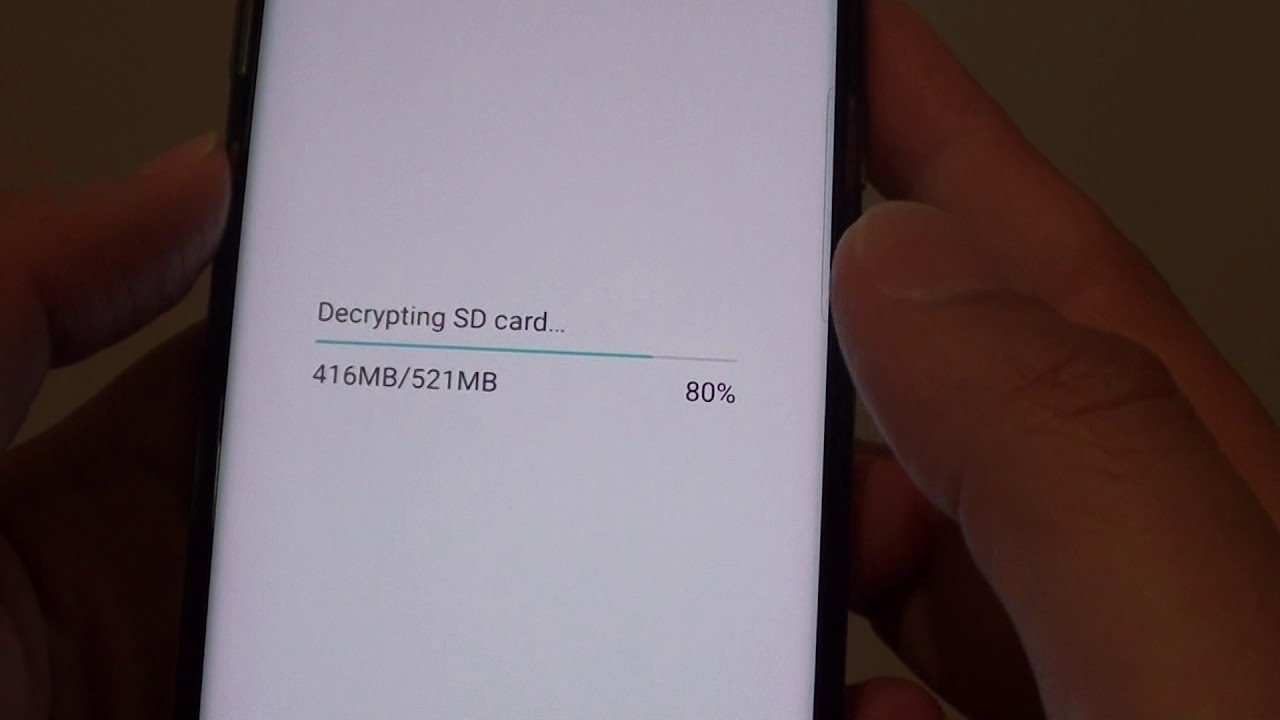
Checking the Decryption Progress
While the decryption process is ongoing in Disk Utility, it’s important to periodically check the progress to ensure everything is proceeding smoothly. By monitoring the decryption progress, you can estimate how much longer it will take for the process to complete. Here’s how to check the decryption progress:
- 1. Keep Disk Utility open: Make sure you keep the Disk Utility application open during the decryption process. This allows you to easily access the progress information.
- 2. Locate the external hard drive: In the Disk Utility window, find the entry for the decrypted external hard drive that you initiated. It should still be listed there.
- 3. View the progress bar: Look for a progress bar or status indicator associated with the decrypted external hard drive. This bar will show the percentage of decryption that has been completed.
- 4. Estimate the remaining time: Some decryption processes may display an estimated time remaining. Take note of this information to gauge how much longer it will take for the decryption to finish.
It’s important to note that the decryption progress can vary depending on the size of the external hard drive and the amount of data stored on it. Larger drives or those with a significant amount of data may take longer to decrypt. Be patient and avoid interrupting the process or disconnecting the drive.
Continue to monitor the decryption progress until it reaches 100% completion. Once the encryption has been fully removed, you can proceed to verify the decryption to ensure that it was successful, as discussed in the next section.
Verifying the Decryption Process
After the decryption process is complete in Disk Utility, it is important to verify that the external hard drive has been successfully decrypted. Verifying the decryption ensures that the encryption has been removed and that you can access the contents of the drive without any encryption restrictions. Here’s how to verify the decryption process:
- 1. Close Disk Utility: Once the decryption process is complete, you can close the Disk Utility application. Either click on the red “X” button in the top-left corner of the window or select “Quit Disk Utility” from the Disk Utility menu.
- 2. Disconnect the external hard drive: Safely disconnect the external hard drive from your Mac. Follow the proper ejection procedure to avoid any data loss or corruption.
- 3. Reconnect the external hard drive: Connect the external hard drive back to your Mac using the appropriate cable. Ensure that the connection is secure.
- 4. Access the contents: Open Finder and navigate to the external hard drive to confirm that you can now access its contents without any encryption restrictions. You should be able to view, edit, and copy files as needed.
Take a moment to explore the contents of the external hard drive to ensure that everything appears as expected. If you encounter any issues or errors, double-check the decryption process and consult the manufacturer’s documentation or support resources for assistance.
By verifying the decryption process, you can have confidence that your external hard drive is now accessible without any encryption barriers. You can now safely use the decrypted drive for your storage needs or proceed with any desired modifications or operations.
Ejecting the Decrypted External Hard Drive
Once you have finished accessing and working with the contents of your decrypted external hard drive on your Mac, it is important to properly eject it to ensure no data loss or corruption. Follow these steps to safely eject the decrypted external hard drive:
- 1. Close any open files or applications: Before ejecting the external hard drive, make sure that you have closed any files or applications that were accessing or utilizing the drive. This helps prevent any data conflicts or errors.
- 2. Select the external hard drive: Locate the icon of the decrypted external hard drive on your Mac’s desktop or in the Finder sidebar. Click once to select it.
- 3. Eject the drive: Right-click on the selected external hard drive icon, then click on the “Eject” option from the contextual menu. Alternatively, you can also drag the drive icon to the trash bin or use the keyboard shortcut “Command + E” to eject the drive.
- 4. Wait for confirmation: Once you have initiated the ejection process, wait for your Mac to confirm that the drive has been safely ejected. A notification or a disappearing icon from the desktop indicates that it is now safe to disconnect the external hard drive.
- 5. Disconnect the external hard drive: Once you have received confirmation, disconnect the external hard drive from your Mac by unplugging the cable. Ensure that you remove the cable gently and avoid any sudden movements to prevent damage to the drive or port.
It is important to always eject the decrypted external hard drive before physically disconnecting it from your Mac. Ejecting the drive ensures that all pending read/write operations are completed, reducing the risk of data corruption or loss.
By following these steps, you can safely eject the decrypted external hard drive from your Mac and store it securely or use it with other devices as needed.