Introduction
Welcome to the world of external hard drives! If you find that your computer’s storage is rapidly filling up with files, photos, and videos, investing in an external hard drive is a great solution to expand your storage capacity. The My Passport External Hard Drive is a popular choice among users for its reliability, portability, and user-friendly features.
In this guide, we will take you through the process of using the My Passport External Hard Drive, from connecting it to your computer to managing and protecting your files. Whether you’re a tech-savvy individual or a beginner, by the end of this guide, you’ll feel confident in utilizing all the features this external hard drive has to offer.
The My Passport External Hard Drive is compatible with both Windows and Mac operating systems, making it convenient for users regardless of their device preference. It offers a wide range of storage capacities to cater to individual needs, ensuring that you have ample space to store your important files, documents, photos, and videos.
With the My Passport External Hard Drive, you can effortlessly back up your data, transfer files between devices, and even protect your private information with encryption. Its compact and sleek design makes it easy to carry with you, enabling you to access your files on the go.
Now, let’s dive into the details on how to make the most of your My Passport External Hard Drive. Whether you’re a student, a professional, or a creative enthusiast, this guide will help you navigate your way through the various features and functions to optimize your experience with this versatile storage solution.
Getting Started
Before you start using your My Passport External Hard Drive, there are a few things you need to do to ensure a smooth setup process. Follow these steps to get started:
- Check the system requirements: Make sure your computer meets the minimum system requirements for the My Passport External Hard Drive. This includes having a compatible operating system, available USB port, and sufficient power supply.
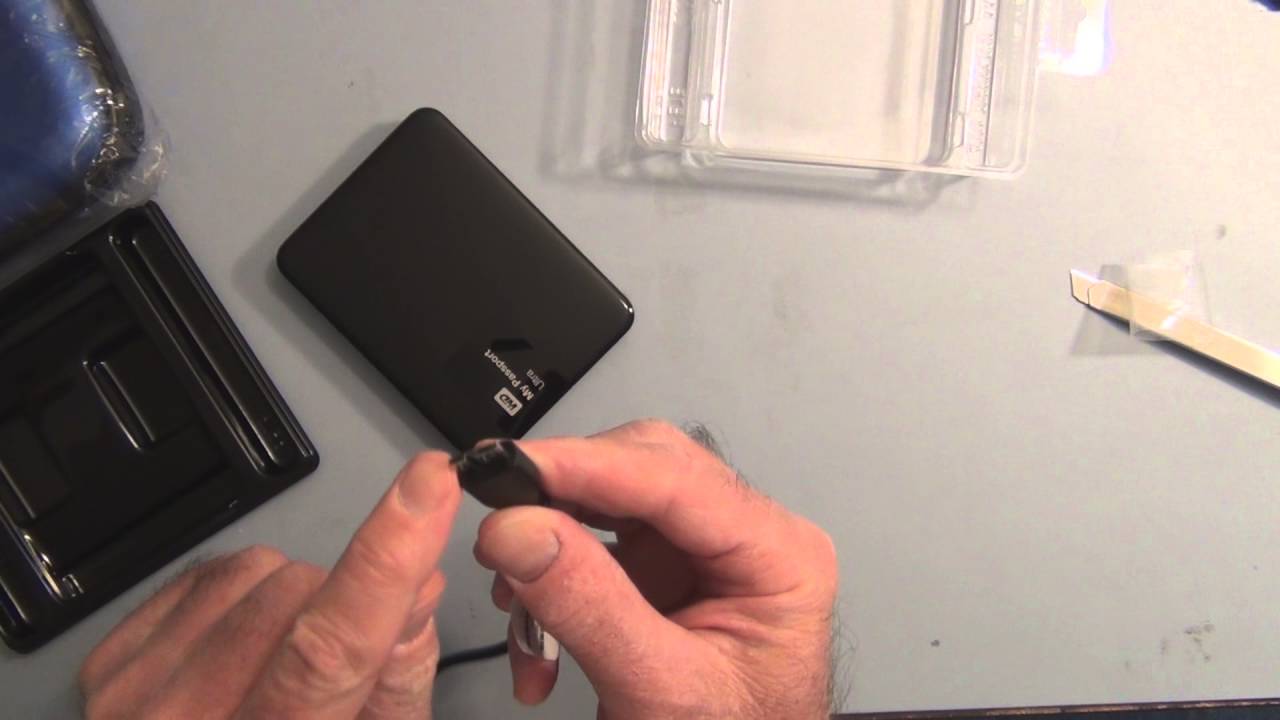
- Unpack the external hard drive: Open the packaging of your My Passport External Hard Drive and carefully take out the device, USB cable, and any other included accessories. Keep the packaging in case you need to store or transport the external hard drive in the future.
- Connect the external hard drive to your computer: Find an available USB port on your computer and connect one end of the USB cable to the port. Take the other end of the USB cable and plug it into the corresponding port on your My Passport External Hard Drive. Ensure the cable is securely connected to both devices.
- Power on the external hard drive: Most My Passport External Hard Drives are powered through the USB connection, so there is no need for separate power cables or adapters. Once the device is connected, it should power on automatically.
- Wait for device recognition: Give your computer a few moments to recognize and detect the connected My Passport External Hard Drive. You may see a notification or prompt indicating that a new device has been detected.
- Install the necessary drivers: In some cases, your computer may require you to install specific drivers for the My Passport External Hard Drive to function properly. If prompted, follow the on-screen instructions to install the necessary drivers. If no prompt appears, proceed to the next step.
- Access the external hard drive: Open the file explorer on your computer and look for the My Passport External Hard Drive under the list of available drives. It is usually labeled with the drive letter assigned to it.
Once you’ve completed these steps, you’re all set to start using your My Passport External Hard Drive. In the next sections, we will explore the various features and functions that will enhance your file management and data protection experience with this reliable storage device.
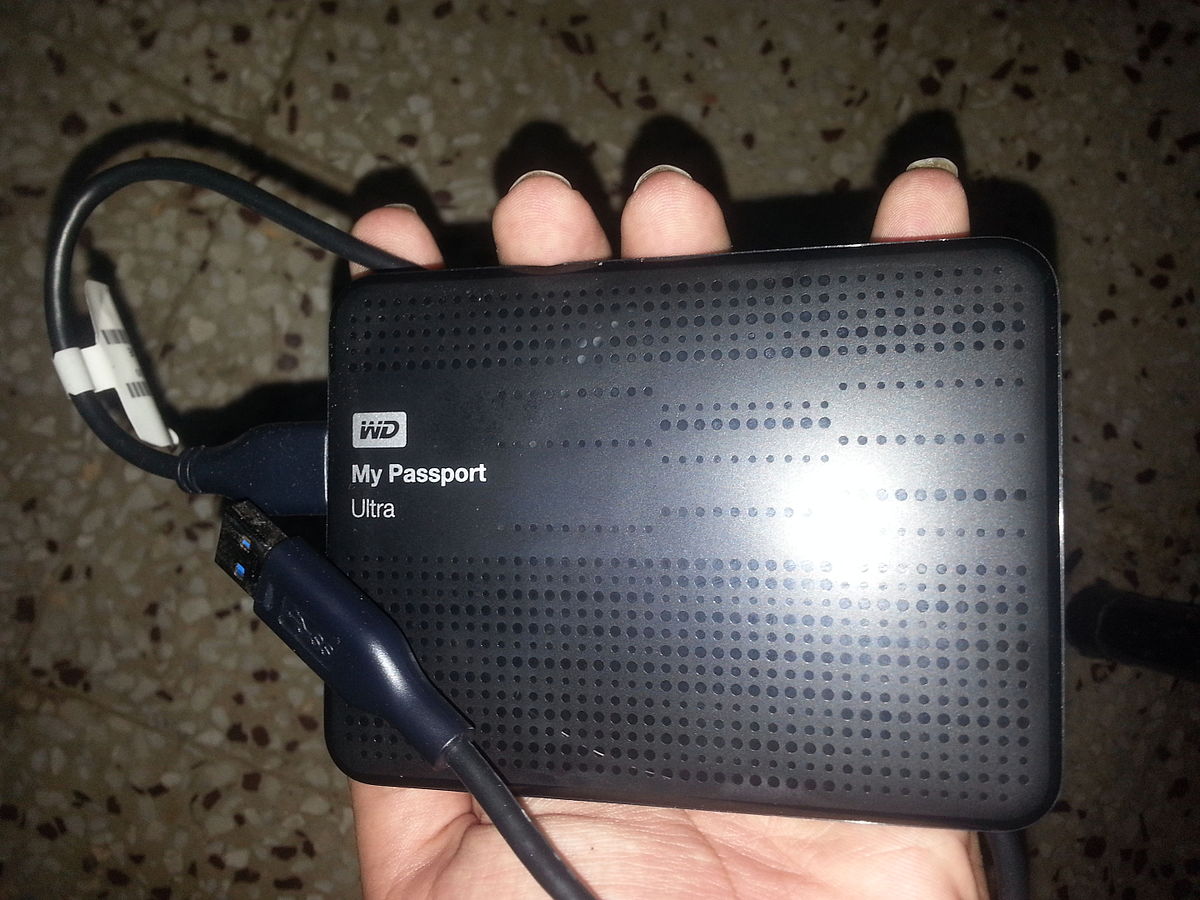
Connecting the External Hard Drive
Connecting your My Passport External Hard Drive to your computer is a simple process. Follow these steps to ensure a proper connection:
- Find an available USB port: Locate an available USB port on your computer. It’s usually located on the side or back of your desktop computer, or on the sides of your laptop.
- Plug in the USB cable: Take the USB cable that came with your My Passport External Hard Drive and plug one end into the USB port on your computer.
- Connect the other end to the hard drive: Take the other end of the USB cable and connect it to the corresponding port on your My Passport External Hard Drive. Make sure the connection is secure.
- Power on the external hard drive: Most My Passport External Hard Drives are powered through the USB connection, so there is no need for separate power cables or adapters. Once the device is connected, it should power on automatically.
- Wait for device recognition: Give your computer a few moments to recognize and detect the connected My Passport External Hard Drive. You may see a notification or prompt indicating that a new device has been detected.
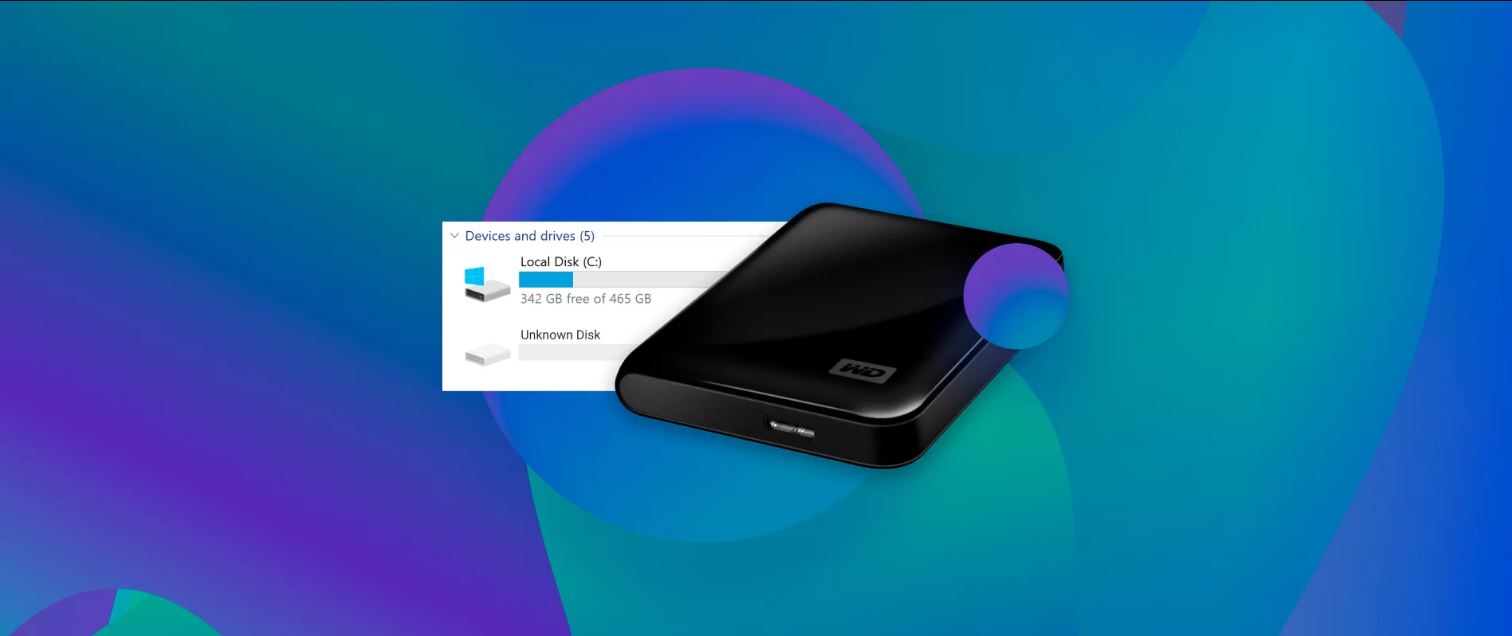
- Access the external hard drive: Open the file explorer on your computer and look for the My Passport External Hard Drive under the list of available drives. It is usually labeled with the drive letter assigned to it.
Once you’ve successfully connected the My Passport External Hard Drive to your computer, you can now start using it as additional storage. You can transfer files from your computer to the external hard drive or directly save files to the external hard drive when selecting a save location. This will help free up space on your computer and ensure that your important files are safely stored.
Keep in mind that if you are using the external hard drive for the first time or if it’s a new device, it may need to be formatted before you can start using it. Formatting erases all existing data on the external hard drive, so make sure to back up any important files before formatting if necessary. You can format the external hard drive using the built-in formatting tools provided by your operating system.
Now that you know how to connect the My Passport External Hard Drive to your computer, we will move on to the next section where we will guide you through the setup process of the My Passport software.
Setting Up the My Passport Software
The My Passport External Hard Drive comes with software that provides additional features and functionality. Follow these steps to set up the My Passport software:
- Connect the external hard drive: Make sure your My Passport External Hard Drive is connected to your computer as explained in the previous section.
- Open the My Passport software: Depending on the specific model and version of the My Passport software you have, there may be different ways to open it. Generally, you can find the software icon on your computer’s desktop, in the system tray, or by searching for it in the start menu. Double-click on the software icon to open it.
- Follow the on-screen instructions: Once the My Passport software is open, you will be guided through the setup process. Pay attention to the prompts and instructions provided on the screen. You may be asked to agree to terms and conditions, select a preferred language, or customize the settings according to your preferences.
- Create a My Passport account: During the setup process, you may be prompted to create a My Passport account. This account allows you to access additional features and services provided by the My Passport software, such as online backups, file syncing, and remote access to your files. Follow the instructions to create your account, providing the necessary information.
- Configure backup settings: The My Passport software is designed to help you back up your files easily. You will have the option to select the files and folders you want to back up and customize the backup schedule. Choose your preferred settings and make sure to select a secure location to store your backups, either on the external hard drive or in a cloud storage service.
- Explore additional features: After completing the setup process, take some time to explore the additional features offered by the My Passport software. This can include file syncing, data encryption, and the ability to access your files remotely from any device with an internet connection.
Once you have successfully set up the My Passport software, you can begin utilizing its various features to enhance your file management and data protection experience. The software provides a convenient and user-friendly interface to help you organize, secure, and access your files with ease.
In the next sections, we will guide you through the processes of backing up files, restoring files, transferring files, and managing files and folders using the My Passport software.
Backing Up Files
One of the key features of the My Passport software is its ability to easily back up your important files and data. Follow these steps to back up your files using the My Passport software:
- Open the My Passport software: Make sure your My Passport External Hard Drive is connected to your computer and open the My Passport software as explained in the previous section.
- Select files and folders to back up: Within the software, you will find options to select the specific files and folders you want to back up. You can choose individual files or entire folders depending on your needs. It’s recommended to back up files that are essential or irreplaceable, such as documents, photos, videos, and other important data.
- Customize backup settings: The My Passport software allows you to customize the backup settings according to your preferences. You can choose the backup frequency, whether it’s daily, weekly, or manual backups. Additionally, you can specify the destination where your files will be stored, either on the My Passport External Hard Drive itself or in a designated cloud storage service.
- Initiate the backup process: Once you have selected the files and customized the backup settings, initiate the backup process by clicking on the appropriate button within the My Passport software. The software will begin copying the selected files to the designated backup location.
- Monitor the backup progress: While the backup process is underway, you can monitor the progress within the My Passport software. It will display the status, remaining time, and the number of files being backed up. You can also pause, resume, or cancel the backup process if necessary.
- Verify the backup success: After the backup process is complete, it’s crucial to verify that the backup was successful. Check the backup destination, whether it’s the external hard drive or the cloud storage service, to ensure that all the selected files are present and intact.
Regularly backing up your files using the My Passport software provides you with the peace of mind knowing that your important data is safe and secure. It protects you from potential data loss due to hardware failure, accidental deletion, or other unforeseen circumstances.
Remember to regularly update your backup sets to include any new or modified files to maintain an up-to-date backup. This ensures that your latest files are protected and can be easily restored if needed.
In the next section, we will guide you on how to restore files from a backup using the My Passport software.
Restoring Files
The My Passport software makes it simple to restore your backed-up files whenever you need them. Follow these steps to restore files from a backup using the My Passport software:
- Open the My Passport software: Make sure your My Passport External Hard Drive is connected to your computer and open the My Passport software as explained in the previous sections.
- Navigate to the restore section: Within the My Passport software, locate and navigate to the restore section. This is where you can access your backed-up files and select which ones you want to restore.
- Select the files for restore: In the restore section, browse through the backed-up files and select the specific files or folders you want to restore to your computer. You can choose individual files or restore entire folders depending on your needs.
- Choose the restore location: Before initiating the restore process, choose the location on your computer where you want the restored files to be saved. It can be a specific folder or the original location from where the files were backed up.
- Start the restore process: Once you have selected the files and specified the restore location, start the restore process by clicking on the appropriate button within the My Passport software. The software will begin copying the selected files from the backup location to the specified restore location on your computer.
- Monitor the restore progress: While the restore process is underway, you can monitor the progress within the My Passport software. It will display the status, remaining time, and the number of files being restored. You can also pause, resume, or cancel the restore process if necessary.
- Verify the restore success: After the restore process is complete, verify that the files have been successfully restored to the specified location on your computer. Check the restore destination folder to ensure that all the selected files are present and accessible.
The My Passport software simplifies the process of restoring your backed-up files, providing you with a quick and efficient way to retrieve your important data whenever you need it. Whether you accidentally deleted a file or encountered a system crash, the restore feature ensures that you can quickly recover your files without hassle.
Remember to regularly update and maintain your backup sets to include new files or modifications, allowing you to restore the latest version of your files. This helps you keep your data up-to-date and ensures that you have the most recent versions available.
In the next section, we will guide you through the process of transferring files between your computer and the My Passport External Hard Drive.
Transferring Files
The My Passport External Hard Drive allows you to easily transfer files between your computer and the external drive. Follow these steps to transfer files using the My Passport software:
- Connect the external hard drive: Make sure your My Passport External Hard Drive is connected to your computer as explained in the earlier sections.
- Open the My Passport software: Launch the My Passport software by double-clicking on its icon or searching for it in your computer’s start menu. Ensure that the software recognizes and displays the connected external hard drive.
- Select the files to transfer: Within the My Passport software, navigate to the file explorer or file management section. Browse through your computer’s files and folders and select the specific files you want to transfer to the external hard drive. You can choose individual files or entire folders.
- Choose the transfer destination: Specify the destination folder on the My Passport External Hard Drive where you want the files to be transferred. You can create a new folder or select an existing folder depending on your organizational preferences.
- Initiate the transfer process: Once you have selected the files and specified the transfer destination, initiate the transfer process by clicking on the appropriate button within the My Passport software. The software will begin copying the selected files from your computer to the specified destination on the external hard drive.
- Monitor the transfer progress: While the transfer process is underway, you can monitor the progress within the My Passport software. It will display the status, remaining time, and the number of files being transferred. You can pause, resume, or cancel the transfer process if necessary.
- Verify the transfer success: After the transfer process is complete, verify that the files have been successfully transferred to the specified destination on the My Passport External Hard Drive. Check the destination folder to ensure that all the selected files are present and accessible.
The My Passport software provides a seamless and efficient way to transfer files between your computer and the My Passport External Hard Drive. Whether you want to free up space on your computer by moving files to the external drive or need to take your files with you on the go, the transfer feature allows you to easily manage your files.
Remember to safely eject the My Passport External Hard Drive from your computer after completing the file transfer process. This helps prevent data corruption and ensures that all the files are safely stored on the external drive.
In the next section, we will guide you on how to manage files and folders using the My Passport software.
Managing Files and Folders
The My Passport software provides a user-friendly interface for managing your files and folders on the My Passport External Hard Drive. Follow these steps to effectively manage your files using the My Passport software:
- Open the My Passport software: Make sure your My Passport External Hard Drive is connected to your computer and open the My Passport software as explained previously.
- Navigate to the file management section: Within the My Passport software, locate the file management or file explorer section. This is where you can view and organize the files and folders stored on your My Passport External Hard Drive.
- Browse files and folders: Use the file management section to browse through the files and folders stored on your My Passport External Hard Drive. You can view them in a list or thumbnail view, depending on your preference.
- Create new folders: To organize your files, create new folders within the My Passport software. Right-click or use the designated option to create a new folder and assign it a suitable name. This helps keep your files organized and easily accessible.
- Move or copy files: To rearrange or duplicate files, use the move or copy functions within the My Passport software. Select the files you want to move or copy, and choose the destination folder where you want them to be placed. This allows you to group related files together or create backups of important files.
- Rename files or folders: If you want to change the names of files or folders, simply right-click on the selected item and choose the rename option. Enter the new name and press enter to save the changes. This feature helps you keep track of your files and customize their names for better organization.
- Delete files or folders: If you no longer need certain files or folders, use the delete function within the My Passport software to remove them. Take caution when deleting files, as they will be permanently removed and cannot be recovered unless you have a backup.
- Search for files: If you’re looking for a specific file or folder, utilize the search function within the My Passport software. Enter the name or keywords related to your search, and the software will display the matching results, making it easier to find the desired file or folder.
The file management features of the My Passport software enable you to keep your files organized, easily access them whenever you need, and maintain efficient data management on the My Passport External Hard Drive. By practicing good file organization habits, you can save time and streamline your file management process.
Remember to regularly back up your files and folders to reliable storage locations, both on the My Passport External Hard Drive and other backup options. This ensures that your files are safely stored and protected from potential data loss.
In the next section, we will guide you on how to encrypt and protect your data using the My Passport software.
Encrypting and Protecting Data
The My Passport software offers robust security features to help you encrypt and protect your sensitive data stored on the My Passport External Hard Drive. Follow these steps to encrypt and protect your data using the My Passport software:
- Open the My Passport software: Make sure your My Passport External Hard Drive is connected to your computer and open the My Passport software as explained previously.
- Access the security settings: Within the My Passport software, navigate to the security settings or privacy section. This is where you can set up encryption and other data protection features.
- Enable encryption: In the security settings, look for the encryption option. Enable encryption for the files and folders you want to protect by following the on-screen instructions. Create a strong password that is unique and not easily guessable.
- Specify encrypted areas: Choose which specific files or folders you want to encrypt. You can select individual files or entire folders that contain sensitive information. Encrypting these areas ensures that only authorized users with the correct password can access the data.
- Set up password protection: Further enhance security by setting up password protection for the My Passport software itself. This adds an additional layer of protection, restricting unauthorized access to your files and settings.
- Remember your password: Make sure to remember the password you set for encryption and access to the software. It is essential for decrypting files, accessing protected areas, and managing the security settings. Consider using a password manager or writing it down in a secure place.
- Regularly back up encryption keys: To prevent data loss, regularly back up the encryption keys or recovery keys associated with your encrypted files and folders. Store these keys in a safe location, separate from the My Passport External Hard Drive, to ensure you can recover your data if necessary.
- Test the encryption and access: After setting up encryption and password protection, test the process by attempting to access the encrypted files or folders. Enter the correct password to ensure that you can decrypt and access the secured data.
By encrypting and protecting your sensitive data with the My Passport software, you add an extra layer of security to your files and folders. This helps safeguard your important information from unauthorized access, protecting your privacy and confidentiality.
Remember to keep your password confidential and avoid sharing it with others. Regularly update your password to maintain the security of your encrypted data. Additionally, consider creating backups of your encrypted files along with their encryption keys to ensure you can always access and decrypt your data even if unexpected issues arise.
In the next section, we will guide you on how to safely eject the My Passport External Hard Drive from your computer.
Safely Ejecting the External Hard Drive
When you’re finished using the My Passport External Hard Drive and want to disconnect it from your computer, it’s important to follow the proper procedure to ensure that no data loss or damage occurs. Safely ejecting the external hard drive is a crucial step in preventing potential issues. Follow these steps to safely eject the My Passport External Hard Drive:
- Save and close any open files: Before ejecting the external hard drive, make sure to save and close any files or applications that you may have accessed or used.
- Verify data transfer completion: If you were transferring files to or from the My Passport External Hard Drive, ensure that the transfer process is complete. Monitor the progress within the My Passport software or file explorer to confirm that all the files have been successfully transferred.
- Close the My Passport software: If the My Passport software is running, close it before ejecting the external hard drive. This ensures that all processes related to the software and external drive are safely terminated.
- Locate the “Safely Remove Hardware” icon: Look for the “Safely Remove Hardware” icon in your system tray. It typically looks like a USB plug with a green checkmark or arrow next to it.
- Click on the “Safely Remove Hardware” icon: Click on the “Safely Remove Hardware” icon to open the list of devices connected to your computer.
- Select the My Passport External Hard Drive: From the list of devices, find the My Passport External Hard Drive and click on it to select it for removal.
- Eject the external hard drive: After selecting the external hard drive, click on the “Eject” or “Safely Remove” option next to it. Wait for the system to complete the ejection process.
- Physically disconnect the external hard drive: Once notified that it is safe to do so, carefully disconnect the USB cable from your computer and then from the My Passport External Hard Drive.
By following the proper procedure to safely eject the My Passport External Hard Drive, you minimize the risk of data corruption or damage to the files stored on the external drive. This ensures that your data is stored safely and can be accessed without any issues in the future.
Remember to always follow this procedure when disconnecting the external hard drive from your computer, regardless of the operating system you’re using. This helps maintain the integrity of your files and prolongs the lifespan of the My Passport External Hard Drive.
In the next section, we will discuss common troubleshooting tips for any issues you may encounter with the My Passport External Hard Drive.
Troubleshooting Common Issues
While the My Passport External Hard Drive is designed to be user-friendly and reliable, you may encounter some common issues during your usage. Here are some troubleshooting tips to help you resolve these issues:
- Ensure proper connections: If the My Passport External Hard Drive is not being recognized by your computer, double-check that the USB cable is securely connected to both the computer and the external drive. Try different USB ports or use a different USB cable to rule out any connection issues.
- Check for software updates: Regularly check for software updates for both your operating system and the My Passport software. Keeping your software up to date can help resolve compatibility issues and ensure optimal performance.
- Scan for malware or viruses: If you experience unusual behavior or performance issues with the My Passport External Hard Drive, run a thorough scan of your computer using reliable antivirus or antimalware software. Malware or viruses can sometimes affect the performance of external devices.
- Verify drive formatting: If your computer is unable to read the files on the My Passport External Hard Drive, check the drive’s format. Ensure that it is formatted in a compatible file system, such as NTFS for Windows or HFS+ for Mac. Reformatting the drive may be necessary in some cases.
- Restart your computer: A simple restart of your computer can sometimes resolve minor software or system glitches that could be causing issues with the My Passport External Hard Drive. Close all applications, restart your computer, and then reconnect the external drive.
- Try on a different computer: If the issues persist, try connecting the My Passport External Hard Drive to a different computer. This helps determine whether the issue is specific to your computer or the external drive itself. If it works on another computer, you may need to troubleshoot your computer’s USB ports or settings.
- Contact customer support: If none of the above troubleshooting steps resolve the issue, reach out to the customer support team for assistance. They can provide further guidance and help you troubleshoot specific issues related to your My Passport External Hard Drive.
By following these troubleshooting tips, you can potentially resolve common issues and ensure smooth operation of your My Passport External Hard Drive. Remember to always refer to the user manual and online resources provided by the manufacturer for specific troubleshooting steps and guidance.
If the My Passport External Hard Drive experiences physical damage or fails to function properly, it may require professional assistance or repair. In such cases, contact the manufacturer’s customer support or seek the help of a qualified technician.
With these troubleshooting tips in mind, you can overcome any potential obstacles and enjoy a seamless experience with your My Passport External Hard Drive.
Conclusion
Congratulations! You have now become familiar with using the My Passport External Hard Drive and its accompanying software. With its reliable storage capacity, portability, and user-friendly features, the My Passport External Hard Drive offers a convenient solution for expanding your storage capabilities, backing up important files, and ensuring the security of your data.
In this guide, we started by introducing the My Passport External Hard Drive and the benefits it brings to users. We then walked you through the process of getting started, connecting the external hard drive to your computer, and setting up the My Passport software. We explored the features of backing up files, restoring files, transferring files, managing files and folders, encrypting and protecting data, safely ejecting the external hard drive, and troubleshooting common issues.
By following the step-by-step instructions provided in each section, you can make the most out of your My Passport External Hard Drive experience. Whether you are a student, professional, or creative enthusiast, this versatile storage solution offers a user-friendly interface and robust features to ensure the safety and accessibility of your files.
Remember to regularly back up your important files to the My Passport External Hard Drive and keep your software and computer systems up to date. Practice good file management habits, such as organizing your files and folders, and take advantage of the encryption and password protection features available to protect your sensitive data.
If you encounter any issues or have further questions, refer to the troubleshooting section or reach out to the customer support team for assistance. They are there to help you address any concerns and make your experience with the My Passport External Hard Drive as smooth as possible.
Thank you for using this guide to learn how to use the My Passport External Hard Drive. We hope that it has provided you with the necessary knowledge and confidence to efficiently manage your files and ensure the security of your data. Enjoy the convenience and peace of mind that the My Passport External Hard Drive brings to your digital life!