Introduction
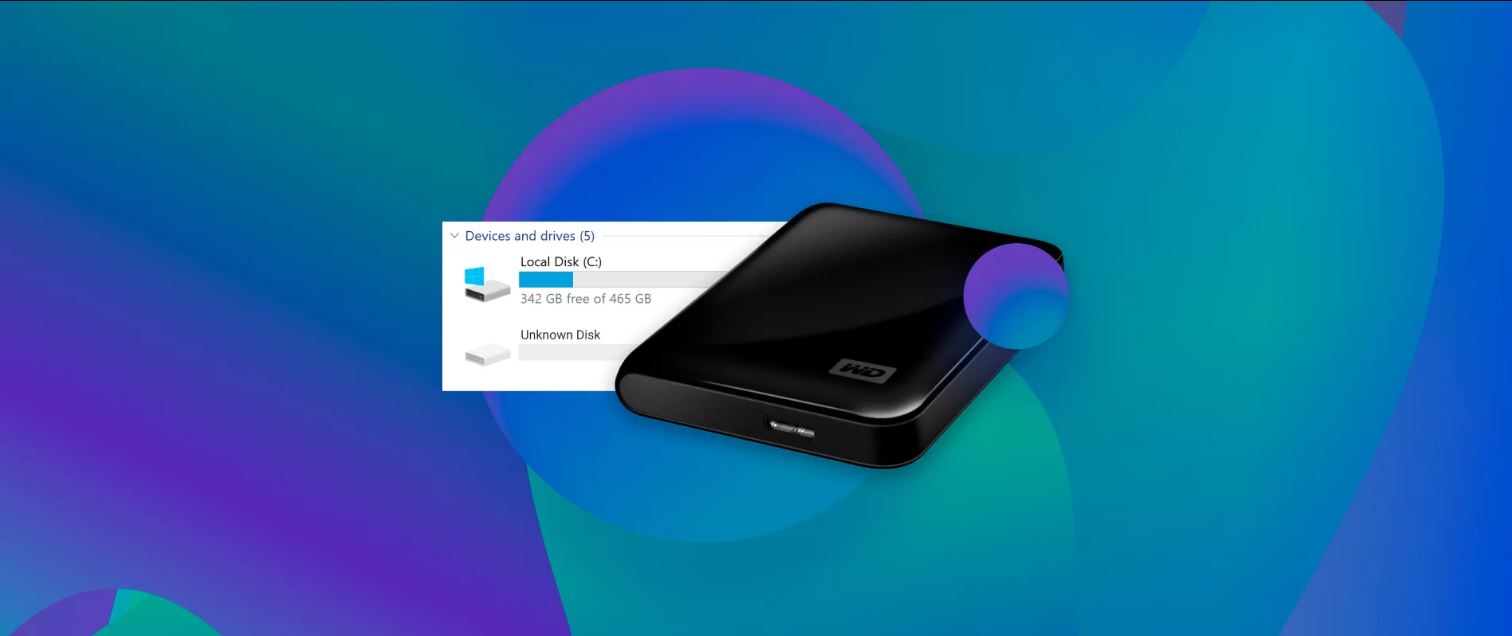
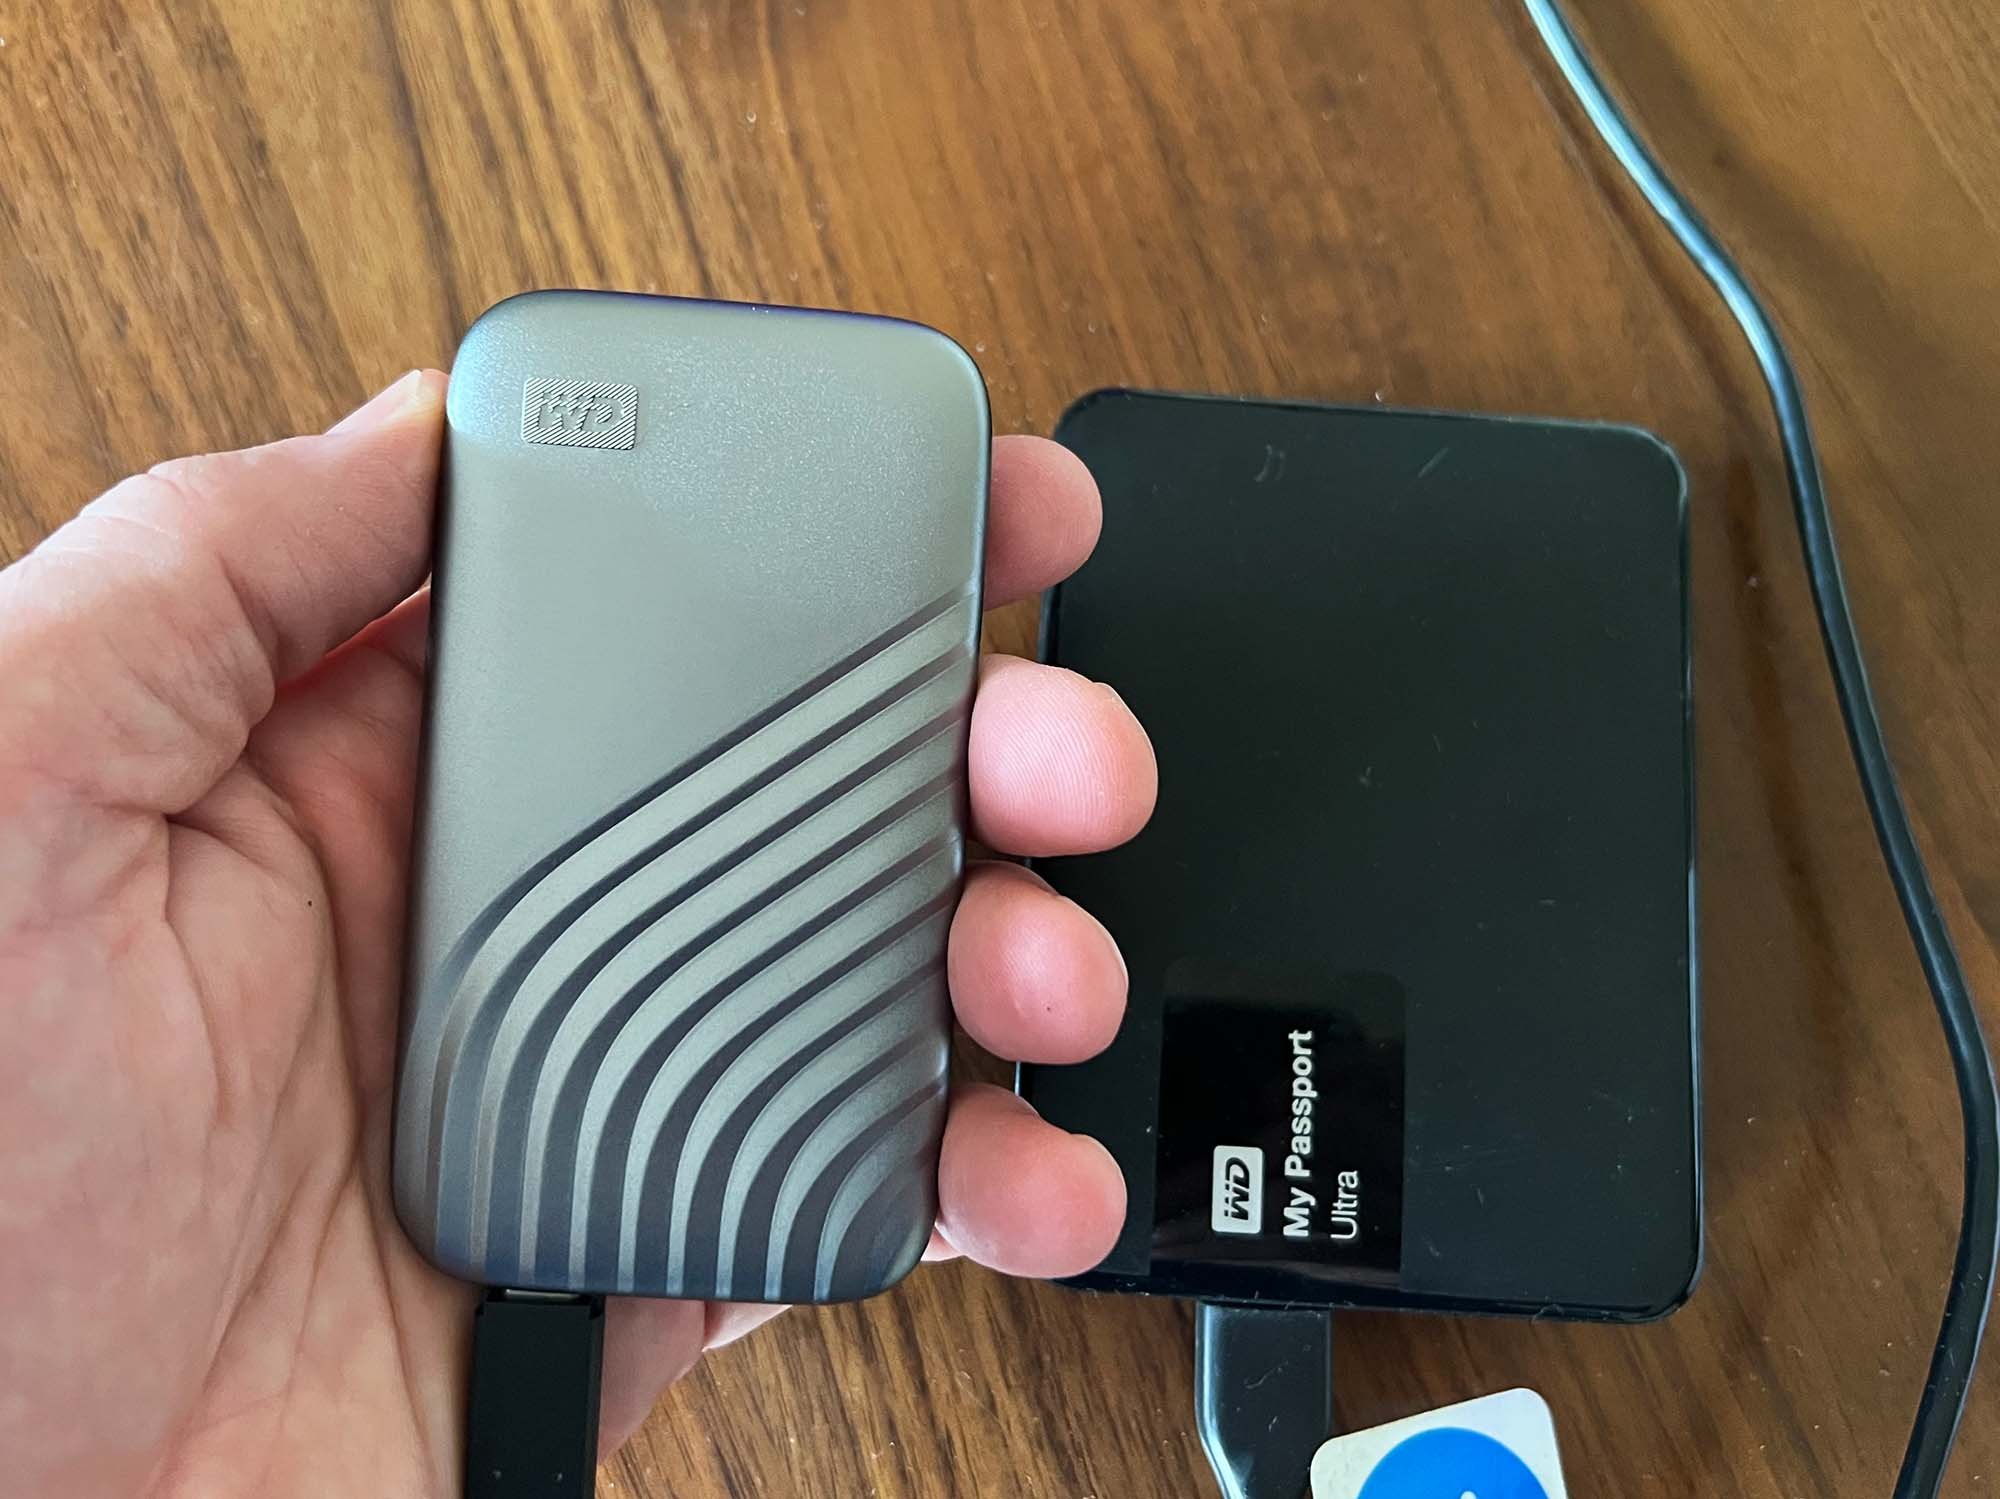
Welcome to the world of digital storage! With the increasing reliance on technology, we find ourselves collecting and storing a vast amount of data. From important documents and cherished memories to multimedia files and work projects, our external hard drives become the safeguard of our digital lives. One such trusted companion is the WD My Passport external hard drive.
However, despite the advanced technology and reliability associated with these drives, the risk of data loss is still present. Accidental deletion, formatting errors, software issues, or physical damage can all lead to the unfortunate loss of data. But fear not! In this article, we will explore the various methods to recover data from your WD My Passport external hard drive.
Why should you bother going through the trouble of recovering your precious data? Well, the answer is simple. Your external hard drive may contain irreplaceable files that hold sentimental value, important documents crucial to your work or studies, or essential data that cannot be easily recreated. By recovering your data, you have the chance to rescue and restore these files, saving yourself time, effort, and potentially money in the process.
Before we dive into the different methods of data recovery, it’s important to note that prevention is always better than cure. Regularly backing up your files to a secondary storage device or cloud-based service is highly recommended to avoid situations where data recovery becomes necessary. So, always remember to keep a backup of your important files and documents for that added layer of security.
Now that we understand the importance of data recovery and the need to ensure backups, let’s explore the various methods you can use to retrieve your valuable data from your WD My Passport external hard drive.
Why you should recover data from your WD My Passport external hard drive
Losing data can be a distressing experience, especially when it’s stored on your WD My Passport external hard drive. You might be tempted to give up and accept the loss, but before you do, consider the following reasons why data recovery is worth the effort.
1. Valuable memories: Your external hard drive may contain precious photos, videos, or personal documents that hold sentimental value. These memories are irreplaceable, and recovering them allows you to relive and cherish those special moments.
2. Important work files and documents: If you use your WD My Passport for work or studies, losing important documents can have serious consequences. Recovering these files saves you from the stress and frustration of recreating them from scratch.
3. Cost-effective solution: Recovering data from your WD My Passport external hard drive is often more cost-effective than seeking professional help or purchasing new equipment. By utilizing the right software or techniques, you can potentially recover your data for free or at a fraction of the cost.
4. Minimizing downtime: In business and professional settings, time is of the essence. Data recovery allows you to quickly regain access to vital information, reducing the impact of potential downtime on productivity.
5. Protecting personal information: If your external hard drive contains sensitive or confidential data, such as financial records or personal identifications, recovering the data helps prevent unauthorized access or potential identity theft.
6. Preserving hard work: Whether it’s a project you’ve been working on for months or a collection of music you’ve carefully curated, recovering your data preserves the effort and sweat you’ve invested. Don’t let all your hard work go to waste.
7. Learning from mistakes: Data loss incidents can serve as a wake-up call to improve your backup and data management practices. By recovering your data, you can learn from past mistakes and implement better strategies for future data protection.
Remember, data recovery is not always guaranteed, especially for physically damaged drives or in cases of severe data corruption. However, it’s always worth making the effort to attempt recovery, as you never know what valuable files you may be able to retrieve.
Now that you understand the importance of data recovery, let’s move on to the precautions you should take before attempting to recover your data from your WD My Passport external hard drive.
Precautions before recovering your data
Before you embark on the journey of data recovery from your WD My Passport external hard drive, there are a few precautions you should keep in mind to maximize your chances of success and avoid causing further damage:
1. Stop using the drive: As soon as you realize that you have lost data, it’s crucial to stop using the WD My Passport external hard drive. Continued usage may overwrite the deleted or lost files, making them unrecoverable. Avoid saving or installing any new data on the drive until you have completed the recovery process.
2. Disconnect from power: If your external hard drive is powered by an AC adapter, disconnect it from the power source to prevent any electrical issues during the recovery process. Maintaining a stable power supply ensures a safer environment for data recovery.
3. Avoid physical damage: Handle your WD My Passport external hard drive with care and avoid subjecting it to any physical shocks or drops. Physical damage can further complicate the recovery process and potentially render the data irretrievable. Treat the drive like a delicate piece of machinery.
4. Work in a controlled environment: Conduct the recovery process in a clean and static-free environment to prevent any buildup of static electricity that could damage the drive. Avoid working in areas with excessive dust or moisture, as they can also affect the drive’s performance and potentially damage the data further.
5. Do not attempt DIY repairs: If your WD My Passport external hard drive has suffered physical damage, such as a broken USB port or damaged circuitry, it’s best to leave the repairs to professionals. Attempting DIY repairs without the proper knowledge and tools can lead to further damage and make recovery more difficult or even impossible.
6. Use the right recovery method: Depending on the nature of the data loss, there are various recovery methods available. Choose the appropriate method based on the specific issue you are facing, whether it’s accidental deletion, formatting errors, or other forms of data loss. Using the wrong method may not yield the desired results.
By following these precautions, you can help safeguard the integrity of your data and increase the likelihood of successful recovery. Remember, if you are unsure about any aspect of the data recovery process or if your WD My Passport external hard drive is physically damaged, it’s always advisable to consult with a professional data recovery service for expert assistance.
Now that we’ve covered the precautions, let’s explore the different methods you can use to recover your data from your WD My Passport external hard drive.
Method 1: Using Data Recovery Software
Data recovery software is a popular and effective method for retrieving lost or deleted files from your WD My Passport external hard drive. These software tools utilize advanced algorithms to scan the drive and recover the data that has not been overwritten. Here’s how you can use data recovery software:
1. Choose a reliable data recovery software: There are numerous data recovery software options available in the market, both free and paid. Conduct thorough research and select a reputable software that suits your needs and offers a high success rate for WD My Passport external hard drive recovery.
2. Download and install the software: Visit the software provider’s website and download the installation file for the data recovery software. Follow the instructions to install it on your computer. Ensure that you do not install the software on the same drive from which you are trying to recover data.
3. Launch the software and select the drive: Open the data recovery software and select your WD My Passport external hard drive as the target drive for recovery. The software will scan the drive for deleted or lost files.
4. Start the scan: Initiate the scanning process by clicking the appropriate button or option. The software will perform a deep scan of the drive, searching for traces of deleted or lost data. The scanning time may vary depending on the size of the drive and the amount of data stored on it.
5. Preview and recover: Once the scan is complete, the software will present a list of recoverable files. Take advantage of the preview feature to verify the integrity and content of the files. Select the files you want to recover and choose a safe location to restore them. Avoid saving the recovered files back to the WD My Passport external hard drive to prevent overwriting data during the recovery process.
6. Save the recovered data: After selecting the desired files, follow the instructions provided by the software to save the recovered data to the specified location. It’s recommended to save the files to a different drive or external storage device for added data safety.
Remember, the success of data recovery using software depends on various factors, including the condition of the drive, the integrity of the lost files, and the effectiveness of the software itself. If the first software you use does not yield satisfactory results, you can try alternative software options to increase your chances of successful recovery.
Now that we’ve covered data recovery using software, let’s proceed to Method 2: Using Disk Drill.
Method 2: Using Disk Drill
If you’re looking for a comprehensive and user-friendly data recovery solution for your WD My Passport external hard drive, Disk Drill is an excellent option. This powerful software provides a simple yet effective way to recover lost or deleted files. Here’s how you can use Disk Drill for WD My Passport data recovery:
1. Download and install Disk Drill: Visit the official website of Disk Drill and download the installation file. Double-click the file to begin the installation process and follow the on-screen instructions.
2. Connect your WD My Passport external hard drive: Ensure that your WD My Passport external hard drive is properly connected to your computer via USB or Thunderbolt. Make sure the drive is recognized and accessible before proceeding.
3. Launch Disk Drill: Once the installation is complete, launch Disk Drill from your desktop or Start menu. The software will automatically detect your connected drives, including the WD My Passport external hard drive.
4. Select the WD My Passport drive: In the Disk Drill interface, locate your WD My Passport external hard drive in the list of available drives. Click on it to select it as the target drive for recovery.
5. Choose a recovery method: Disk Drill offers different recovery methods, such as Quick Scan, Deep Scan, and Partition Search. The Quick Scan option is recommended for recently deleted files, while Deep Scan is more thorough and suitable for recovering files from formatted drives or more complex scenarios. Select the appropriate method based on your specific situation.
6. Scan the drive: Click on the “Scan” button to start the scanning process. Disk Drill will analyze the WD My Passport drive, searching for deleted, lost, or corrupted files. The scanning time depends on the size of the drive and the complexity of the recovery method chosen.
7. Preview and recover: Once the scan is complete, Disk Drill will display a list of recoverable files. Use the preview feature to check the content and quality of the files. Select the files you want to recover and choose a safe location to restore them. Avoid saving the recovered files back to the WD My Passport external hard drive to prevent overwriting data.
8. Save the recovered data: Follow the prompts provided by Disk Drill to save the recovered data to a designated location. It’s advisable to save the files to a different drive or external storage device to ensure the integrity of the recovered data.
With its intuitive interface and powerful data recovery capabilities, Disk Drill simplifies the process of recovering lost or deleted files from your WD My Passport external hard drive. If you encounter any issues or need assistance, Disk Drill’s support team is readily available to help you through the recovery process.
Now that we’ve explored Disk Drill, let’s move on to Method 3: Using Recoverit.
Method 3: Using Recoverit
Recoverit is a reliable and user-friendly data recovery software that can help you recover lost, deleted, or formatted files from your WD My Passport external hard drive. With its intuitive interface and powerful scanning capabilities, Recoverit offers a straightforward solution for data recovery. Here’s how you can use Recoverit to recover data from your WD My Passport:
1. Download and install Recoverit: Visit the official website of Recoverit and download the software. Once the download is complete, run the installation file and follow the on-screen instructions to install Recoverit on your computer.
2. Connect your WD My Passport external hard drive: Ensure that your WD My Passport external hard drive is properly connected to your computer through a USB or Thunderbolt port. Make sure the drive is recognized and accessible before proceeding.
3. Launch Recoverit: After the installation process is complete, launch Recoverit from your desktop or Start menu. The software will display a list of available drives connected to your computer, including the WD My Passport external hard drive.
4. Select the WD My Passport drive: Locate your WD My Passport external hard drive in the list of drives and click on it to select it as the target drive for recovery.
5. Choose a recovery mode: Recoverit offers several recovery modes, including Deleted Files Recovery, Recycle Bin Recovery, and Formatted Disk Recovery. Select the appropriate recovery mode based on your situation. If you’re unsure, you can start with the “All-Around Recovery” mode for a more comprehensive scan.
6. Scan the WD My Passport drive: Click on the “Start” button to begin the scanning process. Recoverit will thoroughly scan the selected drive, searching for lost or deleted files. The scanning time may vary depending on the size of the drive and the complexity of the recovery mode chosen.
7. Preview and recover the files: Once the scan is complete, Recoverit will display a list of recoverable files. You can preview the files to ensure their integrity and select the ones you want to recover. Choose a safe location on your computer to restore the recovered files. It’s recommended not to save the files back to the WD My Passport external hard drive to avoid overwriting data during the recovery process.
8. Save the recovered data: Follow the prompts provided by Recoverit to save the recovered data to the designated location on your computer. It’s advisable to save the files to a different drive or external storage device to prevent any potential data loss or overwriting.
Recoverit’s user-friendly interface and powerful recovery capabilities make it a reliable option for WD My Passport data recovery. With its comprehensive scanning algorithms, you have a higher chance of recovering your lost or deleted files from your external hard drive.
Now that you’re familiar with Recoverit, let’s move on to Method 4: Using TestDisk.
Method 4: Using TestDisk
If you’re looking for a powerful and versatile data recovery tool for your WD My Passport external hard drive, TestDisk is an excellent option. Developed with a focus on data recovery and disk troubleshooting, TestDisk can help recover lost or deleted partitions and files from various drives, including your WD My Passport. Here’s how you can use TestDisk for WD My Passport data recovery:
1. Download and install TestDisk: Visit the official website of TestDisk and download the appropriate version for your operating system. Once the download is complete, run the installation file and follow the on-screen instructions to install TestDisk on your computer.
2. Launch TestDisk: After the installation process is complete, launch TestDisk. Depending on your operating system, you may need to run it as an administrator or use the command line.
3. Select your WD My Passport drive: In the TestDisk interface, you will see a list of available drives. Select your WD My Passport external hard drive from the list and press Enter.
4. Choose the partition table type: TestDisk will ask you to select the type of partition table for your WD My Passport drive. If you are unsure, you can choose the default option “Intel/PC partition” for Windows-based systems.
5. Analyze the drive: TestDisk will begin analyzing the drive for potential partitions and file systems. This process may take some time, especially if the drive is large or contains a vast amount of data.
6. Select the partition to recover: Once the analysis is complete, TestDisk will display a list of partitions found on your WD My Passport. Select the partition that corresponds to the lost or deleted data you want to recover and press Enter.
7. Choose the recovery options: TestDisk will present different recovery options based on the selected partition. You can choose to recover deleted files, or you can attempt to fix the partition table or boot sector if there are any issues.
8. Recover the files: If you choose to recover deleted files, TestDisk will prompt you to select a destination where the recovered files should be saved. Choose a safe location on your computer or an external drive and proceed with the recovery process.
TestDisk is a powerful tool, but it has a command-line interface that may require some technical knowledge to navigate. It’s recommended to consult the TestDisk documentation or seek assistance from knowledgeable individuals if you’re unfamiliar with command-line tools.
Now that you’re familiar with TestDisk, let’s move on to Method 5: Using Yodot Hard Drive Recovery Software.
Method 5: Using Yodot Hard Drive Recovery Software
If you’re looking for an efficient and user-friendly data recovery software for your WD My Passport external hard drive, Yodot Hard Drive Recovery Software is a reliable choice. With its intuitive interface and powerful scanning capabilities, Yodot can help you recover lost or deleted files from your WD My Passport with ease. Here’s how you can use Yodot Hard Drive Recovery Software:
1. Download and install Yodot Hard Drive Recovery Software: Visit the official website of Yodot and download the installation file. Once the download is complete, run the file and follow the on-screen instructions to install Yodot on your computer.
2. Connect your WD My Passport external hard drive: Make sure your WD My Passport external hard drive is properly connected to your computer using a working USB cable. Ensure that the drive is recognized by your computer before proceeding.
3. Launch Yodot Hard Drive Recovery Software: After the installation process is complete, launch Yodot from your desktop or Start menu. The software will detect and display the available drives, including your WD My Passport external hard drive.
4. Select your WD My Passport drive: Choose the WD My Passport drive from the list of available drives displayed in the Yodot interface. Click on it to select it as the target drive for recovery.
5. Choose the recovery mode: Yodot offers different recovery modes, such as Deleted File Recovery, Formatted/Reformatted Recovery, and Partition Recovery. Select the appropriate recovery mode based on your specific situation and the cause of the data loss.
6. Scan the WD My Passport drive: Start the scanning process by clicking the “Next” or “Scan” button. Yodot will perform a thorough scan of your WD My Passport drive, searching for deleted or lost files. The scanning time may vary depending on the size of the drive and the complexity of the recovery mode chosen.
7. Preview and recover the files: Once the scan is complete, Yodot will display a list of recoverable files. Use the built-in preview feature to verify the files’ content and quality. Select the files you want to recover and choose a safe location on your computer to save them. Avoid saving the recovered files back to the WD My Passport external hard drive to prevent overwriting data.
8. Save the recovered data: Follow the prompts provided by Yodot to save the recovered data to the specified location on your computer. It’s recommended to save the files to a different drive or external storage device to ensure data integrity.
Yodot Hard Drive Recovery Software offers a straightforward and efficient solution for recovering lost or deleted files from your WD My Passport external hard drive. With its user-friendly interface and powerful recovery capabilities, you have a higher chance of retrieving your valuable data.
Now that you’re familiar with Yodot, let’s move on to Method 6: Using EaseUS Data Recovery Wizard.
Method 6: Using EaseUS Data Recovery Wizard
If you’re searching for a reliable and user-friendly data recovery solution for your WD My Passport external hard drive, EaseUS Data Recovery Wizard is an excellent choice. With its intuitive interface and comprehensive scanning capabilities, EaseUS Data Recovery Wizard can help you recover lost or deleted files from your WD My Passport with ease. Here’s how you can use EaseUS Data Recovery Wizard:
1. Download and install EaseUS Data Recovery Wizard: Visit the official website of EaseUS and download the installation file for Data Recovery Wizard. Once the download is complete, run the file and follow the on-screen instructions to install the software on your computer.
2. Connect your WD My Passport external hard drive: Ensure that your WD My Passport external hard drive is properly connected to your computer using a functioning USB cable. Make sure the drive is recognized and accessible before proceeding.
3. Launch EaseUS Data Recovery Wizard: After the installation process is complete, launch EaseUS Data Recovery Wizard from your desktop or Start menu. The software will automatically detect and display the drives connected to your computer, including your WD My Passport external hard drive.
4. Select the WD My Passport drive: Choose your WD My Passport external hard drive from the list of drives displayed in the EaseUS Data Recovery Wizard interface. Click on it to select it as the target drive for recovery.
5. Scan the WD My Passport drive: Start the scanning process by clicking on the “Scan” button. EaseUS Data Recovery Wizard will perform a quick scan to identify deleted or lost files on your WD My Passport drive. If the quick scan does not retrieve your desired files, you can proceed with a deep scan for a more thorough analysis.
6. Preview and recover the files: Once the scan is complete, EaseUS Data Recovery Wizard will present a list of recoverable files. Take advantage of the preview feature to view the content and quality of the files. Select the files you want to recover and choose a secure location on your computer to save them. Avoid saving the recovered files back to the WD My Passport external hard drive to prevent data overwriting.
7. Save the recovered data: Follow the prompts provided by EaseUS Data Recovery Wizard to save the recovered data to the designated location on your computer. It’s advisable to save the files to a different drive or external storage device to ensure data safety.
EaseUS Data Recovery Wizard offers a user-friendly interface and powerful recovery capabilities, making it an excellent choice for WD My Passport data recovery. With its simple steps and reliable results, you have a higher chance of recovering your lost or deleted files.
Now that you’re familiar with EaseUS Data Recovery Wizard, let’s move on to some tips to ensure a successful data recovery process.
Tips for Successful Data Recovery
When it comes to data recovery from your WD My Passport external hard drive, following these tips can greatly increase your chances of a successful recovery:
1. Act quickly: As soon as you realize that you’ve lost data, stop using the WD My Passport drive to prevent new data from overwriting the deleted files. The sooner you initiate the recovery process, the higher the likelihood of retrieving your valuable data.
2. Make a clone of the drive: Before attempting any recovery methods, consider creating a clone or disk image of your WD My Passport drive. This way, you have a backup copy to work with and can avoid further damage to the original drive during the recovery process.
3. Use reliable software: Choose a reputable data recovery software or tool that is specifically designed for WD My Passport data recovery. Research and read reviews to ensure its reliability and success rates before proceeding with the recovery process.
4. Do not save recovered files on the same drive: To prevent data overwriting and potential loss, save the recovered files to a different drive or external storage device, preferably the internal hard drive of your computer or an external backup drive.
5. Perform regular backups: Prevention is always better than recovery. Make it a habit to regularly back up your important files from the WD My Passport external hard drive to another device or a cloud-based storage service. This ensures that you have a secondary copy of your data in case of any future data loss incidents.
6. Avoid physical damage: Handle your WD My Passport external hard drive with care, as physical damage can further complicate the data recovery process. Avoid dropping or subjecting it to any physical shocks that may cause additional harm to the drive and decrease the chances of successful recovery.
7. Seek professional help if needed: If you’re unable to recover the data using software tools or if the WD My Passport drive has physical damage, it’s best to seek professional data recovery services. These experts have the necessary tools and expertise to recover data from physically damaged drives.
Remember, data recovery is not always guaranteed, and the success of the recovery process depends on various factors. By following these tips and taking precautionary measures, you can increase your chances of successfully recovering your lost or deleted data from your WD My Passport external hard drive.
Now that you’re equipped with helpful tips, you can proceed with confidence in recovering your valuable data.
Conclusion
Recovering data from your WD My Passport external hard drive is not only possible but also essential in order to retrieve valuable files and prevent the loss of important data. Whether it’s cherished memories, critical work documents, or personal files, the need for data recovery arises when unexpected data loss occurs.
In this article, we explored six different methods to recover data from your WD My Passport external hard drive. From using data recovery software like Disk Drill, Recoverit, Yodot, and EaseUS Data Recovery Wizard, to utilizing powerful tools like TestDisk, there are options available for every scenario. By following the step-by-step instructions provided for each method, you can attempt the data recovery process yourself and increase your chances of successful retrieval.
However, it’s crucial to remember that prevention is always better than recovery. Regularly backing up your data to a secondary storage device or the cloud helps safeguard against potential data loss incidents and reduces the need for data recovery in the first place.
Additionally, taking precautions before attempting data recovery, such as stopping the usage of the drive, avoiding physical damage, and working in a controlled environment, can maximize the chances of a successful recovery and protect the integrity of your data.
Lastly, we provided tips for a successful data recovery process, including acting quickly, using reliable software, avoiding overwriting data on the same drive, regular backups, handling devices with care, and seeking professional help when needed.
Now armed with the knowledge of these methods, precautions, and tips, you are well-equipped to embark on the data recovery journey for your WD My Passport external hard drive. Remember, each data recovery situation is unique, and the success of the recovery process may vary. If at any point you feel unsure or encounter difficulties, do not hesitate to seek professional assistance from data recovery experts.
Wishing you success in recovering your valuable data from your WD My Passport external hard drive!


