Introduction
Connecting an external hard drive to your PS4 can greatly expand your storage capacity and allow you to install and store more games, apps, and media files. The PS4’s built-in storage can quickly fill up, especially with the growing size of modern games, and using an external hard drive is an easy and convenient way to address this limitation.
Whether you’re a casual gamer looking to add extra storage for a few games or a hardcore gamer with a massive library, connecting an external hard drive to your PS4 is a straightforward process that can save you from the hassle of constantly managing storage space.
In this guide, we’ll walk you through the step-by-step process of connecting an external hard drive to your PS4. We’ll cover everything from choosing the right external hard drive, formatting it correctly for use with your PS4, to transferring games and apps onto the external drive. By the end, you’ll have a fully-functioning setup that allows you to enjoy a larger storage capacity and seamlessly manage your games.
Before we dive into the steps, it’s important to note that the process may vary slightly depending on the model of your PS4 console and the firmware version you’re running. However, the overall steps should be similar for most PS4 models.
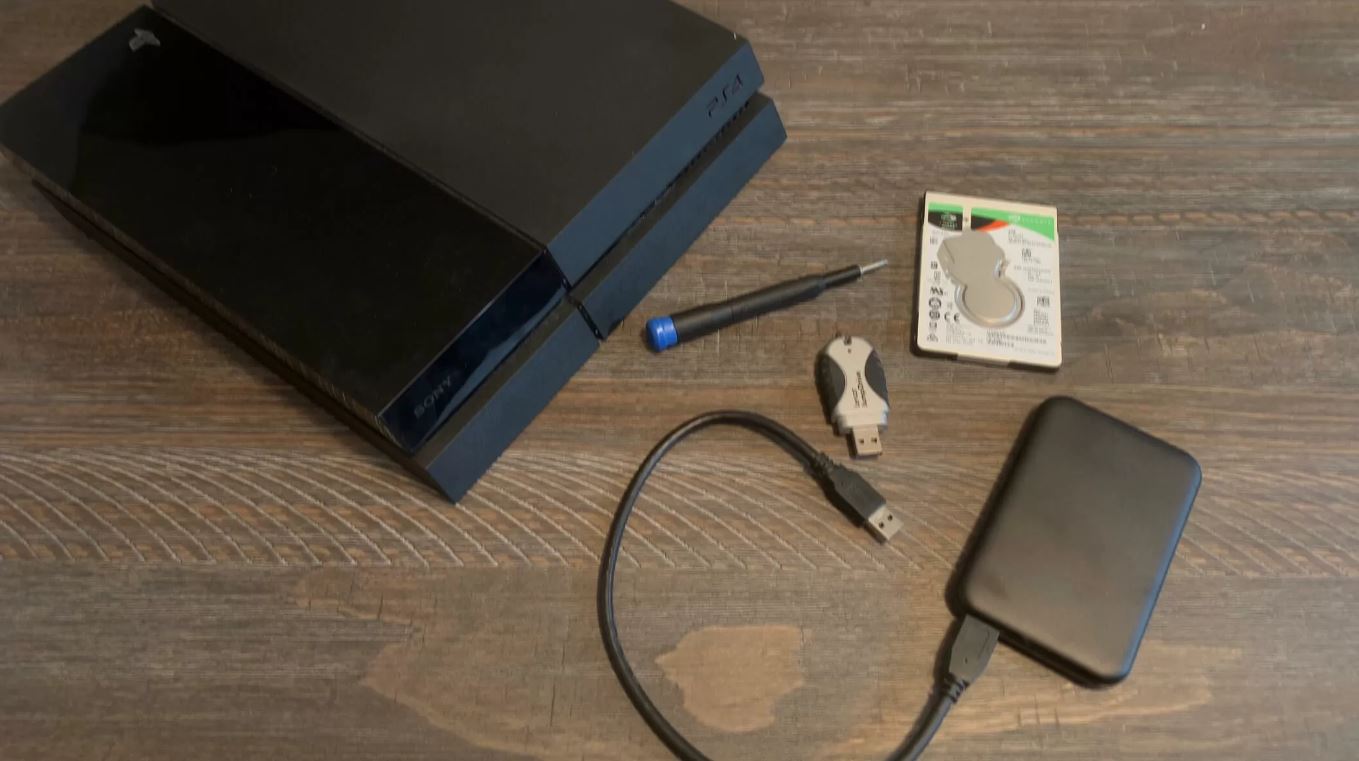
Step 1: Choosing the Right External Hard Drive
When selecting an external hard drive for your PS4, there are a few important factors to consider. These factors will ensure compatibility and optimal performance with your console.
The first consideration is the storage capacity of the external hard drive. The PS4 supports USB 3.0 external hard drives with a minimum capacity of 250GB and a maximum capacity of 8TB. Keep in mind that the actual usable space may be slightly less due to formatting and system files.
Next, you’ll want to choose a reputable brand known for reliability and durability. Look for well-known brands such as Seagate, Western Digital, or Toshiba. These brands have a track record of producing high-quality external hard drives that are compatible with gaming consoles like the PS4.
Another important factor is the speed of the external hard drive. Opt for an external hard drive that has a rotational speed of 5400 RPM or higher. Higher rotational speeds will result in faster data transfer rates, reducing loading times and improving overall performance when using the external hard drive to play games.
It’s also essential to ensure that the external hard drive you choose has USB 3.0 connectivity. The PS4 is compatible with USB 2.0, but using a USB 3.0 external hard drive will provide faster transfer speeds, resulting in a smoother gaming experience.
Lastly, consider the physical size and design of the external hard drive. The PS4 has limited space, so choose an external hard drive that is compact and can easily fit near your console without blocking ventilation. Additionally, some external hard drives come with attractive designs or additional features like shock resistance, which can be beneficial for gamers on the go.
By considering these factors, you can select an external hard drive that meets your storage needs, is compatible with your PS4, and enhances your gaming experience.
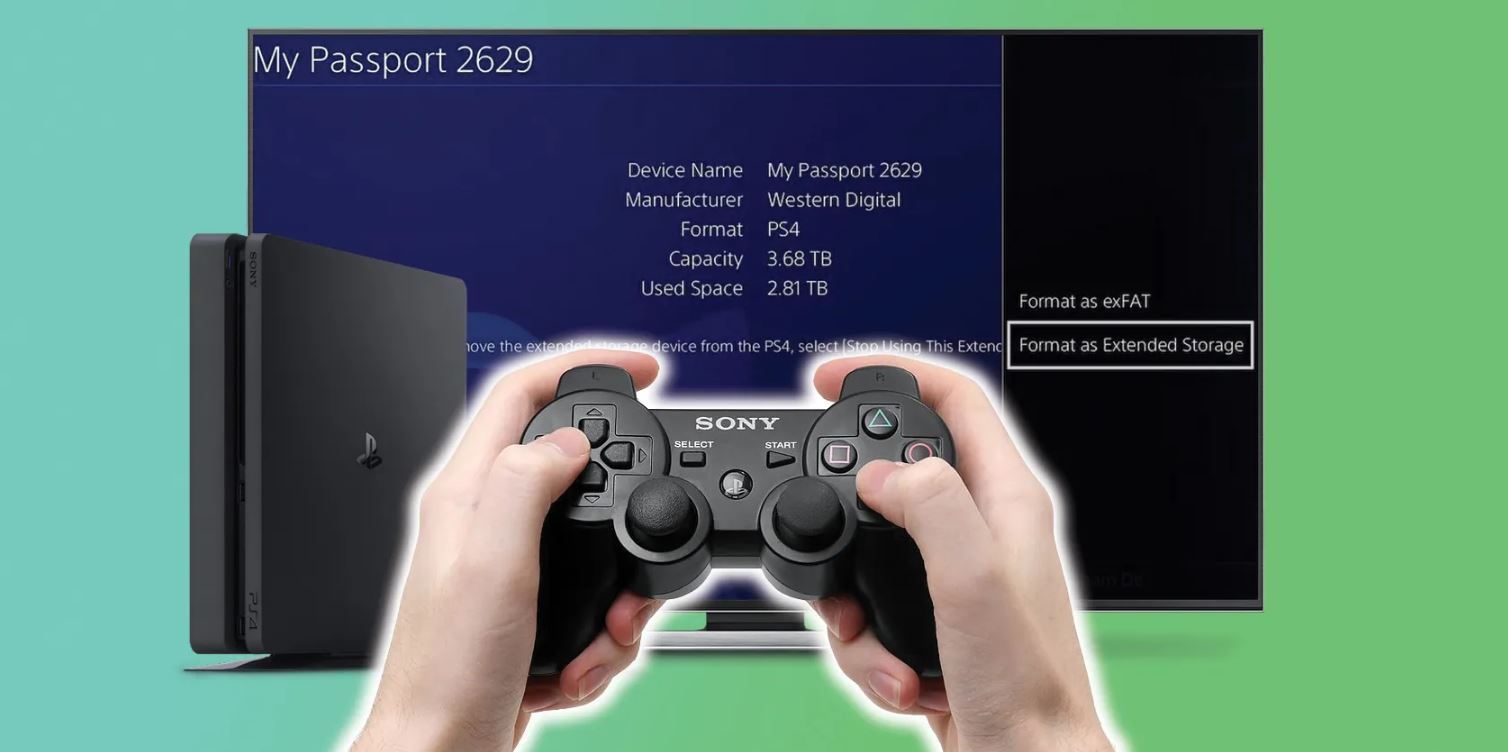
Step 2: Formatting the External Hard Drive
Once you have chosen the right external hard drive for your PS4, the next step is to format it correctly to ensure compatibility and functionality with the console.
Before you begin, it’s essential to note that formatting will erase all data on the external hard drive. Make sure to back up any important files or data before proceeding.
To format the external hard drive, follow these steps:
- Connect the external hard drive to one of the available USB ports on your PS4.
- On the PS4 home screen, go to “Settings” using the controller.
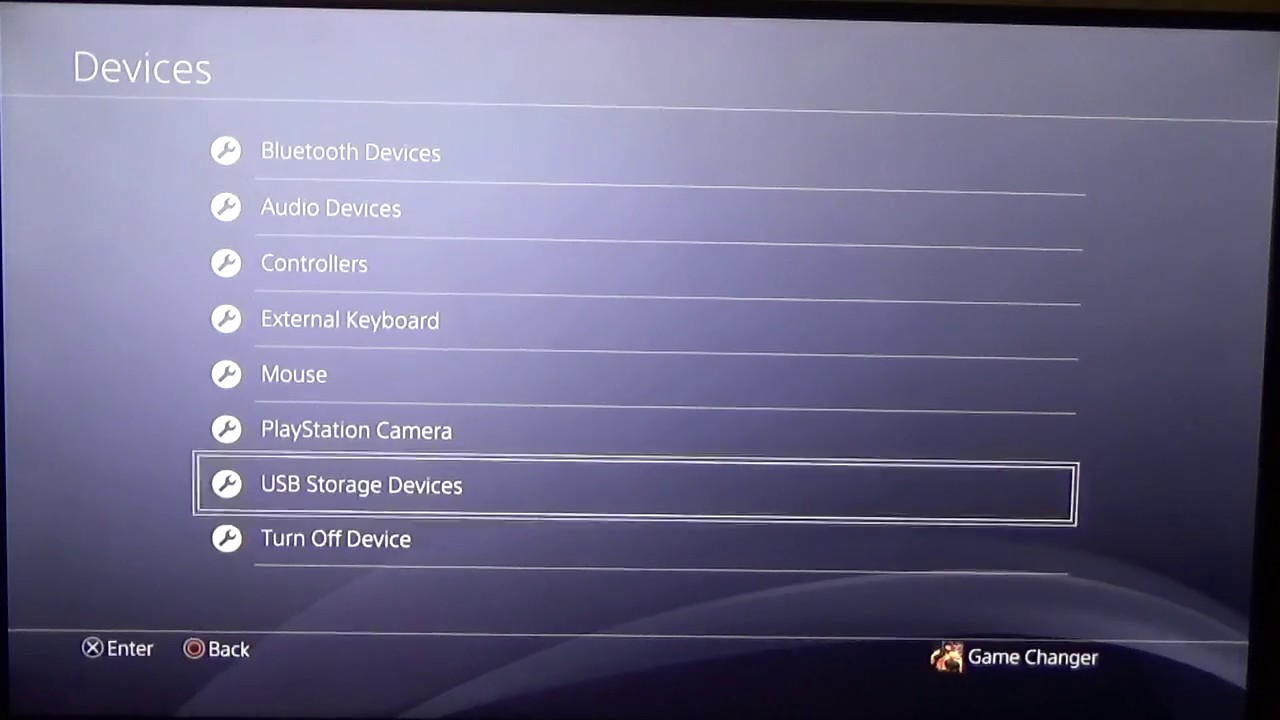
- Scroll down and select “Devices.”
- Choose “USB Storage Devices.”
- Select the connected external hard drive from the list.
- Click on “Format as Extended Storage.”
- Follow the on-screen instructions to complete the formatting process.
During the formatting process, the PS4 will create a separate partition on the external hard drive for its use. This partition will be dedicated to storing games, apps, and other data.
Once formatting is complete, the external hard drive is now ready for use with your PS4. The console will recognize the external drive as extended storage, and you can start transferring games and apps onto it to free up space on the internal storage.
It’s worth noting that an external hard drive formatted for use with the PS4 cannot be used on another device, such as a computer, without reformatting it again. If you plan to use the external hard drive across different devices, consider formatting it in a file system that is compatible with both the PS4 and the other device, such as exFAT.
Formatting your external hard drive correctly ensures smooth integration with your PS4 and provides ample storage space for your gaming needs.
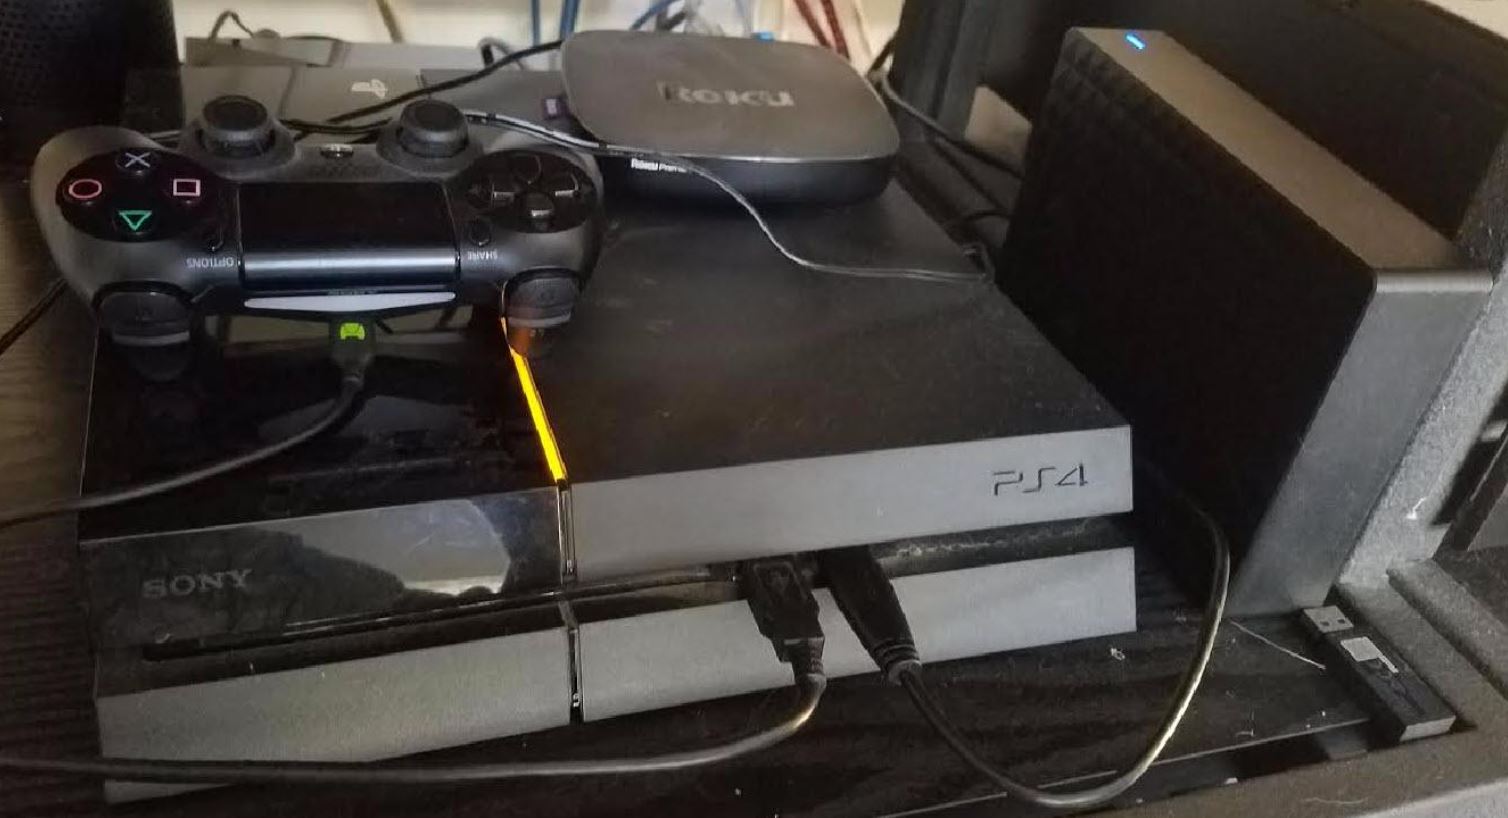
Step 3: Connecting the External Hard Drive to Your PS4
Once you have chosen and formatted your external hard drive, it’s time to connect it to your PS4. Follow these simple steps:
- Make sure your PS4 console is turned off completely.
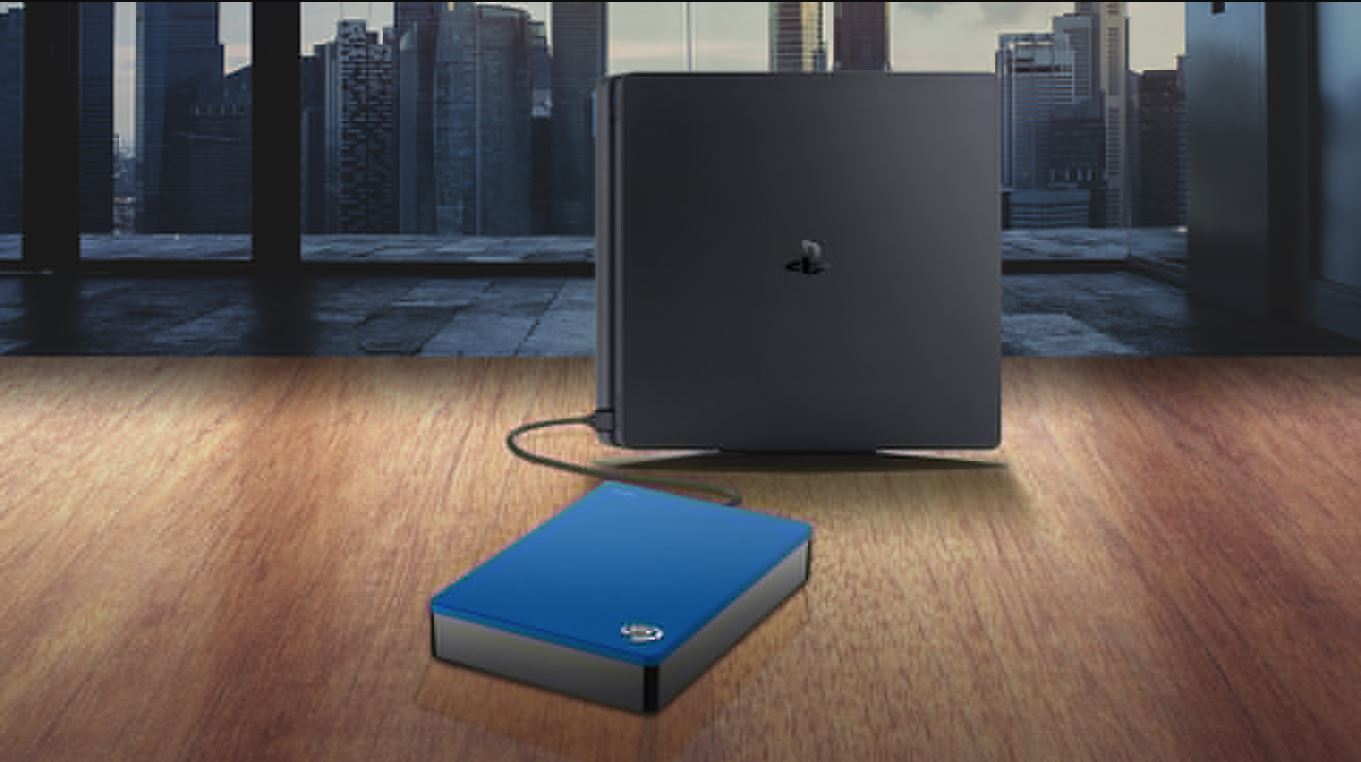
- Locate the USB ports on your PS4. The newer models have two ports on the front and two ports on the back, while older models may have fewer ports.
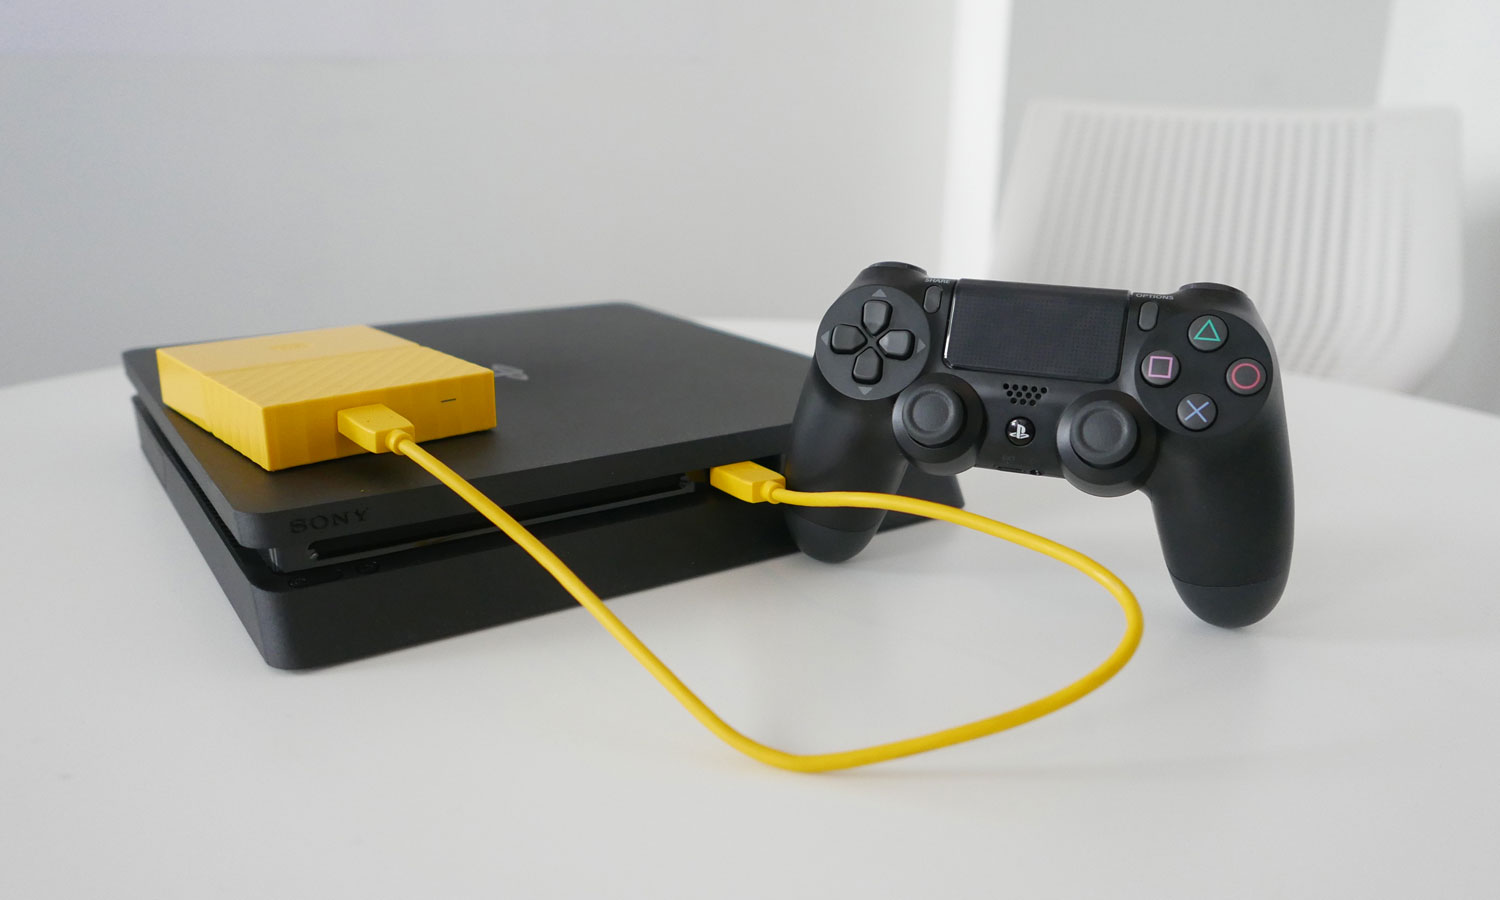
- Take the USB cable that came with your external hard drive and connect one end to the USB port on the external hard drive.
- Connect the other end of the USB cable to an available USB port on your PS4.
- Power on your PS4 console by pressing the power button on the front of the console or using the controller.
- Wait for your PS4 to recognize the external hard drive. This may take a few moments.
- Once the external hard drive is recognized, the PS4 will prompt you to set it up as extended storage. Follow the on-screen instructions to complete the setup process.
After completing these steps, your external hard drive should be successfully connected and recognized by your PS4. The console will now use the external hard drive as an extension of its internal storage, allowing you to install and run games and applications directly from it.
It’s important to note that the external hard drive needs to remain connected to the PS4 to access the games and apps stored on it. If you disconnect the external hard drive, any games or apps stored on it will not be accessible until you reconnect it.
With the external hard drive properly connected, you can now enjoy the expanded storage capacity on your PS4 and have more space to download and play your favorite games.
Step 4: Configuring the PS4 Settings for External Storage
After connecting the external hard drive to your PS4, it’s important to configure the console settings to make optimal use of the additional storage. Follow these steps to configure the PS4 settings for external storage:
- On your PS4 home screen, go to “Settings.”
- Select “Storage” from the options.
- Choose “Extended Storage.”
- Select the connected external hard drive.
- Choose “Set Up Now.”
- Follow the on-screen instructions to complete the setup process.
During the configuration process, you may have the option to enable “Install Applications” and “Save Data” on the external storage. Enabling these options will allow your PS4 to automatically install new applications and save data to the external hard drive by default.
It’s important to note that not all games and apps are compatible with external storage. Some may require installation on the internal storage or may automatically get installed there. In such cases, you’ll need to manually move them to the external hard drive to free up space.
By configuring the settings for external storage, you ensure that your PS4 utilizes the additional storage effectively. This allows you to install and save games, applications, and other data directly to the external hard drive, freeing up space on the internal storage of your PS4.
Remember that if you have existing games and apps stored on the internal storage, you can easily move them to the external hard drive to free up space. Locate the game or app in the PS4 home screen, press the Options button on your controller, and choose “Move to Extended Storage.” This will transfer the game or app to the external hard drive.
With the PS4 settings configured for external storage, you can enjoy the benefits of expanded storage capacity and seamless management of your games and apps.
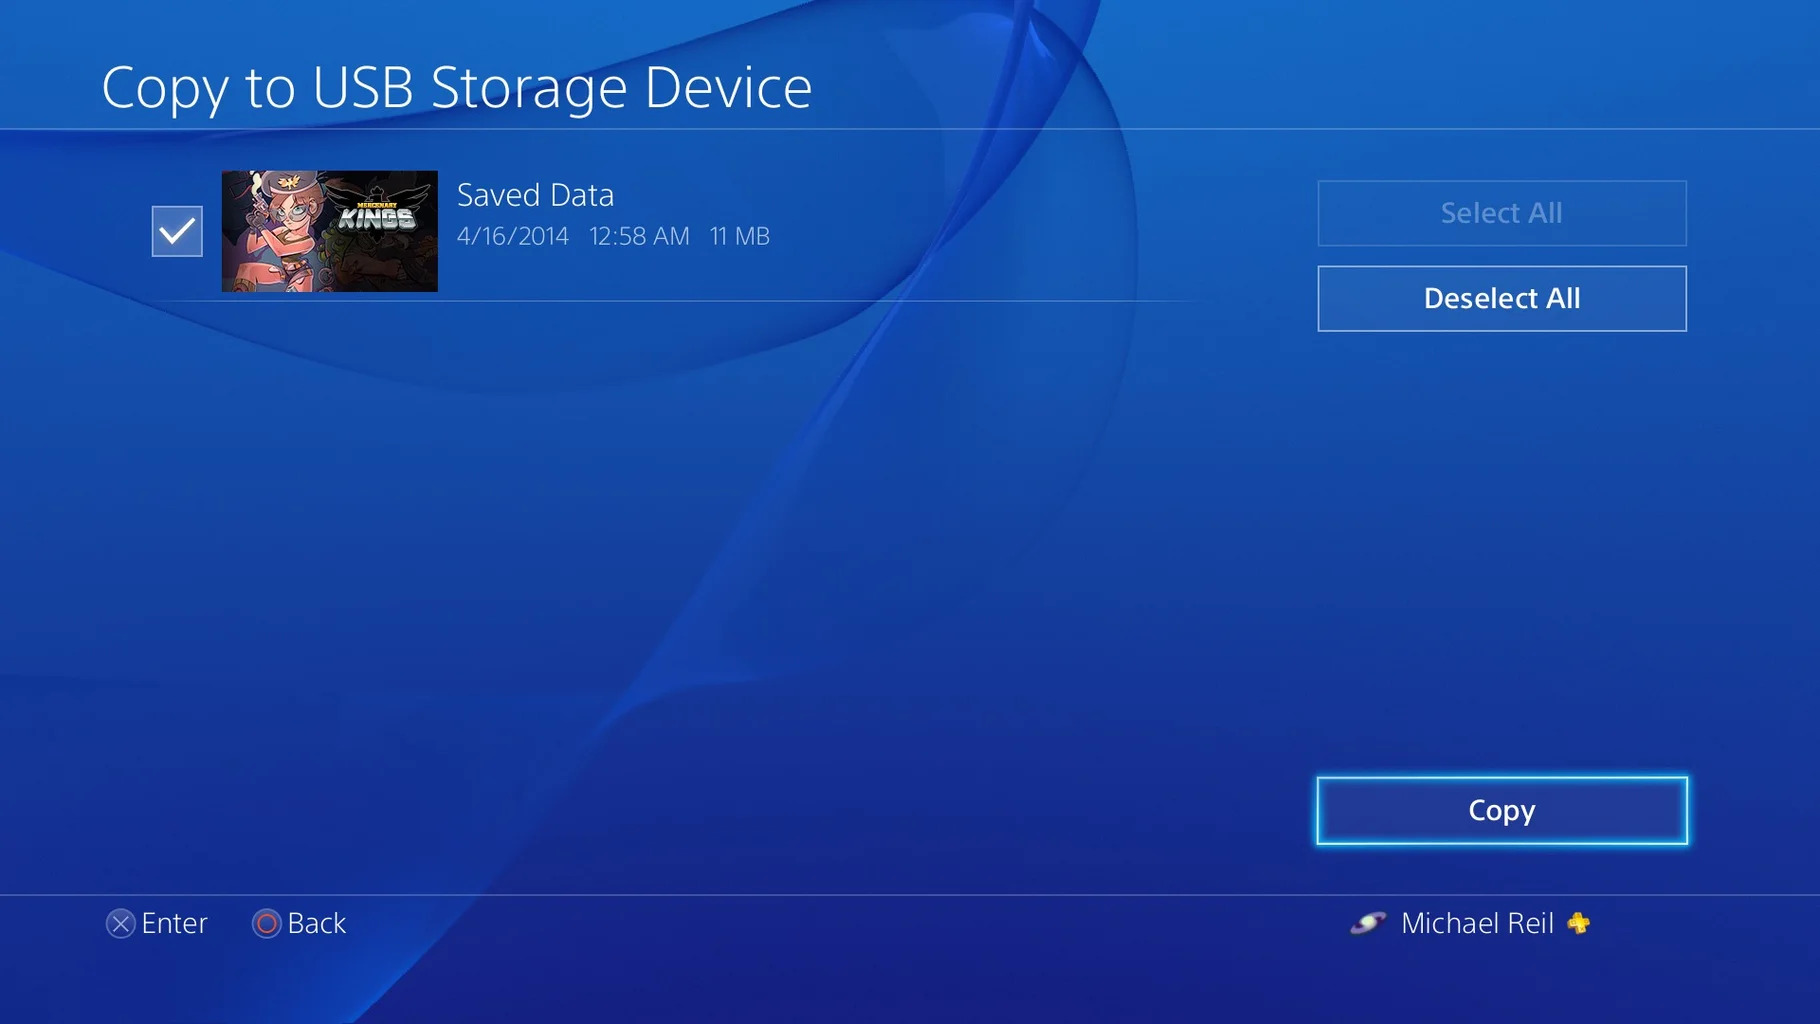
Step 5: Transferring Games and Apps to the External Hard Drive
Once your external hard drive is connected and configured, it’s time to transfer your games and apps from the internal storage to the external hard drive. This process allows you to free up space on the internal storage and utilize the expanded capacity of the external hard drive. Follow these steps to transfer games and apps to the external hard drive:
- Go to the PS4 home screen and navigate to the game or app that you want to transfer.
- Press the Options button on your controller to bring up the context menu.
- Select “Move to Extended Storage.”
- Choose the external hard drive as the destination for the transfer.
- Confirm the transfer by selecting “Move.”
- Repeat these steps for each game or app you want to transfer.
The transfer process may take some time depending on the size of the game or app and the speed of your external hard drive. It’s best to perform the transfer when you have some downtime as it can temporarily affect the performance of your PS4.
It’s important to note that not all games and apps can be transferred to external storage. Some games, especially those with large file sizes or extensive online features, may require installation on the internal storage. In such cases, you might have the option to transfer partial game data or save files to the external hard drive while keeping the main game files on the internal storage.
By transferring games and apps to the external hard drive, you can manage your storage more efficiently and have more space available for new games and applications. Additionally, moving games and apps back and forth between the internal storage and external hard drive is a straightforward process. Simply follow the same steps mentioned above, but choose the internal storage as the destination for the transfer.
With your games and apps successfully transferred to the external hard drive, you can enjoy a larger storage capacity and seamlessly access and play your favorite titles on your PS4.
Step 6: Managing Your External Hard Drive on PS4
Once you have transferred your games and apps to the external hard drive and are enjoying the benefits of expanded storage, it’s important to know how to manage your external hard drive on your PS4. Here are some helpful tips for managing your external hard drive:
- To view the games and apps stored on your external hard drive, navigate to the PS4 home screen and go to the “Library.”
- From the Library, you can select the external hard drive as a filter to display only the games and apps stored on it.
- If you decide to disconnect the external hard drive temporarily or switch it to another PS4 console, make sure to properly eject it through the PS4 system by going to “Settings,” selecting “Devices,” and choosing “USB Storage Devices.” Then, select the connected external hard drive and choose “Stop Using This Extended Storage.” This ensures that data is not lost or corrupted.
- If you want to remove games or apps from the external hard drive to free up space, you can easily delete them. Navigate to the game or app on the PS4 home screen, press the Options button on your controller, and select “Delete.”
- To rearrange the order of your games and apps on the external hard drive, go to the Library and select the external hard drive. Press the Options button on your controller, choose “Sort,” and select the desired sorting option, such as by title, date installed, or file size.
- If you find that your external hard drive is running low on space, you can consider upgrading to a larger capacity external hard drive. Simply repeat the steps outlined earlier to connect and format the new external hard drive, and then transfer your games and apps from the old external hard drive.
By effectively managing your external hard drive on your PS4, you can keep your gaming library organized, optimize your storage space, and ensure a smooth gaming experience.
Remember to regularly check and clean up your external hard drive to remove any unnecessary games or apps and make room for new ones. This will help you maintain an efficient gaming system and maximize your storage capacity.
With these management tips, you can make the most out of your external hard drive and enjoy a seamless gaming experience on your PS4.
Conclusion
Connecting an external hard drive to your PS4 is a simple yet powerful way to expand your storage capacity and enhance your gaming experience. By following the step-by-step process outlined in this guide, you can choose the right external hard drive, format it correctly, connect it to your PS4, and configure the settings for optimal use. Transferring games and apps to the external hard drive allows you to free up space on the internal storage and take full advantage of the expanded capacity.
Managing your external hard drive on your PS4 is also crucial to maintain an organized gaming library and optimize storage space. By properly ejecting the external hard drive, deleting unwanted games or apps, rearranging the order of your library, and considering upgrades when needed, you can ensure a smooth gaming experience and maximize your storage capabilities.
Remember to choose a reputable brand for your external hard drive, ensure compatibility with the PS4, and consider factors like storage capacity, speed, and physical size. Also, be aware that the process may vary slightly depending on your PS4 model and firmware version.
With an external hard drive seamlessly integrated into your PS4 setup, you no longer have to worry about running out of storage space for your games, apps, and media. Enjoy the convenience of having all your gaming content readily available and easily accessible.
So, go ahead and connect that external hard drive to your PS4 and unlock the true potential of your gaming experience!