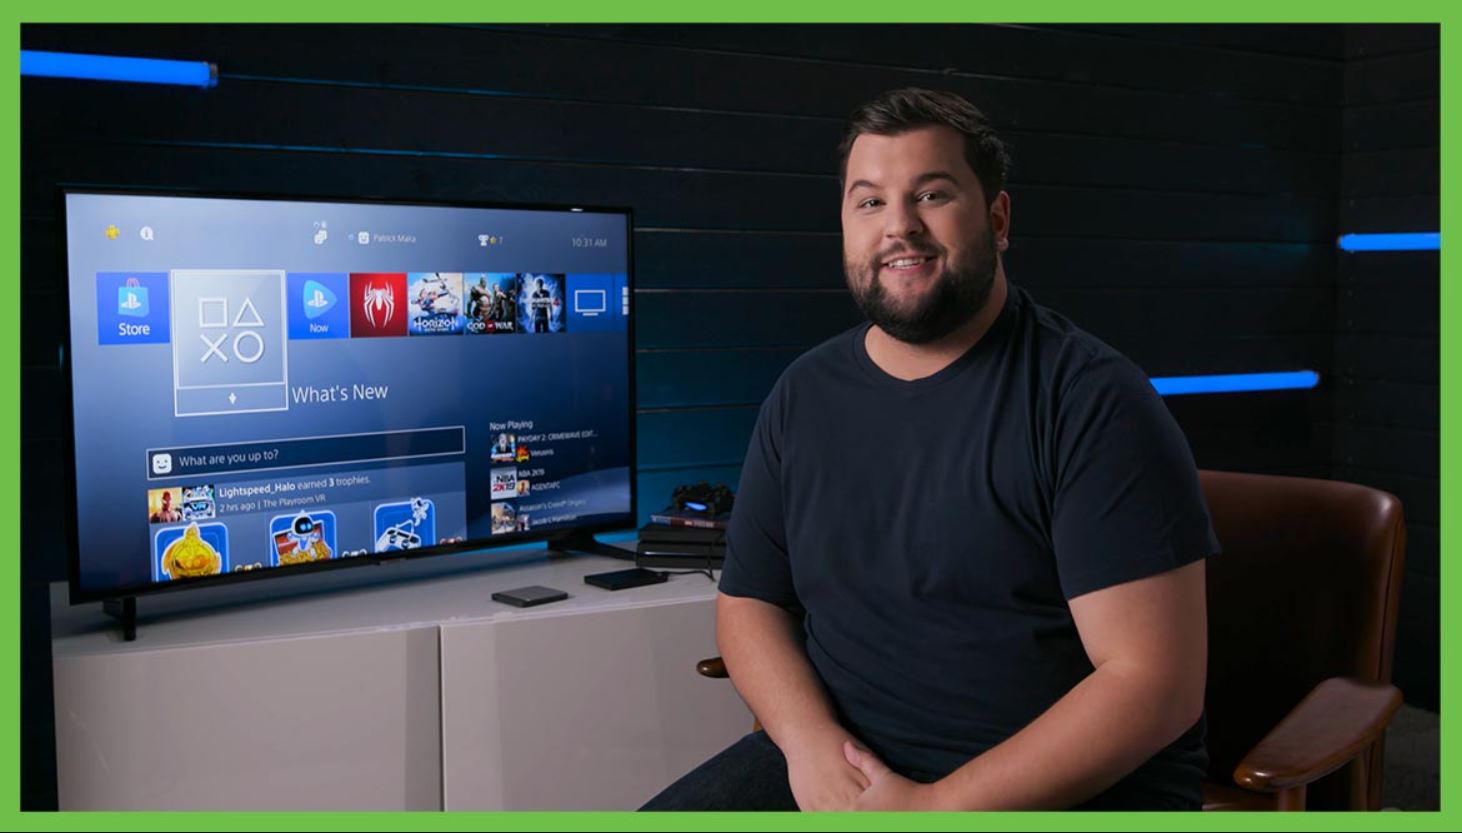
Introduction
Welcome to the world of gaming, where every gamer understands the struggle of limited storage space on their PlayStation 4 (PS4) console. With the ever-increasing game file sizes, it’s easy to run out of space, forcing you to delete games to make room for new ones. But what if there was a way to expand your storage and keep all your favorite games? Fortunately, PS4 allows you to move games to an external hard drive, providing a convenient solution to this problem.
In this guide, we’ll walk you through the process of moving your PS4 games to an external hard drive. We’ll also discuss the benefits of doing so and provide valuable tips to ensure a smooth transition. So, whether you’re a casual gamer or a hardcore enthusiast, get ready to free up space and enjoy a larger game library without compromising on performance.
By moving your PS4 games to an external hard drive, you can say goodbye to the frustration of constantly deleting and reinstalling games. With the extra storage space, you’ll have the freedom to keep all your favorite titles readily accessible. No longer will you have to choose which games to keep and which ones to sacrifice.
Not only does moving games to an external hard drive provide convenience, but it also helps to optimize the performance of your PS4 console. By freeing up internal storage, you can improve loading times, reduce lag, and ensure smooth gameplay. Additionally, an external hard drive with faster transfer speeds can further enhance your gaming experience.
So, if you’re ready to take control of your storage and maximize your gaming pleasure, let’s dive into the step-by-step process of moving your PS4 games to an external hard drive.
Benefits of Moving PS4 Games to an External Hard Drive
Moving your PS4 games to an external hard drive offers numerous advantages that will enhance your gaming experience. Here are some key benefits to consider:
- Increased Storage Capacity: The most obvious benefit is the ability to expand your storage. With an external hard drive, you can store and play a larger number of games without worrying about running out of space on your PS4’s internal storage. This means you can keep all your favorite games, including those with large file sizes.
- Convenience and Portability: An external hard drive allows you to carry your entire game library with you wherever you go. Whether you’re visiting a friend’s house or going on a trip, you can simply plug in your external hard drive to any PS4 console and continue playing your games without the need for reinstallation or redownloading.
- Easy Game Management: Moving your games to an external hard drive makes it easier to organize and manage your game library. You can create specific folders or categories to sort your games, making it more convenient to find and access them as needed.
- Improved Console Performance: When your PS4’s internal storage is running low, it can negatively impact the overall performance of your console. By offloading games to an external hard drive, you free up space on the internal storage, allowing the system to run smoother and faster. This can result in reduced loading times, improved frame rates, and a more enjoyable gaming experience.
- Backup and Data Security: Storing your games on an external hard drive provides an additional layer of backup and protection for your game library. In the event of a console failure or system reset, you won’t lose your saved games and progress. Additionally, since the games are stored separately from the console, they are less susceptible to data corruption.
With these benefits in mind, it’s clear that moving your PS4 games to an external hard drive is a smart move for avid gamers. Not only does it provide extra storage capacity, but it also offers convenience, improved performance, and data security. Now that you understand the advantages, let’s dive into the prerequisites and steps involved in the process.
Prerequisites for Moving PS4 Games
Before you can start moving your PS4 games to an external hard drive, there are a few prerequisites to ensure a smooth and successful process. Here’s what you’ll need:
- PS4 Console: Of course, you’ll need a functioning PS4 console to perform the game transfer. Make sure your console is updated with the latest firmware version to avoid any compatibility issues.
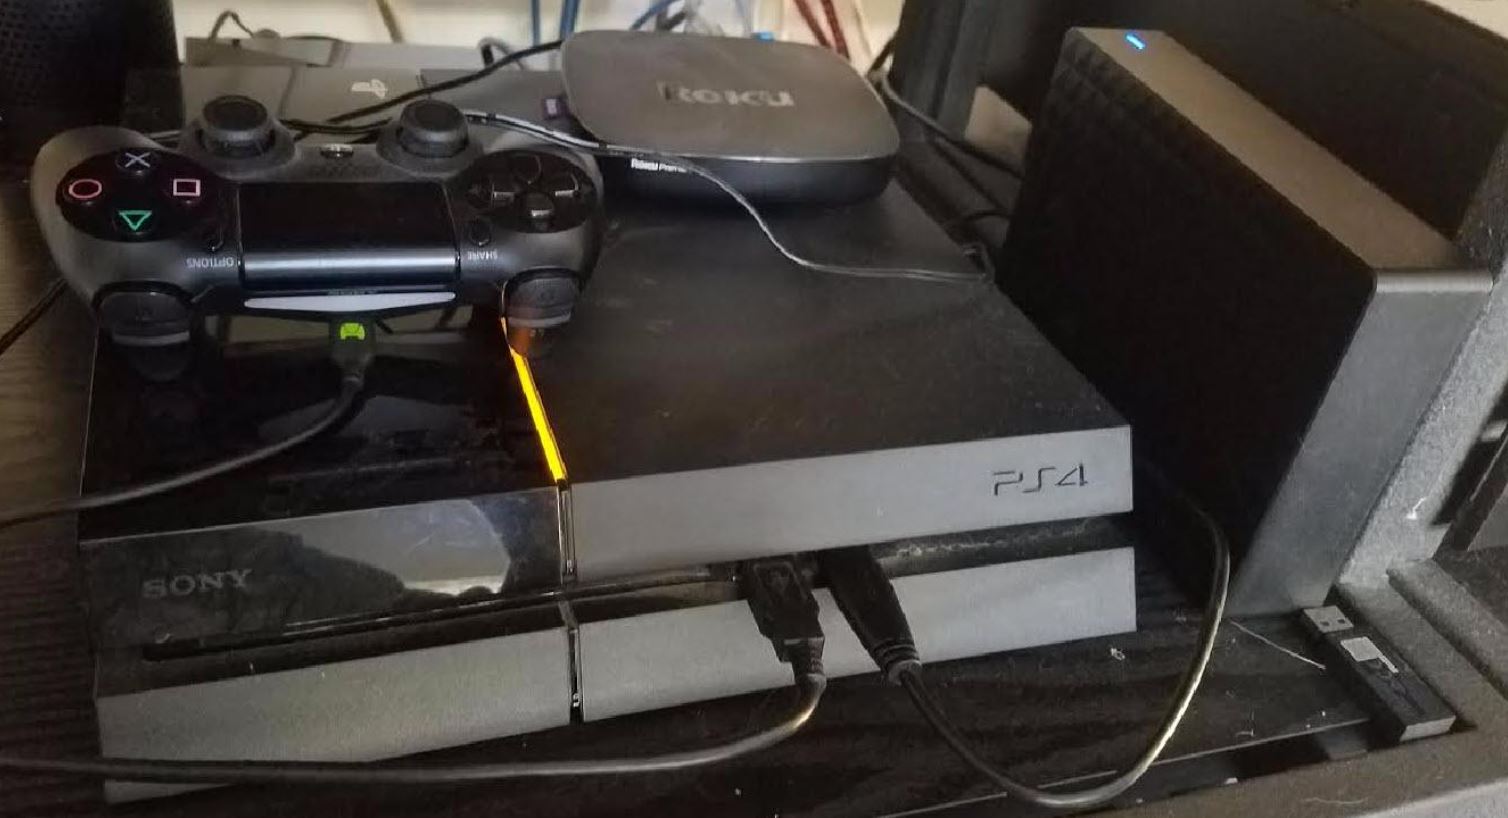
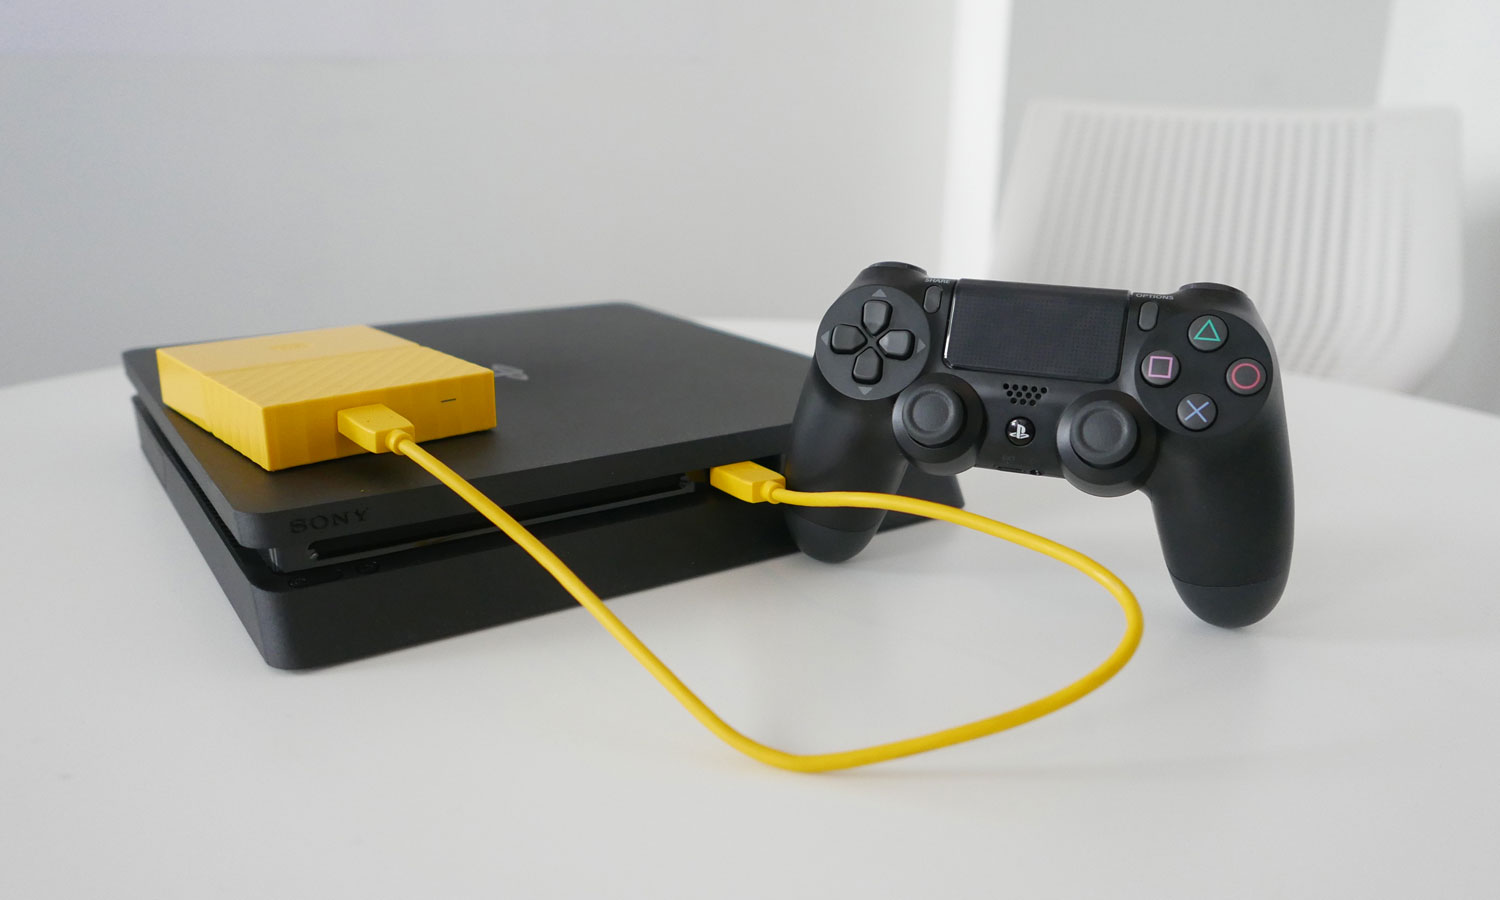
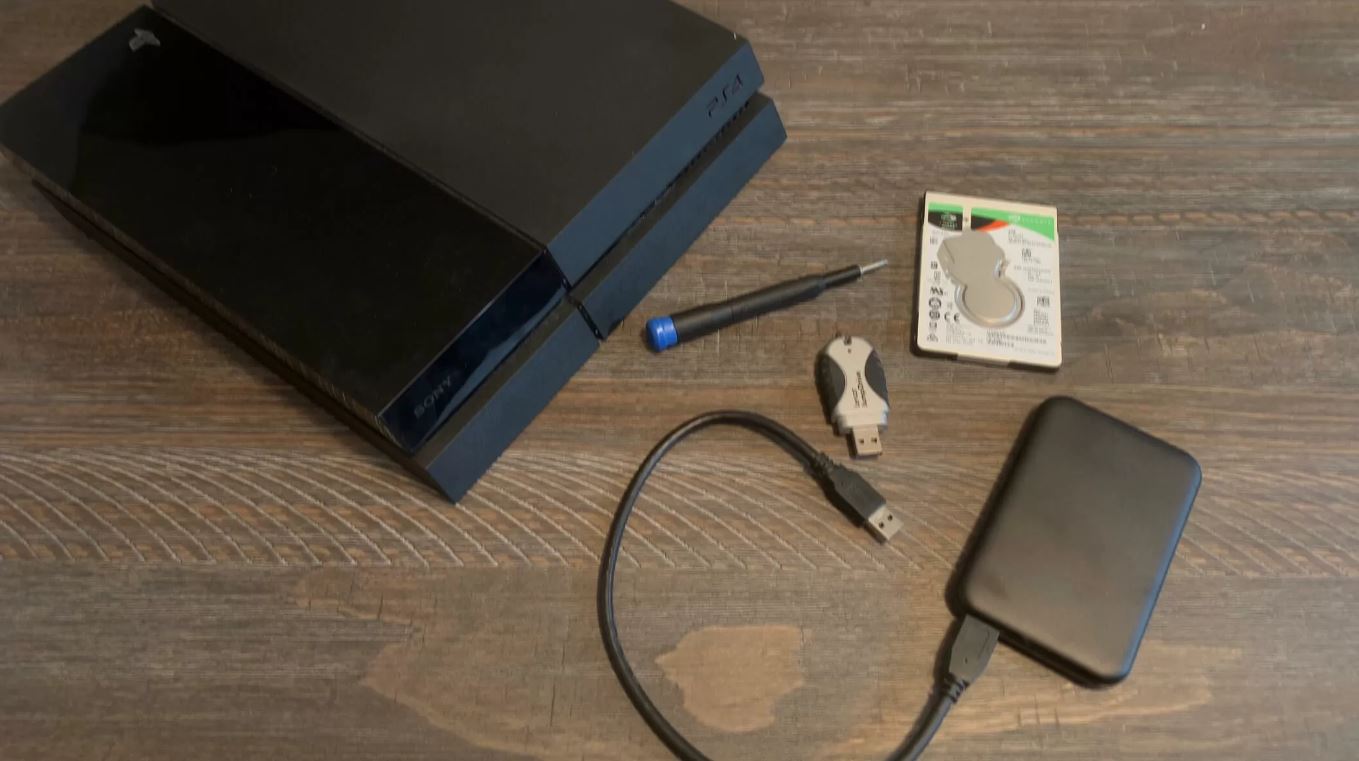
- External Hard Drive: You’ll need an external hard drive with sufficient storage capacity to accommodate the games you want to move. Make sure it is compatible with the PS4 console – preferably one that supports USB 3.0 for faster transfer speeds.
- USB Cable: To establish a connection between your PS4 console and the external hard drive, you’ll need a USB cable. Most external hard drives come with a compatible cable, but double-check to ensure it’s included.
- Power Supply: Depending on the external hard drive you choose, it may require an additional power supply. Make sure you have the necessary power source to connect and power the external hard drive.
- Game Installation Files: Ensure that you have the game installation files for the games you want to transfer. If you have digital copies of the games, they should already be available in your game library. However, if you have physical copies, you’ll need to insert the game discs into your PS4 to reinstall them after the transfer.
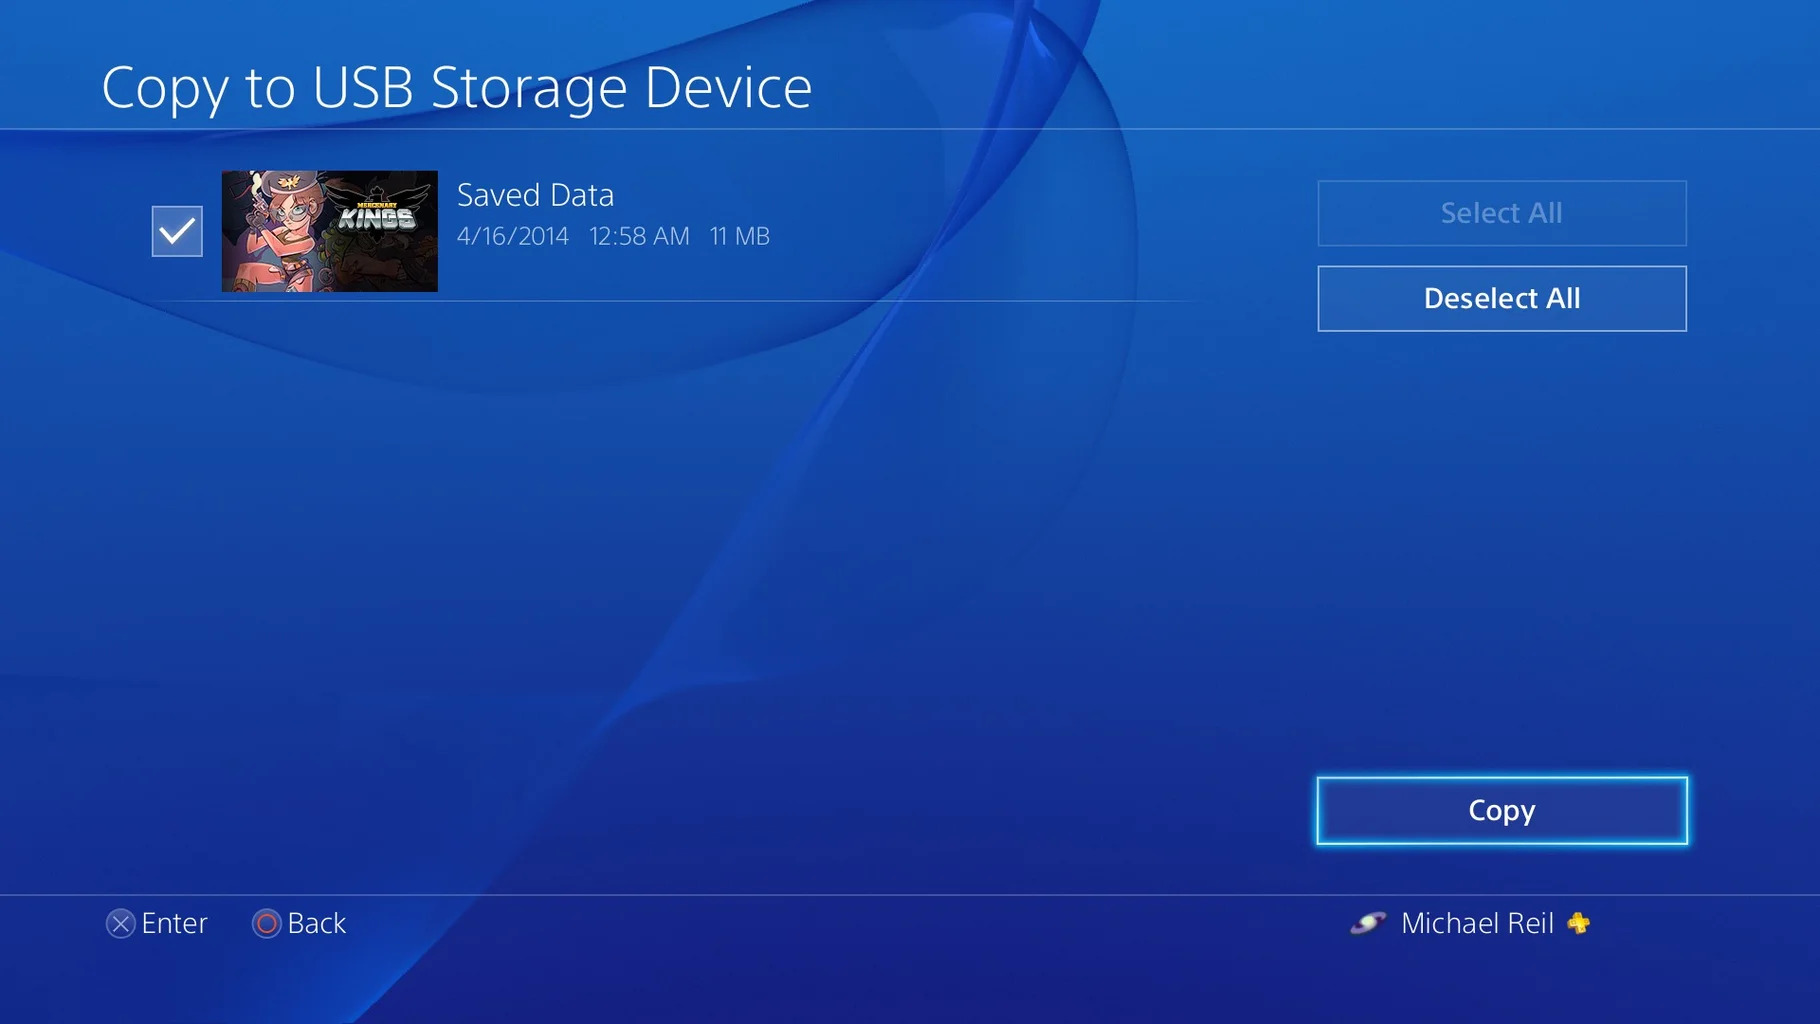
- Backup or Cloud Storage: It’s always a good idea to create a backup of your game data before transferring them to an external hard drive. This can be done by either backing up to an external storage device or utilizing cloud storage services, such as PlayStation Plus cloud saves.
By ensuring that you have these prerequisites in place, you’ll be ready to move your PS4 games to an external hard drive seamlessly. Once you have everything ready, it’s time to move on to the step-by-step process, which we’ll explore in the next sections.
Step 1: Choosing the Right External Hard Drive
The first step in moving your PS4 games to an external hard drive is selecting the right one for your needs. Here are some factors to consider:
- Storage Capacity: Determine how much storage capacity you require based on the number and size of the games you plan to transfer. It’s always recommended to choose a larger capacity than you think you’ll need to account for future game installations.
- Compatibility: Ensure that the external hard drive you choose is compatible with the PS4 console. It should support USB 3.0 for faster data transfer speeds and be formatted in a compatible file system, such as exFAT or FAT32.
- Transfer Speed: Consider an external hard drive with faster transfer speeds to ensure quicker game installations and loading times. Look for drives with 7200 RPM or Solid-State Drives (SSDs) for optimal performance.
- Portability: If you plan to carry your external hard drive between different PS4 consoles or locations, consider a compact and portable option. Portable drives are typically small, lightweight, and don’t require an additional power source.
- Reliability: Look for reputable brands known for their reliability and durability to ensure the longevity of your external hard drive. Reading reviews and customer feedback can help you make an informed choice.
- Budget: Set a budget for your external hard drive purchase and compare prices and features to find the one that offers the best value for your money.
Keep in mind that the external hard drive will not only be used for game storage but can also serve various other purposes, such as backup storage or media storage. Consider your overall storage needs before making a final decision.
Once you’ve chosen the right external hard drive for your PS4, you’re ready to move on to the next step: formatting the external hard drive to make it compatible with the console and preparing it for game transfers. Let’s explore this process in the next section.
Step 2: Formatting the External Hard Drive
After selecting the appropriate external hard drive for your PS4, the next step is to format it in a compatible file system. The formatting process will prepare the external hard drive for use with your PS4 console. Here’s how to format the external hard drive:
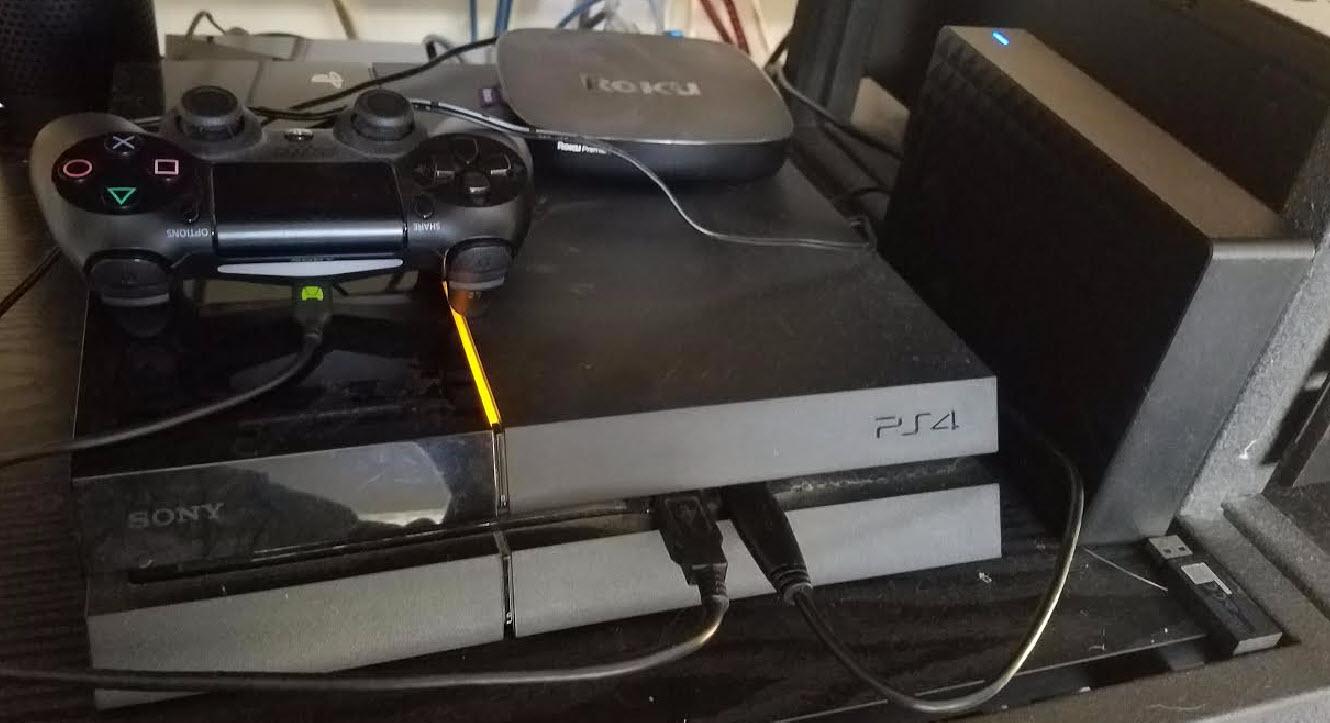
- Connect the External Hard Drive: Use the provided USB cable to connect the external hard drive to one of the available USB ports on your PS4 console.
- Access the PS4 Settings Menu: Turn on your PS4 console and navigate to the “Settings” menu from the home screen. You can find it in the top row of icons.
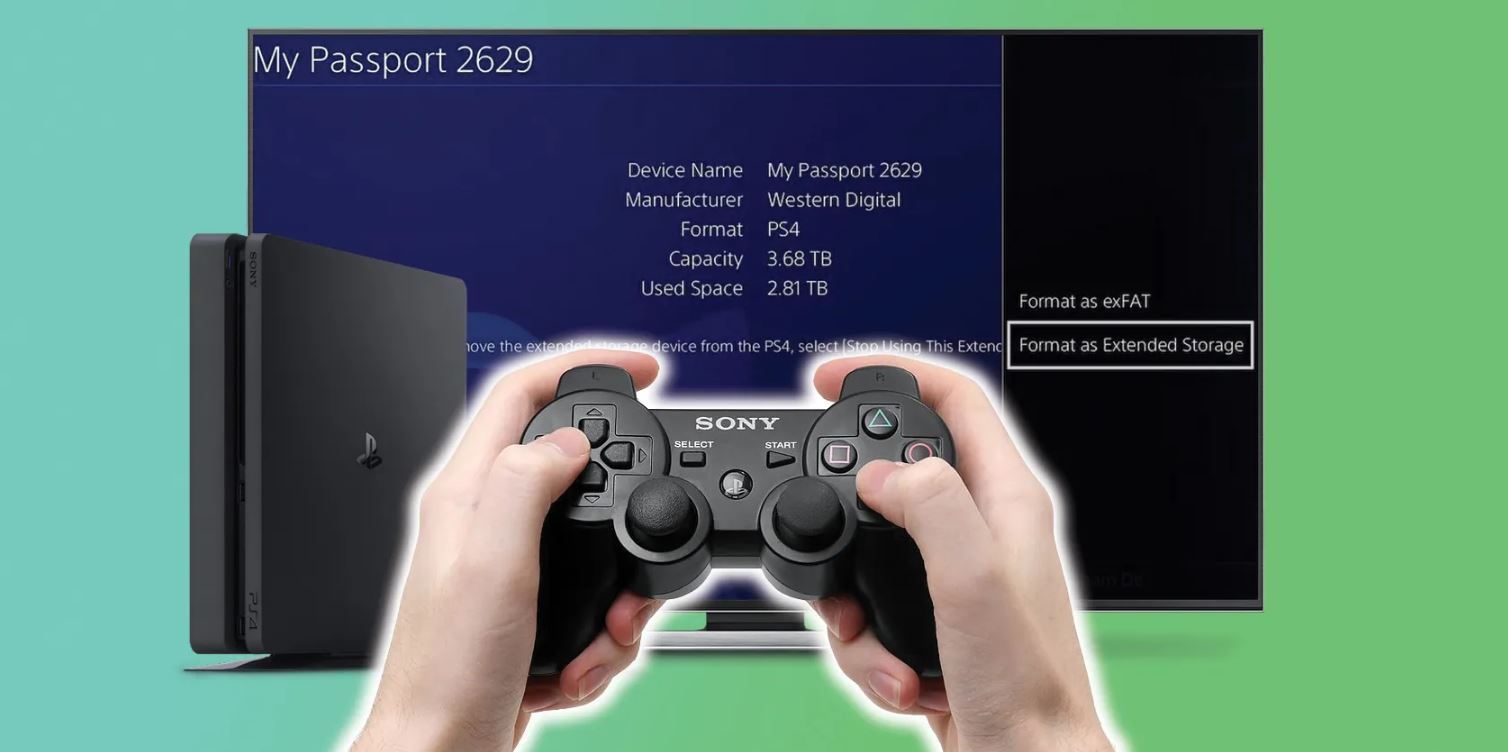
- Select “Devices” and then “USB Storage Devices”: Scroll down in the settings menu and select the “Devices” option. From there, choose “USB Storage Devices” to see a list of connected USB devices.
- Select the External Hard Drive: Locate your external hard drive in the list of connected USB devices and select it.
- Choose “Format as Extended Storage”: Once you’ve selected the external hard drive, choose the “Format as Extended Storage” option to initiate the formatting process.
- Confirm the Formatting: A prompt will appear asking you to confirm the formatting process. This process will erase all existing data on the external hard drive, so ensure you have backed up any important files before proceeding. Select “Yes” to confirm and start the formatting process.
- Wait for the Formatting to Complete: The formatting process may take a few minutes, depending on the size of the external hard drive. Once completed, you’ll receive a notification on your PS4 console.
After formatting is complete, your external hard drive is now ready to be used as extended storage for your PS4 games. It will appear as a separate storage option when installing or moving games. Remember that the external hard drive will be tied to your PS4 console and cannot be used with other consoles without reformatting.
With the external hard drive formatted and ready, you can now proceed to the next step: transferring your PS4 games to the external hard drive. We’ll cover this process in the following section.
Step 3: Transferring PS4 Games to the External Hard Drive
Now that your external hard drive is properly formatted, it’s time to transfer your PS4 games to the external hard drive. Follow these steps to complete the transfer process:
- Access the PS4 Settings Menu: From the home screen, navigate to the “Settings” menu on your PS4 console.
- Select “Storage” and then “System Storage”: Scroll down in the settings menu and select the “Storage” option. From there, choose “System Storage” to view the games and applications installed on your console.
- Choose a Game to Transfer: Select the game you want to transfer from the list of installed games on your PS4’s internal storage.
- Select “Options” and then “Move to Extended Storage”: Press the “Options” button on your controller while the game is selected. From the menu that appears, select “Move to Extended Storage.”
- Choose the External Hard Drive: A list of available storage options will appear on your screen. Select your external hard drive as the destination for the game transfer.
- Wait for the Transfer to Complete: The game transfer process may take some time, depending on the size of the game and the speed of your external hard drive. It’s important not to interrupt the process or disconnect the external hard drive during the transfer.
- Repeat for Other Games: Follow the same steps for each additional game you want to transfer to the external hard drive.
By following these steps, you can gradually move your PS4 games from the internal storage to the external hard drive. Once the transfer is complete, the games will be available to play directly from the external hard drive without needing to be reinstalled.
It’s worth noting that save data and game progress remain on the PS4’s internal storage, even after transferring the games. So, if you want to ensure that your game progress is also backed up, make sure to enable automatic cloud saves or transfer your save data to the external hard drive separately.
Now that your games are successfully transferred, it’s time to proceed to the next step: setting the external hard drive as the default storage location for future game installations. We’ll explore this process in the following section.
Step 4: Setting the External Hard Drive as the Default Storage Location
After transferring your PS4 games to the external hard drive, you can set it as the default storage location for future game installations. This ensures that any new games or updates will be automatically installed on the external hard drive, saving you the hassle of manually selecting the storage location each time. Follow these steps to make the external hard drive the default storage:
- Access the PS4 Settings Menu: From the home screen, navigate to the “Settings” menu on your PS4 console.
- Select “Storage” and then “Extended Storage”: Scroll down in the settings menu and select the “Storage” option. From there, choose “Extended Storage” to view the external hard drive’s storage details.
- Select the External Hard Drive: You’ll see the external hard drive listed along with its available storage capacity. Select it to access the options for the external storage.
- Choose “Set as Default Application Install Location”: Once you’ve selected the external hard drive, choose the “Set as Default Application Install Location” option to designate it as the default storage.
- Confirm the Selection: A prompt will appear asking you to confirm the selection. Select “Yes” to confirm and set the external hard drive as the default storage location.
- Wait for the Configuration to Complete: The configuration process may take a few moments. Once completed, you’ll receive a notification on your PS4 console.
With the external hard drive now set as the default storage location, all future game installations and updates will be automatically directed to the external hard drive. This helps you efficiently manage your storage space and keep your PS4’s internal storage free for system files and updates.
It’s important to note that not all data will be automatically stored on the external hard drive. Some game-related data, such as save files and patches, may still be saved on the console’s internal storage. To ensure that your game progress and data are fully backed up, consider enabling automatic cloud saves or regularly transferring your save files to the external hard drive.
Now that your external hard drive is the default storage location, you’re ready to enjoy seamless game installations and updates. In the next step, we’ll explore how to play your PS4 games directly from the external hard drive.
Step 5: Playing PS4 Games from the External Hard Drive
Now that you have successfully transferred your PS4 games to the external hard drive and set it as the default storage location, playing games directly from the external hard drive is a breeze. Here’s how you can enjoy your favorite PS4 games from the external hard drive:
- Connect the External Hard Drive: With the PS4 console turned on, connect the external hard drive to one of the available USB ports on your console using the provided USB cable.
- Navigate to the Game Library: From the PS4 home screen, scroll down to locate the “Library” icon and select it to access your game library.
- Select the Game to Play: You’ll see the list of all your installed games, including the ones stored on the external hard drive. Scroll through the library and select the game you want to play.
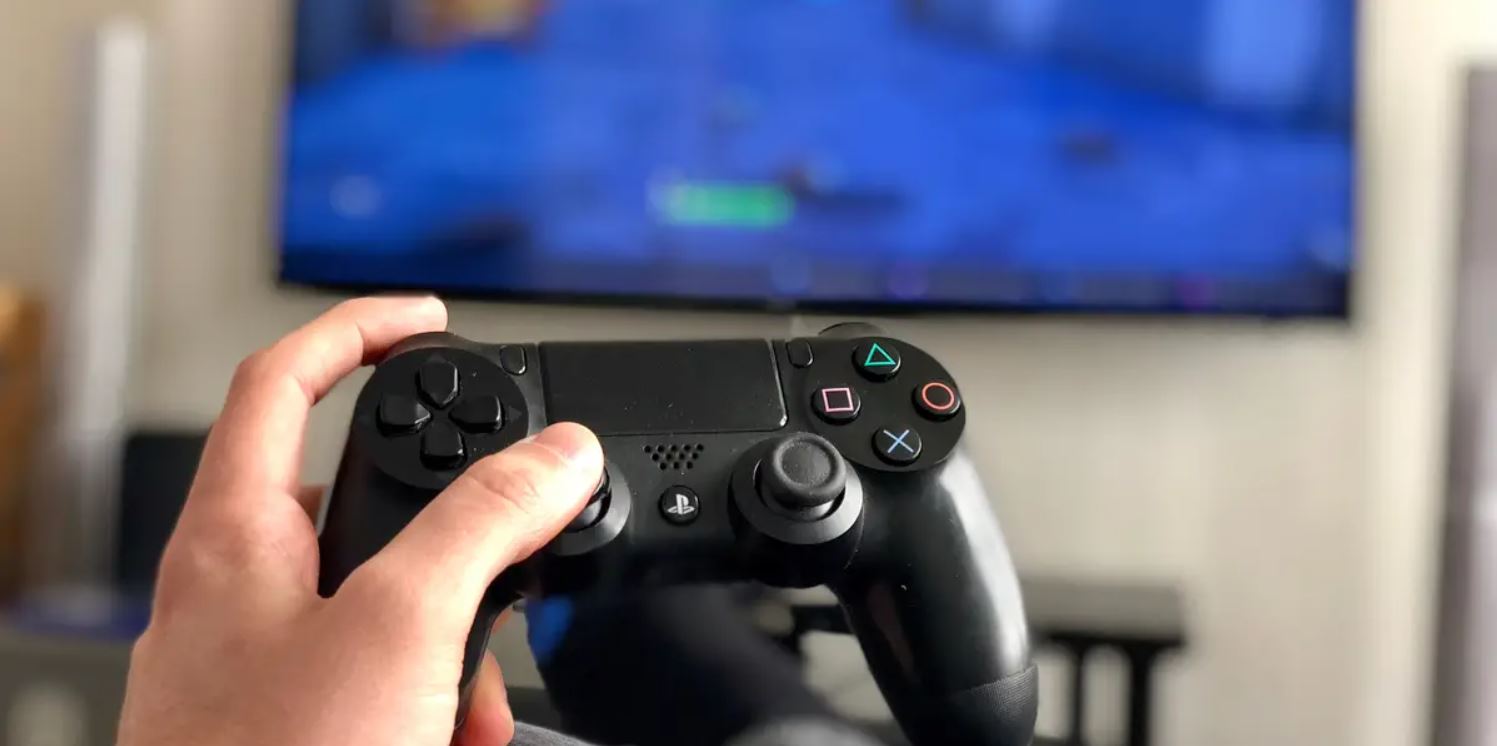
- Launch the Game: Once you’ve selected the game, press the “X” button on your controller to launch the game. The game will load and start running directly from the external hard drive.
Playing games from the external hard drive offers the same performance and gameplay experience as playing them from the console’s internal storage. You’ll enjoy smooth gameplay, crisp graphics, and reduced loading times, especially if you’ve chosen an external hard drive with faster transfer speeds.
If you want to switch to a different game stored on the external hard drive, simply exit the current game and navigate back to the library. Select the desired game and launch it to start playing. The external hard drive provides convenient access to your entire game library without the need for reinstallation.
It’s important to note that the external hard drive must remain connected to the PS4 console during gameplay for the games to run successfully. If the external hard drive is accidentally disconnected or switched off, the game will not be accessible until the connection is restored.
Congratulations! You have successfully moved your PS4 games to the external hard drive and are now ready to enjoy a larger game library without worrying about storage constraints. Remember to properly eject the external hard drive from the PS4 console when you’re done gaming to ensure the safety of your data.
With these steps completed, you can now fully utilize your external hard drive to enhance your gaming experience and keep all your favorite games readily accessible. Happy gaming!
Additional Tips and Considerations
While you have successfully moved your PS4 games to an external hard drive, here are some additional tips and considerations to enhance your gaming experience:
- Regularly Back Up Game Saves: Although transferring games to an external hard drive helps with storage management, it’s always a good practice to regularly back up your game saves. This can be done using cloud storage services, USB drives, or external storage devices.
- Keep Your External Hard Drive Updated: Just like any other storage device, it’s important to keep your external hard drive up to date with firmware or driver updates. This ensures optimal performance and compatibility with your PS4 console.
- Monitor Available Storage Space: Regularly check the available storage space on your external hard drive to avoid running out of space. Delete or uninstall games that you no longer play or need to free up storage for new installations.
- Consider Organizing Your Games: As your game library grows on the external hard drive, consider organizing your games into folders or categories based on genre, platform, or personal preference. This makes it easier to find and access games quickly.
- Consider Multiple External Hard Drives: If you’re a heavy gamer with an extensive game library, you may eventually run out of space on a single external hard drive. Consider using multiple external hard drives to accommodate your growing collection.
- Disconnect Safely: Before disconnecting the external hard drive from your PS4 console, ensure that you properly eject it using the system’s “Safely Remove USB Storage” option. This helps prevent data corruption or loss on the external hard drive.
- Protect Your External Hard Drive: To prolong the lifespan of your external hard drive, handle it with care and keep it in a safe and dust-free environment. Consider investing in protective cases or covers for added protection.
By keeping these tips and considerations in mind, you’ll be able to make the most out of your external hard drive and create an optimized gaming experience on your PS4. Enjoy the freedom and convenience of a larger game library and uninterrupted gameplay!
Conclusion
Moving your PS4 games to an external hard drive is a game-changer for avid gamers who want to expand their storage capacity and enjoy a larger game library. With the ability to store and play games directly from the external hard drive, you can easily switch between titles without the need for reinstallation or deleting older games. Additionally, the convenience and portability of the external hard drive allow you to bring your entire game collection with you wherever you go.
By following the step-by-step process outlined in this guide, you have learned how to choose the right external hard drive, format it, transfer games, set it as the default storage location, and play games directly from it. These steps, combined with the additional tips and considerations, will help optimize your gaming experience on the PS4 console.
Remember to keep your external hard drive updated, regularly back up your game saves, and monitor available storage space to ensure seamless gameplay without interruptions. By taking care of your external hard drive and properly managing your game library, you can enjoy the benefits of increased storage capacity, improved performance, and easy game management.
Now that you have all the necessary knowledge and tools, it’s time to take control of your storage space and create an enhanced gaming experience with a vast array of games at your fingertips. So, go ahead, transfer your PS4 games to an external hard drive, and embark on countless hours of gaming enjoyment!