Introduction
Welcome to this guide on how to reformat your external hard drive for your PS4. If you’re looking to expand your storage capacity for games and apps on your console, reformatting an external hard drive is a great solution. By formatting the drive specifically for use with your PS4, you can easily transfer games, apps, and other data onto it, freeing up space on your console’s internal storage.
Before we dive into the steps, it’s important to note that reformatting your external hard drive will erase all existing data on it. Thus, it’s crucial to make sure you have backed up any important files before proceeding.
In this guide, we will walk you through the process of reformatting your external hard drive and setting it up for use with your PS4. Whether you’re a casual gamer or a hardcore enthusiast, this guide will help you optimize your gaming experience by providing you with ample storage space, without the hassle of constantly uninstalling and reinstalling games.
So, let’s get started with backing up your data before we dive into the reformatting process. Remember, with a little bit of patience and following these steps carefully, you’ll soon have a reformatted external hard drive ready to enhance your PS4 gaming experience!
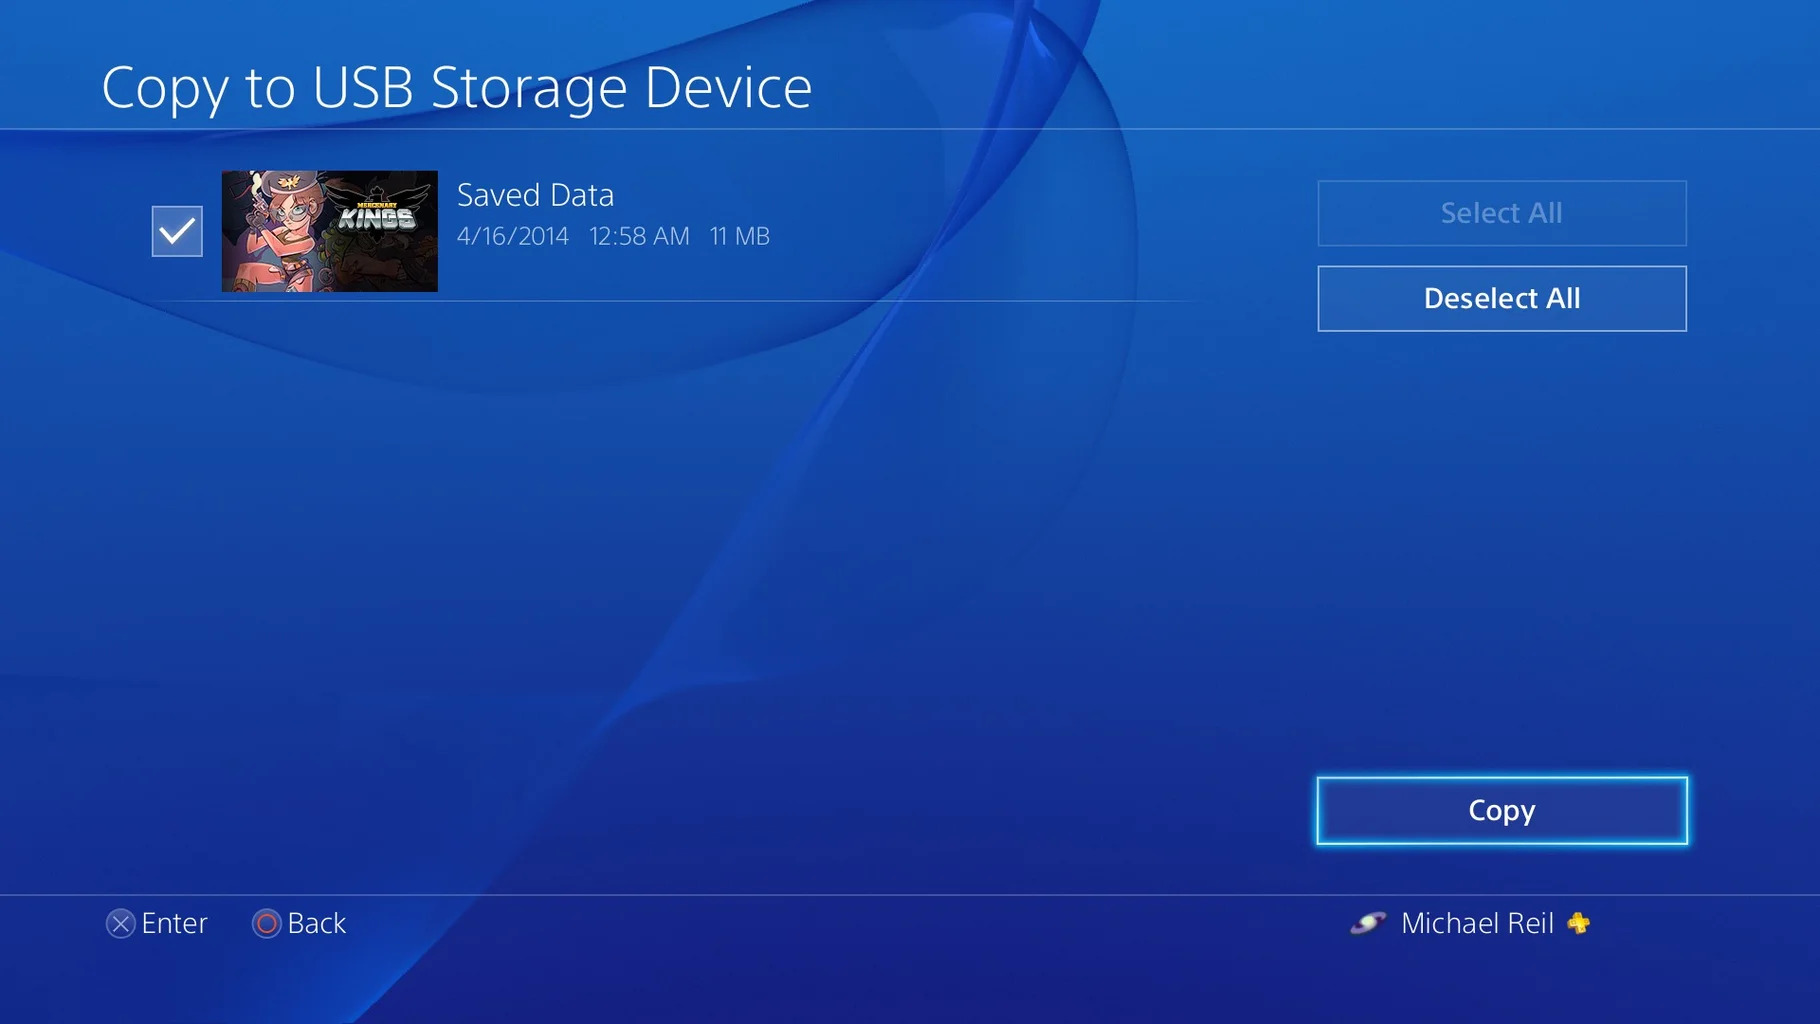
Step 1: Backup your data
The first and most crucial step before reformatting your external hard drive is to backup any important data you have stored on it. Formatting the drive will erase all existing data, so ensuring you have a backup will prevent any loss of files. Here’s how you can back up your data:
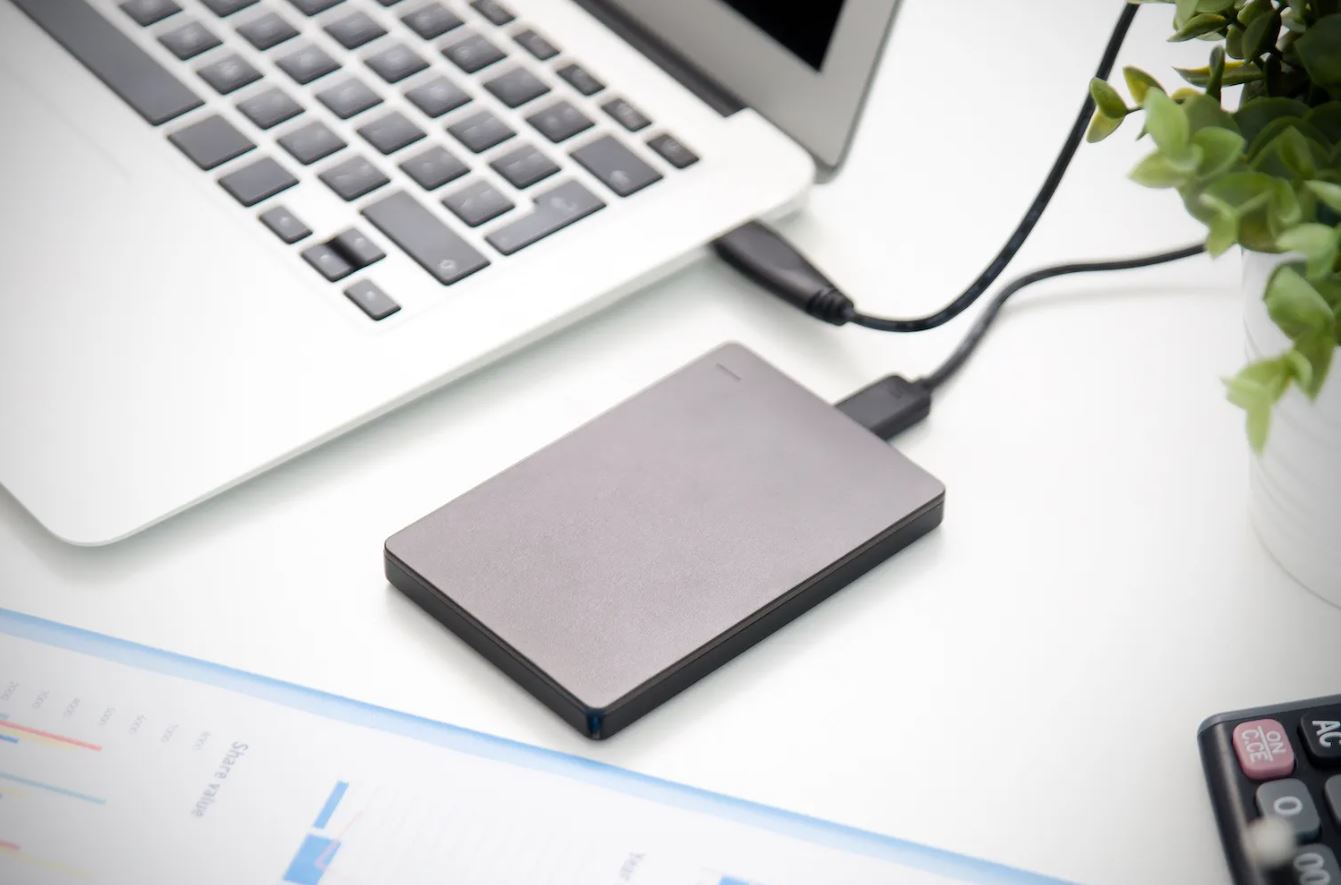
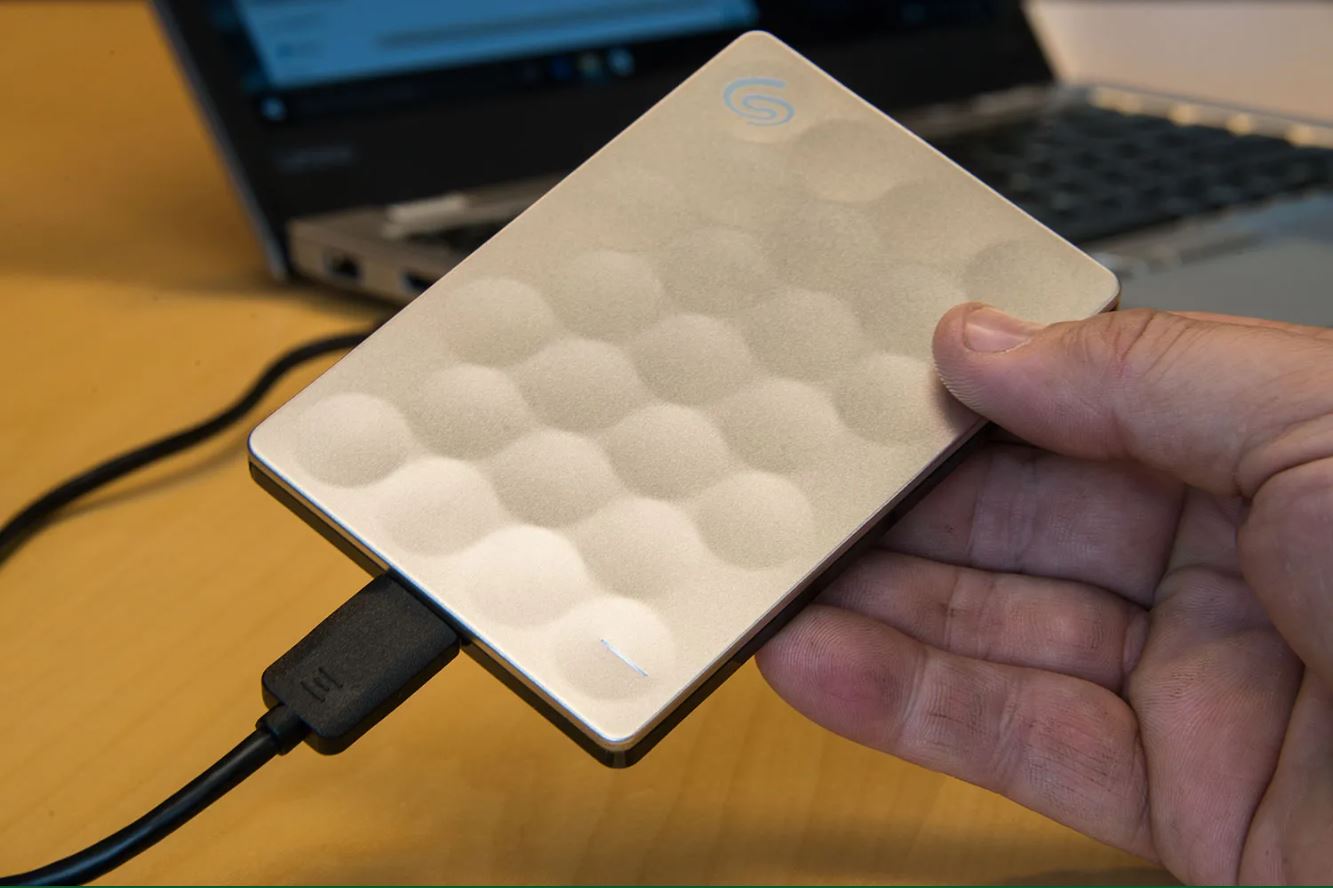
- Connect your external hard drive to your computer: Use the appropriate cable to connect your external hard drive to your computer. Ensure that it is recognized by your computer and accessible in the file explorer.
- Locate your important files: Take some time to identify and locate the files that you want to back up from your external hard drive. These could include game saves, photos, videos, or any other personal files.
- Copy the files to your computer: Select the files you want to back up and copy them to a specific folder on your computer’s internal storage. You can create a new folder or use an existing one to store these files temporarily.
- Verify the backup: Once the files are copied, double-check to make sure that they have been successfully transferred to your computer. Open the folder where you saved the files and ensure they are intact and accessible.
By following these steps, you can have peace of mind knowing that your important data is safely backed up before proceeding with the reformatting process. Now that you have a backup, you can confidently move on to the next step of connecting your external hard drive to your PS4.
Step 2: Connect the external hard drive to your PS4
Once you have successfully backed up your data, it’s time to connect the external hard drive to your PS4. Follow these steps to establish the connection:
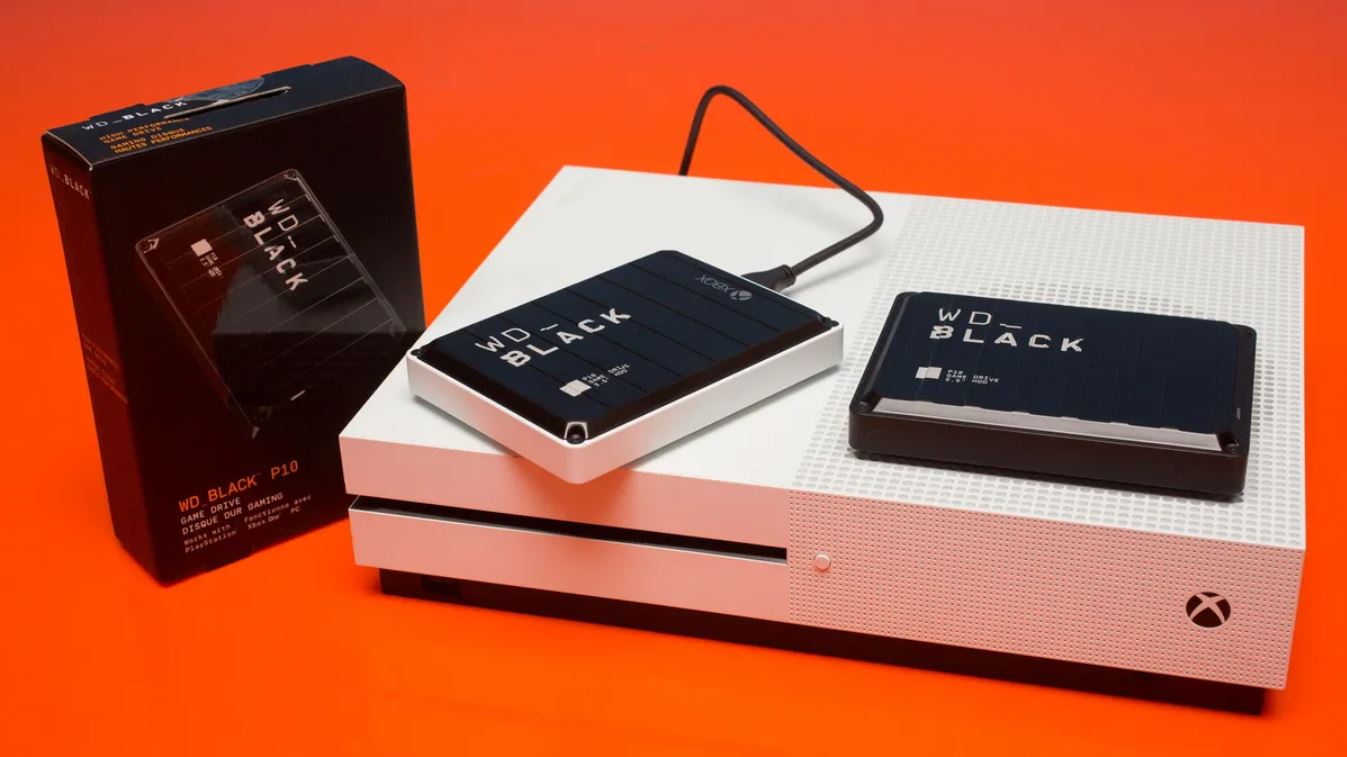
- Gather the necessary equipment: Make sure you have the USB cable or adapter required to connect your external hard drive to your PS4. If your hard drive uses a USB-C connection, you may need an adapter to connect it to your PS4’s USB-A port.
- Power off your PS4: Before connecting the external hard drive, it’s essential to power off your PS4 console completely. This ensures a stable and successful connection.
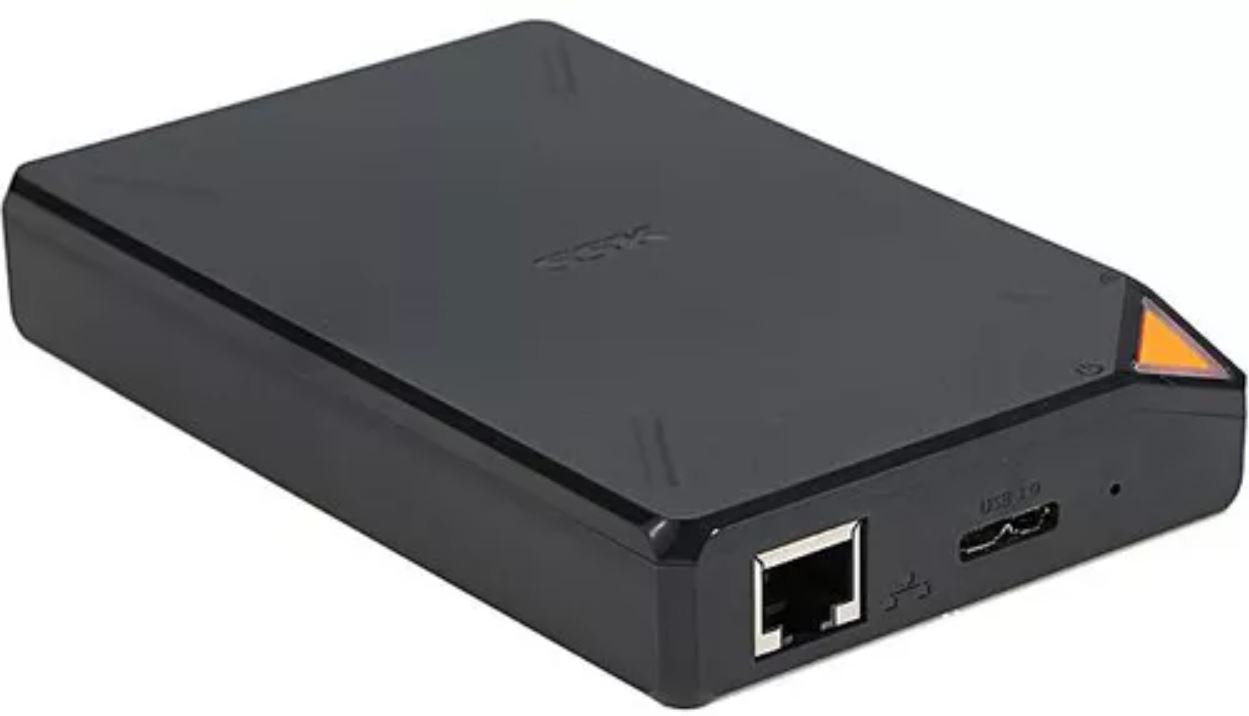
- Locate the USB ports: On your PS4 console, you will find USB ports on the front or back panel. These ports are used for connecting external devices like controllers, VR headsets, and, in this case, an external hard drive.
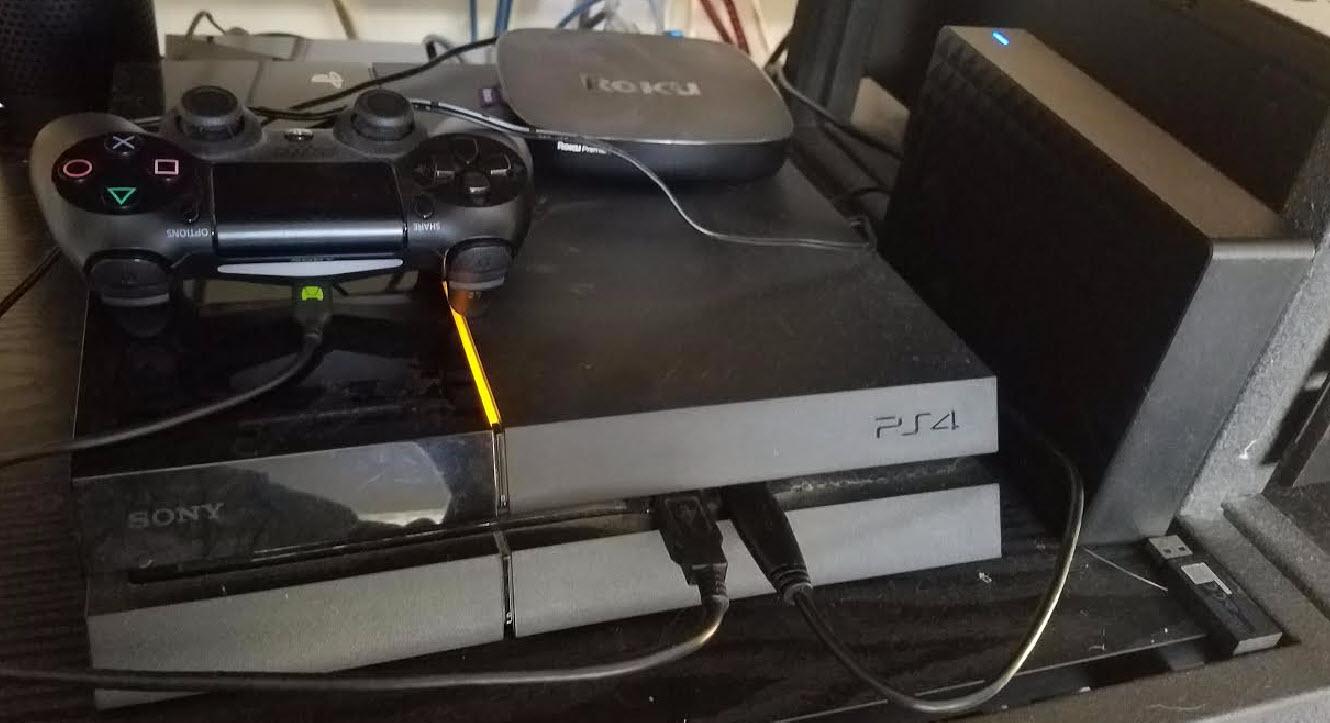
- Connect the external hard drive: Plug one end of the USB cable into the appropriate port on your external hard drive. Then, plug the other end into one of the USB ports on your PS4 console.
- Power on your PS4: After connecting the external hard drive, power on your PS4 by pressing the power button or using the controller’s PS button.
- Recognize the external hard drive: Once your PS4 is powered on, it should detect the external hard drive automatically. Depending on the drive’s capacity and previously formatted state, it may take a few moments for the PS4 to recognize it.
After successfully connecting your external hard drive to your PS4, you’re now ready to move on to the next step, which is formatting the drive to make it compatible with your console. Keep in mind that formatting will erase any existing data on the drive, so be sure to have your backup handy.
Step 3: Format the external hard drive
Now that the external hard drive is connected to your PS4, it’s time to format it to make it compatible with the console. Here’s how you can format the drive:
- Access the settings menu: From the PS4 home screen, navigate to the “Settings” tab located on the top menu bar.
- Select “Devices” and then “USB Storage Devices”: Scroll down the settings menu and select “Devices.” From there, choose “USB Storage Devices,” where you will see the connected external hard drive listed.
- Select the external hard drive: Highlight the external hard drive from the list and press the “Options” button on your controller.
- Choose “Format as Extended Storage”: From the options menu, select “Format as Extended Storage.” This will enable the external hard drive to be used for game installs and other data on your PS4.
- Confirm the formatting process: You will receive a warning message stating that the formatting process will erase all data on the external hard drive. Make sure you have backed up any important files and then select “Format.”
- Wait for the formatting to complete: The formatting process may take a few minutes, depending on the size of the external hard drive. Be patient and avoid disconnecting the drive during this time.
- Completion confirmation: Once the formatting is complete, you will receive a notification on your screen confirming the successful formatting of the external hard drive.
After completing these steps, your external hard drive is now formatted and ready to be used as extended storage for your PS4. You can now proceed to the next step, which involves setting up the external hard drive for game installs.
Step 4: Set up the external hard drive for game installs
With your external hard drive successfully formatted, it’s time to set it up for game installs on your PS4. Follow these steps to get started:
- Access the settings menu: From the PS4 home screen, go to the “Settings” tab located on the top menu bar.
- Select “Storage”: Scroll through the settings menu and select “Storage.” Here, you’ll find an overview of the storage devices connected to your PS4.
- Choose “Extended Storage”: Look for the external hard drive you just formatted and select it under the “Extended Storage” section.
- Verify available space: In the “Extended Storage” section, you’ll be able to see the remaining storage space on the external hard drive. This will help you keep track of how much space is being utilized.
- Set as default install location: To ensure all future game installs are directed to the external hard drive, select the option to “Set as Default Install Location.”
By completing these steps, you have successfully set up your external hard drive as the default install location for games and apps on your PS4. Any new installations or updates will now be directed to the external drive, helping to manage space on your PS4’s internal storage.
Now that the external hard drive is ready, you can proceed to the next step of transferring your existing games and apps to the newly formatted drive. Keep in mind that some system software versions may slightly vary the steps, but the general process remains the same.
Step 5: Transfer games and apps to the external hard drive
Now that your external hard drive is set up as the default install location, you can begin transferring your games and apps to free up space on your PS4’s internal storage. Follow these steps to transfer your existing games and apps to the external hard drive:
- Access the settings menu: From the PS4 home screen, navigate to the “Settings” tab located on the top menu bar.
- Select “Storage”: Scroll through the settings menu and select “Storage.” This will provide you with an overview of your PS4’s storage options.
- Choose “System Storage”: In the “Storage” menu, select “System Storage” to view the games and apps currently stored on your PS4’s internal storage.
- Select “Applications”: From the “System Storage” menu, choose “Applications” to see a list of all the installed games and apps.
- Select the game or app you want to transfer: Highlight the game or app you wish to transfer to the external hard drive and press the “Options” button on your controller.
- Choose “Move to Extended Storage”: From the options menu, select “Move to Extended Storage” to initiate the transfer process.
- Monitor the transfer progress: The PS4 will display a progress bar indicating the transfer status. The time it takes will depend on the size of the game or app being transferred.
- Repeat for other games and apps: Repeat the above steps for each game or app you want to transfer to the external hard drive.
By following these steps, you can effectively transfer your games and apps from the PS4’s internal storage to the external hard drive. This frees up space on your console, allowing you to continue enjoying a wide variety of games without restrictions.
Now that you have successfully transferred your games and apps, you can move on to the final step, which involves setting the external hard drive as the default location for future installations.
Step 6: Set the external hard drive as the default location for future installations
To ensure that all future game installations and updates are automatically directed to your external hard drive, you need to set it as the default location. Follow these steps to complete the process:
- Access the settings menu: From the PS4 home screen, go to the “Settings” tab located on the top menu bar.
- Select “Storage”: Scroll through the settings menu and select “Storage.” This will bring up the storage options for your PS4.
- Choose “Extended Storage”: Under the “Storage” menu, select “Extended Storage” to view the external hard drive connected to your PS4.
- Select “Options”: Highlight the external hard drive and press the “Options” button on your controller.
- Select “Set as Default Location”: From the options menu, select “Set as Default Location” to establish the external hard drive as the primary destination for future installations and updates.
- Confirm the selection: You will receive a prompt asking you to confirm the selection. Choose “Yes” to proceed.
By following these steps, you have successfully set the external hard drive as the default location for all future game installations and updates. This means that whenever you download or install a new game, it will automatically be directed to the external hard drive, helping to keep your PS4’s internal storage free.
Congratulations! You have successfully reformatted your external hard drive, transferred games and apps, and set it as the default location for future installations on your PS4. Enjoy your expanded storage and seamless gaming experience!
Conclusion
Congratulations! You have successfully reformatted your external hard drive for use with your PS4, allowing you to expand your storage capacity and enhance your gaming experience. By following the steps in this guide, you have backed up your data, connected the external hard drive, formatted it, set it up for game installs, transferred games and apps, and set it as the default location for future installations.
With your external hard drive now integrated into your PS4 system, you can enjoy the benefits of having additional storage space to accommodate a larger library of games, apps, and multimedia. No longer will you have to worry about constantly deleting games to make room for new ones or managing limited internal storage.
Remember, whenever you want to install a new game or app, it will automatically be directed to the external hard drive, saving space on your PS4’s internal storage. This allows you to keep your favorite games readily accessible and switch between them seamlessly.
Make sure to take care of your external hard drive by keeping it in a safe and dust-free environment. Regularly back up your data to ensure that it remains secure, even with the increased storage capacity.
By following this guide, you have unlocked the full potential of your PS4, creating a personalized and expanded gaming setup. Enjoy the convenience and freedom that comes with having ample storage at your disposal.
Thank you for using this step-by-step guide. Happy gaming!