Introduction
Welcome to this guide on how to mount an external hard drive on a Mac! If you’re looking to expand your storage options or transfer files between devices, connecting an external hard drive to your Mac is a convenient solution. In this article, we’ll walk you through the process of connecting, formatting, and mounting an external hard drive on your Mac.
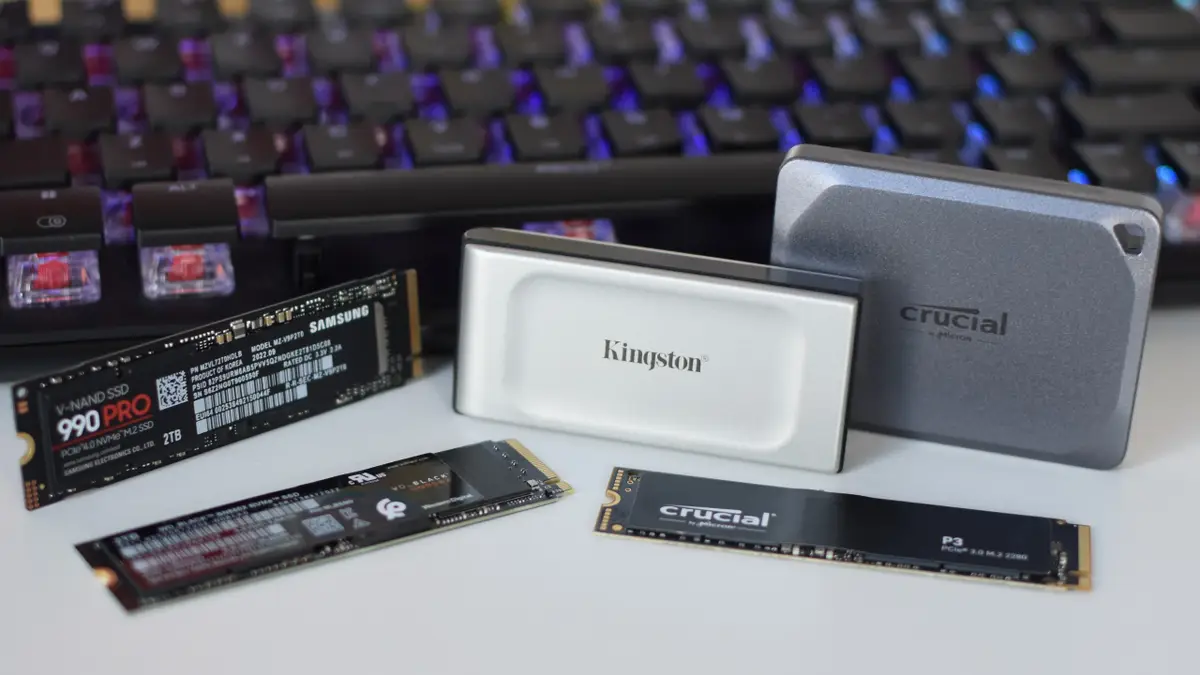
Whether you’re using a traditional hard drive or a sleek solid-state drive (SSD), the steps to mount an external drive on a Mac are quite straightforward. We’ll also cover some troubleshooting tips in case you encounter any issues along the way.
Before we dive into the details, it’s important to note that the exact steps may vary slightly depending on your macOS version and the specific external hard drive you’re using. However, the overall process remains largely the same.
So, if you’re ready to expand your Mac’s storage capacity and make use of an external hard drive, let’s get started!
Connecting the External Hard Drive
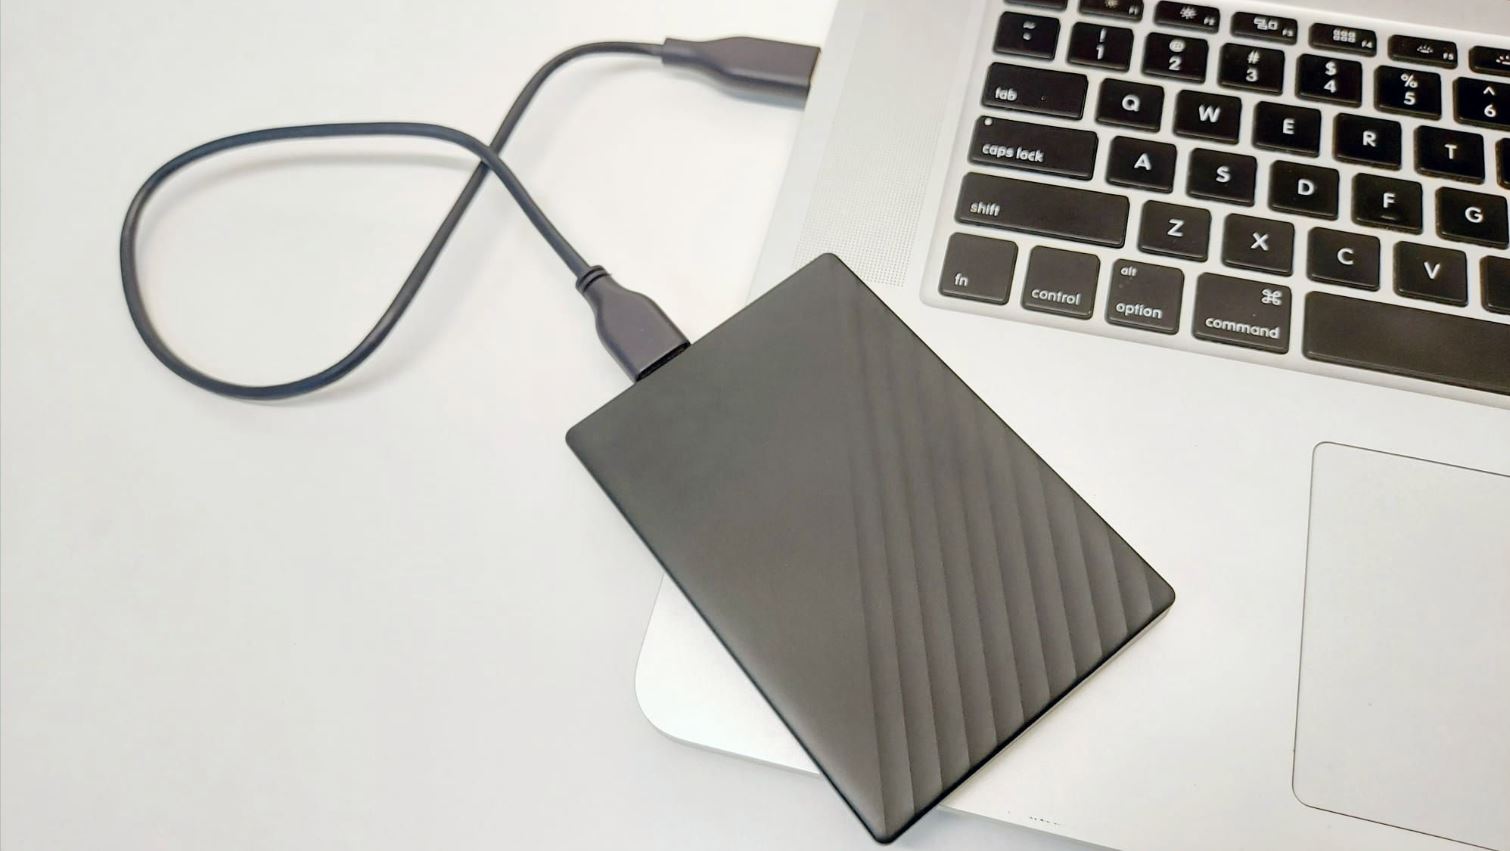
The first step in mounting an external hard drive on your Mac is to physically connect it to your computer. Follow these simple steps:
- Identify the type of external hard drive you have. It may use a USB, Thunderbolt, or FireWire connection.
- Ensure your Mac is powered on and awake.
- Locate an available USB, Thunderbolt, or FireWire port on your Mac.
- Plug your external hard drive’s cable into the corresponding port on your Mac. If you have a USB-A to USB-C adapter, ensure it is securely connected.
- Once connected, you should hear a reassuring sound indicating that your Mac has recognized the external hard drive.
It’s important to note that certain external hard drives may require an external power source. In such cases, make sure to connect the power cable provided with the drive to a power outlet. This will ensure the drive receives the necessary power to function properly.
Once your external hard drive is connected to your Mac, it’s time to move on to the next step: checking drive compatibility.
Checking Drive Compatibility
Before proceeding with mounting your external hard drive, it’s essential to ensure compatibility between your drive and your Mac. While most modern external hard drives are compatible with Mac systems, it’s still worth verifying to avoid any potential issues.
To check the compatibility of your external hard drive with your Mac, follow these steps:
- Open the Apple menu by clicking on the Apple logo in the top-left corner of your screen.
- Select “About This Mac” from the dropdown menu.
- Click on the “System Report” button.
- In the left sidebar of the System Information window, under the “Hardware” heading, click on “USB” or “Thunderbolt,” depending on the connection type of your external hard drive.
- In the right pane, you should see a list of connected devices. Look for your external hard drive in the list.
If your external hard drive is listed, it means that it is recognized by your Mac and should be compatible. However, if you don’t see your drive listed, there might be compatibility issues or driver-related problems.
In such cases, you can try the following troubleshooting steps:
- Ensure that all the cables are securely connected and that the drive is receiving power.
- If you are using a USB hub, try connecting the drive directly to your Mac’s USB port.
- Test the drive on another Mac or computer to determine if the issue is with the drive itself.
- Check the manufacturer’s website for any specific driver or compatibility updates for your drive.
By checking the compatibility of your external hard drive and resolving any potential issues, you can ensure a smooth and successful mounting process on your Mac.
Formatting the External Hard Drive
Once you’ve successfully connected your external hard drive to your Mac and confirmed its compatibility, the next step is to format the drive. Formatting prepares the drive for use with your Mac’s file system, ensuring seamless data transfer and compatibility across devices.
Before proceeding, keep in mind that formatting erases all existing data on the external hard drive. If you have any important files on the drive, make sure to back them up before proceeding.
To format your external hard drive on a Mac, follow these steps:
- Open the Finder by clicking on the blue smiley face icon in your Dock.
- From the sidebar, click on “Applications,” then “Utilities,” and finally, double-click on “Disk Utility.”
- In the Disk Utility window, you’ll see a list of available drives on the left sidebar. Click on the external hard drive you want to format.
- Click on the “Erase” button at the top of the Disk Utility window.
- Choose a name for your drive and select the desired format from the “Format” dropdown menu. For Mac-only use, select “Mac OS Extended (Journaled).” If you plan to use the drive on both Mac and Windows computers, select “ExFAT.”
- Optionally, you can choose a partition scheme if you want to create multiple partitions on the same drive.
- Double-check your settings and click on the “Erase” button to initiate the formatting process.
- Wait for Disk Utility to complete the formatting process. This may take a few minutes.
- Once the formatting is complete, you’ll see a confirmation message. Your external hard drive is now formatted and ready for use with your Mac.
Formatting your external hard drive ensures compatibility with your Mac’s file system and prepares it for data storage and retrieval. With the formatting process complete, it’s time to move on to the next step: mounting the external hard drive.
Mounting the External Hard Drive
Now that your external hard drive is formatted and ready for use, the next step is to mount it on your Mac. Mounting allows your Mac to recognize the drive and access its contents. Here’s how you can mount your external hard drive:
- Open the Finder by clicking on the blue smiley face icon in your Dock.
- From the left sidebar, you should see your external hard drive listed under the “Devices” section. Click on it once to select it.
- After selecting the drive, click on the “File” tab in the top menu and choose “Mount” from the dropdown menu.
- Your Mac will now mount the external hard drive and make it accessible for you to use.
- You should see the drive’s icon appear on your desktop, indicating that it’s successfully mounted.
- You can now access the contents of your external hard drive by double-clicking on its icon on the desktop or accessing it from the left sidebar of a Finder window.
Once your external hard drive is mounted, you can freely copy, move, and delete files on the drive, just like you would with any other storage device connected to your Mac.
Remember, it’s essential to properly eject your external hard drive before physically disconnecting it from your Mac to prevent data loss or corruption. Let’s take a look at how to safely eject an external hard drive in the next section.
Ejecting the External Hard Drive
Ejecting your external hard drive is an important step to ensure that all pending read/write operations are completed, and it’s safe to disconnect the drive from your Mac. Here’s how you can properly eject your external hard drive:
- Locate the icon of your external hard drive on the desktop or in a Finder window’s sidebar.
- Click once on the drive’s icon to select it.
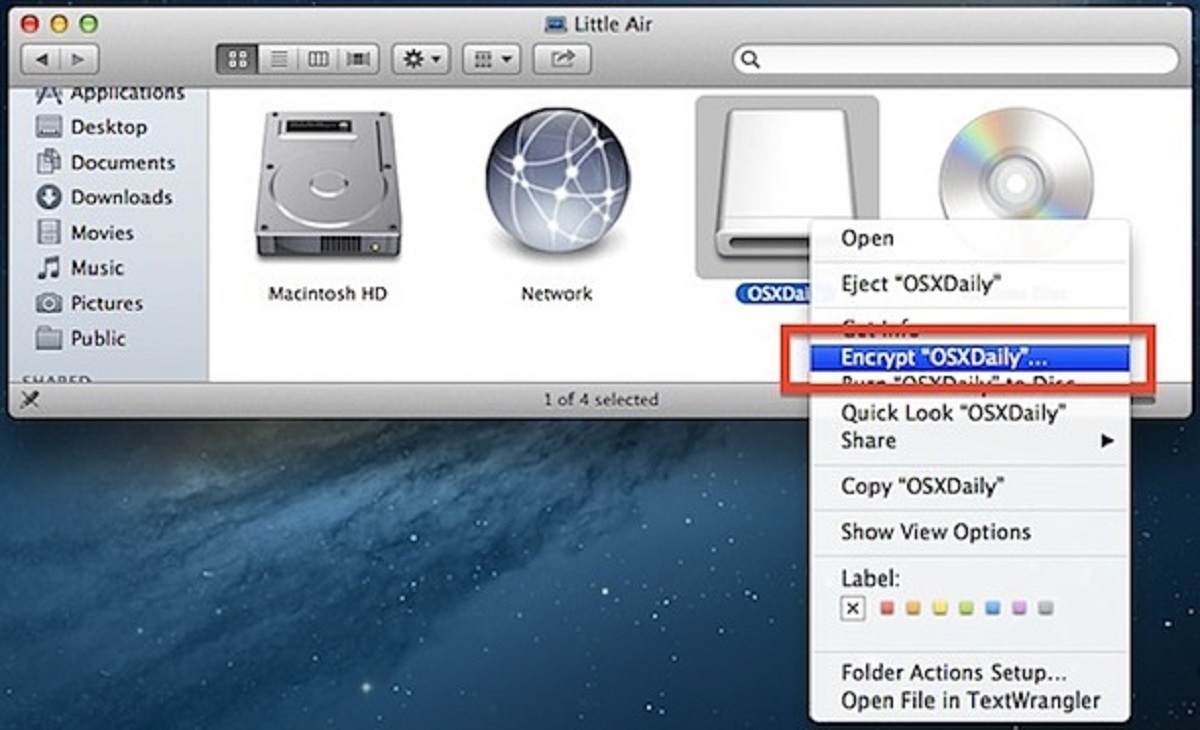
- Right-click (or two-finger click) on the drive’s icon to open a context menu.
- From the context menu, select “Eject [Drive Name].” Alternatively, you can drag the drive’s icon to the Trash bin in your Dock, which will change to an Eject symbol upon hovering.
- Wait for the drive to be safely ejected. Once ejected, the drive’s icon will disappear from your desktop or Finder window’s sidebar.
It’s important to note that you should not physically disconnect the external hard drive from your Mac until it has been properly ejected. Disconnecting the drive without ejecting it first can lead to data corruption or loss.
Additionally, if you plan to reconnect the external hard drive at a later time, it’s a good practice to store it in a safe place or use a protective case to avoid any physical damage.
By following these steps to safely eject your external hard drive, you can ensure the integrity of your data and maintain a reliable and secure storage solution.
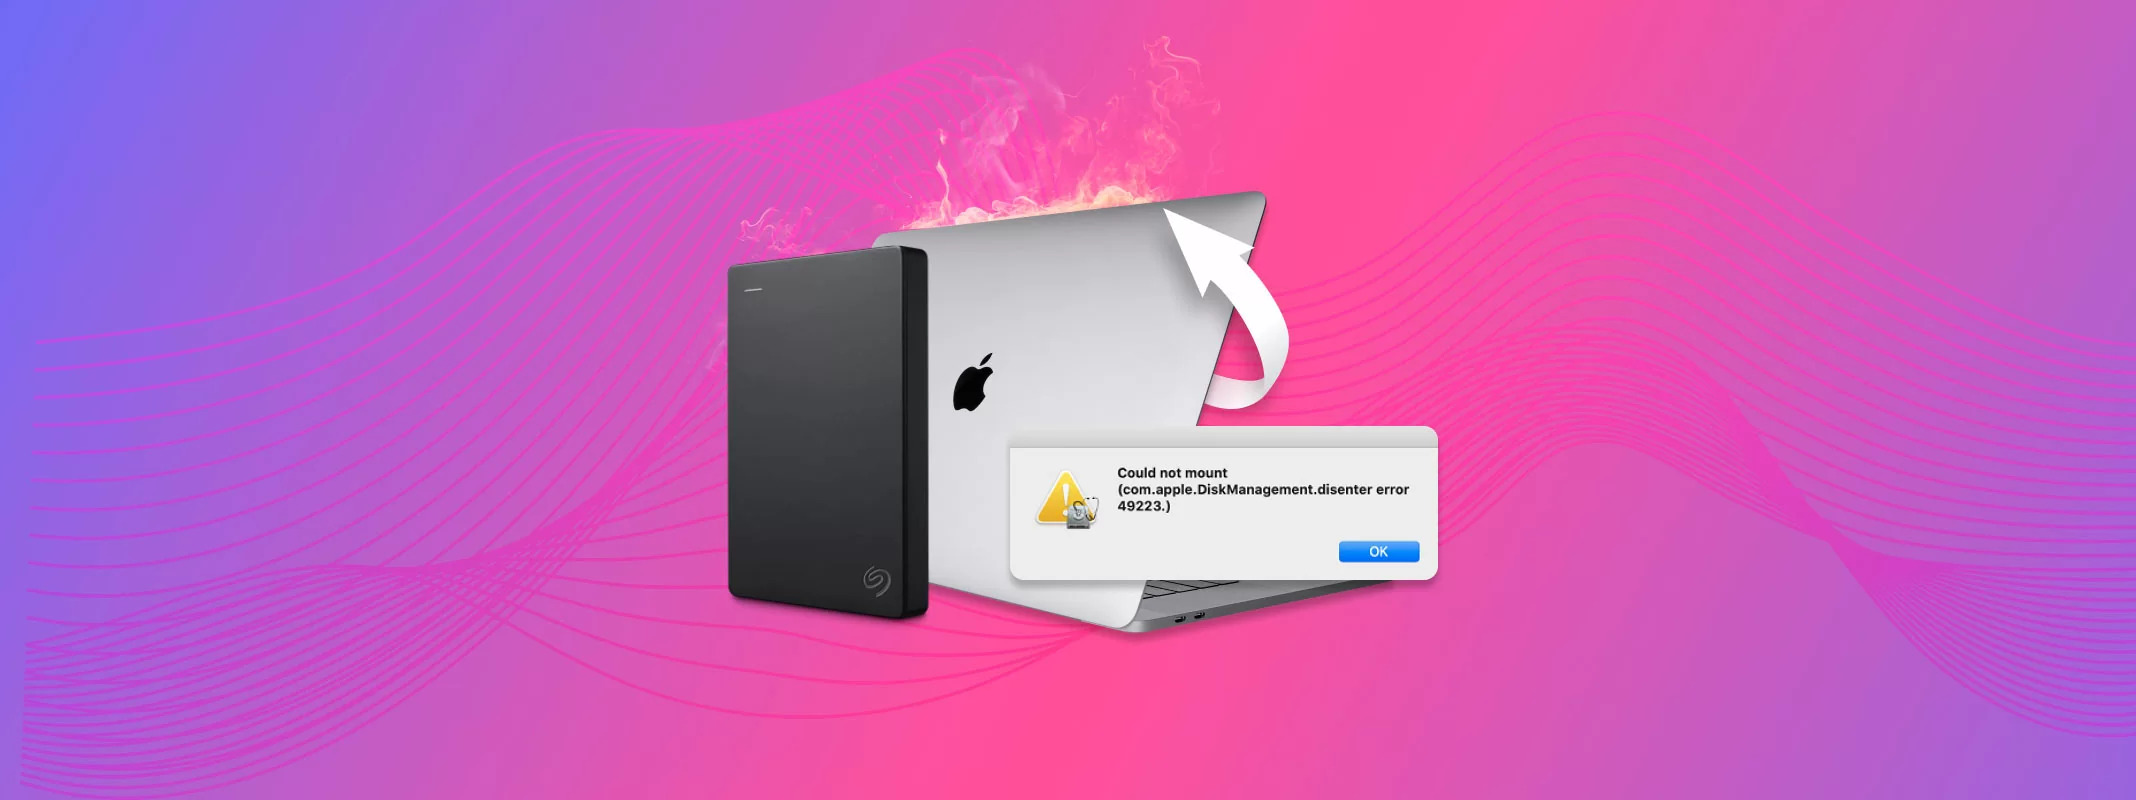
Troubleshooting Mounting Issues
While mounting an external hard drive on your Mac is usually a straightforward process, there may be instances where you encounter difficulties. Here are some common issues that may arise during the mounting process and some troubleshooting tips to help you resolve them:
1. External Hard Drive Not Recognized:
If your external hard drive is not being recognized by your Mac, try the following steps:
- Ensure all cables are securely connected.
- Try connecting the drive to a different USB or Thunderbolt port.
- Restart your Mac and try again.
- Check for compatibility issues between the drive and your macOS version.
2. Drive Format Incompatibility:
If you’re unable to mount the external hard drive due to format incompatibility, consider reformatting the drive using Disk Utility. Make sure to back up any important data before proceeding.
3. Insufficient Power:
Some external hard drives require additional power beyond what your Mac can provide. In such cases, connect the drive to a powered USB hub or use an external power source if available.
4. Software or Driver Issues:
Check for any available software updates or drivers for your external hard drive on the manufacturer’s website. Updating the software or drivers can often resolve compatibility issues.
5. Corrupted File System:
If your external hard drive’s file system becomes corrupted, it may prevent proper mounting. Use Disk Utility to repair the drive’s file system or consider reformatting the drive if necessary (remember to back up your data first).
If you have attempted the troubleshooting steps above and are still unable to mount your external hard drive, it may be helpful to seek further assistance from technical support or consult online forums for additional guidance.
Remember, the troubleshooting process may vary depending on the specific issue and hardware involved. It’s always a good idea to refer to the manufacturer’s documentation or support resources for specific troubleshooting steps pertaining to your external hard drive model.
Conclusion
Congratulations! You have successfully learned how to mount an external hard drive on your Mac. By following the steps outlined in this guide, you can connect, format, and mount an external hard drive with ease.
Remember to check the compatibility of your external hard drive with your Mac before proceeding. Formatting the drive will ensure compatibility and allow for seamless data transfer between devices.
Once your external hard drive is mounted, you can access and manage its contents just like any other storage device connected to your Mac. Remember to properly eject the drive before disconnecting it to prevent data loss or corruption.
If you encounter any issues during the mounting process, refer to the troubleshooting section for helpful tips to resolve common problems.
Now that you have expanded your storage options with an external hard drive, you can enjoy the freedom of storing and accessing your files without worrying about limited space on your Mac.
Thank you for reading this guide, and we hope it has been helpful in assisting you with mounting an external hard drive on your Mac. Happy storing and transferring!