Introduction
Welcome to this guide on how to format an external hard drive in Windows 7. Formatting an external hard drive is a simple process that allows you to prepare the drive for use, delete all existing data, and set up a file system that is compatible with your Windows 7 operating system.
Whether you have just purchased a new external hard drive or have an existing drive that needs formatting, this step-by-step guide will walk you through the process. By formatting the external hard drive, you can ensure optimal performance and compatibility with your Windows 7 computer.
It is important to note that when you format an external hard drive, all data on the drive will be permanently deleted. Therefore, it is crucial to backup any important files or documents before proceeding with the formatting process.
In the following steps, we will guide you through the process of formatting an external hard drive in Windows 7 using the built-in Disk Management tool. The Disk Management tool allows you to manage and format storage devices connected to your computer.
By following this guide, you will be able to format your external hard drive with ease, ensuring that it is ready for use and compatible with your Windows 7 operating system. Now, let’s get started with the first step: connecting the external hard drive to your computer.
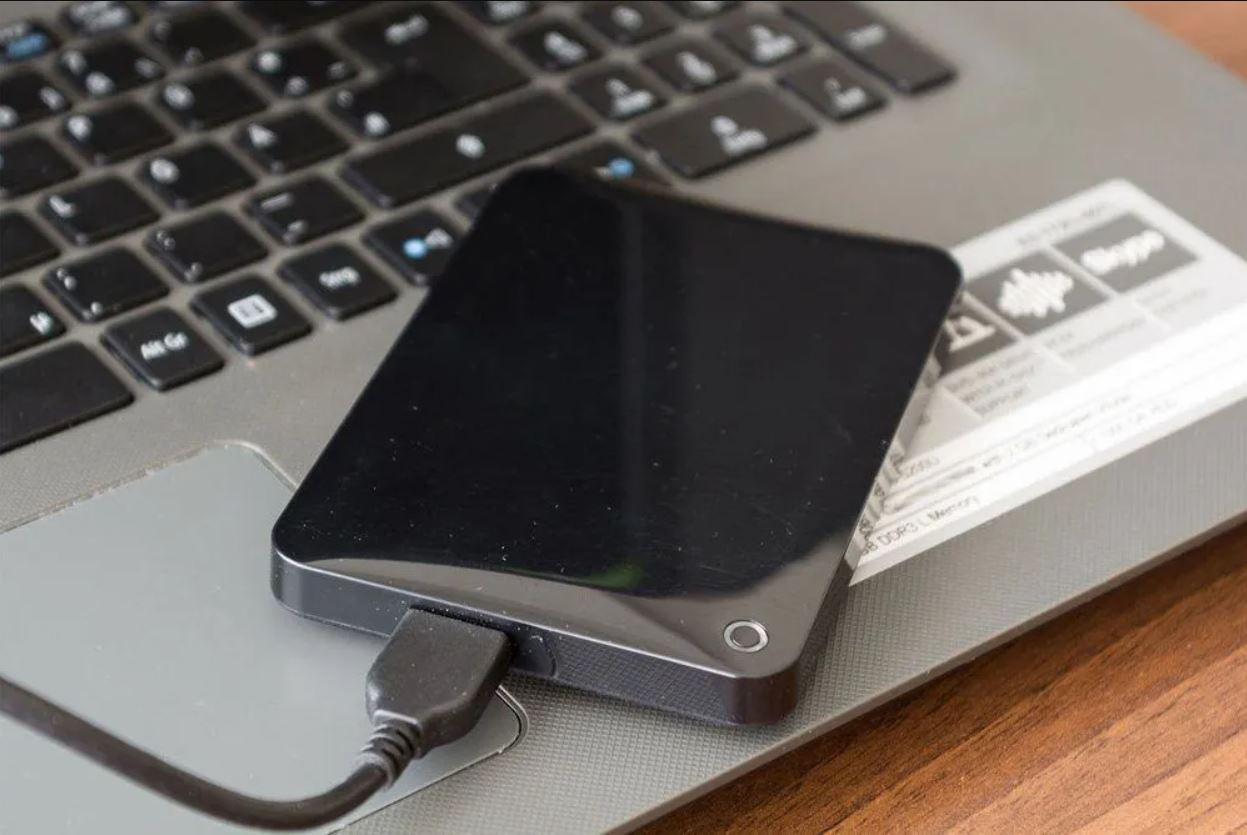
Step 1: Connect the external hard drive to your computer
The first step in formatting an external hard drive in Windows 7 is to connect the drive to your computer. To do this, follow these simple instructions:
- Ensure that your computer is powered off.
- Locate an available USB port on your computer.
- Take the USB cable that came with your external hard drive and plug one end into the USB port on your computer.
- Take the other end of the USB cable and plug it into the USB port on your external hard drive.
- Once the cable is securely connected, ensure that the external hard drive is powered on.
Windows 7 will automatically detect the newly connected external hard drive and install any necessary drivers. Depending on the size and speed of your hard drive, this process may take a few moments.
Once the external hard drive is successfully connected to your computer, you will receive a notification indicating that a new device has been detected. This means that your computer is ready for the next step – opening Windows Disk Management.
Now that you have connected your external hard drive to your computer, you are ready to move on to the next step – opening Windows Disk Management. This tool will allow you to manage and format your external hard drive.
Step 2: Open Windows Disk Management
To format your external hard drive in Windows 7, you will need to access the Disk Management tool. This tool allows you to manage and format storage devices connected to your computer. Follow these steps to open Windows Disk Management:
- Go to the Start menu and click on the “Control Panel” option.
- In the Control Panel window, locate and click on the “Administrative Tools” option.
- Within the Administrative Tools window, you will find various options. Look for the “Computer Management” option and click on it. This will open the Computer Management window.
- In the Computer Management window, locate the “Storage” category in the left-hand pane and click on it.
- Under the “Storage” category, you will find an option called “Disk Management.” Click on it to open the Disk Management tool.
Alternatively, you can also open Disk Management by right-clicking on the “Computer” icon on your desktop, selecting “Manage,” and then following steps 4 and 5 mentioned above.
Once you have successfully opened the Disk Management tool, you will be able to see a list of all the storage devices connected to your computer, including your external hard drive. The next step is to locate the external hard drive in the Disk Management tool.
In the next step, we will guide you on how to find and identify your external hard drive in the Disk Management tool. This will enable you to proceed with formatting the drive according to your requirements.
Step 3: Locate the external hard drive in Disk Management
After opening the Disk Management tool in Windows 7, the next step is to locate your external hard drive within the tool. Follow the steps below to find and identify your external hard drive:
- In the Disk Management window, you will see a list of all the storage devices connected to your computer.
- Scroll through the list and look for a disk labeled “Removable” or “Offline.”
- The size of the disk can help you identify your external hard drive. It will typically be labeled with the manufacturer’s name or a model number.
- Take note of the disk number associated with your external hard drive. This number will be important when formatting the drive in the next step.
It is important to ensure that you select the correct disk for formatting to avoid any accidental loss of data. If you are unsure about which disk corresponds to your external hard drive, you can safely remove and reconnect the drive to refresh the list within the Disk Management tool.
Once you have successfully identified your external hard drive in the Disk Management tool, you are now ready to proceed with formatting the drive in the next step.
Remember that formatting the drive will erase all data on it, so ensure you have backed up any important files before proceeding. Now, let’s move on to the next step and format your external hard drive according to your requirements.
Step 4: Format the external hard drive
Now that you have located your external hard drive in the Disk Management tool, it’s time to format the drive. Follow these steps to format your external hard drive:
- Right-click on the disk corresponding to your external hard drive in the Disk Management window.
- A context menu will appear. Click on the “Format” option.
- In the Format window, you can customize the settings according to your preferences.
- Choose a name for the volume. This name will appear when the external hard drive is connected to your computer.
- Select the desired file system. For compatibility with Windows 7, the best choice is typically NTFS.
- You can choose to perform a quick format, which is faster but may not fully erase previous data, or a full format, which takes longer but provides better data erasure.
- Enable the “Perform a quick format” checkbox if you want to do a quick format.
- Ensure that the “Allocation unit size” is set to default, unless you have specific requirements.
- Click on the “OK” button to start the formatting process.
Once you click “OK,” Windows 7 will begin formatting your external hard drive. The time it takes to complete the formatting process depends on the size of the drive and the formatting options you have selected.
It’s important to note that all existing data on the external hard drive will be permanently erased during the formatting process. Therefore, make sure you have backed up any important files before proceeding.
After the formatting process is complete, you will have a newly formatted external hard drive that is ready for use with your Windows 7 computer. In the next step, we will guide you through assigning a drive letter to the external hard drive.
Step 5: Choose the desired file system for the external hard drive
When formatting your external hard drive in Windows 7, it is essential to select the appropriate file system. The file system determines how data is organized and stored on the drive, as well as its compatibility with different operating systems. Follow these steps to choose the desired file system for your external hard drive:
- After clicking on the “Format” option in the Disk Management tool, you will see a window with various formatting options.
- In the “File System” dropdown menu, select the file system that best suits your needs.
- The most common file system for Windows 7 is NTFS, which offers excellent performance, security, and support for large file sizes.
- If you intend to use the external hard drive with other devices, such as Mac computers or gaming consoles, you may need to select a different file system such as exFAT or FAT32, depending on the compatibility requirements.
- It is worth noting that FAT32 has inherent limitations, such as a maximum file size of 4GB, so consider your specific needs before choosing this file system.
- If you are unsure which file system to choose, consult the documentation or specifications for the device or operating system you plan to use the external hard drive with.
- Once you have selected the desired file system, you can proceed with the other formatting options or leave them at their default settings.
Remember to consider the compatibility of the selected file system with your intended usage to ensure seamless data transfer and access across different devices and operating systems.
After selecting the file system, click on the “OK” button to begin the formatting process. Windows 7 will now format your external hard drive with the chosen file system.
In the next step, we will guide you on how to assign a drive letter to your formatted external hard drive, allowing you to easily access and utilize the storage space.
Step 6: Assign a drive letter to the external hard drive
After formatting your external hard drive in Windows 7 and selecting the desired file system, the next step is to assign a drive letter. Assigning a drive letter allows you to easily identify and access your external hard drive on your computer. Follow these steps to assign a drive letter to your formatted external hard drive:
- Right-click on the formatted external hard drive in the Disk Management window.
- From the context menu, select the “Change Drive Letter and Paths” option.
- In the new window that appears, click on the “Add” button.
- Choose a drive letter from the available options. It is recommended to select a letter that is not already in use by other drives on your computer.
- Click on the “OK” button to confirm and assign the selected drive letter.
By assigning a drive letter, your formatted external hard drive will now be easily recognizable and accessible through Windows Explorer or File Explorer. The given drive letter will remain consistent even if you disconnect and reconnect the external hard drive.
Assigning a drive letter can help you conveniently manage and navigate your external hard drive’s contents, allowing you to efficiently transfer, store, and access files and folders.
Once you have successfully assigned a drive letter to your external hard drive, you are now ready to complete the formatting process in the next step.
In the final step, we will guide you through the necessary actions to complete the formatting process and use your newly formatted external hard drive with Windows 7.
Step 7: Complete the formatting process
Congratulations! You are now in the final step of the formatting process for your external hard drive in Windows 7. Follow these steps to complete the formatting process:
- After assigning a drive letter to your external hard drive, you can click on the “OK” button to return to the Disk Management window.
- You will now see your formatted external hard drive listed with the new drive letter and the status “Healthy (Primary Partition)”.
- Your external hard drive is now ready for use with your Windows 7 computer.
- You can open Windows Explorer or File Explorer and navigate to the newly assigned drive letter to access your external hard drive.
- You can now transfer files, create folders, and utilize the storage space of your external hard drive as needed.
With the formatting process complete, you have successfully prepared your external hard drive for use with Windows 7. It is important to note that any existing data on the drive has been permanently erased, so make sure you have backed up any important files before formatting the drive.
Remember to safely eject your external hard drive from your computer when you are finished using it to prevent data corruption or loss. You can do this by right-clicking on the drive in Windows Explorer or File Explorer and selecting the “Eject” option.
Now that you have completed the formatting process, you can enjoy the benefits of your newly formatted external hard drive, such as increased storage capacity and compatibility with your Windows 7 operating system.
Thank you for following this guide. We hope it has been helpful in formatting your external hard drive in Windows 7, allowing you to make the most of your storage device.
Conclusion
Formatting an external hard drive in Windows 7 is a straightforward process that allows you to prepare the drive for use and ensure compatibility with your operating system. By following the step-by-step guide outlined in this article, you have learned how to properly format your external hard drive and customize settings to meet your needs.
Throughout the formatting process, it is crucial to remember that all existing data on the drive will be permanently erased. Therefore, it is essential to back up any important files before proceeding with the formatting process.
From connecting the external hard drive to your computer, opening Windows Disk Management, and locating the drive, to formatting the drive with the desired file system, assigning a drive letter, and completing the process, you have gained the knowledge necessary to successfully format your external hard drive in Windows 7.
Remember to choose the appropriate file system based on your intended usage and compatibility requirements with other devices and operating systems. Additionally, assigning a drive letter allows for easy access and management of your external hard drive’s contents.
Once the formatting process is complete, your external hard drive is ready for use. You can transfer files, store data, and take advantage of the increased storage capacity provided by your newly formatted external hard drive.
Thank you for following this guide, and we hope it has been helpful in formatting your external hard drive in Windows 7. Enjoy using your formatted external hard drive with confidence and convenience!