Introduction
Booting from an external hard drive can be a useful solution for various scenarios on your Mac. Whether you’re looking to troubleshoot issues, perform system maintenance, or simply want a portable operating system, being able to boot from an external hard drive offers flexibility and convenience.
Typically, computers boot from the internal hard drive where the operating system is installed. However, by configuring your Mac to boot from an external hard drive, you can access a separate operating system installation that is stored on the external drive.
This can be especially helpful if you need to test software compatibility or access specific files on a different operating system version. Additionally, booting from an external hard drive allows you to free up space on your internal drive and use the external drive to store important files or back up your data.
In this guide, we will walk you through the process of booting from an external hard drive on your Mac. We will cover everything from preparing your external hard drive to setting up your Mac and troubleshooting common issues.
Whether you’re a tech-savvy user or a beginner, this step-by-step guide will help you navigate the process with ease. So, let’s dive in and learn how to boot from an external hard drive on your Mac!
Why Boot from an External Hard Drive?
Booting from an external hard drive offers several advantages and can be a valuable tool for Mac users. Here are a few reasons why you might consider booting from an external hard drive:
- Testing and Compatibility: Booting from an external hard drive allows you to test software or operating system updates without affecting your primary system. This can be particularly useful if you need to ensure compatibility or assess the performance of new software or updates before committing to them.
- System Maintenance and Troubleshooting: If your Mac experiences issues, booting from an external hard drive can help you isolate and troubleshoot the problem. By booting into a clean system on the external drive, you can determine if the problem lies with your hardware or software.
- Portable Operating System: Having a bootable external drive means you can bring your operating system with you wherever you go. This is beneficial if you frequently switch between multiple computers or need to access your customized system preferences and files on different Macs.
- Data Recovery and Backup: If your internal hard drive fails or becomes corrupted, a bootable external hard drive can be a lifesaver. By booting from the external drive, you can still access your files and perform data recovery operations. Additionally, you can use the external drive to create regular backups of your data for added security.
- Privacy and Security: Booting from an external hard drive can provide an extra layer of privacy and security. You can keep your personal files and sensitive information separate from your primary system by storing them on the external drive. This can be particularly important if you’re using a shared computer or need to protect your data from unauthorized access.
Overall, booting from an external hard drive offers flexibility, convenience, and peace of mind for Mac users. Whether you’re a developer, system administrator, or simply a user looking for added functionality and protection, having a bootable external drive is a powerful tool to have in your arsenal.
Preparing Your External Hard Drive
Before you can start the process of booting your Mac from an external hard drive, you need to prepare the drive appropriately. Here are the steps to follow:
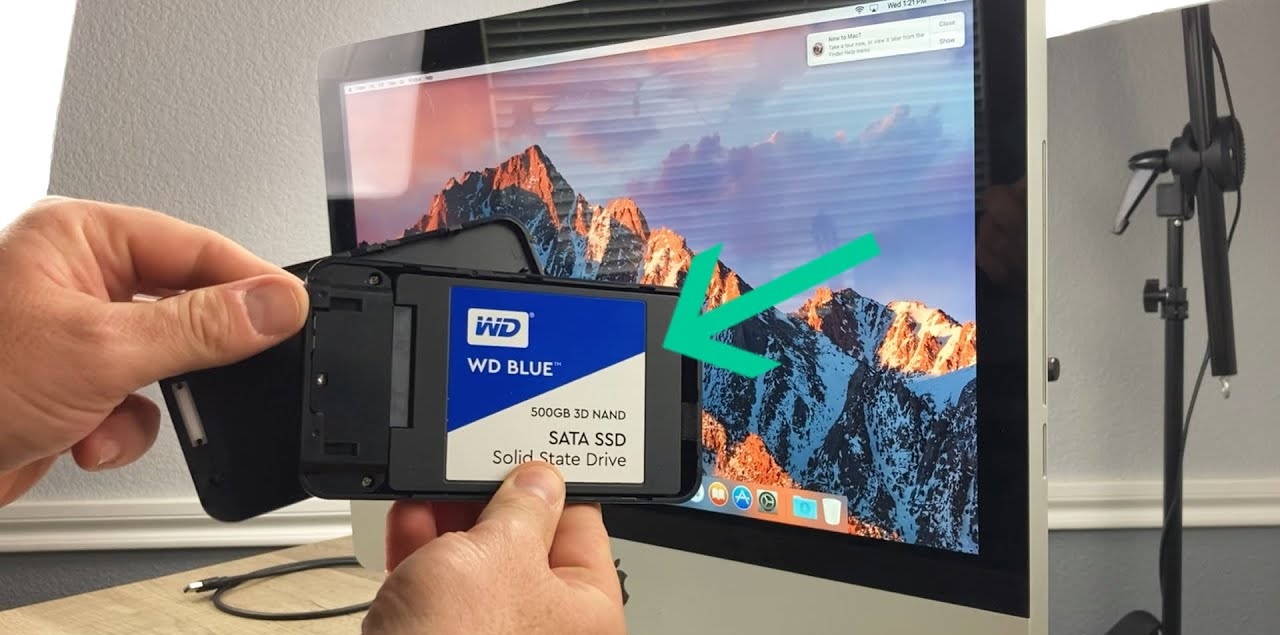
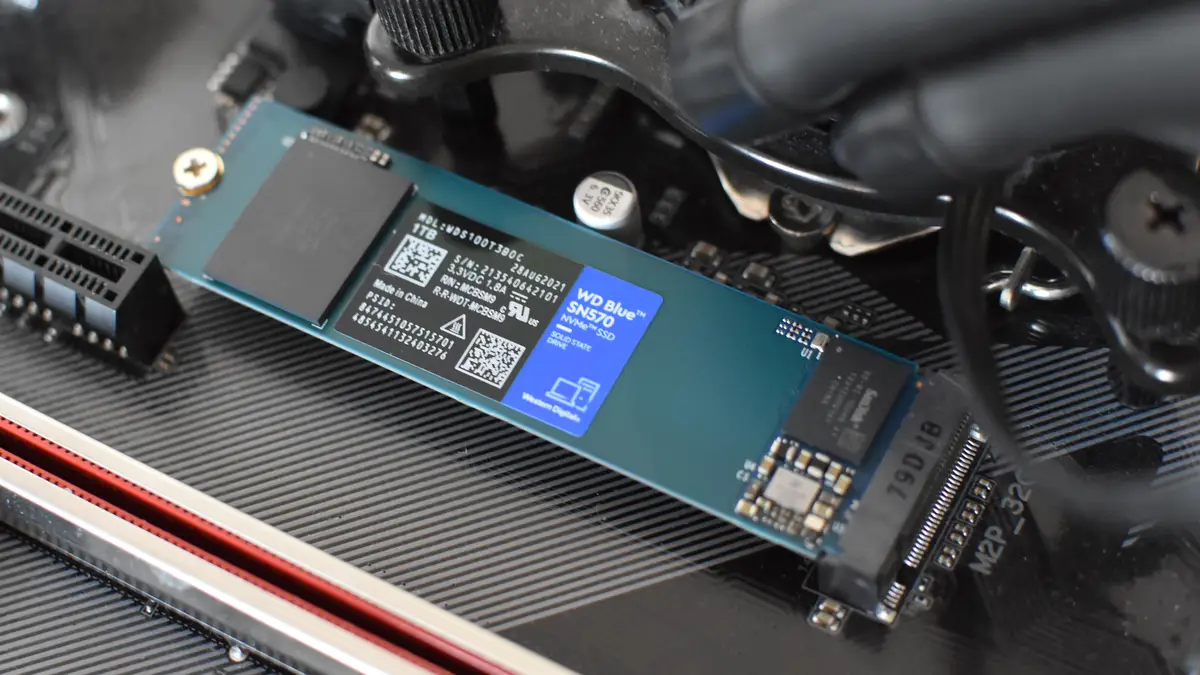
- Selecting the Right External Hard Drive: Ensure that you have a compatible external hard drive with enough capacity to install the desired operating system. It’s best to use a high-quality drive with ample storage space to accommodate the system files, applications, and your personal data.
- Backup Your Data: Before proceeding with any changes to your external hard drive, it’s crucial to create a backup of your existing data. This ensures that you don’t accidentally lose any important files during the setup process.
- Format the External Hard Drive: If the external hard drive is not yet formatted correctly, you’ll need to format it to a compatible file system. For macOS, it’s recommended to use the macOS Extended (Journaled) format. You can easily format the drive using the Disk Utility tool in macOS.
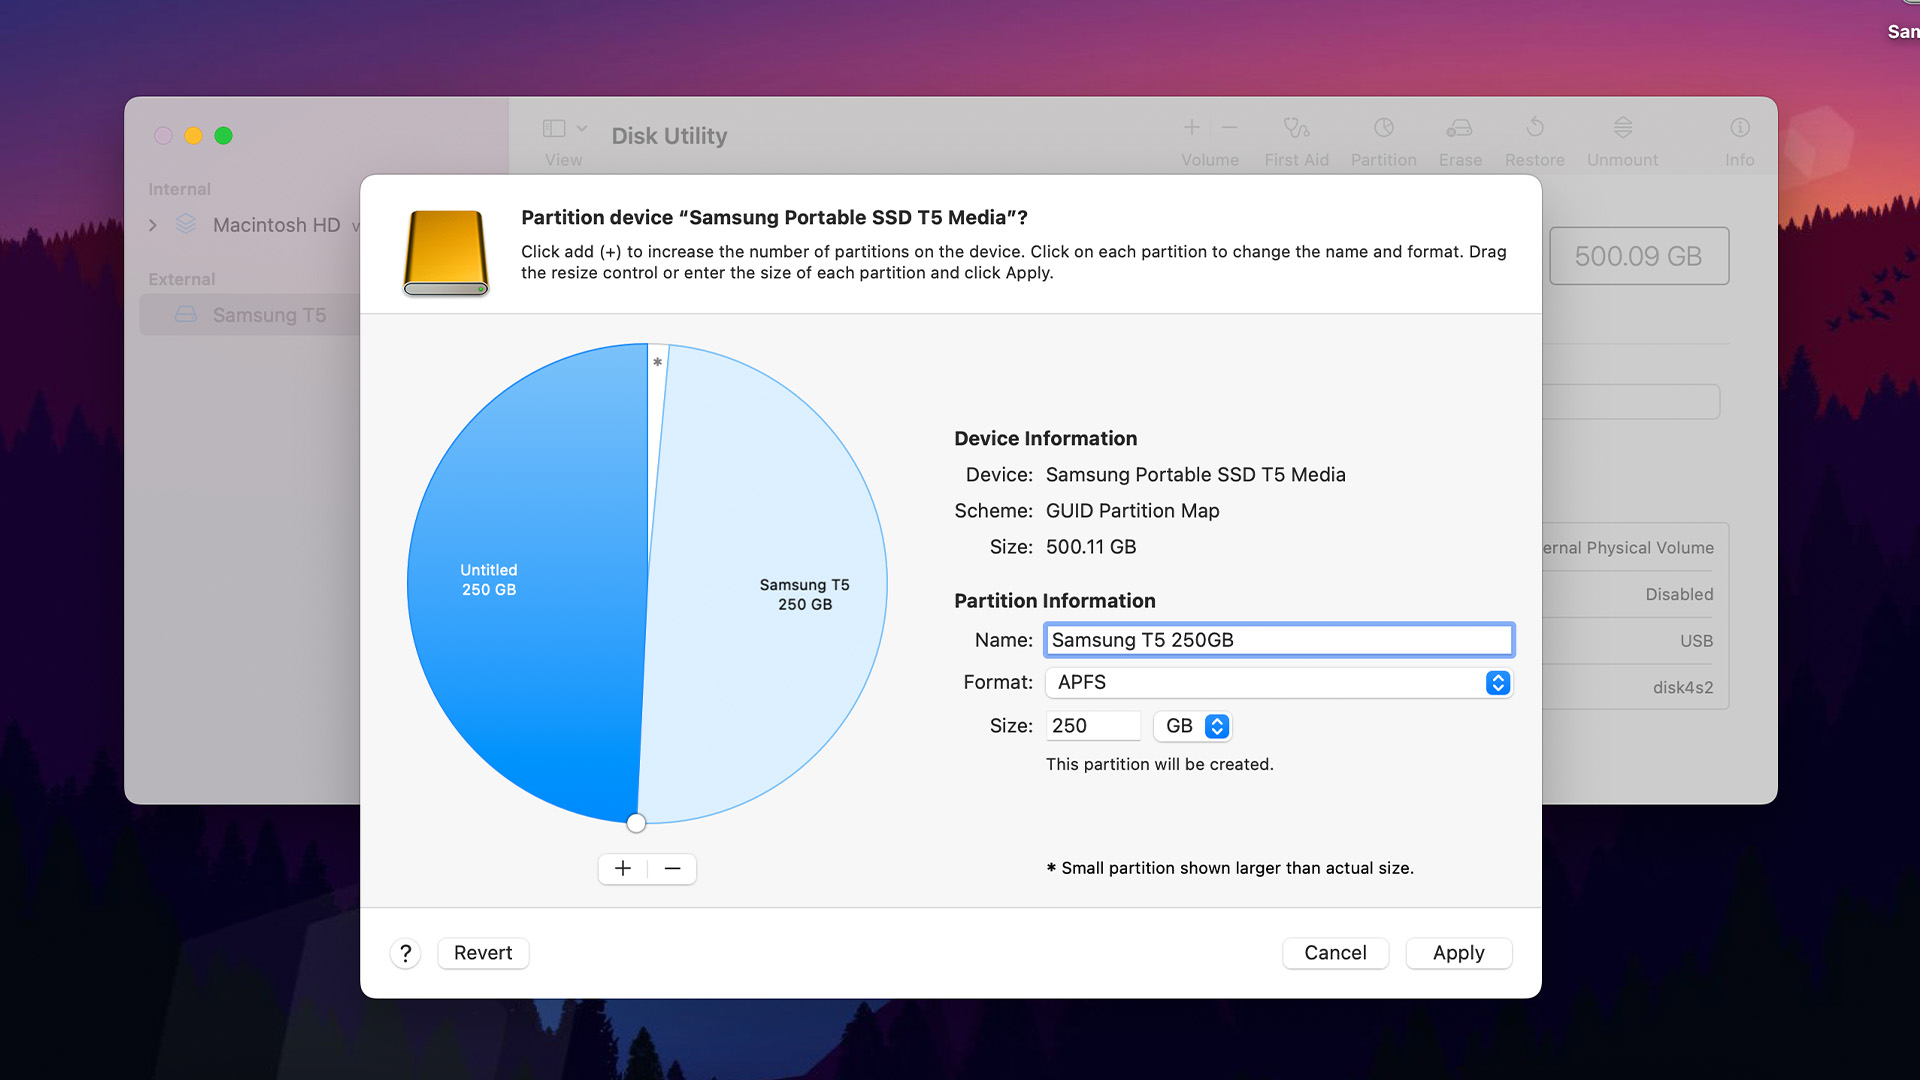
- Partition the External Hard Drive: If you want to install multiple operating systems on your external hard drive, you’ll need to partition it accordingly. The partition process divides the drive into separate sections, each acting as a separate disk. This allows you to install different operating systems on each partition.
- Create a Bootable Drive: To make your external hard drive bootable, you’ll need to create a bootable image or installer on the drive. This is typically done using a disk image (.dmg) file or a bootable installer created with a macOS installation file. Refer to the specific instructions for creating a bootable drive using your selected operating system version.
Once you have completed these steps, your external hard drive is now prepared and ready to be used as a bootable device for your Mac. In the next sections, we will guide you through the process of creating a bootable external hard drive and setting up your Mac to boot from it.
Making Sure Your Mac Supports Booting from an External Hard Drive
Before you proceed with the process of booting your Mac from an external hard drive, it’s important to ensure that your Mac supports this functionality. Here’s how you can check:
- Check Mac Model: Verify that your Mac model is capable of booting from an external hard drive. Most Mac computers released after 2012 support this feature, but it’s always best to double-check. You can find this information by clicking the Apple menu in the top-left corner of the screen, selecting “About This Mac,” and navigating to the “Overview” tab.
- Verify macOS Compatibility: Ensure that the version of macOS or OS X installed on your Mac is compatible with booting from an external hard drive. While most recent versions support this feature, it’s recommended to have the latest operating system installed for optimal compatibility.
- Check Firmware and Security Settings: Access your Mac’s firmware settings (also known as BIOS or EFI) and check if there are any restrictions or security settings that prevent booting from external devices. Restart your Mac and hold down the Option (Alt) key while it’s starting up. If you see a list of available startup disks, it means your Mac supports booting from external drives.
If you determine that your Mac is compatible and supports booting from an external hard drive, you’re all set to continue with the process. However, if your Mac does not support this feature, you may need to consider alternative methods or upgrades to achieve your desired outcome.
It’s important to note that booting from an external hard drive may vary slightly depending on your specific Mac model and operating system version. Therefore, it’s always a good idea to consult the official documentation or support resources provided by Apple for the most accurate and up-to-date information regarding your particular Mac model.
Creating a Bootable External Hard Drive
Creating a bootable external hard drive involves preparing the drive to contain the necessary files and configurations for booting your Mac. There are several methods to accomplish this, and we’ll walk you through two commonly used methods: using Terminal and using Disk Utility.
Method 1: Creating a Bootable External Hard Drive Using Terminal
Using Terminal allows you to manually create a bootable external hard drive. Here are the steps:
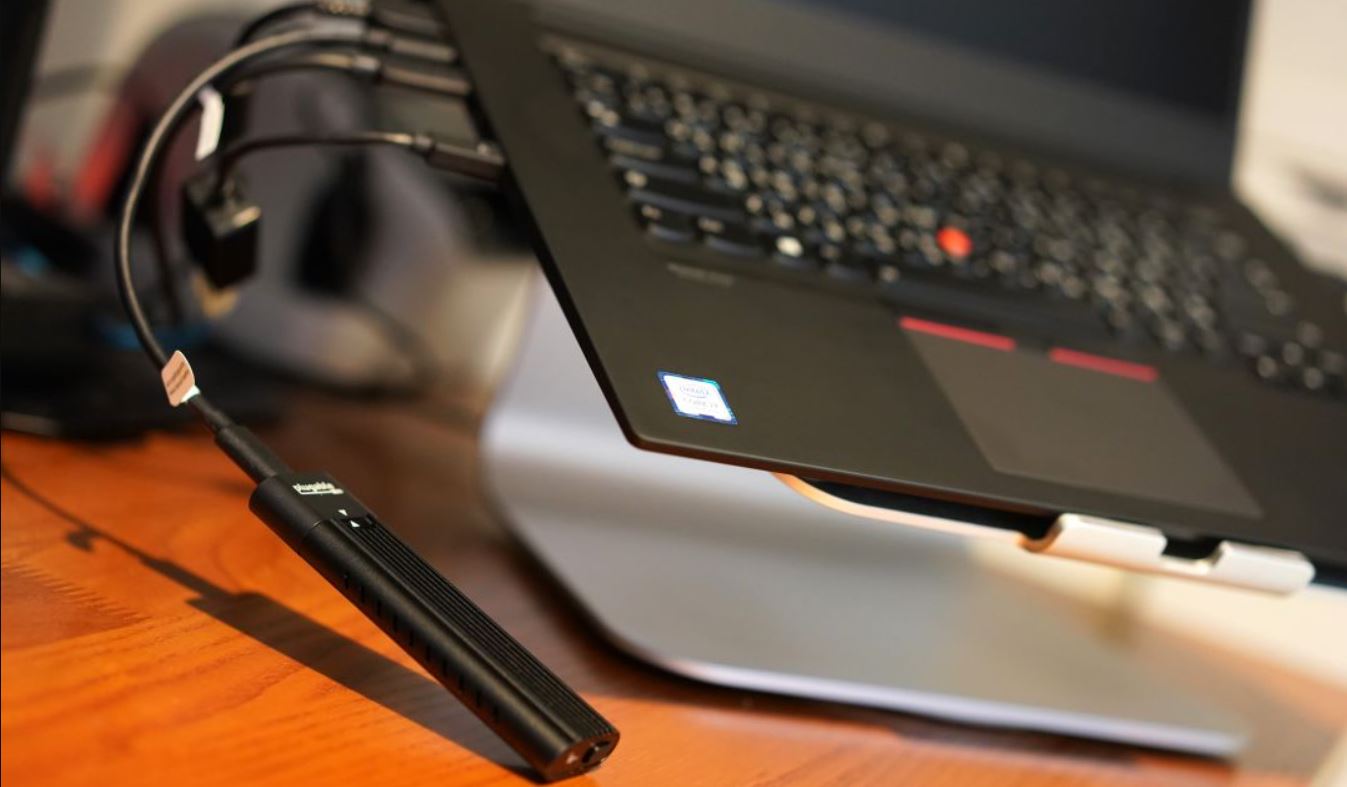
- Connect Your External Hard Drive: Connect the external hard drive to your Mac using a suitable cable or USB connection. Make sure the drive is recognized and appears in the Finder or on the desktop.
- Open Terminal: Launch the Terminal application on your Mac. You can find it within the Utilities folder in the Applications folder or by using Spotlight search.
- Identify the External Hard Drive: In Terminal, enter the command
diskutil list. This will display a list of all connected drives. Identify your external hard drive by its size or name. - Unmount the Drive: To make changes to the external drive, you need to unmount it. In Terminal, enter the command
diskutil unmountDisk /dev/diskX(replace “X” with the disk number of your external drive). - Create the Bootable Drive: In Terminal, enter the command
sudo dd if=/path/to/your/disk/image.dmg of=/dev/diskX bs=1m(replace “/path/to/your/disk/image.dmg” with the path to your bootable image file and “X” with the disk number of your external drive). - Monitor the Progress: The process may take some time, so be patient. You can monitor the progress in Terminal. Once the process is complete, Terminal will display a confirmation message.
Method 2: Creating a Bootable External Hard Drive Using Disk Utility
Using Disk Utility provides a more user-friendly approach to create a bootable external hard drive. Here’s how:
- Connect Your External Hard Drive: Connect the external hard drive to your Mac using a suitable cable or USB connection. Ensure that the drive is recognized and appears in the Finder or on the desktop.
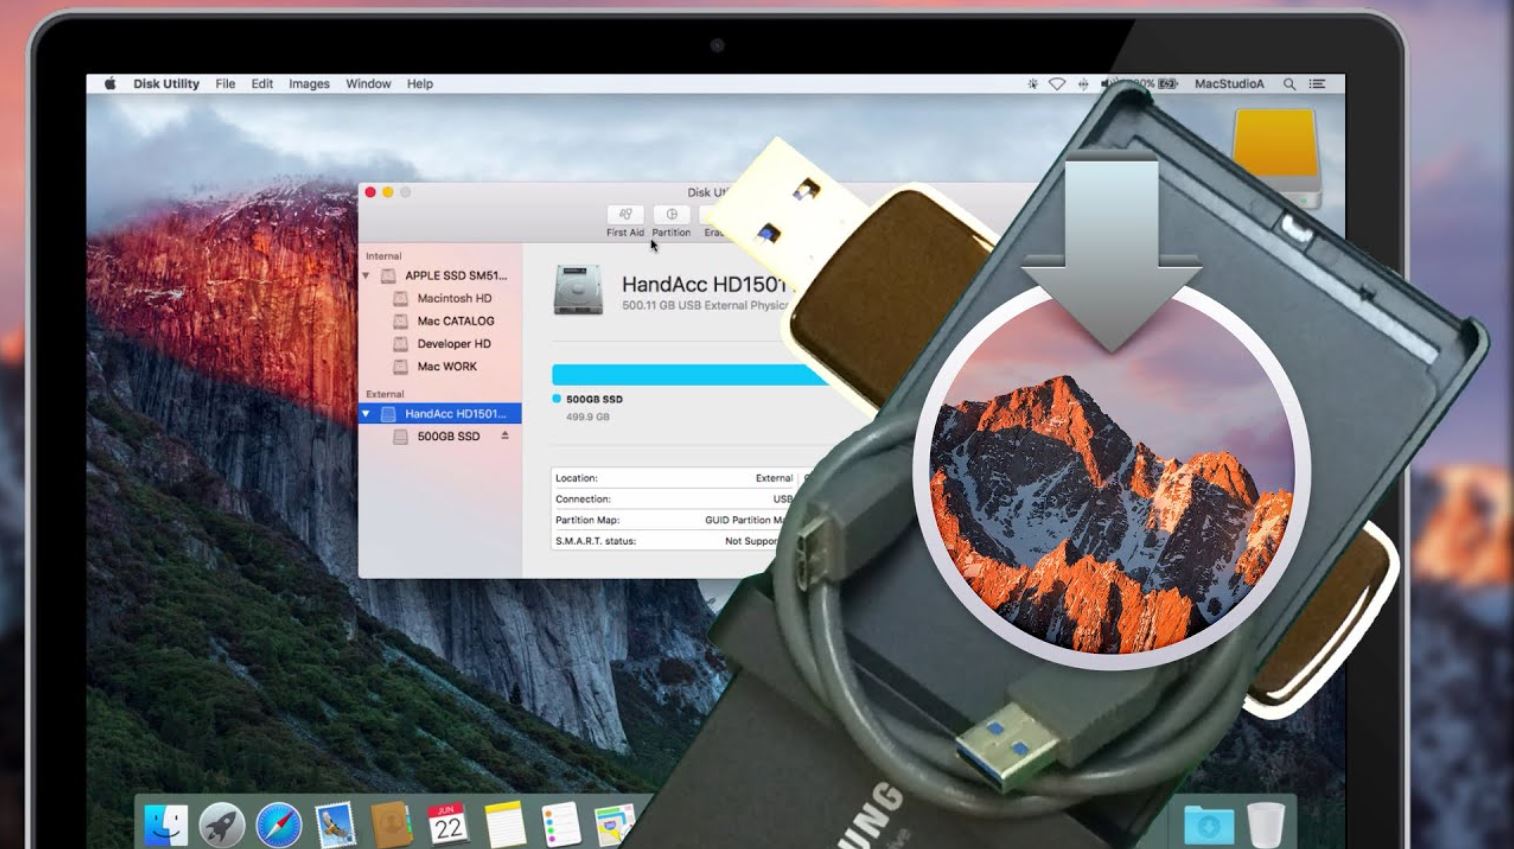
- Open Disk Utility: Launch the Disk Utility application on your Mac. You can find it within the Utilities folder in the Applications folder or by using Spotlight search.
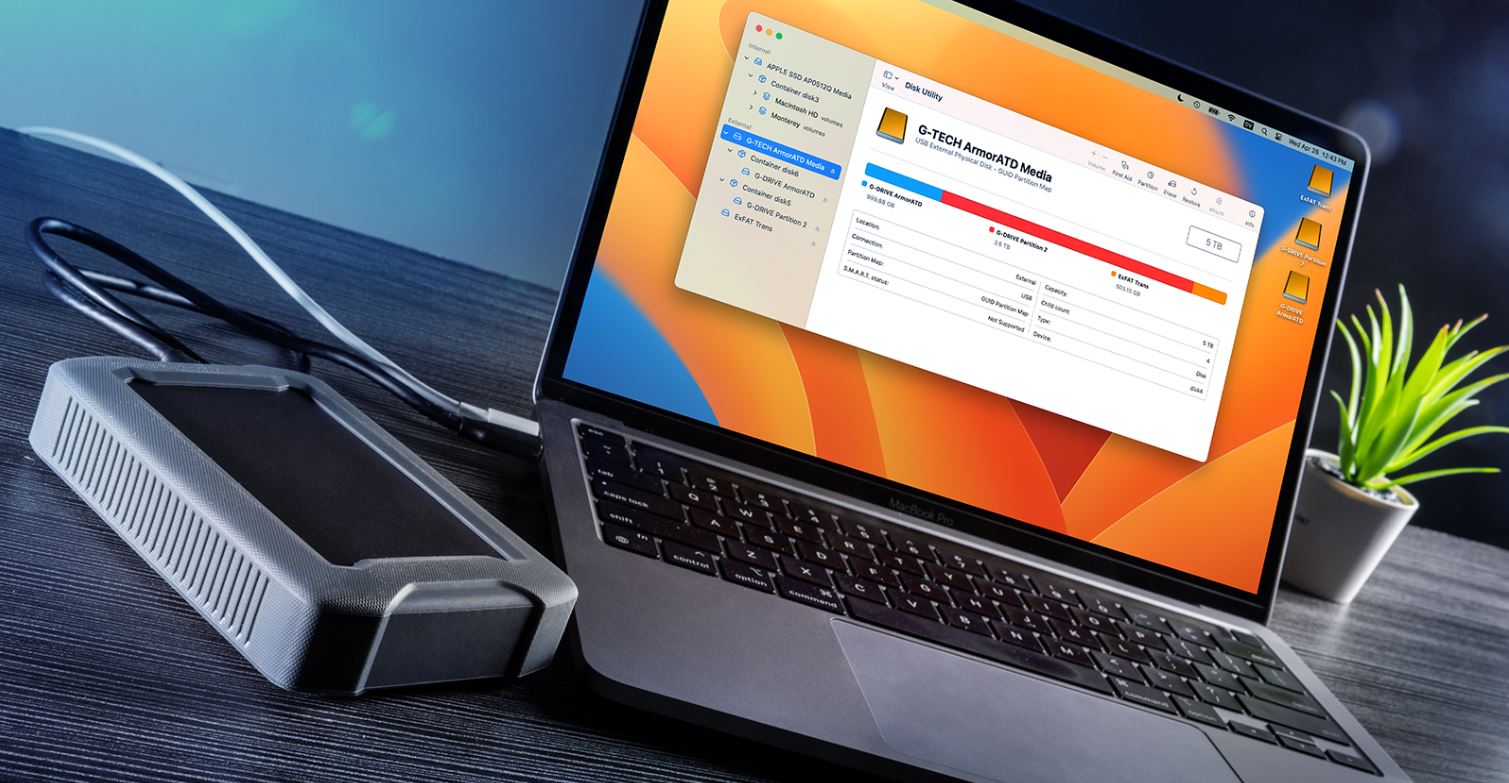
- Select the External Drive: In Disk Utility, locate your external hard drive from the list of available drives on the left-hand side.
- Erase and Format the Drive: Click on the “Erase” tab and choose a suitable format for the drive, such as “Mac OS Extended (Journaled)”. Give the drive a name and click “Erase” to format it.
- Create a Bootable Image: Click on the “Restore” tab and drag and drop the bootable image file into the “Source” field. Drag your newly formatted external hard drive into the “Destination” field.
- Start the Restore Process: Double-check that the correct source and destination are selected. Then click “Restore” and confirm any prompts or warnings. Disk Utility will begin creating the bootable external hard drive.
- Monitor the Progress: The process may take a while depending on the size of the image file and the speed of your Mac. Disk Utility will display a progress bar, and a confirmation message will be shown when the process is complete.
Once the bootable external hard drive has been created using either method, you’re ready to move on to the next step: setting up your Mac to boot from the external drive.
Method 1: Creating a Bootable External Hard Drive Using Terminal
If you prefer a more hands-on approach or want more control over the process, you can create a bootable external hard drive using Terminal. Here’s how:
- Connect Your External Hard Drive: Connect the external hard drive to your Mac using a suitable cable or USB connection. Make sure the drive is recognized and appears in the Finder or on the desktop.
- Open Terminal: Launch the Terminal application on your Mac. You can find it within the Utilities folder in the Applications folder or by using Spotlight search.
- Identify the External Hard Drive: In Terminal, enter the command
diskutil list. This will display a list of all connected drives. Identify your external hard drive by its size or name. - Unmount the Drive: To make changes to the external drive, you need to unmount it. In Terminal, enter the command
diskutil unmountDisk /dev/diskX, replacing “X” with the disk number of your external drive. - Create the Bootable Drive: In Terminal, enter the command
sudo dd if=/path/to/your/disk/image.dmg of=/dev/diskX bs=1m, replacing “/path/to/your/disk/image.dmg” with the path to your bootable image file and “X” with the disk number of your external drive. - Monitor the Progress: The process may take some time, so be patient. You can monitor the progress in Terminal. Once the process is complete, Terminal will display a confirmation message.
By following these steps, you can create a bootable external hard drive using Terminal. It’s important to note that the “dd” command used in this method can be powerful and destructive if not used correctly. Make sure to enter the commands accurately and double-check the disk numbers to avoid any unintended consequences or data loss.
Remember to replace “/path/to/your/disk/image.dmg” with the correct path to your bootable image file, and “X” with the appropriate disk number for your external drive.
Creating a bootable external hard drive using Terminal gives you greater control over the process and allows customization to suit your specific needs. However, it requires a bit more technical knowledge and attention to detail compared to other methods. If you’re comfortable working in Terminal and prefer a hands-on approach, this method may be the right choice for you.
Method 2: Creating a Bootable External Hard Drive Using Disk Utility
If you prefer a user-friendly and straightforward method to create a bootable external hard drive, you can use Disk Utility. Here’s how:
- Connect Your External Hard Drive: Connect the external hard drive to your Mac using a suitable cable or USB connection. Ensure that the drive is recognized and appears in the Finder or on the desktop.
- Open Disk Utility: Launch the Disk Utility application on your Mac. You can find it within the Utilities folder in the Applications folder or by using Spotlight search.
- Select the External Drive: In Disk Utility, locate your external hard drive from the list of available drives on the left-hand side.
- Erase and Format the Drive: Click on the “Erase” tab in the Disk Utility window. Choose a suitable format for the drive, such as “Mac OS Extended (Journaled)”. Give the drive a name and click “Erase” to format it.
- Create a Bootable Image: Click on the “Restore” tab in the Disk Utility window. Drag and drop the bootable image file into the “Source” field. Then, drag your newly formatted external hard drive into the “Destination” field.
- Start the Restore Process: Double-check that the correct source and destination are selected. Then, click “Restore” and confirm any prompts or warnings that appear. Disk Utility will begin creating the bootable external hard drive.
- Monitor the Progress: The process may take some time, depending on the size of the image file and the performance of your Mac. Disk Utility will display a progress bar, and a confirmation message will be shown when the process is complete.
By following these steps in Disk Utility, you can create a bootable external hard drive easily and quickly. Disk Utility provides a user-friendly interface and simplifies the process by guiding you through each step. It’s a great option for those who prefer a more intuitive approach and want to avoid working with command-line tools.
Remember to double-check the accuracy of the source and destination selections before starting the restore process to ensure that the bootable image is applied to the correct drive.
Whether you choose to use Terminal or Disk Utility, both methods will enable you to create a bootable external hard drive effectively. Choose the method that aligns with your comfort level and technical understanding. Once your bootable external hard drive is created, you can proceed to the next step of setting up your Mac to boot from it.
Setting Up Your Mac to Boot from an External Hard Drive
After creating a bootable external hard drive, you need to configure your Mac to boot from it. Here’s how you can set up your Mac to boot from an external hard drive:
- Restart Your Mac: Save any open work and restart your Mac.
- Access Startup Manager: As your Mac restarts, hold down the Option (Alt) key on your keyboard. This will bring up the Startup Manager, which displays all available startup disks.
- Select the External Hard Drive: From the Startup Manager, use the arrow keys or trackpad to navigate to the external hard drive you want to boot from. Once selected, press Enter or click on the arrow indicated beside the drive name.
- Wait for the Mac to Boot: Your Mac will now boot from the external hard drive. The startup process may take a little longer than usual, as the system is accessing the operating system on the external drive.
- Set Up Your Mac: Follow the on-screen instructions to set up your Mac using the operating system on the external hard drive. This may include creating a user account, agreeing to terms and conditions, and configuring preferences.
Once you’ve completed these steps, your Mac will be configured to boot from the external hard drive. This means that every time you start or restart your Mac, it will automatically boot from the operating system stored on the external drive.
If you want to revert to your original startup disk and stop booting from the external hard drive, simply restart your Mac, hold down the Option (Alt) key, and select your internal startup disk from the Startup Manager.
Keep in mind that setting up your Mac to boot from an external hard drive does not erase or replace the operating system on your internal drive. It simply allows you to choose an alternative operating system stored on the external drive at startup.
Now that your Mac is set up to boot from the external hard drive, you can enjoy the benefits and flexibility it provides. Whether you need to troubleshoot, test software compatibility, or simply have a portable operating system, booting from an external hard drive offers a convenient and adaptable solution.
Rebooting and Selecting the External Hard Drive as the Startup Disk
Once you’ve set up your Mac to boot from an external hard drive, rebooting and selecting the external drive as the startup disk becomes a straightforward process. Here’s how you can do it:
- Save and Close: Make sure to save any open documents and close all running applications on your Mac.
- Restart Your Mac: Click on the Apple menu in the top-left corner of the screen and select “Restart.”
- Access Startup Manager: As your Mac restarts, hold down the Option (Alt) key on your keyboard. The Startup Manager screen will appear, displaying all available startup disks.
- Select the External Hard Drive: Use the arrow keys or trackpad to navigate to the external hard drive you want to use as the startup disk. Click on the arrow indicated beside the drive name or press Enter.
- Wait for the Mac to Boot: Your Mac will now boot from the selected external hard drive. The startup process may take a little longer than usual, as the system is accessing the operating system on the external drive.
By following these steps, you can easily reboot your Mac and select the external hard drive as the startup disk. The Startup Manager provides a convenient way to choose the desired drive for booting without the need to change any permanent settings.
If you want to revert to your original startup disk and stop booting from the external hard drive, simply restart your Mac, hold down the Option (Alt) key, and select your internal startup disk from the Startup Manager.
It’s important to keep in mind that once you restart your Mac and select the external hard drive as the startup disk, the system will always boot from the operating system stored on that drive until you change the selection in the Startup Manager.
Now that you know how to reboot and select the external hard drive as the startup disk, you can easily switch between operating systems and enjoy the benefits and flexibility that booting from an external drive provides.
Boot from the External Hard Drive
Once you have set up your Mac to boot from an external hard drive and selected it as the startup disk, you can now proceed to boot your Mac from the external drive. Here’s what you need to do:
- Ensure the External Hard Drive Is Connected: Make sure that the external hard drive is securely connected to your Mac.
- Restart Your Mac: Click on the Apple menu in the top-left corner of the screen and select “Restart.”
- Wait for the Startup Chime: As your Mac restarts, you will hear a startup chime. This indicates that the booting process has begun.
- Booting from the External Hard Drive: Your Mac will automatically detect the bootable operating system on the external hard drive and start booting from it. This process may take a little longer than usual, as it is accessing the operating system files on the external drive.
- Follow the On-screen Instructions: Once the booting process is complete, the selected operating system on the external hard drive will launch. You can now proceed with setting up or using your Mac as usual.
With each subsequent restart, your Mac will continue to boot from the external hard drive until you change the startup disk selection in the Startup Manager or revert back to your internal startup disk.
Booting from the external hard drive allows you to access a separate operating system installation, which could be useful for troubleshooting, testing software compatibility, or working with a specific version of an operating system. It provides the flexibility to switch between different operating systems without affecting your primary setup.
Remember to always keep the external hard drive connected when you want to boot from it. If the drive is disconnected during the startup process, your Mac will default back to the previously selected startup disk.
Now that you know how to boot your Mac from an external hard drive, you can take advantage of the benefits and versatility it offers. Whether you need to carry your customized operating system with you or troubleshoot issues, booting from an external drive provides an efficient solution.
Troubleshooting Common Issues
While booting from an external hard drive on your Mac can offer convenience and flexibility, there may be instances where you encounter issues. Here are some common troubleshooting tips to help you overcome potential problems:
- Check External Drive Connectivity: Ensure that the external hard drive is securely connected to your Mac. Sometimes, loose connections can prevent the drive from being recognized at startup.
- Verify Startup Disk Selection: If your Mac is not booting from the external hard drive as expected, restart your Mac and hold down the Option (Alt) key to access the Startup Manager. Double-check that the external drive is selected as the startup disk.
- Verify Bootable Drive Setup: Confirm that you have correctly followed the steps to create a bootable external hard drive. Make sure that the drive is properly formatted, and the bootable image or installer files are correctly copied onto it.
- Update macOS: Ensure that you have the latest version of macOS installed on both your Mac’s internal drive and the external hard drive. Outdated operating systems may cause compatibility issues and prevent successful booting.
- Reset NVRAM/PRAM: Resetting the NVRAM (or PRAM) on your Mac can sometimes resolve booting issues. Restart your Mac and hold down the Option (Alt) + Command + P + R keys simultaneously until you hear the startup chime for the second time.
- Try a Different Port or Cable: If the external drive is not detected during startup, try connecting it to a different USB or Thunderbolt port on your Mac. Additionally, test with a different cable to rule out any connection-related issues.
- Check for Firmware Updates: Make sure that your Mac’s firmware is up to date. Visit the Apple Support website and download any available firmware updates for your specific Mac model.
- Perform Disk Utility Repair: If your external hard drive is experiencing disk-related issues, use Disk Utility to repair disk permissions and verify the integrity of the drive. Open Disk Utility, select the external drive, and click on “First Aid” to begin the repair process.
- Consult Apple Support: If you have exhausted all troubleshooting options and still encounter problems, consider reaching out to Apple Support or visiting an Apple Store for further assistance.
Remember to consult the specific documentation or support resources provided by Apple for your Mac model and operating system version. They may provide additional troubleshooting steps or specific recommendations based on your hardware and software configuration.
By following these troubleshooting steps and seeking assistance when needed, you can overcome common issues and ensure a smooth experience when booting from an external hard drive on your Mac.
Conclusion
Booting from an external hard drive on your Mac provides you with flexibility, convenience, and access to alternate operating systems. It allows you to troubleshoot issues, test software compatibility, and carry your customized setup with you wherever you go. Setting up and booting from an external hard drive may seem daunting at first, but by following the steps outlined in this guide, you can navigate the process successfully.
We began by highlighting the advantages of booting from an external hard drive, including the ability to test new software, perform system maintenance, and have a portable operating system. We then walked through the essential steps, such as preparing your external hard drive, ensuring compatibility with your Mac, creating a bootable drive using different methods, and setting up your Mac to boot from the external drive.
Furthermore, we discussed how to reboot your Mac and select the external hard drive as the startup disk, and finally explained the process of booting your Mac from the external drive. Troubleshooting tips were also provided to help resolve common issues that may arise during the booting process.
Remember, while following the steps and troubleshooting tips mentioned in this guide can help you successfully boot from an external hard drive, it’s crucial to exercise caution and backup any important data before making any changes to your system.
By utilizing the knowledge gained from this guide, you can take full advantage of the benefits that booting from an external hard drive offers. Whether you’re a tech enthusiast, a system administrator, or a casual user, booting from an external hard drive can enhance your Mac experience and provide you with the flexibility you need.
So, go ahead, explore the possibilities, and enjoy the convenience of having portable and adaptable operating systems at your fingertips with a bootable external hard drive on your Mac.