Introduction
Welcome to this step-by-step guide on how to restore your Mac from an external hard drive. Whether you’ve experienced a system crash, need to transfer your data to a new Mac, or simply want to revert to a previous state, restoring your Mac from an external hard drive can be a relatively simple and efficient solution. This process involves using a backup created by the Time Machine feature to restore your files, applications, and settings.
Having a recent backup ensures that you won’t lose important data in the event of a hardware failure, accidental deletion, or other unforeseen circumstances. By using an external hard drive as a backup storage device, you can have peace of mind knowing that your valuable files are protected and easily restorable.
In this guide, we will take you through the process of restoring your Mac from an external hard drive using the built-in Time Machine feature. We will cover each step in detail, from connecting the external hard drive to verifying the restore process. By following these steps, you can seamlessly restore your Mac to its previous state and get back to work without any major disruptions.
Before we begin, make sure you have an external hard drive with a recent Time Machine backup of your Mac available. Additionally, ensure that you have a stable internet connection, as we may need to download certain components during the restoration process. Now, let’s dive in and discover how to restore your Mac from an external hard drive.
Step 1: Connecting the External Hard Drive
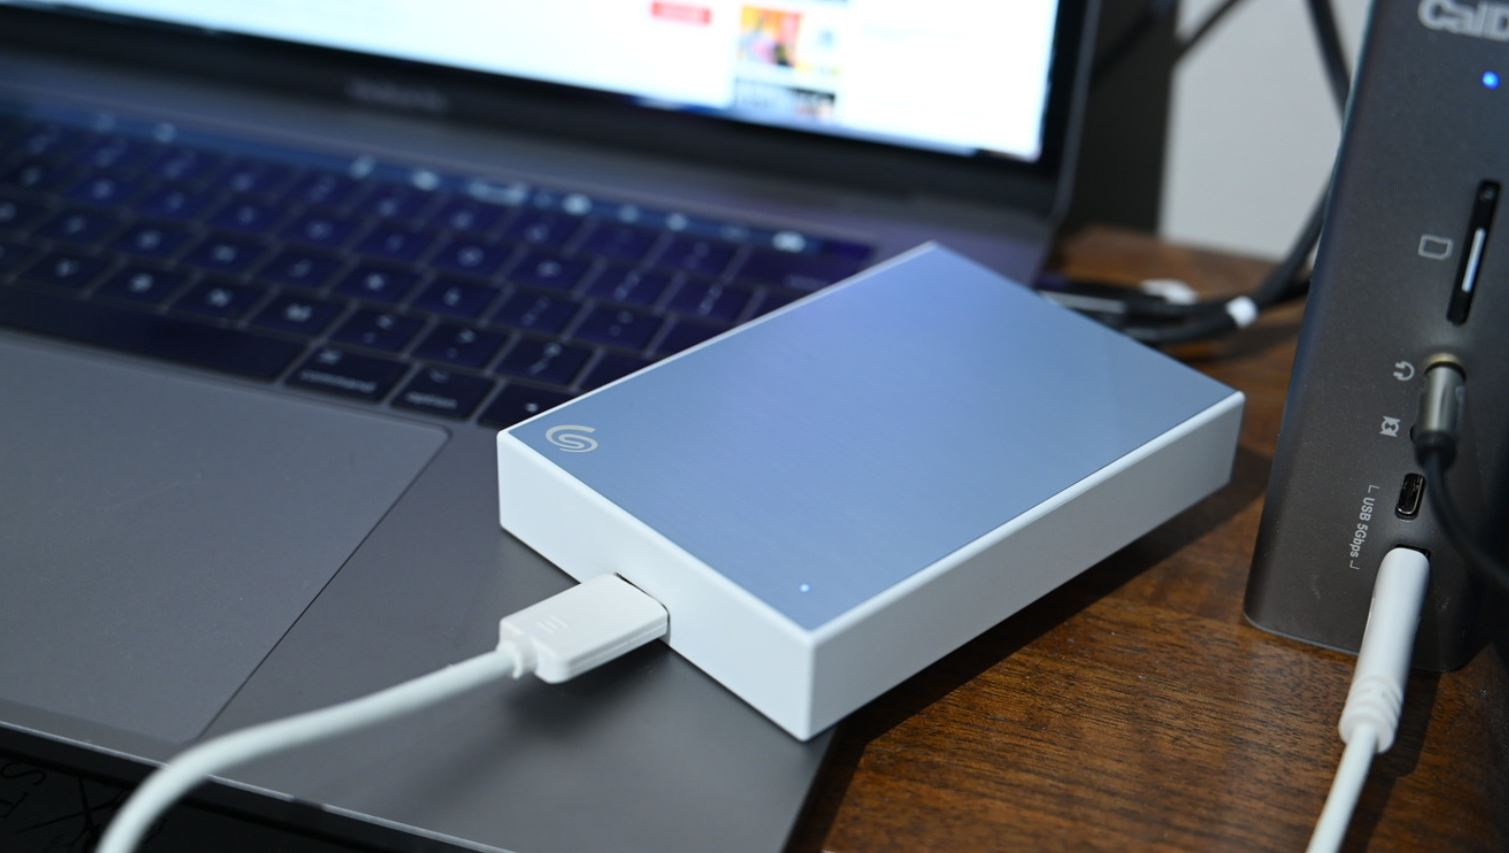
The first step in restoring your Mac from an external hard drive is to connect the device to your Mac. Here’s how you can do it:
- Locate the USB or Thunderbolt port on your Mac. Depending on the model, this port can be on the side or back of your computer.
- Take your external hard drive’s USB or Thunderbolt cable and connect it to the port on your Mac. Ensure that the connection is secure.
- If your external hard drive has a power source, plug it into an electrical outlet. This step is only necessary if your hard drive requires external power.
- Once the external hard drive is connected, you should see it appear on your Mac’s desktop or in the Finder sidebar. It may take a few moments for your Mac to recognize the device.
If you don’t see the external hard drive appearing on your Mac, try the following troubleshooting steps:
- Check the USB or Thunderbolt cable to ensure it is not damaged.
- Try connecting the external hard drive to a different USB or Thunderbolt port on your Mac.
- Restart your Mac and see if the external hard drive is detected upon startup.
- If none of these steps work, there may be an issue with the external hard drive itself. Consider seeking professional help or contacting the manufacturer for support.
Once the external hard drive is successfully connected and recognized by your Mac, you are ready to move on to the next step: restarting your Mac in Recovery Mode.
Step 2: Restarting the Mac in Recovery Mode
Before we can proceed with the restoration process, we need to restart your Mac in Recovery Mode. This mode provides advanced troubleshooting options and allows you to access various system utilities, including the one necessary for restoring your Mac from a Time Machine backup. Here’s how you can enter Recovery Mode:
- Save any open work and close all applications on your Mac.
- Click on the Apple menu located in the top-left corner of your screen.
- From the drop-down menu, choose “Restart” to initiate the restart process.
- As your Mac is restarting, immediately press and hold the Command and R keys simultaneously. Keep holding them until you see the Apple logo or a spinning globe on the screen.
- After a few moments, your Mac will enter Recovery Mode, displaying a window with various options.
- You may be prompted to select a Wi-Fi network if you are not connected via Ethernet. Choose your network and enter the password if necessary.
Once you’ve successfully entered Recovery Mode, you can proceed to the next step to select the external hard drive as the startup disk.
Step 3: Selecting the External Hard Drive as the Startup Disk
Now that your Mac is in Recovery Mode, it’s time to select the external hard drive as the startup disk. This will ensure that your Mac boots up from the backup stored on the external hard drive rather than the internal drive. Here’s how you can do it:
- In the “macOS Utilities” window displayed in Recovery Mode, locate and click on the “Startup Disk” option. This will open the Startup Disk utility.
- Within the Startup Disk utility, you should see a list of available disks and volumes. Look for the external hard drive containing the Time Machine backup. It might appear as “Time Machine Backup” or with a specific name you assigned.
- Select the external hard drive by clicking on it. You may be required to enter your administrator password to make changes.
- Double-check that you have selected the correct disk before proceeding.
- Once you’ve chosen the external hard drive as the startup disk, click on the “Restart” button at the bottom of the Startup Disk utility window.
Your Mac will now restart and boot up from the selected external hard drive. This might take a bit longer than usual as your Mac loads the operating system and files from the backup on the external drive.
It is crucial to remember that during this process, your Mac will run on the backup, meaning any changes made to files or applications will not affect your original system. This ensures that your data remains intact until the restoration is complete.
Next, we’ll move on to the fourth step: restoring your Mac from the Time Machine backup.
Step 4: Restoring from Time Machine Backup
With your Mac now booted up from the external hard drive, it’s time to initiate the restoration process from the Time Machine backup. Follow these steps:
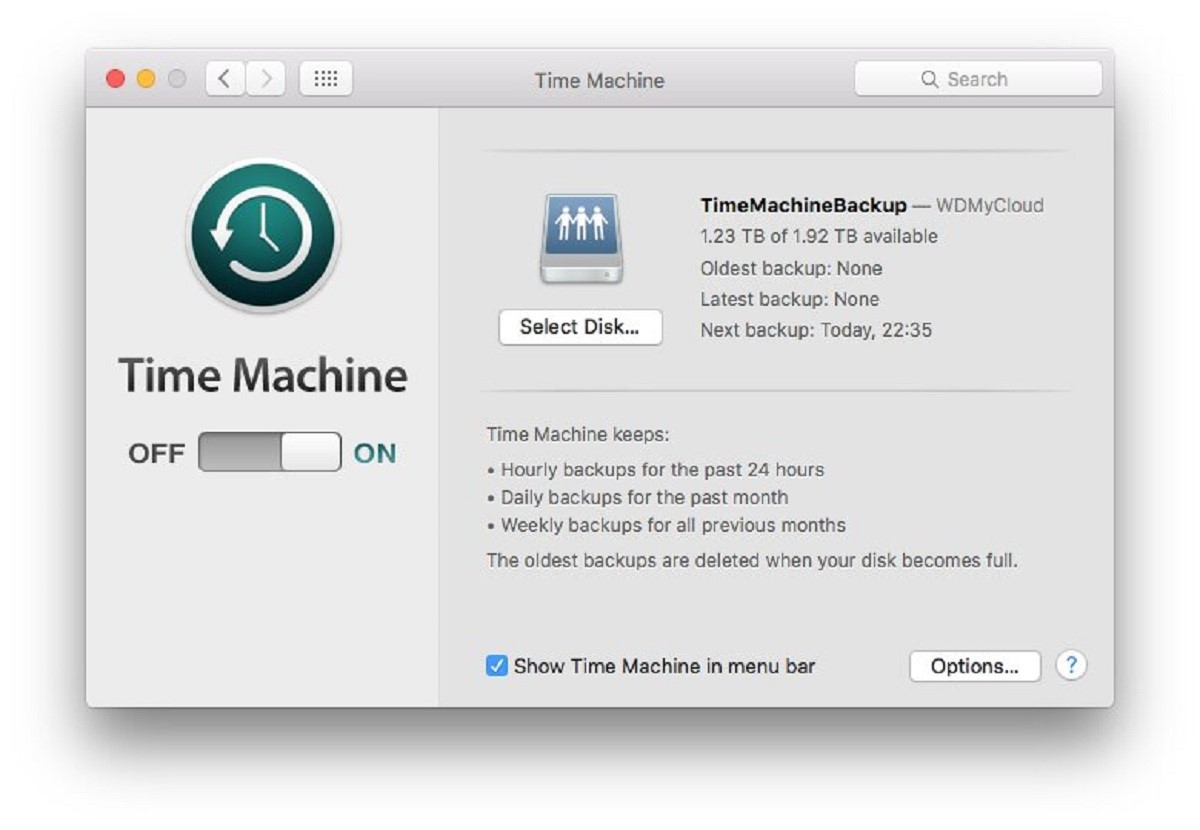
- In the macOS Utilities window, select “Restore from Time Machine Backup.” This will open the Time Machine utility.
- You should see a list of available backups organized by date and time. Choose the most recent backup or the one you wish to restore from.
- If you have multiple backups on different external hard drives or network storage, make sure you select the correct backup source.
- Click “Continue” to proceed with the restoration process.
- The Time Machine utility will now begin to restore your Mac from the selected backup. This process might take some time, depending on the size of the backup and the speed of your external hard drive.
- During the restoration, you might be prompted to enter your Time Machine backup password if you have set one.
- Once the restoration is complete, your Mac will restart, and you will be able to access your restored files, applications, and settings.
It is important to note that any data or changes made after the backup was created will not be included in the restoration. If you have any additional files or documents that you need to recover, make sure to back them up separately before initiating the Time Machine restoration.
Now that the restoration process is complete, we can move on to verifying the restore process to ensure that all your data has been successfully restored.
Step 5: Verifying the Restore Process
After restoring your Mac from a Time Machine backup, it is crucial to verify the restore process to ensure that all your files and settings have been successfully transferred. Here’s how you can verify the restore process:
- Take a look at your desktop and file organization. Check if all your files and folders are present as they were before the restoration. Pay close attention to any recent files or changes you made to ensure they are intact.
- Open a few applications and see if they are working correctly. Test functionalities and settings to ensure everything is functioning as expected.
- Verify if your internet connection is working properly. Connect to your Wi-Fi network or use an Ethernet cable to ensure a stable connection.
- Check your email accounts and other online services to see if they have been properly synced and set up.
- Inspect the System Preferences and other settings to ensure they match your preference and customizations.
- Test any connected peripherals, such as printers, scanners, or external monitors, to ensure they are recognized and functioning correctly.
- Go through your applications, documents, and media files to ensure nothing is missing or corrupted.
- If you notice any issues or inconsistencies during the verification process, consider restarting your Mac and checking again. Sometimes, a simple restart can resolve minor glitches.
If everything appears to be working correctly and your files are all intact, congratulations! You have successfully restored your Mac from a Time Machine backup. Your Mac should now be fully operational and ready for use.
However, if you encounter any significant issues or errors during the verification process, you may need to repeat the restore process or seek further assistance from Apple Support or a professional technician.
Now that you have verified the restore process, we can move on to the final step: setting up your restored Mac.
Step 6: Setting up the Restored Mac
Now that you have successfully restored your Mac from a Time Machine backup, it’s time to set up your Mac to ensure it is personalized and ready for your use. Here are the steps to follow:
- Review and update your security settings. Go to “System Preferences” and navigate to “Security & Privacy.” Adjust the settings according to your preferences, including enabling FileVault for data encryption and setting up a login password.
- Customize your desktop and display settings. Right-click on the desktop and select “Change Desktop Background” to choose a wallpaper. In “System Preferences,” choose “Displays” to adjust the screen resolution and other display settings.
- Configure your internet connection. Go to “System Preferences” and select “Network.” Connect to your Wi-Fi network or set up an Ethernet connection. Verify that your internet connection is stable and functioning properly.
- Set up and customize your email accounts. Open the native “Mail” application and add your email accounts. Follow the on-screen instructions to configure the settings and sync your emails, contacts, and calendars.
- Install and update software. Check if you need to install any additional software or updates. Visit the Mac App Store or the respective software websites to download and install the desired applications.
- Restore any additional files or data. If you have files or documents that were not included in the Time Machine backup, transfer them to your restored Mac using an external storage device or cloud storage.
- Set up your preferences and customizations. Explore the “System Preferences” options and customize your Mac according to your preferences. Adjust settings for notifications, trackpad gestures, keyboard shortcuts, and more.
- Ensure that your Time Machine backup is up to date. Connect your external hard drive and let Time Machine perform a backup of your restored Mac. This is crucial for future data protection and restoration.
By following these steps, you can personalize and optimize your restored Mac to match your workflow and preferences. Take your time to go through each setting and make adjustments as necessary.
Congratulations! You have completed the final step in the restoration process. Your Mac is now ready to use with all your files, applications, and settings restored.
Remember to regularly back up your Mac using Time Machine or other backup solutions to ensure you have the latest backup of your data in case of any future issues.
Conclusion
Restoring your Mac from an external hard drive using Time Machine can be a lifesaver when you encounter issues or need to transfer data to a new Mac. It provides a convenient and efficient way to revert to a previous state and ensures that your valuable files and settings are protected.
Throughout this guide, we have discussed the step-by-step process of restoring your Mac from an external hard drive. We covered connecting the external hard drive, restarting your Mac in Recovery Mode, selecting the external hard drive as the startup disk, restoring from the Time Machine backup, verifying the restore process, and setting up your restored Mac.
By following these steps, you can seamlessly restore your Mac to its previous state and get back to work without losing any important data. Remember to always keep your Time Machine backup up to date and regularly perform backups to ensure the safety of your files.
If you encounter any issues or have questions during the restoration process, don’t hesitate to seek assistance from Apple Support or a professional technician. They can provide additional guidance and troubleshooting to help you successfully restore your Mac.
Now that you are familiar with the restoration process, you have the knowledge to confidently restore your Mac from an external hard drive using Time Machine. Whether it’s recovering from a system crash or transferring your data, you now have the tools to take control and ensure that your Mac is restored to its full functionality.
Thank you for following this guide, and we hope that it has been helpful in restoring your Mac and getting you back on track!