Introduction
When it comes to managing your files and ensuring their safety, having a backup of your data is crucial. An external hard drive can be a reliable and convenient solution for storing your files, providing you with the flexibility to access them on different devices. However, there may be times when you need to copy the contents from one external hard drive to another, especially if you want to upgrade to a larger capacity drive or need to create a duplicate for backup purposes.
If you’re a Mac user, you’ll be pleased to know that the process of copying one external hard drive to another is straightforward and can be accomplished using the built-in Disk Utility tool. Disk Utility is a powerful utility that allows you to manage and manipulate storage devices on your Mac. In this guide, we’ll walk you through the step-by-step process of copying one external hard drive to another on your Mac.
Before we dive into the details, it’s important to note that this process will overwrite any existing data on the destination external drive. Therefore, if you have any important data on the destination drive, make sure to back it up elsewhere before proceeding. Additionally, ensure that both the source and destination external hard drives are properly connected to your Mac. Once everything is set, let’s get started with the step-by-step instructions.
Step 1: Connect the external hard drives to your Mac
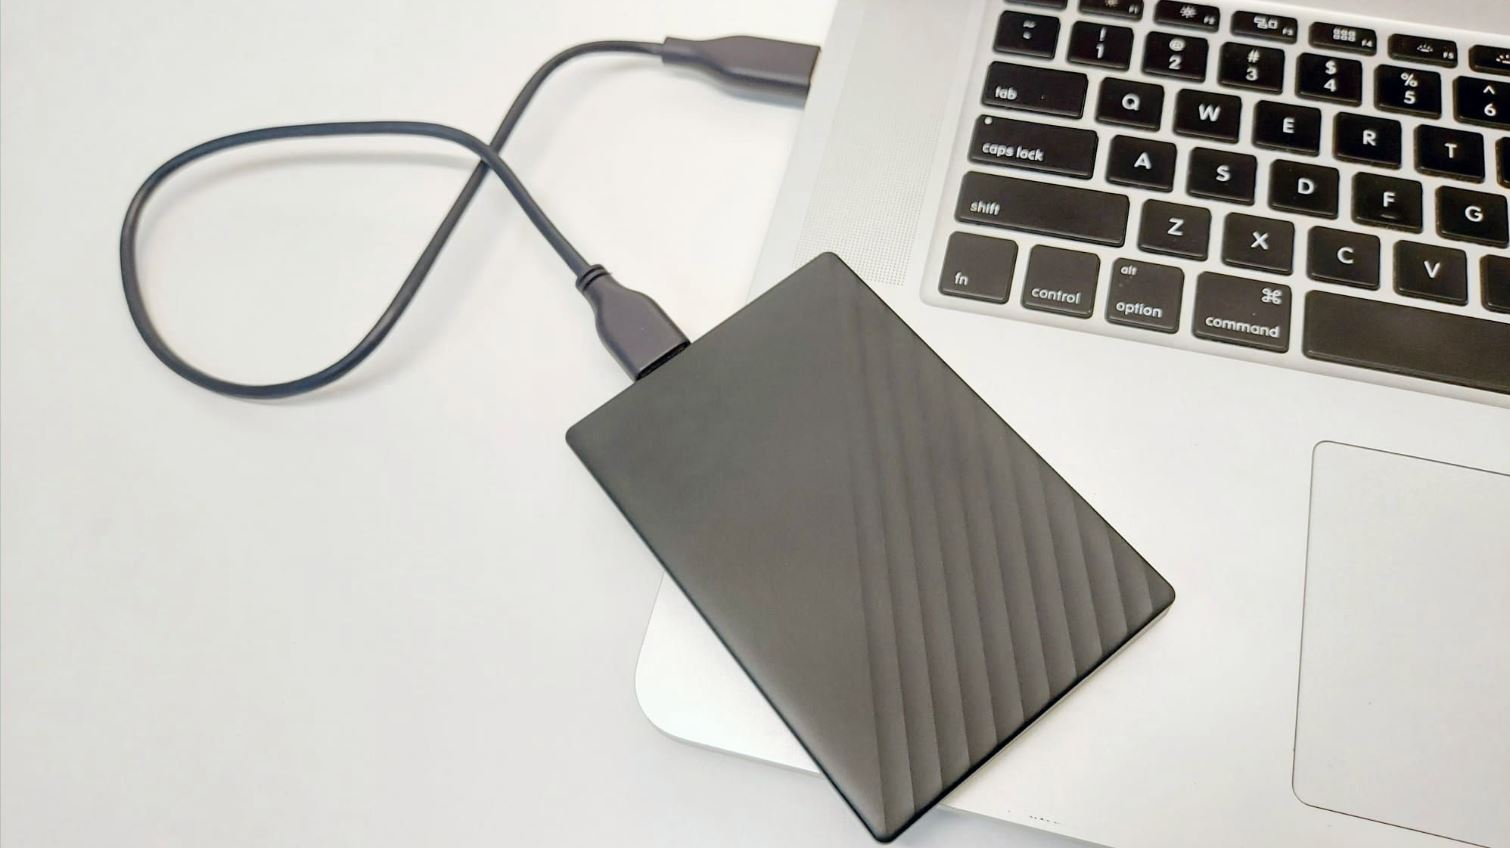
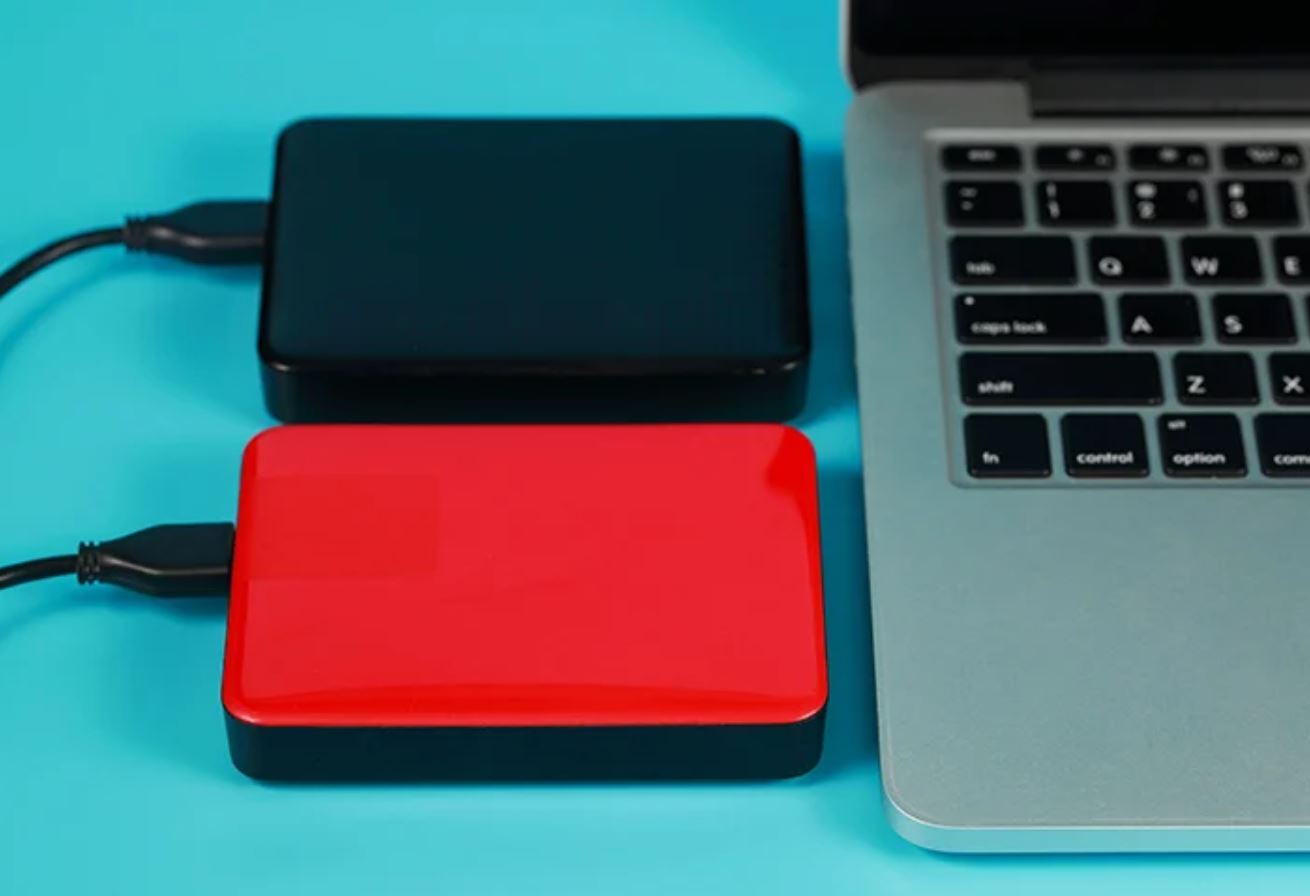
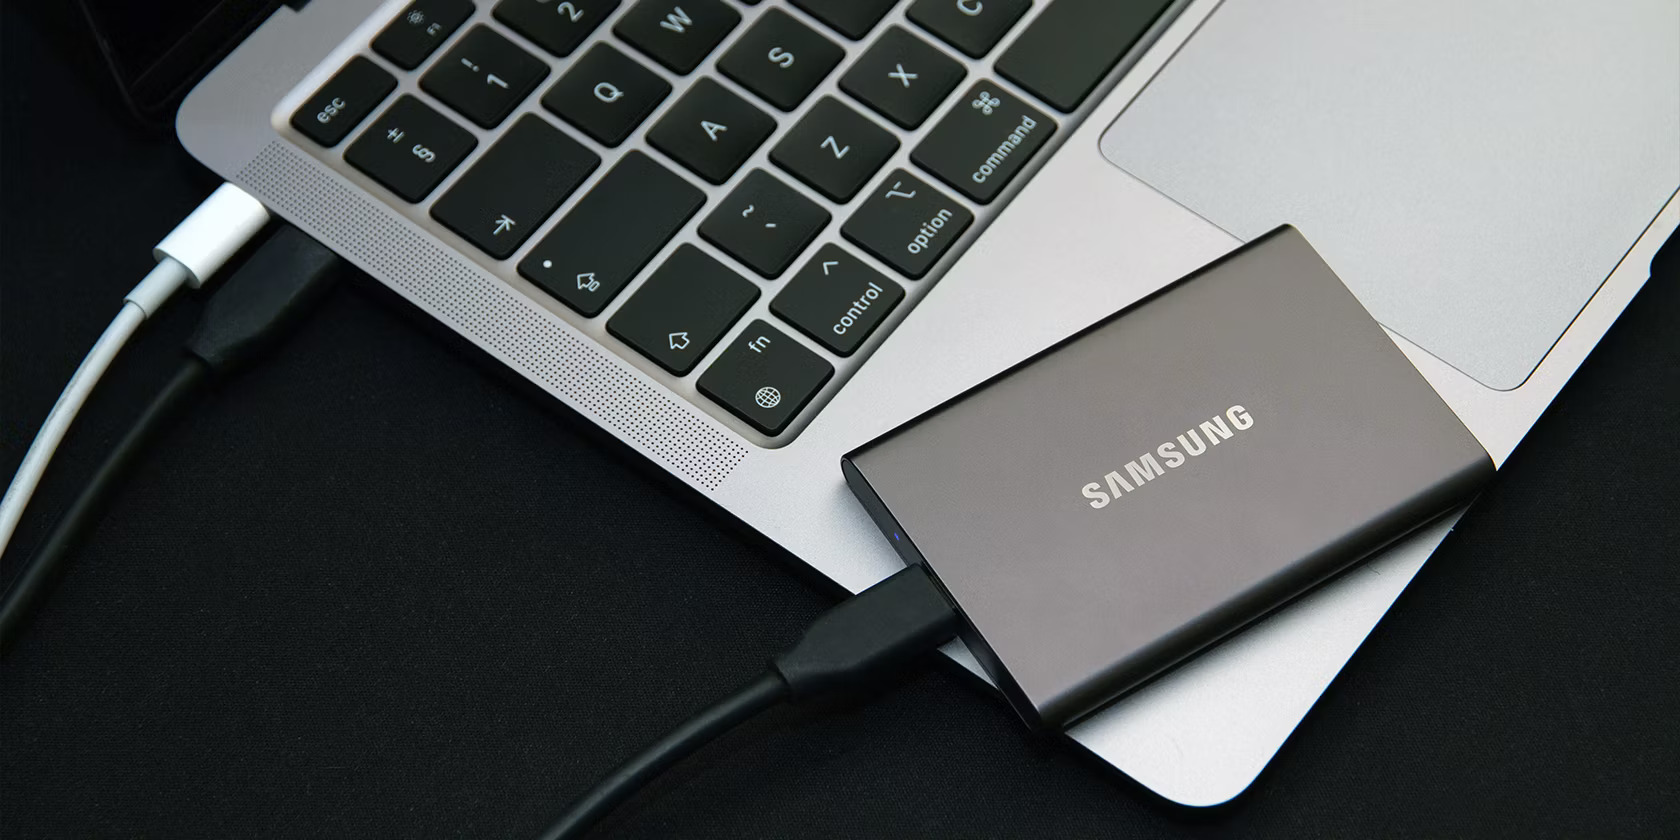
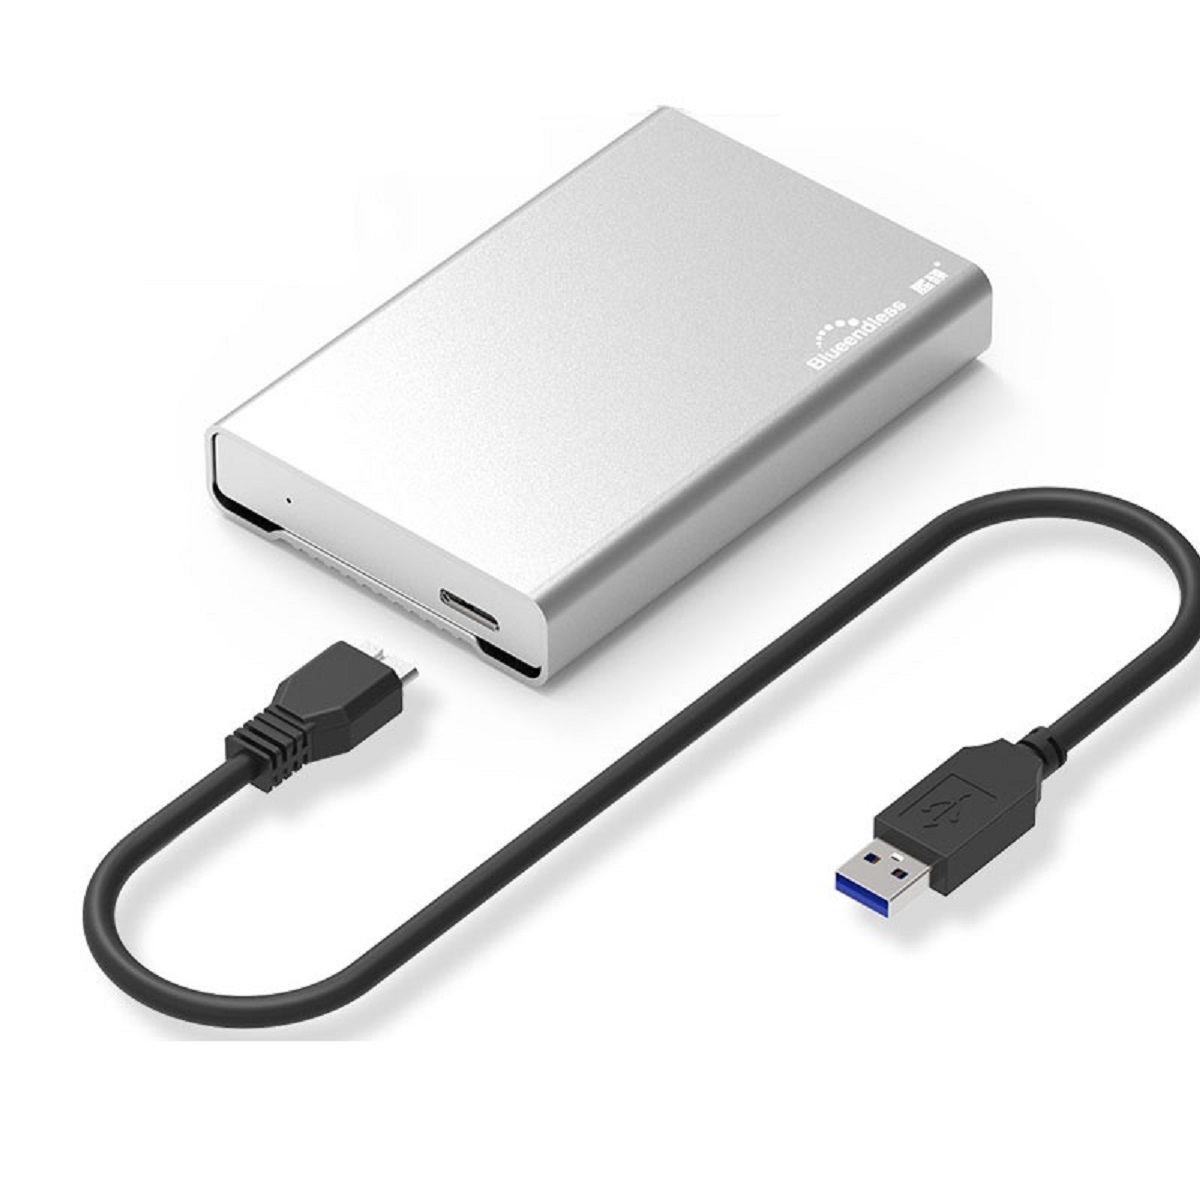
The first step in copying one external hard drive to another on your Mac is to ensure that both the source and destination external drives are connected to your computer. Connect the USB or Thunderbolt cable from each drive to an available port on your Mac.
Once both drives are connected, you should see them appear on your desktop as external disks. If they don’t appear, you can check for them in the Finder’s sidebar. Go to the Finder menu, select Preferences, and under the General tab, make sure the option “External disks” is checked. This will ensure that connected external drives are always displayed on your desktop or in the sidebar.
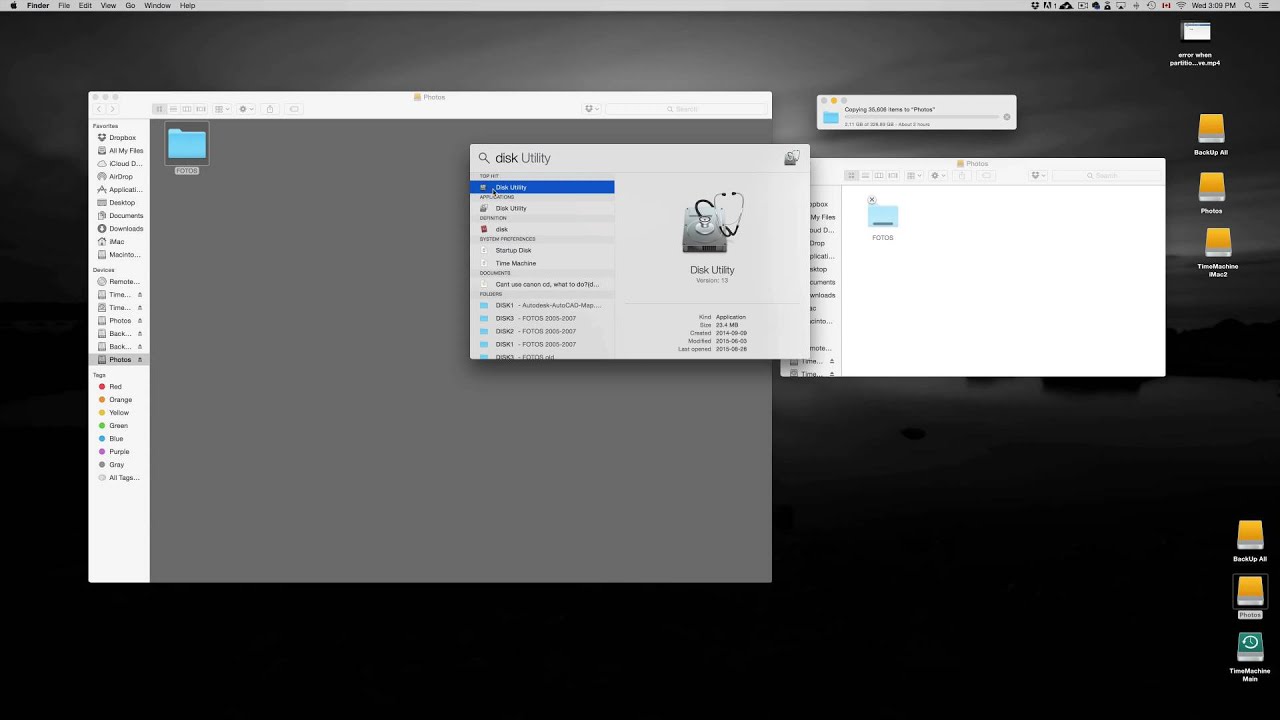
Alternatively, you can also check for the connected external drives in the Disk Utility. To access Disk Utility, click on the Spotlight icon in the top-right corner of your screen (or press Command + Spacebar) and type “Disk Utility” in the search bar. Click on the Disk Utility app to open it.
With both external drives connected and visible in the Finder or Disk Utility, you’re ready to move on to the next step.
Step 2: Open the Disk Utility
Once you have both the source and destination external hard drives connected to your Mac, it’s time to open the Disk Utility application. Disk Utility is a built-in tool on your Mac that allows you to manage and format storage devices.
To open Disk Utility, you have a couple of options. One way is to click on the Finder icon in your dock, then navigate to Applications > Utilities > Disk Utility. Another way is to use Spotlight by clicking on the magnifying glass icon in the top-right corner of your screen (or press Command + Spacebar) and typing “Disk Utility” in the search bar. From the search results, click on the Disk Utility app to open it.
Once Disk Utility is launched, you will see a list of all the connected storage devices on the left-hand side of the window. This includes your internal hard drive as well as any connected external hard drives.
Before proceeding, it’s important to note that the copying process will completely erase the contents of the destination external hard drive. So, make sure you have a backup of any important data on the destination drive before moving forward.
With Disk Utility open and your external hard drives connected, you’re ready to proceed to the next step.
Step 3: Select the source external hard drive
After opening Disk Utility, the next step in copying one external hard drive to another on your Mac is to select the source external hard drive. The source drive is the one containing the data you want to copy.
In the Disk Utility window, you will see a list of all the connected storage devices on the left-hand side. Take a moment to identify the source drive from the list. It should be listed with the name or label you assigned to it when you originally formatted the drive.
To select the source external hard drive, simply click on its name in the Disk Utility sidebar. This will highlight and select the drive, displaying its relevant information in the main part of the Disk Utility window.
Before moving on to the next step, double-check that you have correctly selected the source drive. It’s important to ensure you are selecting the correct drive because the copying process will duplicate its contents onto the destination drive.
Once you have confirmed the correct source external hard drive is selected, you are ready to proceed to the next step.
Step 4: Click the “Restore” button
With the source external hard drive selected in Disk Utility, it’s time to initiate the copying process by clicking the “Restore” button.
In the toolbar at the top of the Disk Utility window, you will find a set of buttons. Look for the button labeled “Restore” and click on it. This will open the “Restore” dialog box.
The “Restore” dialog box allows you to choose the source and destination for the copying process. Since you have already selected the source drive, the source field should already be filled in with the name of your source external hard drive. Double-check to ensure it is correct.
Next, you need to specify the destination for the copied data. To do this, click on the “Click here to choose a source” button next to the “Restore” field. A dropdown menu will appear, displaying all the connected storage devices.
From the dropdown menu, select the name of the destination external hard drive where you want the data to be copied. Be sure to choose the correct destination drive as the data on it will be overwritten.
Once you have selected the destination drive, review the information in the “Restore” dialog box to ensure that the source and destination drives are accurately selected. If everything looks correct and you are satisfied with the choices, you can proceed to the next step.
Step 5: Select the destination external hard drive
After clicking the “Restore” button in Disk Utility, the next step in copying one external hard drive to another on your Mac is to select the destination external hard drive. This is where the data from the source drive will be copied.
In the “Restore” dialog box, you should see the name of the source external hard drive displayed in the source field. Verify that it is correct.
To select the destination external hard drive, click on the “Click here to choose a destination” button next to the “Restore” field. A dropdown menu will appear, showing all the connected storage devices.
From the dropdown menu, select the name of the destination external hard drive where you want the data to be copied. It’s important to choose the correct destination drive as the data on it will be overwritten during the copying process.
Before proceeding to the next step, double-check that you have accurately selected the destination external hard drive. This step is crucial to ensure that the data is copied to the correct location.
Once you have confirmed the selection of the destination drive, you’re ready to move on to the next step in the copying process.
Step 6: Start the copying process
With the source and destination external hard drives selected in Disk Utility, you’re now ready to start the copying process.
In the “Restore” dialog box, where you have specified the source and destination drives, you will see a button labeled “Restore.” Click on this button to begin the copying process.
As the copying process starts, Disk Utility will begin to copy the entire contents of the source external hard drive to the destination external hard drive. This includes all files, folders, and even the file system structure. Depending on the size of the data being copied, this process may take some time.
During the copying process, you can monitor the progress in the Disk Utility window. It will display a progress bar, indicating how much of the data has been copied. You may also see an estimate of the time remaining until the process is complete.
It’s important to note that while the copying process is underway, it’s best to refrain from using your Mac for other resource-intensive tasks. This will help ensure that the copying process completes smoothly and efficiently.
Once the copying process is initiated, you can proceed to the next step and patiently wait for it to complete.
Step 7: Wait for the copying process to complete
After starting the copying process in Disk Utility, the next step is to patiently wait for the process to complete. The time it takes for the copying process to finish will depend on the size of the data being copied and the speed of the external hard drives.
During this time, it is important to refrain from interrupting or disconnecting either of the external hard drives or your Mac. This can potentially lead to data corruption or incomplete copying of files. It’s best to let the process run its course without any disturbances.
Disk Utility will display a progress bar to indicate the status of the copying process. It may also provide an estimate of the time remaining until the process is complete. Keep an eye on these indicators to have an idea of the progress being made.
While waiting for the copying process to finish, you can engage in other tasks on your Mac or take a break. It’s important to exercise patience and allow the process to complete without any interruptions.
Once the copying process is complete, you can move on to the next step to proceed with the finalization of the copied data.
Step 8: Eject the destination external hard drive
After the copying process in Disk Utility is complete, the next step is to safely eject the destination external hard drive from your Mac. Ejecting the drive ensures that all data has been properly written and that it is safe to remove the device.
To eject the destination external hard drive, you can follow either of these methods:
- Using Finder: In the Finder, locate the destination external hard drive in the sidebar under the “Devices” section. Click on the eject icon (an upward-pointing arrow) next to the drive’s name. The drive will disappear from the Finder, indicating that it has been successfully ejected. You can now safely disconnect the drive from your Mac.
- Using Disk Utility: Alternatively, you can go back to the Disk Utility window. In the left-hand sidebar, select the destination external hard drive. Then, click on the eject button (a white triangle inside a gray circle) located in the toolbar at the top of the Disk Utility window. The drive will be unmounted and can be safely disconnected from your Mac.
It’s essential to properly eject the destination external hard drive to avoid any potential data corruption or loss. Failure to do so can result in data integrity issues on the drive.
Once you have successfully ejected the destination external hard drive, you can proceed to the next step to verify the copied data on the drive.
Step 9: Verify the copied data on the destination external hard drive
After ejecting the destination external hard drive, it is essential to verify that the data has been successfully copied from the source drive. This step ensures the integrity and completeness of the copied data.
To verify the copied data on the destination external hard drive, you can follow these steps:
- Open Finder: Click on the Finder icon in your dock to open a new Finder window.
- Locate the destination drive: In the sidebar under the “Devices” section, locate the name or label of the destination external hard drive.
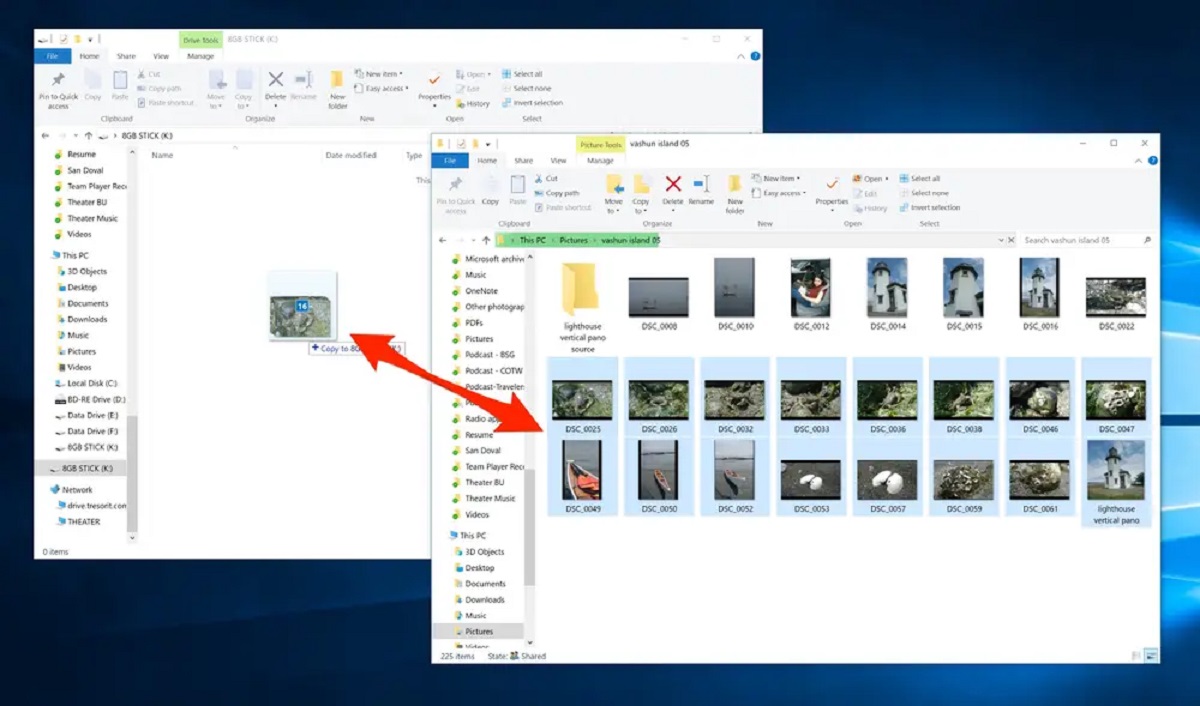
- Access the copied files: Double-click on the name of the destination drive to open it. You should now see the contents of the drive, including the copied files and folders.
- Verify file integrity: Randomly select some files or folders on the destination drive and open them to confirm that they match the original data from the source drive. Ensure that the files are accessible and readable without any corruption or errors.
By verifying the copied data, you can have peace of mind knowing that the duplication process was successful. In the event of any errors or discrepancies, you can revisit the copying process or reattempt the copying process to ensure all data is properly transferred.
Once you have verified the integrity of the copied data on the destination external hard drive and confirmed its accuracy, you can consider the process complete.
Conclusion
Copying one external hard drive to another on your Mac can be a straightforward process if you follow the steps outlined in this guide. By utilizing the built-in Disk Utility tool, you have the ability to safely duplicate your data onto a new drive for backup or upgrade purposes.
Throughout the process, it is essential to exercise caution and ensure that you have selected the correct source and destination drives. Double-checking your choices at each step will help prevent any accidental data loss or overwriting of important files.
Remember to always have a backup of your data before initiating the copying process to avoid irreversible data loss. Additionally, be patient during the copying process, as it may take some time depending on the size of the data being transferred.
Once the copying process is complete, properly eject the destination external hard drive to maintain the integrity of the copied data. Verification of the copied data on the destination drive is the final step, ensuring that all files and folders are intact and accessible.
By following these steps, you can confidently and successfully copy one external hard drive to another on your Mac, providing you with peace of mind knowing that your important data is securely duplicated and backed up.