Introduction
Are you a Mac user who needs to run Windows software or perform tasks exclusive to the Windows operating system? Look no further – in this article, we will guide you through the process of installing Windows on an external hard drive on your Mac. This enables you to have the flexibility of using both macOS and Windows on the same machine, without the need for partitioning your internal drive.
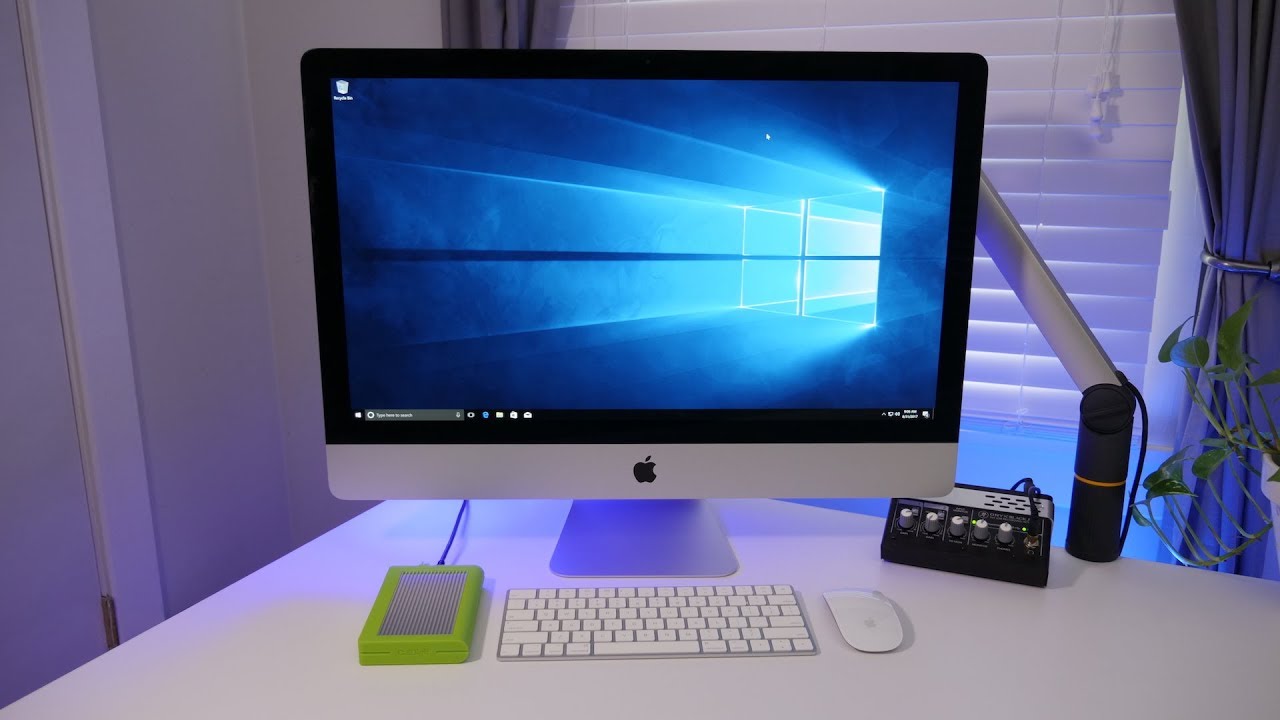
Running Windows on a Mac has become increasingly popular, as it allows users to access a wide range of software and applications that are not available in the macOS environment. By installing Windows on an external hard drive, you can maintain the benefits and convenience of macOS while also having the ability to switch to Windows whenever needed.
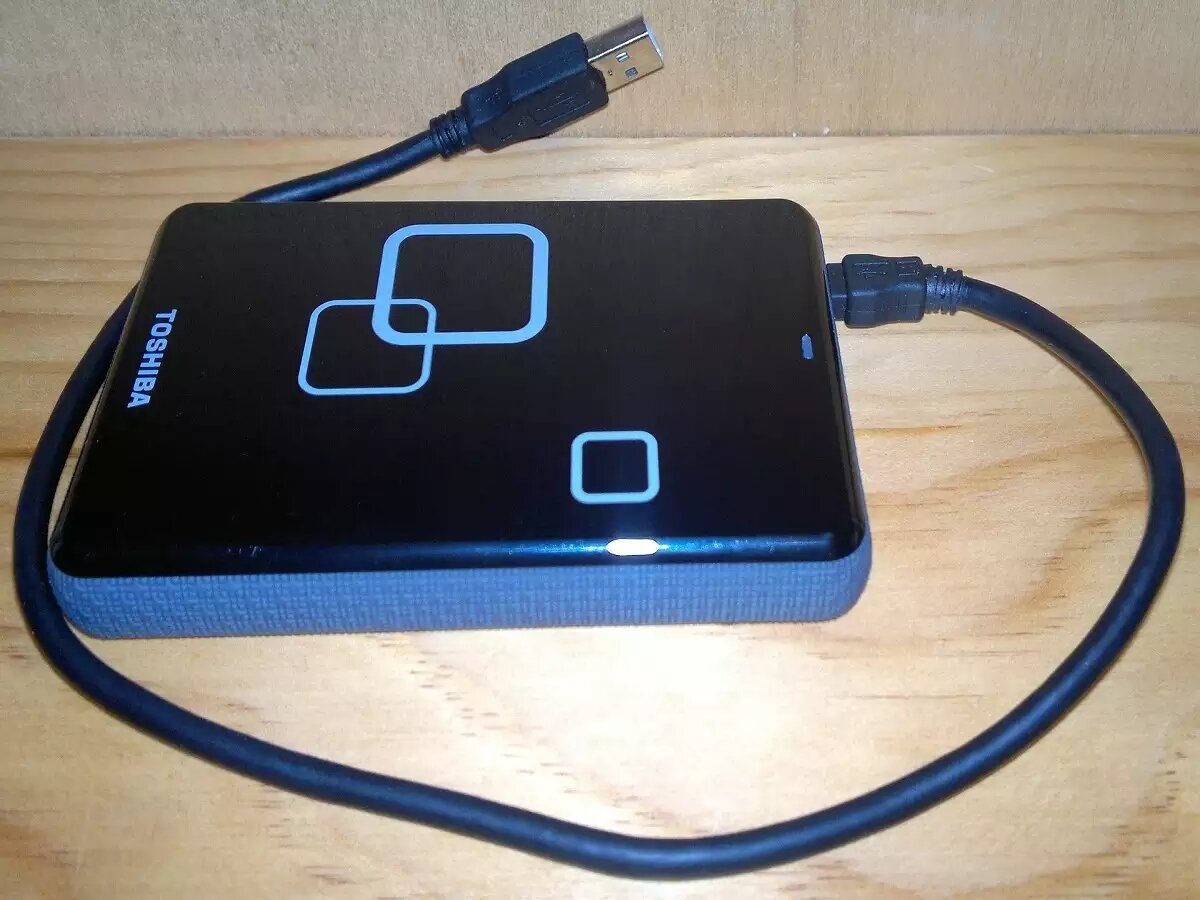
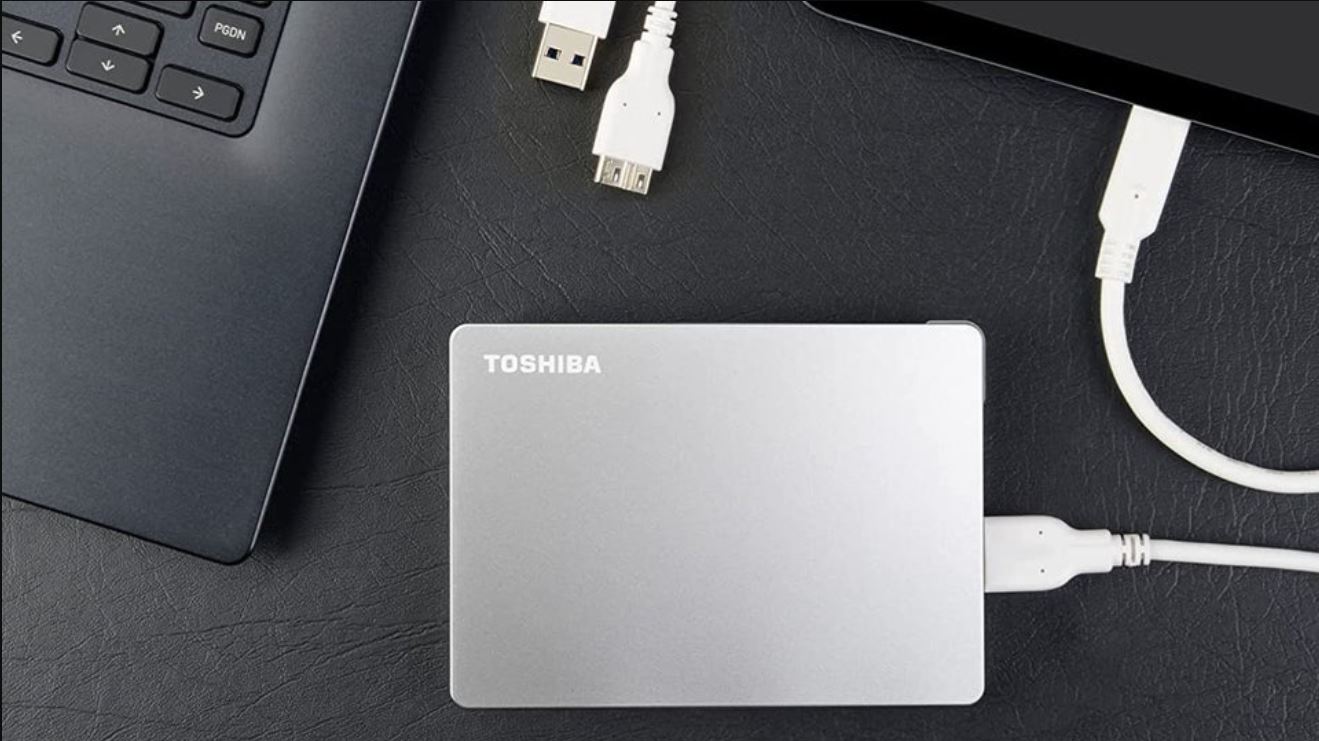
Before diving into the installation process, there are a few important things to consider. First, make sure you have a compatible external hard drive with sufficient storage capacity to accommodate both macOS and Windows. Additionally, ensure that you have a Windows ISO file, which contains the installation files for the Windows operating system you wish to install. You will also need a bootable USB drive to install Windows on the external hard drive.
It is essential to back up any important data on your Mac before proceeding with the installation, as the process involves partitioning and reformatting the external hard drive. This will help prevent any accidental data loss.
In the following sections, we will provide step-by-step instructions on how to prepare the external hard drive, download the Windows ISO file, create a bootable Windows USB drive, partition the external hard drive, install Windows, configure Boot Camp Assistant, and finalize the installation process.
With careful attention to detail and following the instructions provided in this guide, you will be able to successfully install Windows on your external hard drive and enjoy the convenience of having both macOS and Windows on your Mac. So let’s get started!
Preparing the External Hard Drive
Before you can install Windows on your external hard drive, you need to ensure that it is properly prepared. Follow these steps to get your external hard drive ready for the installation process:
1. Connect the External Hard Drive: Plug in your external hard drive to one of the USB ports on your Mac. Make sure it is securely connected.
2. Format the External Hard Drive: Open the Disk Utility application on your Mac. You can find it by going to Applications > Utilities > Disk Utility. In the Disk Utility window, select your external hard drive from the left-hand sidebar. Click on the “Erase” tab and choose a suitable format for the external hard drive, such as exFAT. Give your external hard drive a name and click on the “Erase” button to format it.
3. Partition the External Hard Drive: After formatting, select the external hard drive from the left-hand sidebar in the Disk Utility window. Click on the “Partition” tab and select “Partition Layout” as “1 Partition.” Choose a suitable name for the partition and adjust the size as needed. Click on the “Apply” button to partition the external hard drive.
4. Verify the Partition: Once the partitioning process is complete, select the newly created partition from the left-hand sidebar in the Disk Utility window. Click on the “First Aid” tab and then click on the “Verify Disk” button to ensure that the partition is properly set up and ready for use.
5. Eject the External Hard Drive: Once you have successfully verified the partition, you can safely eject the external hard drive from your Mac. Right-click on the external hard drive’s icon on the desktop and select “Eject” from the context menu. Alternatively, you can also eject it by dragging the icon to the trash bin.
By following these steps, you have now properly prepared your external hard drive for the Windows installation process. In the next section, we will guide you through the process of downloading the Windows ISO file on your Mac.
Downloading the Windows ISO File
To install Windows on your external hard drive, you will need to download the Windows ISO file, which contains the installation files for the Windows operating system. Here’s how you can download the Windows ISO file on your Mac:
1. Visit the Microsoft Website: Open a web browser on your Mac and go to the official Microsoft website. Navigate to the Windows download section.
2. Select the Windows Version: Choose the version of Windows you want to install on your external hard drive. You may have different options available, such as Windows 10, Windows 8.1, or Windows 7. Select the desired version.
3. Choose the Language and Architecture: Select the language and architecture (32-bit or 64-bit) that match your preferences and system requirements. Make sure to choose the appropriate options for your Mac.
4. Download the Windows ISO File: Click on the “Download” button to start downloading the Windows ISO file. The file size can be quite large, so ensure you have a stable internet connection and enough free space on your Mac.
5. Note the Download Location: Take note of where the Windows ISO file is being downloaded on your Mac. It is usually saved in the “Downloads” folder by default.
Downloading the Windows ISO file may take some time, depending on the speed of your internet connection and the size of the file. Once the download is complete, you will have the necessary installation files to proceed with the installation process.
In the next section, we will guide you through the process of creating a bootable Windows USB drive, which is essential for installing Windows on your external hard drive.
Creating a Bootable Windows USB Drive
To install Windows on your external hard drive, you need to create a bootable USB drive that contains the necessary installation files. Follow these steps to create a bootable Windows USB drive on your Mac:
1. Format the USB Drive: Connect the USB drive to your Mac. Open the Disk Utility application by going to Applications > Utilities > Disk Utility. Select the USB drive from the left-hand sidebar and click on the “Erase” tab. Choose a suitable format, such as “MS-DOS (FAT)” or “ExFAT.” Give the USB drive a name and click on the “Erase” button to format it.
2. Download and Install UNetbootin: Go to the UNetbootin website (https://unetbootin.github.io/) and download the Mac version of the software. Once downloaded, double-click on the installer and follow the on-screen instructions to install UNetbootin on your Mac.
3. Select the Windows ISO File: Launch UNetbootin and select the “Diskimage” option. Click on the three-dot icon next to the “Diskimage” field and navigate to the location where you saved the Windows ISO file. Select the file and click on the “Open” button.
4. Choose the USB Drive: In the “Type” section, select “USB Drive” and make sure the correct USB drive is selected in the “Drive” dropdown menu.
5. Create the Bootable USB Drive: Click on the “OK” or “Start” button in UNetbootin to begin creating the bootable USB drive. This process may take a while, so be patient and refrain from disconnecting the USB drive or closing UNetbootin until it is completed.
Once the bootable USB drive is successfully created, you now have the necessary tool to install Windows on your external hard drive. In the next section, we will guide you through the process of partitioning the external hard drive to allocate space for Windows.
Partitioning the External Hard Drive
Before you can install Windows on your external hard drive, you need to partition it to allocate space specifically for the Windows operating system. Follow these steps to partition your external hard drive on your Mac:
1. Connect the External Hard Drive: Plug in your external hard drive to one of the USB ports on your Mac. Ensure it is properly connected and recognized by your Mac.
2. Open Disk Utility: Launch the Disk Utility application on your Mac. You can find it by going to Applications > Utilities > Disk Utility.
3. Select the External Hard Drive: In the Disk Utility window, locate the external hard drive in the left-hand sidebar. Click on the drive to select it.
4. Choose Partition: Click on the “Partition” tab located at the top of the Disk Utility window.
5. Create a New Partition: To create a new partition, click on the “+” (plus) button under the Partition Layout section. Adjust the size of the new partition by dragging the partition’s resize control.
6. Allocate Space: In the Partition Information section, give the new partition a name and choose a suitable size for it. This will be the space allocated for the Windows operating system.
7. Choose the Format: In the Format dropdown menu, select “MS-DOS (FAT)” as the format for the Windows partition.
8. Apply the Changes: Once you have configured the new partition settings, click on the “Apply” button to apply the changes. This will partition the external hard drive and allocate space for the Windows installation.
It’s important to note that partitioning your external hard drive will erase all existing data on it. Make sure you have a backup of any important files before proceeding with this process.
With the external hard drive properly partitioned, you are now ready to proceed with the installation of Windows on your Mac. In the next section, we will guide you through the steps to install Windows on the external hard drive.
Installing Windows on the External Hard Drive
Now that you have prepared your external hard drive and partitioned it, it’s time to install Windows on it. Follow these steps to install Windows on the external hard drive on your Mac:
1. Connect the Bootable USB Drive: Insert the bootable USB drive containing the Windows installation files into a USB port on your Mac.
2. Restart Your Mac: Restart your Mac and hold down the Option (or Alt) key on your keyboard while it is restarting. This will bring up the Startup Manager.
3. Select the Bootable USB Drive: In the Startup Manager, you will see a list of available bootable drives. Use the arrow keys on your keyboard to select the bootable USB drive and press Enter to start booting from it.
4. Windows Installation Screen: After booting from the USB drive, you will see the Windows installation screen. Follow the on-screen instructions to proceed with the installation.
5. Choose Language and Keyboard Layout: Select your preferred language and keyboard layout from the options provided.
6. Install Windows: Click on the “Install Now” button to begin the installation process.
7. Enter Product Key: If prompted, enter the product key for your Windows operating system. This key is usually included with your Windows purchase or provided by your organization.
8. Accept License Terms: Read and accept the license terms by checking the box, then click on the “Next” button.
9. Choose Custom Installation: Select the “Custom: Install Windows only (advanced)” option when prompted to choose the type of installation.
10. Select the Partition: On the next screen, select the partition you created on your external hard drive. It should be labeled with the name you assigned during the partitioning process.
11. Begin the Installation: Click on the “Next” button to begin the installation process. Windows will now install on your external hard drive.
12. Follow On-Screen Prompts: Follow the on-screen prompts and instructions to complete the installation of Windows on your external hard drive. This may include choosing your region, configuring network settings, and setting up your user account.
After the installation is complete, your Mac will restart, and you will be able to use Windows on your external hard drive. In the next section, we will guide you through the process of configuring Boot Camp Assistant to make switching between macOS and Windows easier.
Configuring Boot Camp Assistant
Boot Camp Assistant is a built-in utility on macOS that helps you set up and manage a dual-boot system with Windows. Follow these steps to configure Boot Camp Assistant after installing Windows on your external hard drive:
1. Open Boot Camp Assistant: Go to the “Applications” folder on your Mac and open the “Utilities” folder. Launch “Boot Camp Assistant.”
2. Partition the Internal Drive: In Boot Camp Assistant, select the “Continue” button. If prompted, enter your administrator password. Choose the size of the Windows partition you want on your internal drive, or leave it as the default recommended size. Click on the “Install” button to begin the partitioning process.
3. Create a Bootable USB Drive: Boot Camp Assistant will guide you through creating a bootable USB drive with the necessary Windows drivers. Follow the on-screen instructions and have a USB drive with at least 8GB of storage ready. The USB drive will be used to install the drivers on Windows later.
4. Install Windows Drivers: After creating the bootable USB drive, Boot Camp Assistant will automatically restart your Mac and boot into the Windows installation environment. Follow the on-screen prompts to install Windows on your internal drive. Once Windows is installed, insert the USB drive created in the previous step and run the setup to install the necessary drivers for your Mac hardware.
5. Configure Boot Camp: After the driver installation is complete, restart your Mac again. Windows will now boot up as the default operating system. Log in to Windows and open Boot Camp Control Panel to configure any specific settings or preferences, such as keyboard shortcuts, trackpad gestures, and power management options.
6. Switch Between macOS and Windows: To switch between macOS and Windows, restart your Mac and hold down the Option (or Alt) key during startup. This will bring up the Startup Manager, where you can choose which operating system to boot into.
By configuring Boot Camp Assistant, you can seamlessly switch between macOS and Windows on your external hard drive. This provides you with the flexibility to choose the operating system based on your needs or preferences. In the final section, we will cover the steps to finalize the installation process and ensure everything is set up correctly.
Finalizing the Installation Process
After configuring Boot Camp Assistant and setting up both macOS and Windows on your Mac, it’s important to finalize the installation process and ensure everything is properly set up. Follow these steps to complete the installation and make any necessary adjustments:
1. Update Windows: Once you have booted into Windows, make sure to check for and apply any available updates. This will ensure that your system is up to date and secure.
2. Install Additional Software: Depending on your needs, you may want to install additional software or applications on your Windows partition. Visit the official websites or trusted sources to download and install the desired software.
3. Configure macOS Settings: Restart your Mac and boot into macOS. Double-check and configure any settings you prefer, such as display resolution, trackpad gestures, Bluetooth connections, and notification preferences.
4. Set Default Boot: If you find yourself primarily using a certain operating system, you can set it as the default boot option using the Startup Disk preferences in macOS. This way, your Mac will automatically boot into your preferred OS without the need to manually select it each time.
5. Backup and Sync Files: Make sure to back up all important files and regularly sync them between macOS and Windows. This ensures that you have copies of your important data and can access them on both operating systems.
6. Test Functionality: Test the functionality of both macOS and Windows on your external hard drive. Ensure that all hardware devices, such as keyboard, mouse, and external displays, are working correctly in both operating systems.
7. Maintain Security: Install and update antivirus software on your Windows partition to keep it protected from potential threats. Also, ensure that your macOS has adequate security measures in place, such as a firewall and antimalware software.
By finalizing the installation process and taking the necessary steps to ensure the stability and functionality of both macOS and Windows, you can enjoy the benefits of running multiple operating systems on your Mac. Remember to keep both operating systems regularly updated and backed up to maintain a smooth and hassle-free experience.
Conclusion
Congratulations! You have successfully installed Windows on your external hard drive and configured it to work alongside macOS on your Mac. By following the steps outlined in this guide, you have unlocked the flexibility of using both operating systems on a single machine. Whether you need to run Windows-exclusive software or simply want the convenience of switching between macOS and Windows, this setup allows you to do so seamlessly.
Remember to keep your external hard drive and Mac regularly backed up to avoid any potential data loss. Additionally, make sure to keep both macOS and Windows up to date with the latest security patches and updates to ensure optimal performance and protect against potential vulnerabilities.
With your new setup in place, you can enjoy the best of both worlds. Whether you are a creative professional who relies on macOS for design work or a business user who needs to run Windows-specific applications, you no longer have to choose between the two. Embrace the versatility and power of your dual-boot system and enjoy the enhanced productivity it brings.
Thank you for following this guide. We hope it has provided you with a clear understanding of how to install Windows on your external hard drive and set up a dual-boot system on your Mac. If you have any further questions or need assistance, feel free to consult the official documentation or seek help from reliable online forums and communities.
Now, go ahead and make the most of your Mac by harnessing the capabilities of both macOS and Windows on your external hard drive. Happy computing!