Introduction
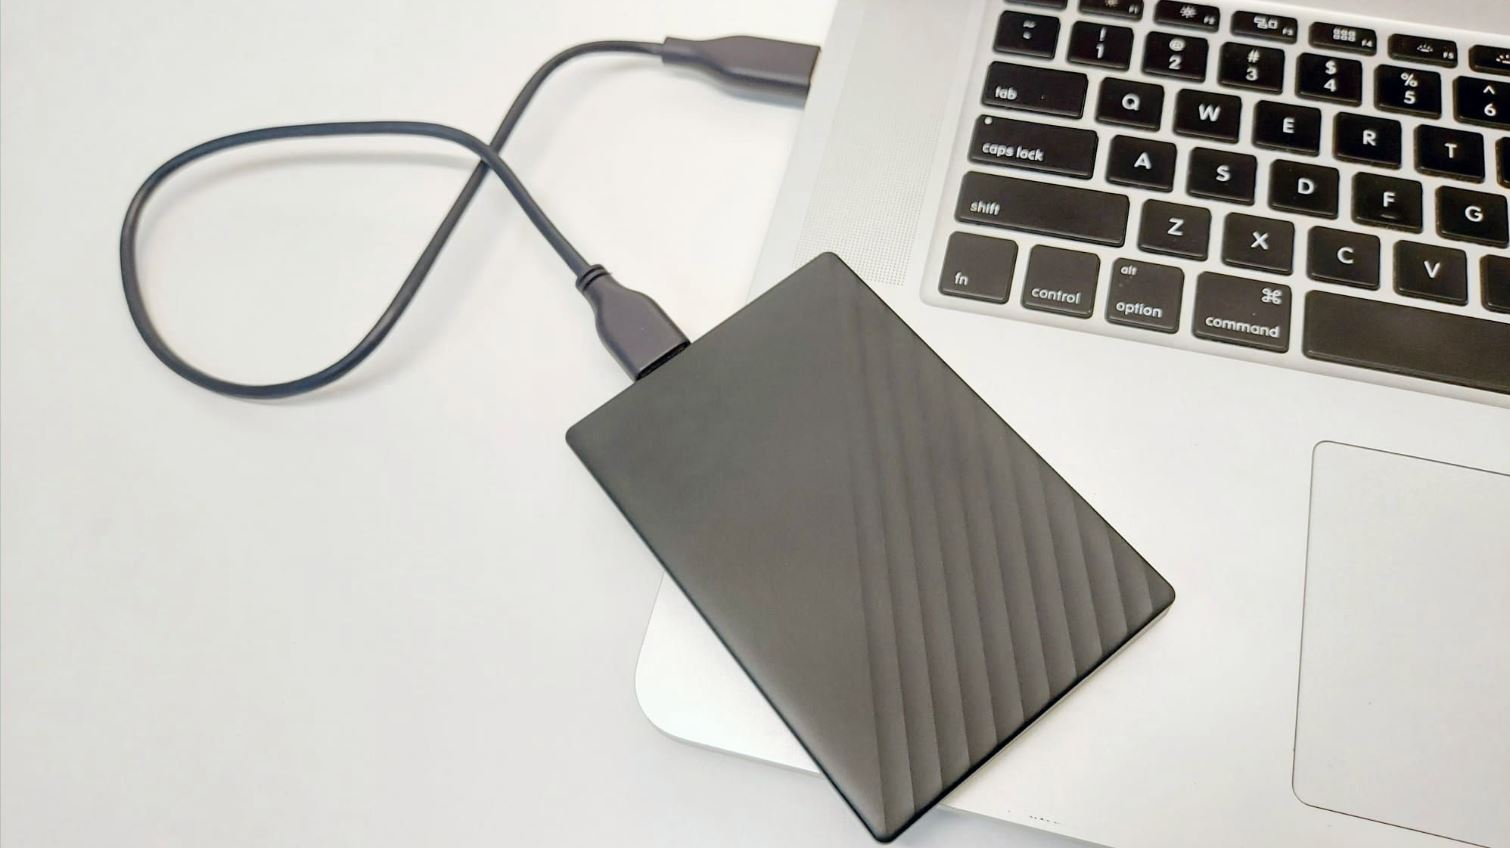
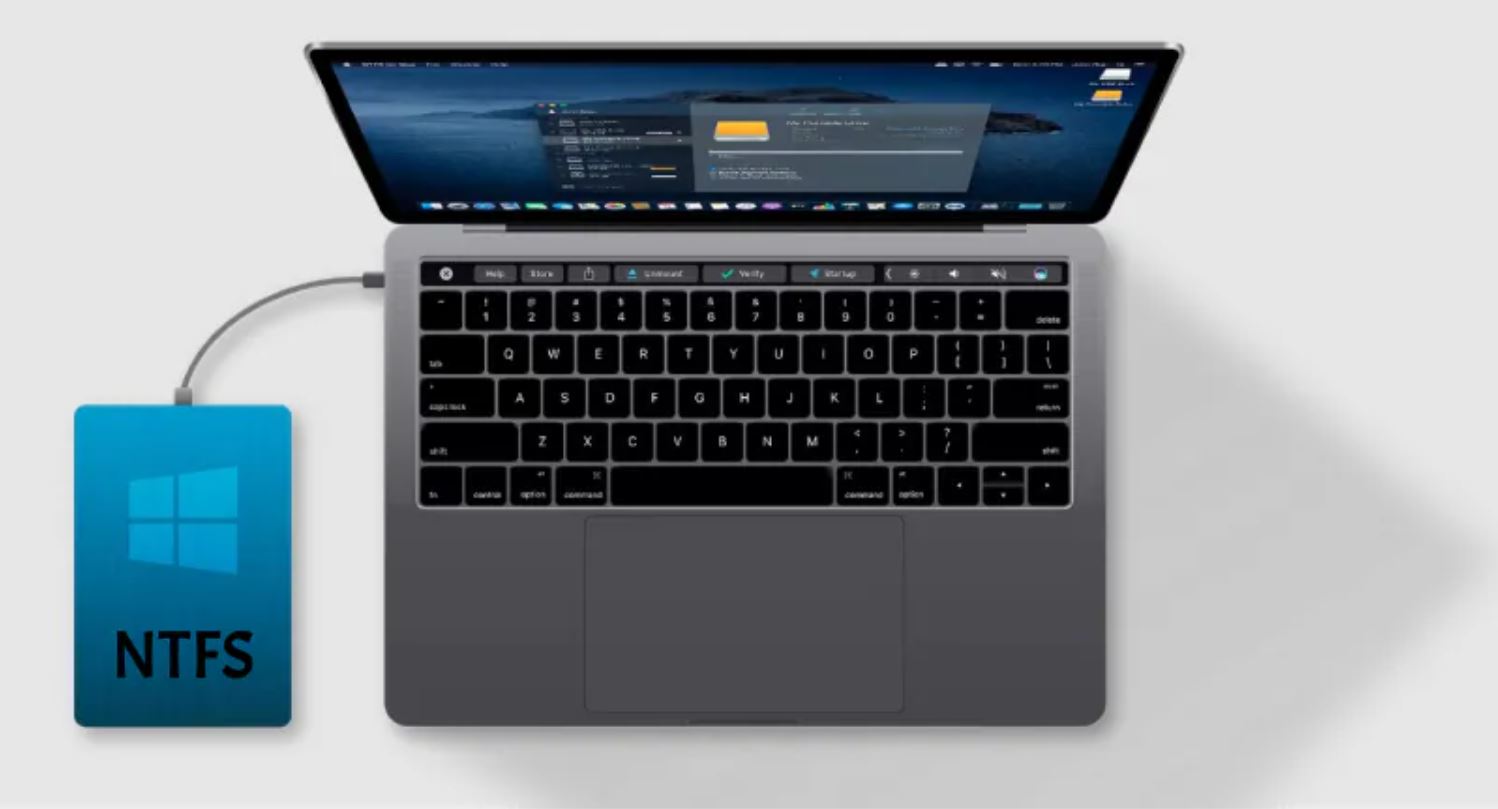
Welcome to our guide on how to copy files from a Mac to an external hard drive with the NTFS format. Many external hard drives come pre-formatted with the Windows NT File System (NTFS), which is not natively supported by macOS. This can pose a challenge when you want to transfer files from your Mac to an NTFS-formatted external hard drive.
Understanding how to overcome this compatibility issue is crucial for Mac users who need to share data with Windows systems or simply want to increase their storage capacity. In this guide, we will walk you through the steps to format your external hard drive, install NTFS drivers, and successfully copy files from your Mac to the NTFS-formatted drive.
Whether you have important documents, media files, or backups to transfer, you’ll discover various methods that will enable you to seamlessly accomplish this task. We’ll also provide tips to ensure proper connectivity and compatibility between your Mac and the NTFS-formatted external hard drive.
Before we dive into the details, it’s essential to remember that working with any data storage device carries a risk of data loss. Therefore, it’s highly advisable to back up your files before proceeding with any formatting or file transfer operations. Taking a few moments to safeguard your data can provide peace of mind during the process.
Are you ready to learn how to copy files from a Mac to an external hard drive formatted with NTFS? Let’s get started!
Understanding the NTFS Format
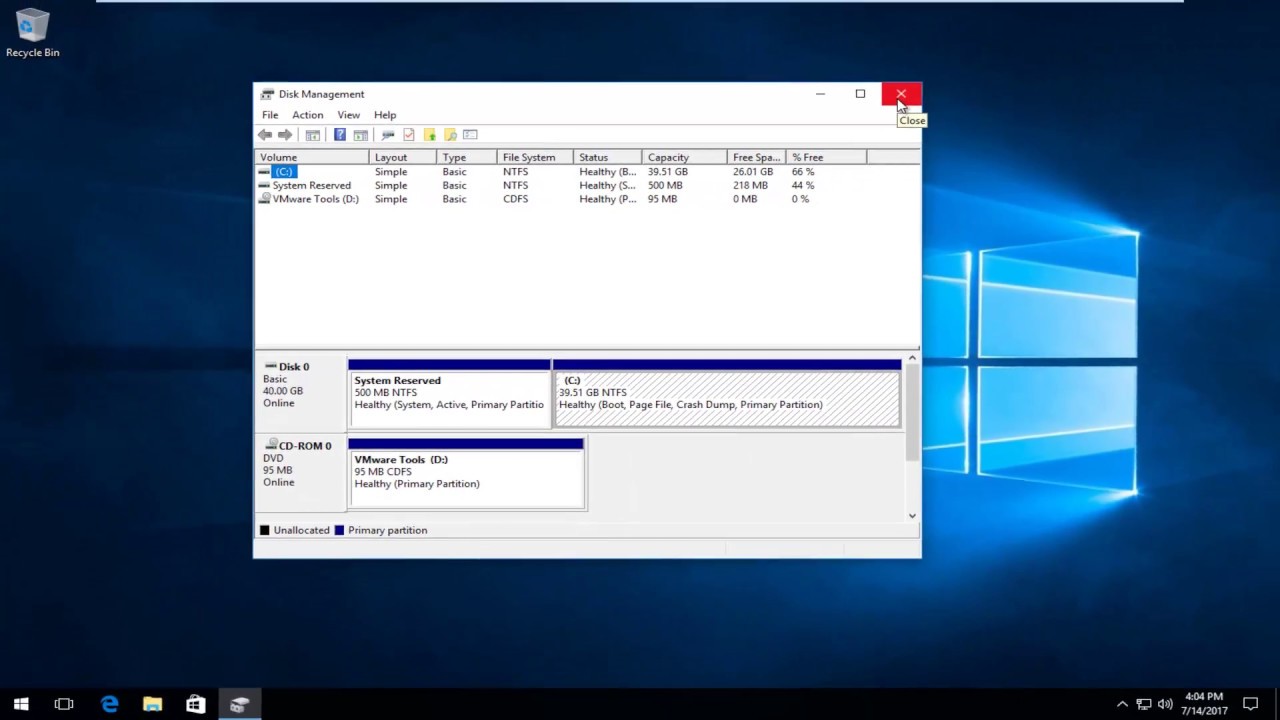
The NTFS (New Technology File System) format is a file system developed by Microsoft for Windows operating systems. It offers several advantages over other file systems, such as improved security, support for large file sizes, and enhanced data reliability. However, NTFS is not directly supported by macOS, which can make it challenging to work with NTFS-formatted external hard drives on a Mac.
One key advantage of NTFS is its ability to handle large individual file sizes, which can be crucial when dealing with high-definition videos, large software installations, or disk images. This makes NTFS an ideal choice for multimedia professionals, gamers, and anyone working with massive files.
Another significant feature of NTFS is its support for file and folder permissions. This means that you can assign different levels of access to different users or user groups, ensuring that sensitive data remains secure. By setting permissions, you can control who can read, write, or modify specific files on the NTFS-formatted external hard drive.
NTFS also includes built-in error-checking and recovery mechanisms. This helps prevent data loss and corruption, providing a more reliable storage solution. Furthermore, NTFS supports journaling, which keeps track of changes made to the file system. In the event of a power failure or system crash, the journaling feature allows the file system to quickly recover without requiring lengthy disk checks.
However, due to compatibility limitations between Windows and macOS, you may encounter challenges when trying to write or copy files from your Mac directly to an NTFS-formatted external hard drive. By default, macOS can only read files from NTFS drives, not write to them. This can be frustrating if you want to transfer files from your Mac to the external hard drive or make any modifications to the existing files.
Fortunately, there are various workarounds that allow you to overcome this limitation and enable write access to NTFS drives on your Mac. In the following sections, we will cover the steps to format your external hard drive, install necessary drivers, and safely copy files from your Mac to the NTFS-formatted drive.
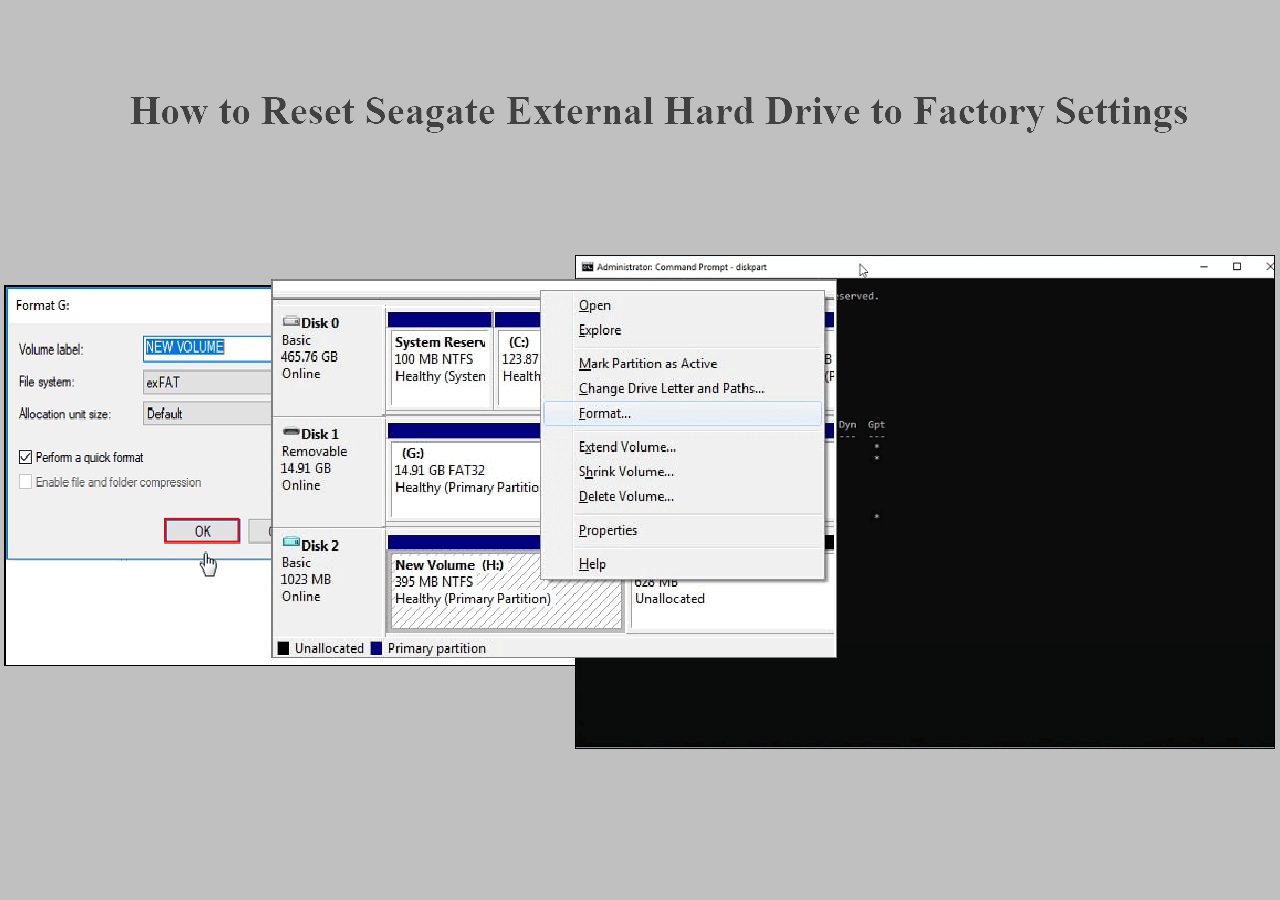
Formatting the External Hard Drive
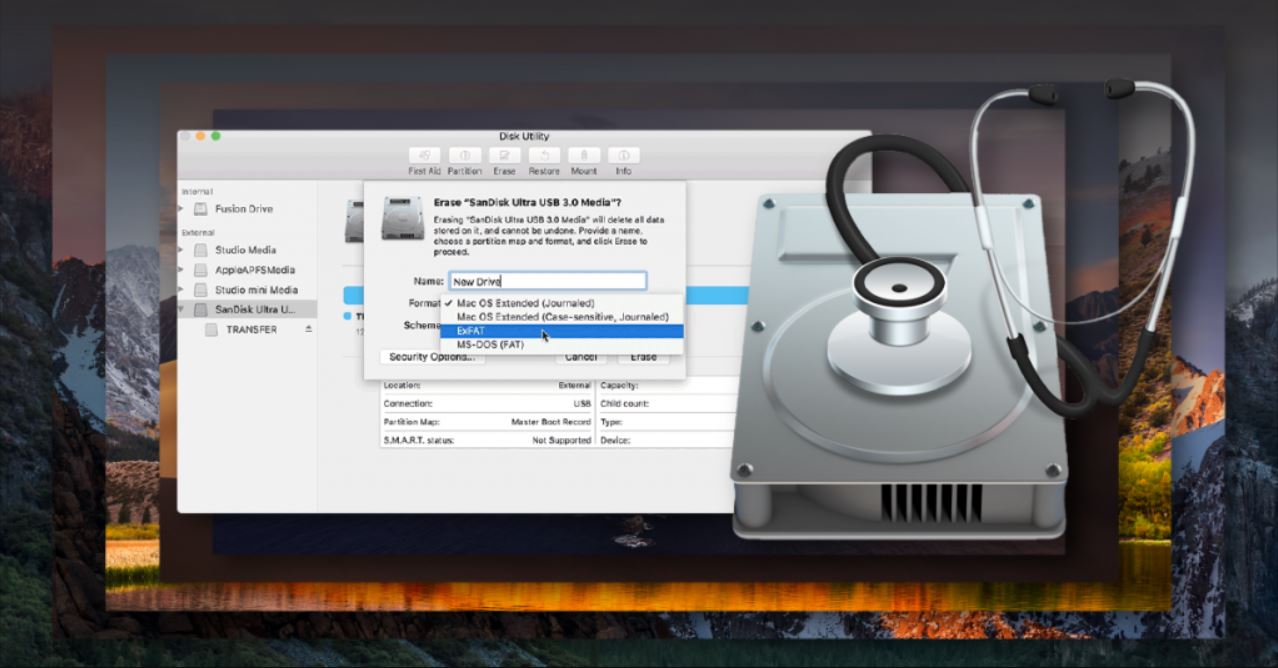
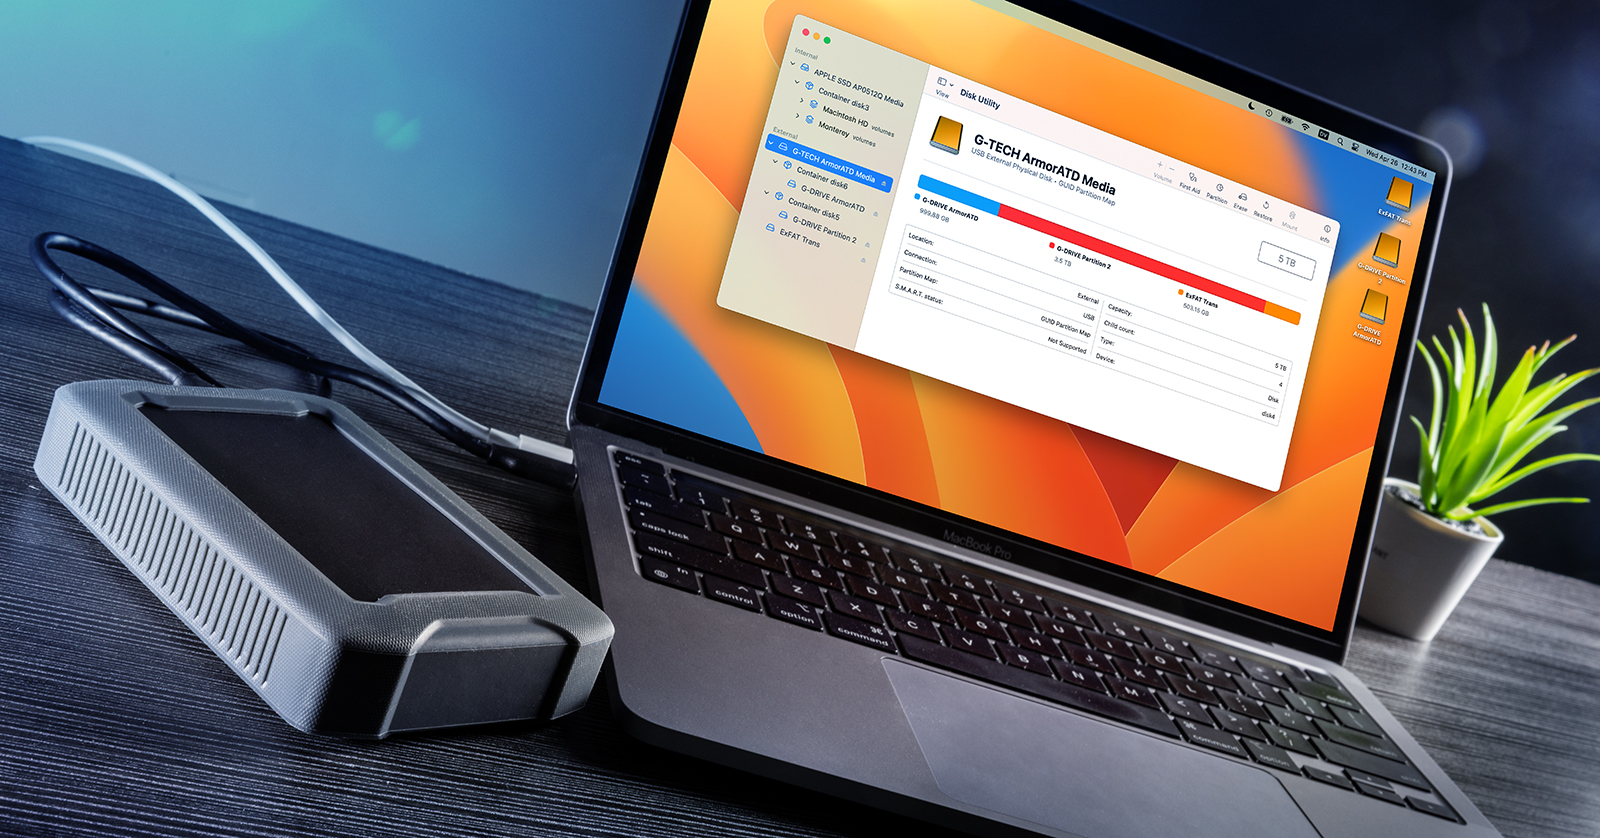
In order to ensure compatibility between your Mac and the NTFS-formatted external hard drive, it is necessary to format the drive in a file system that both operating systems can read and write to. In this case, we will be formatting the external hard drive to the ExFAT file system, which is supported by both macOS and Windows.
Before proceeding with the formatting process, it is important to back up any data on the external hard drive that you wish to keep, as formatting will erase all existing data. Once you have backed up your files, you can follow the steps below to format your external hard drive to ExFAT:
- Connect your external hard drive to your Mac using a compatible cable.
- Open the Finder application on your Mac. The Finder icon can usually be found in the Dock at the bottom of your screen.
- In the Finder window, locate and select your external hard drive from the list of available devices in the sidebar. Be sure to select the correct drive to avoid accidentally formatting the wrong device.
- Once you have selected the external hard drive, click on the “Erase” button at the top of the Finder window.
- A new window will appear, allowing you to choose the volume name and format for the external hard drive. Select “ExFAT” from the format drop-down menu.
- Finally, click on the “Erase” button to begin the formatting process. This may take a few moments to complete.
Once the formatting is complete, your external hard drive will be ready to use with both macOS and Windows systems. You can now proceed to the next sections to install the necessary NTFS drivers and transfer files from your Mac to the newly formatted external hard drive.
Ensuring Compatibility with Mac
While your external hard drive is now formatted to the ExFAT file system, there are still a few steps you can take to ensure optimal compatibility with your Mac. These steps will help you avoid any potential connectivity issues or data transfer limitations when working with the NTFS-formatted external hard drive.
The first step is to make sure that your Mac’s operating system is up to date. Apple regularly releases updates that include bug fixes, performance improvements, and compatibility enhancements. Keeping your Mac up to date will help ensure that it can recognize and work smoothly with external devices, including NTFS-formatted drives.
Next, you may need to adjust the security settings on your Mac. By default, macOS restricts the installation of apps from unidentified developers, which can prevent you from installing the necessary NTFS drivers later on. To change this setting, open the System Preferences on your Mac, navigate to the “Security & Privacy” section, and under the “General” tab, change the “Allow apps downloaded from” option to “App Store and identified developers”.
Furthermore, it is recommended to safely eject the external hard drive from your Mac when you are done using it. This will ensure that all pending data transfers are completed, and the drive is properly prepared for disconnecting. To safely eject the drive, simply locate its icon on the desktop or in the Finder sidebar, right-click on it, and select “Eject” from the context menu. Wait for confirmation that it is safe to disconnect the drive before physically disconnecting the USB cable.
Lastly, it is always a good practice to keep your external hard drive in a safe and cool environment. High temperatures, humidity, and physical shocks can potentially damage the drive or degrade its performance over time. Storing the drive in a protective case or cool area can help extend its lifespan and ensure reliable performance.
By following these steps and best practices, you can ensure that your Mac is fully compatible with the NTFS-formatted external hard drive and minimize the risk of any connectivity or data transfer issues.
Installing NTFS Drivers
Before you can successfully write or copy files from your Mac to the NTFS-formatted external hard drive, you will need to install NTFS drivers. These drivers allow macOS to have full read and write access to NTFS drives, overcoming the default limitations imposed by the operating system.
There are several third-party NTFS driver options available for macOS, each with its own features and compatibility. One popular choice is the commercial driver called “Paragon NTFS for Mac,” which provides seamless NTFS read and write support. To install Paragon NTFS for Mac, follow these steps:
- Visit the Paragon Software website and locate the “Paragon NTFS for Mac” driver.
- Download the driver installer file to your Mac.
- Double-click on the downloaded file to start the installation.
- Follow the on-screen instructions to complete the installation process.
- Once the installation is complete, restart your Mac to enable the NTFS driver.
After restarting your Mac, you should now have full read and write access to NTFS-formatted drives. This means you can freely copy, edit, and delete files on the NTFS external hard drive directly from your Mac’s Finder or other file management applications.
It’s important to note that there are other NTFS driver options available, such as free options like “NTFS-3G” or open-source projects like “FUSE for macOS.” These drivers may require additional configurations or terminal commands to enable NTFS write support. If you prefer a free solution or want to explore alternatives, be sure to research and follow the installation instructions specific to the NTFS driver you choose.
Installing NTFS drivers on your Mac is a crucial step in ensuring smooth file transfer operations between your Mac and the NTFS-formatted external hard drive. With the drivers in place, you can now proceed to the next section and start copying files from your Mac to the external hard drive
Copying Files from Mac to External Hard Drive
Now that your external hard drive is formatted with the ExFAT file system and the NTFS drivers are installed on your Mac, you can easily copy files from your Mac to the NTFS-formatted external hard drive.
Follow these steps to start transferring your files:
- Connect your external hard drive to your Mac using the appropriate cable.
- Wait for your Mac to recognize the external hard drive and mount it on the desktop or appear in the Finder sidebar.
- Open a new Finder window and navigate to the files or folders that you want to copy to the external hard drive.
- Select the files or folders you wish to copy. You can hold down the Command key while clicking to select multiple items.
- With the desired files selected, right-click on any of the selected items and choose “Copy” from the context menu. Alternatively, you can use the keyboard shortcut Command+C.
- Next, locate and open the mounted NTFS-formatted external hard drive in the Finder.
- Right-click inside the folder or directory where you want to copy the files and select “Paste” from the context menu. You can also use the keyboard shortcut Command+V.
- Your Mac will now start copying the selected files from your Mac to the external hard drive. The time taken depends on the size of the files and the speed of your drive.
- Once the copying process is complete, verify that the files have been successfully transferred by checking the external hard drive’s contents.
You can repeat these steps to transfer additional files or folders from your Mac to the NTFS-formatted external hard drive. The NTFS driver installed on your Mac will ensure that the files are written properly and accessible on both macOS and Windows systems.
It is important to note that when copying files to an NTFS-formatted external hard drive from a Mac, you might encounter some limitations due to file name restrictions or unsupported file types. For example, macOS supports file names with special characters or longer than 255 characters, while NTFS has certain restrictions on these aspects. Additionally, some specific file types, such as Windows system files, might not be fully compatible with macOS.
By following these simple steps, you can now effortlessly copy files and folders from your Mac to an NTFS-formatted external hard drive and enjoy seamless data sharing between macOS and Windows systems.
Conclusion
Congratulations! You have successfully learned how to copy files from a Mac to an external hard drive formatted with the NTFS file system. By formatting your external hard drive to the ExFAT file system and installing NTFS drivers on your Mac, you have overcome compatibility limitations between macOS and NTFS.
Understanding the benefits of the NTFS format, including its support for large file sizes, file and folder permissions, as well as its error-checking and recovery mechanisms, allows you to make informed decisions when working with data on NTFS-formatted drives.
By following the steps outlined in this guide, you have formatted your external hard drive to ExFAT, ensuring compatibility between your Mac and the NTFS-formatted drive. Additionally, you have installed the necessary NTFS drivers on your Mac, providing you with full read and write access to NTFS drives and enabling seamless file transfers.
With the ability to copy files from your Mac to the external hard drive, you can now easily share data with Windows systems or expand your storage capacity for larger files. Remember to safely eject the external hard drive from your Mac to prevent data loss and maintain the drive’s performance and longevity.
While using NTFS drivers allows you to access and modify files on the external hard drive, it’s essential to keep in mind any restrictions or limitations that may arise when working with certain file names or unsupported file types. Remaining mindful of these considerations will help you avoid any issues and ensure a smooth file transfer experience.
Now that you are equipped with the knowledge and steps necessary to copy files from a Mac to an NTFS-formatted external hard drive, you can confidently manage and transfer your data across different platforms. Enjoy the flexibility and convenience that comes with having this compatibility at your fingertips!