Introduction
An external hard drive is a convenient and portable storage device that allows you to store and transfer large amounts of data. Whether you use it for personal or professional purposes, it’s important to ensure that the files stored on your external hard drive are not compromised by viruses or malware.
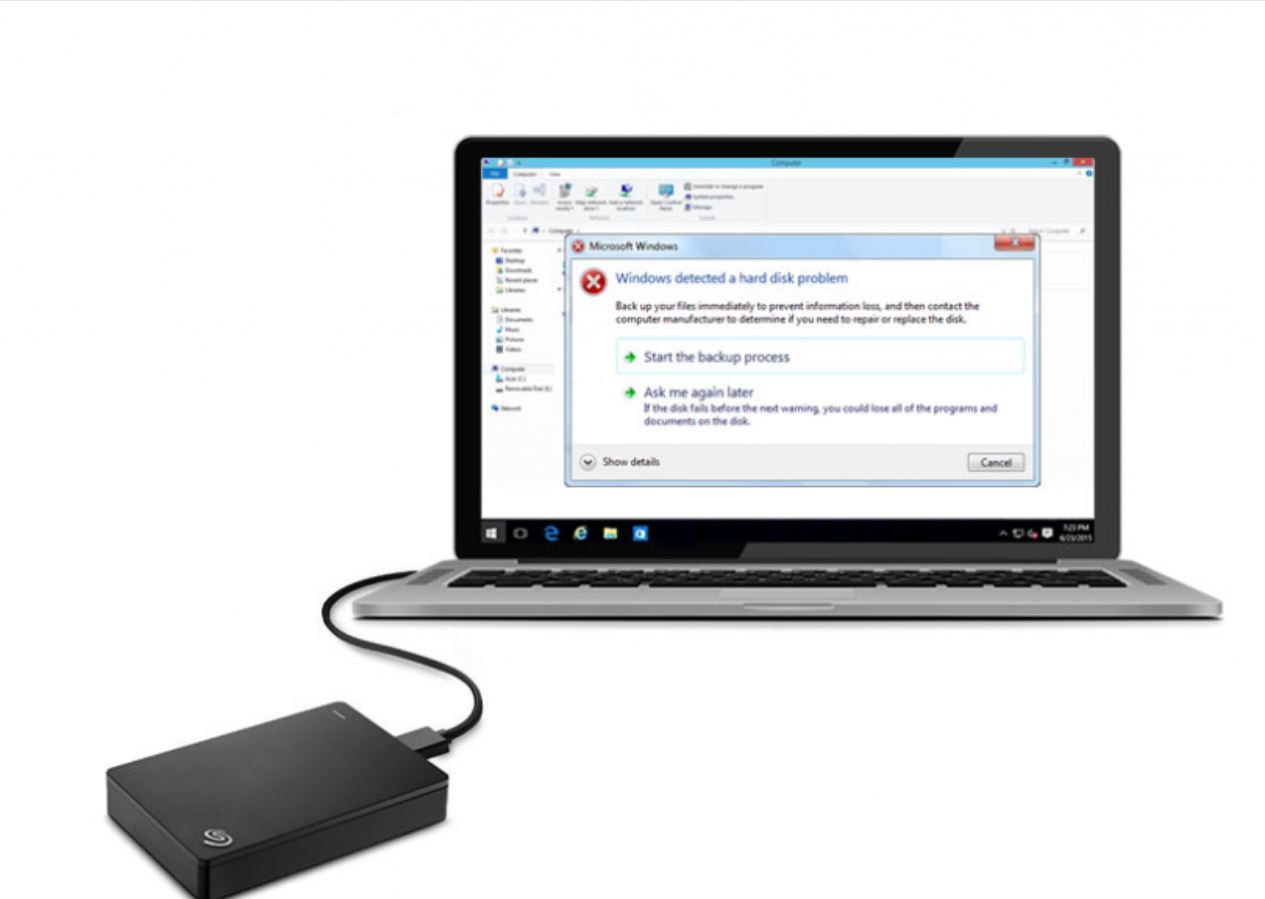
Viruses can infiltrate your external hard drive through infected files or by transferring files from infected computers. These viruses can corrupt or delete your data, compromise your personal information, or even spread to other devices when the hard drive is connected.
In this article, we will guide you through the process of scanning your external hard drive for viruses to safeguard your data and ensure the safety of your computer system. Following these steps will help you detect and remove any malicious files that could potentially harm your valuable data.
Before we begin, it’s important to note that the process of scanning an external hard drive for viruses may vary slightly depending on the antivirus software you are using. However, the general steps outlined in this article are applicable to most antivirus programs.
By regularly scanning your external hard drive for viruses, you can mitigate the risk of data loss or system damage, providing you with peace of mind and ensuring the ongoing security of your files.
Why Scan an External Hard Drive for Viruses?
Scanning an external hard drive for viruses is crucial for several reasons:
- Data Protection: Viruses can easily spread to your external hard drive when connected to an infected computer. By regularly scanning the drive, you can identify and eliminate any malicious files before they compromise your data.
- Prevent Virus Spread: If your external hard drive contains infected files, they can spread the virus to other devices when connected. By scanning and removing the viruses, you can prevent the further spread of malware.
- System Performance: Viruses can slow down your computer’s performance, even if they reside on an external drive. By scanning the drive, you can detect and remove any malware that may be affecting the overall performance of your system.
- Data Integrity: External hard drives often contain important and irreplaceable files such as documents, photos, and videos. Scanning for viruses ensures the integrity of these files, protecting them from corruption or deletion caused by malware.
- Data Privacy: Viruses can compromise your personal information and online security. By scanning your external hard drive, you can detect any potential threats and take necessary actions to safeguard your sensitive data.
It’s important to note that viruses can affect both Windows and Mac systems, so regardless of which operating system you’re using, regular scanning of your external hard drive is essential to maintain a secure and healthy computing environment.
By taking the time to scan your external hard drive for viruses, you are not only protecting your own data but also preventing the spread of malware to other devices. It’s a preventive measure that ensures the safety and privacy of your files and maintains the overall well-being of your computer system.
Choosing the Right Antivirus Software
When it comes to scanning an external hard drive for viruses, having the right antivirus software is essential. There are numerous options available on the market, each with its own features and capabilities. Here are a few factors to consider when choosing the right antivirus software:
- Compatibility: Ensure that the antivirus software is compatible with your operating system, whether it is Windows, Mac, or Linux. Compatibility ensures that the software can effectively scan and remove viruses from your external hard drive.
- Real-time Protection: Look for antivirus software that offers real-time protection. This means that the software actively scans and monitors your external hard drive for any potential threats, providing immediate detection and removal.
- Virus Detection Rate: Consider the antivirus software’s track record of virus detection. Look for software that has a high detection rate, as this indicates its ability to identify various types of viruses effectively.
- User-Friendly Interface: A user-friendly interface is crucial, especially if you’re not technically inclined. The software should have an easy-to-navigate interface, making it simple to initiate scans and interpret the results.
- Updates and Support: Regular updates are vital to keep up with the ever-evolving landscape of viruses and malware. Ensure that the antivirus software offers frequent updates to maintain its effectiveness. Additionally, consider the availability of customer support to address any issues or concerns you may encounter.
Popular antivirus software options that are well-known for their effectiveness include Norton, McAfee, Avast, Bitdefender, and AVG. These programs often offer a range of features beyond virus scanning, such as firewall protection, web browsing security, and email filtering. Evaluate the features and pricing to choose the best antivirus software for your specific needs.
Ultimately, selecting the right antivirus software is essential to effectively scan your external hard drive for viruses and protect your data. By investing in reliable and robust software, you can ensure the safety and security of your files, giving you peace of mind and a worry-free computing experience.
Step 1: Make Sure the External Hard Drive Is Connected Properly
Before scanning your external hard drive for viruses, it’s crucial to ensure that it is connected correctly to your computer. Follow these steps:
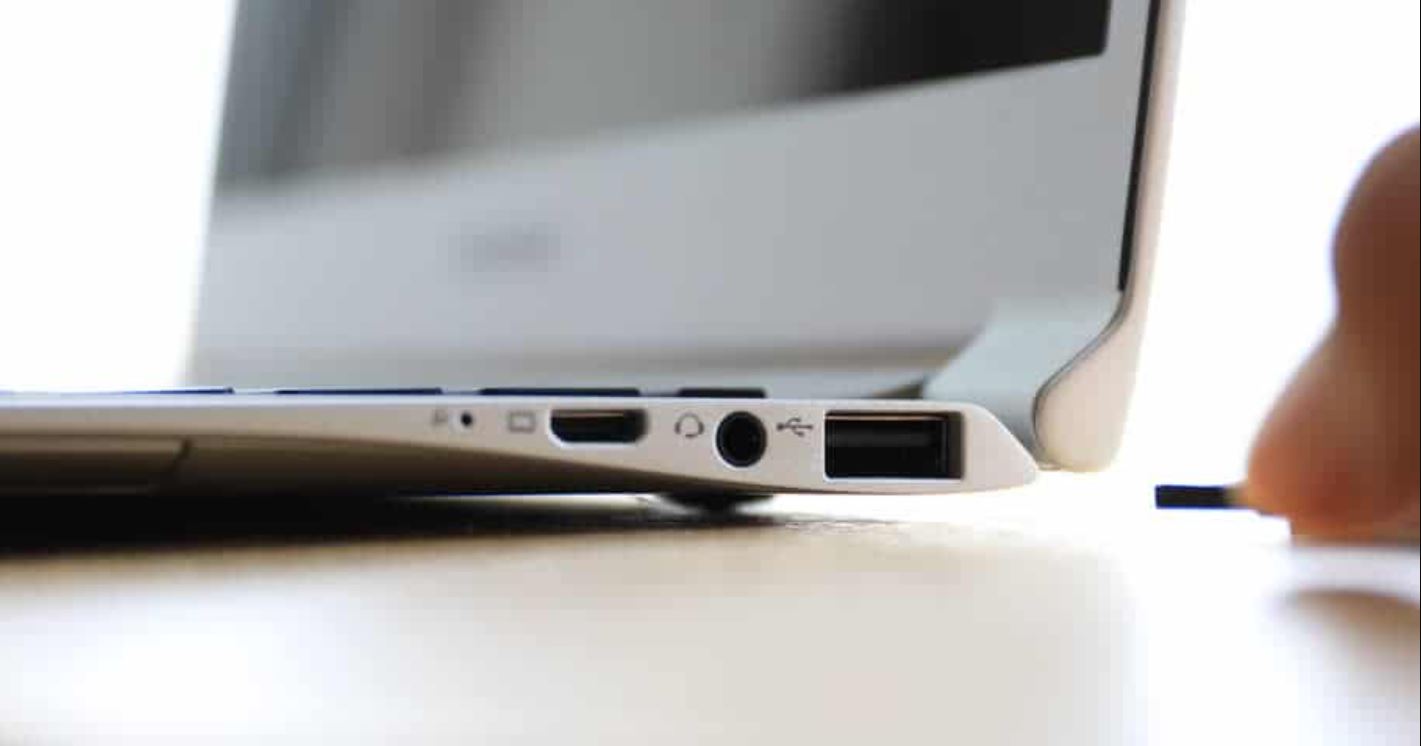
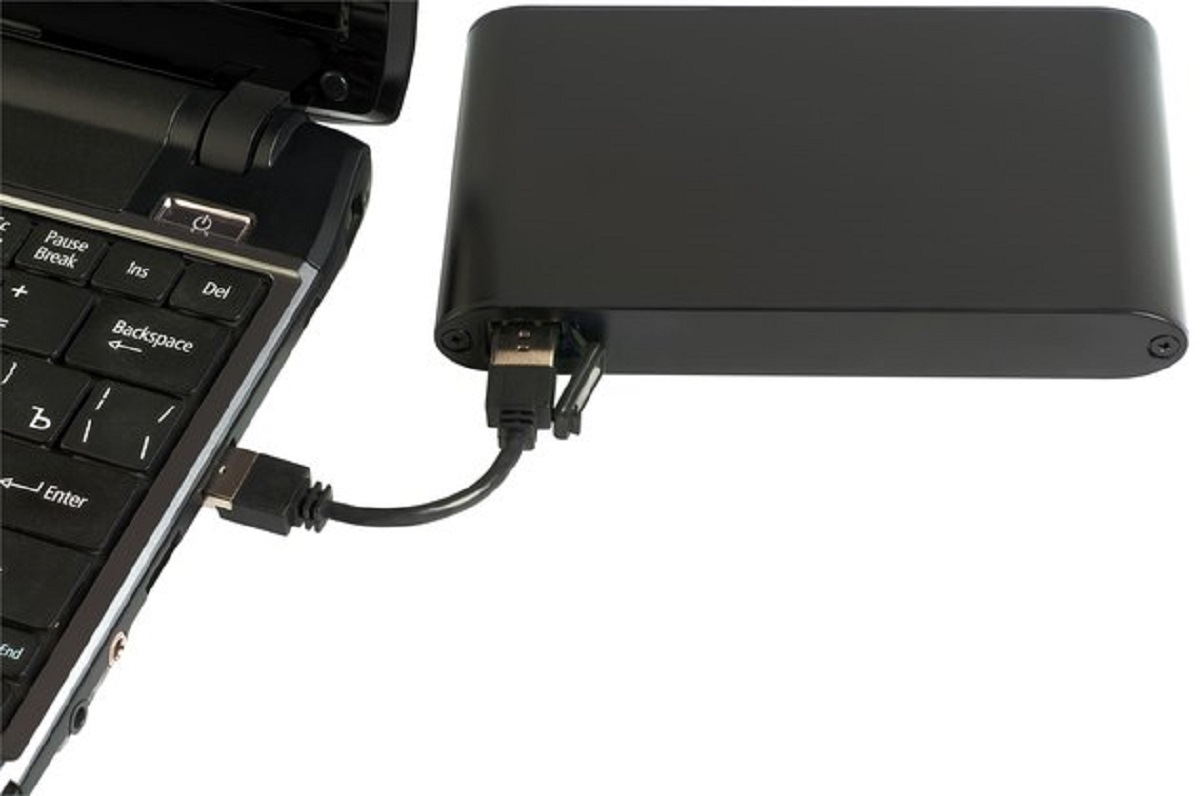
- Check the physical connection: Make sure that the USB or other connecting cable is securely plugged into both the external hard drive and the computer’s USB port. Ensure there are no loose connections that may interrupt the scanning process.
- Power up the external hard drive: If your external hard drive requires a separate power source, make sure it is properly connected and powered on. Some drives receive power from the computer via the USB cable, while others require an additional power adapter.
- Recognize the drive: Once connected, your computer should recognize the external hard drive. Depending on your operating system, you may receive a notification or see the drive appear in the file explorer. Ensure that the drive is listed and accessible before proceeding.
It’s important to note that some external hard drives come with pre-installed software that may include its own antivirus scanning capabilities. If this is the case, check the documentation or manufacturer’s website for instructions on how to use their specific antivirus tools for scanning your external hard drive.
Before starting the scanning process, it’s essential to have a stable and reliable connection between the computer and the external hard drive. By confirming that the connection is secure and the drive is recognized, you ensure a smooth scanning experience without any interruptions or data transfer issues.
Once you have confirmed the proper connection of your external hard drive, you can proceed to the next step of disabling the autoplay feature to prevent any potential virus execution when the drive is connected.
Step 2: Disable Autoplay Feature
Disabling the autoplay feature is an important step before scanning your external hard drive for viruses. Autoplay can automatically execute files or programs on the external drive, potentially running malicious files and compromising your computer. Follow these steps to disable autoplay:
- Open the Control Panel: Click on the Start menu, type “Control Panel,” and select it from the search results.
- Navigate to Autoplay settings: In the Control Panel, search for “Autoplay” or “AutoPlay” in the search bar. Click on the “AutoPlay” option that appears.
- Disable Autoplay: In the AutoPlay settings window, you will find a list of media devices. Locate the external hard drive in the list and select “Take no action” from the drop-down menu next to it. This ensures that no automatic action is triggered when the external drive is connected to your computer.
- Apply changes: After making the necessary changes, click “Save” or “Apply” to save the new Autoplay settings.
By disabling the autoplay feature, you gain more control over how files and programs are executed when you connect your external hard drive. This prevents potentially harmful files from running automatically, reducing the risk of viruses infecting your system during the scanning process.
It’s important to note that the steps to disable autoplay may vary slightly depending on your operating system. Whether you’re using Windows, Mac, or Linux, consult the appropriate documentation or online resources to ensure you are disabling the autoplay feature correctly.
Now that the autoplay feature has been disabled, you can proceed to the next step of updating your antivirus software to ensure optimal virus detection and removal capabilities.
Step 3: Update Your Antivirus Software
Before scanning your external hard drive for viruses, it is crucial to ensure that your antivirus software is up to date. Updates contain the latest virus definitions and security patches, allowing the software to effectively identify and remove new threats. Follow these steps to update your antivirus software:
- Launch the antivirus software: Open the antivirus program on your computer. You can typically find it in the system tray or by searching for it in the Start menu.
- Check for updates: Look for an option within the antivirus software’s interface to check for updates. This option is usually located in the settings or preferences menu. Click on it to initiate the update process.
- Start the update: Once you initiate the update, the antivirus software will connect to its server and search for any available updates. If updates are found, the software will begin to download and install them automatically.
- Wait for the update to complete: Depending on the size and number of updates, the process may take a few minutes or longer. It’s important to be patient and let the update process run its course without interruption.
- Confirm the update: After the update is completed, the antivirus software will typically display a message indicating that it’s up to date. You can also check the software’s version or last update date to ensure that the update was successful.
Regularly updating your antivirus software is vital to maintaining its effectiveness in detecting and removing viruses. It ensures that your antivirus program has the latest information about new threats, allowing it to provide optimal protection for your external hard drive and computer.
Some antivirus software offers automatic updates, which can be enabled in the settings. This ensures that your antivirus software stays up to date without requiring manual intervention. Check the software’s documentation or support resources to enable automatic updates if available.
Now that your antivirus software is up to date, you are ready to proceed to the next step of starting the scanning process for your external hard drive.
Step 4: Start the Scanning Process
Now that you have ensured your external hard drive is connected properly, disabled the autoplay feature, and updated your antivirus software, it’s time to initiate the scanning process. Follow these steps to start scanning your external hard drive for viruses:
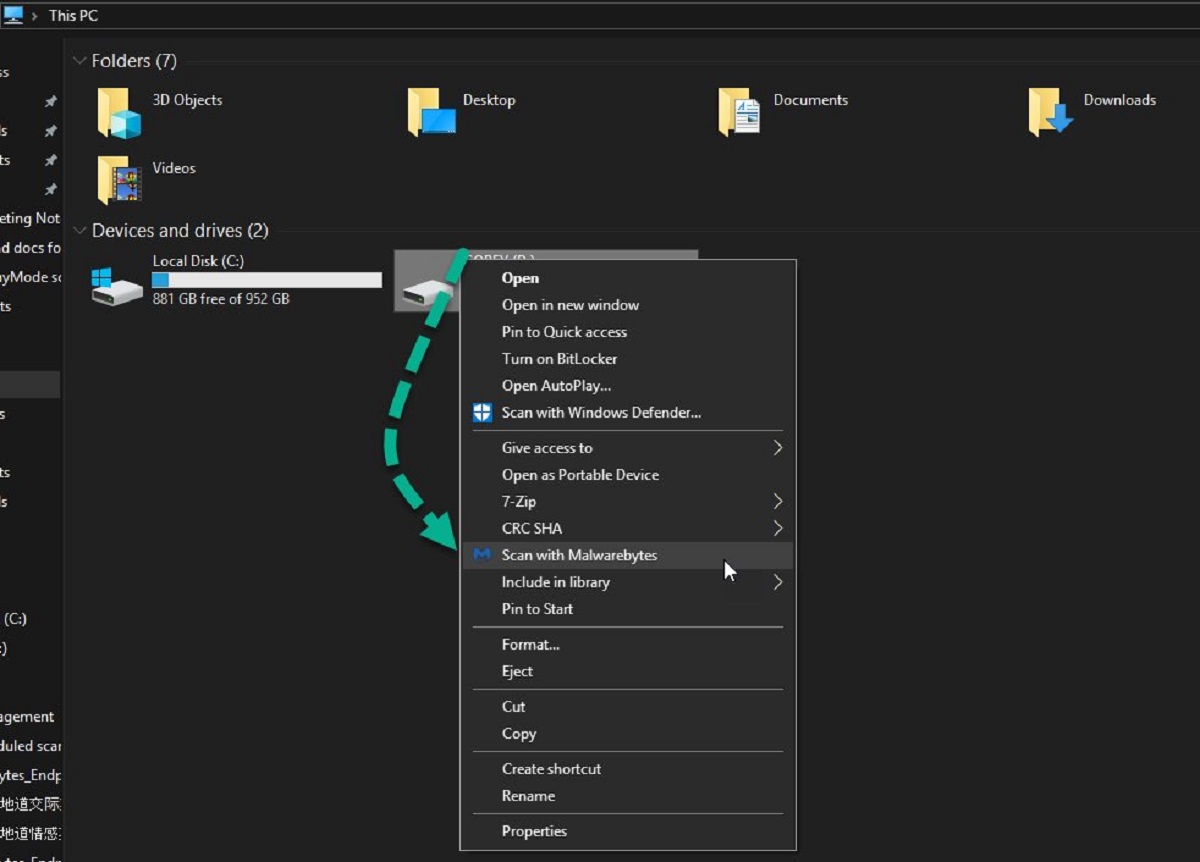
- Launch your antivirus software: Open the antivirus program on your computer, either from the system tray or by searching for it in the Start menu.
- Access scan options: Look for a “Scan” or “Scan Now” button within the antivirus software’s interface. Click on it to access the scanning options.
- Select the external hard drive: In the scanning options, you will typically find a list of drives or devices to scan. Choose your external hard drive from the list. If it’s not listed, you may need to click on a “Custom Scan” option and browse for the external hard drive manually.
- Choose scan type: Most antivirus software offers different scan types, such as a quick scan or a full scan. Choose the appropriate option based on your preference and the level of thoroughness you desire. A quick scan focuses on commonly infected areas, while a full scan scans every file and folder on the external hard drive.
- Start the scan: Once you have selected the external hard drive and the scan type, click on the “Start Scan” or similar button to initiate the scanning process. The antivirus software will now scan your external hard drive for viruses, analyzing each file and folder for potential threats.
- Monitor the scan: Depending on the size of your external hard drive and the chosen scan type, the scanning process may take some time to complete. You can monitor the progress of the scan through a progress bar or a status indicator provided by the antivirus software.
During the scanning process, the antivirus software will examine files, folders, and executable programs on your external hard drive for any signs of viruses or malware. It will compare the scanned items against its virus database to detect any known threats. If any infected files are found, the software will flag them for further action.
It’s important to note that scanning times may vary depending on the speed and capacity of your external hard drive. Larger drives and full scans may take more time. It’s recommended to avoid using the external hard drive or running any resource-intensive tasks on your computer during the scanning process to ensure optimal performance.
Now that the scanning process is underway, you can proceed to the next step of quarantining or removing infected files detected during the scan.
Step 5: Quarantine or Remove Infected Files
After the scanning process is complete, your antivirus software will present you with a report detailing any infected files it has detected on your external hard drive. Follow these steps to quarantine or remove the infected files:
- Review the scan results: Take a close look at the scan results provided by your antivirus software. It will typically list the infected files along with details such as the virus name, file location, and severity level.
- Quarantine the infected files: Consider quarantining the infected files as a first line of defense. Quarantine isolates the files, preventing them from causing further harm to your system. Most antivirus software has an option to quarantine the infected files automatically. Select this option to move the files to a secure location specified by the antivirus software.
- Verify quarantined files: If your antivirus software doesn’t automatically quarantine the files, you may need to manually review and quarantine them. Carefully examine the infected files in the scan results and use the antivirus software’s quarantine function to move them to a secure location.
- Remove the infected files: Once the infected files are quarantined, you have the option to remove them from your external hard drive. Deleting the files outright ensures they no longer pose a threat. However, exercise caution when deleting files as some may be essential system files. Only remove files if you are certain they are malicious.
- Follow antivirus software instructions: Depending on your antivirus software, there may be specific instructions for dealing with infected files. Pay attention to any prompts, recommendations, or additional options provided by the software to ensure thorough handling of the detected threats.
Quarantining or removing infected files is a critical step to eliminate potential threats and protect your data. It is essential to exercise caution during this process to avoid accidentally removing important files or deleting legitimate software. If you are unsure about a file’s status, consult with the antivirus software or seek guidance from technical support.
Once the infected files are appropriately handled, you can proceed to the final step of regularly scanning your external hard drive to maintain its security.
Step 6: Regularly Scan Your External Hard Drive
After completing the initial scan and removing or quarantining any infected files, it’s important to establish a routine of regular scanning for your external hard drive. Regular scans help ensure ongoing protection against viruses and malware. Follow these guidelines for regular scanning:
- Set a scanning schedule: Determine how frequently you want to scan your external hard drive. Consider factors such as your usage patterns, the sensitivity of the data stored on the drive, and the overall security requirements of your computer system. A monthly or weekly scan schedule is typically sufficient for most users, but you may opt for more frequent scans if you frequently transfer files or have heightened security needs.
- Automate the scanning process: Most antivirus software allows you to schedule scans automatically. Take advantage of this feature to save time and ensure consistent scanning. Set the scanning schedule based on your preference and let the antivirus software run the scans at the specified intervals without any manual intervention.
- Keep antivirus software up to date: Regularly update your antivirus software to ensure it has the latest virus definitions and security patches. New threats constantly emerge, and updating your software keeps it prepared to detect and remove the latest viruses effectively.
- Scan new files and external devices: Whenever you add new files to your external hard drive or connect it to a different computer, it’s important to scan the newly added files and the external device for viruses. This helps prevent potential infection from external sources.
- Monitor for suspicious activities: While regular scans are essential, it’s also important to remain vigilant for any signs of unusual behavior or suspicious activities on your computer system. If you notice unexpected system slowdowns, unusual network traffic, or other suspicious indicators, it may be prudent to initiate a scan of your external hard drive to ensure it hasn’t been compromised by a new or undetected threat.
By incorporating regular scanning into your computer maintenance routine, you can proactively identify and eliminate any potential threats on your external hard drive. This helps safeguard your data, maintain the security of your computer system, and provide peace of mind knowing that your valuable files are protected.
Remember to periodically review and update your scanning schedule and adjust it as needed based on changes in your computer usage patterns or security requirements. By staying proactive and consistent, you can effectively prevent and mitigate the risks associated with viruses and malware on your external hard drive.
Conclusion
Scanning your external hard drive for viruses is vital in ensuring the security and integrity of your data. By following the step-by-step guide outlined in this article, you can effectively protect your valuable files from potential threats and maintain a secure computing environment.
Starting with proper connections and disabling the autoplay feature, you set the foundation for a smooth and secure scanning process. Keeping your antivirus software up to date and initiating regular scans allows you to stay one step ahead of emerging threats. Quarantining or removing infected files helps eliminate potential risks and ensures the safety of your data.
Remember to establish a routine for regular scanning, taking advantage of automated scanning features offered by antivirus software. This helps prevent viruses from spreading and keeps your external hard drive protected against new threats.
While scanning your external hard drive for viruses is crucial, it is equally important to adopt other security practices such as practicing safe browsing habits, regularly updating your operating system and applications, and being cautious of file downloads from unknown or untrusted sources.
By incorporating these practices into your daily routine, you can significantly reduce the risk of viruses and malware infecting your external hard drive and compromising your data. Stay vigilant, remain proactive, and always prioritize the security and protection of your valuable files.
Remember, your external hard drive serves as a repository for important documents, cherished memories, and sensitive information. Guarding it against viruses and malware is essential to maintain the privacy and integrity of your data, ultimately providing you with peace of mind and a secure computing experience.