Introduction
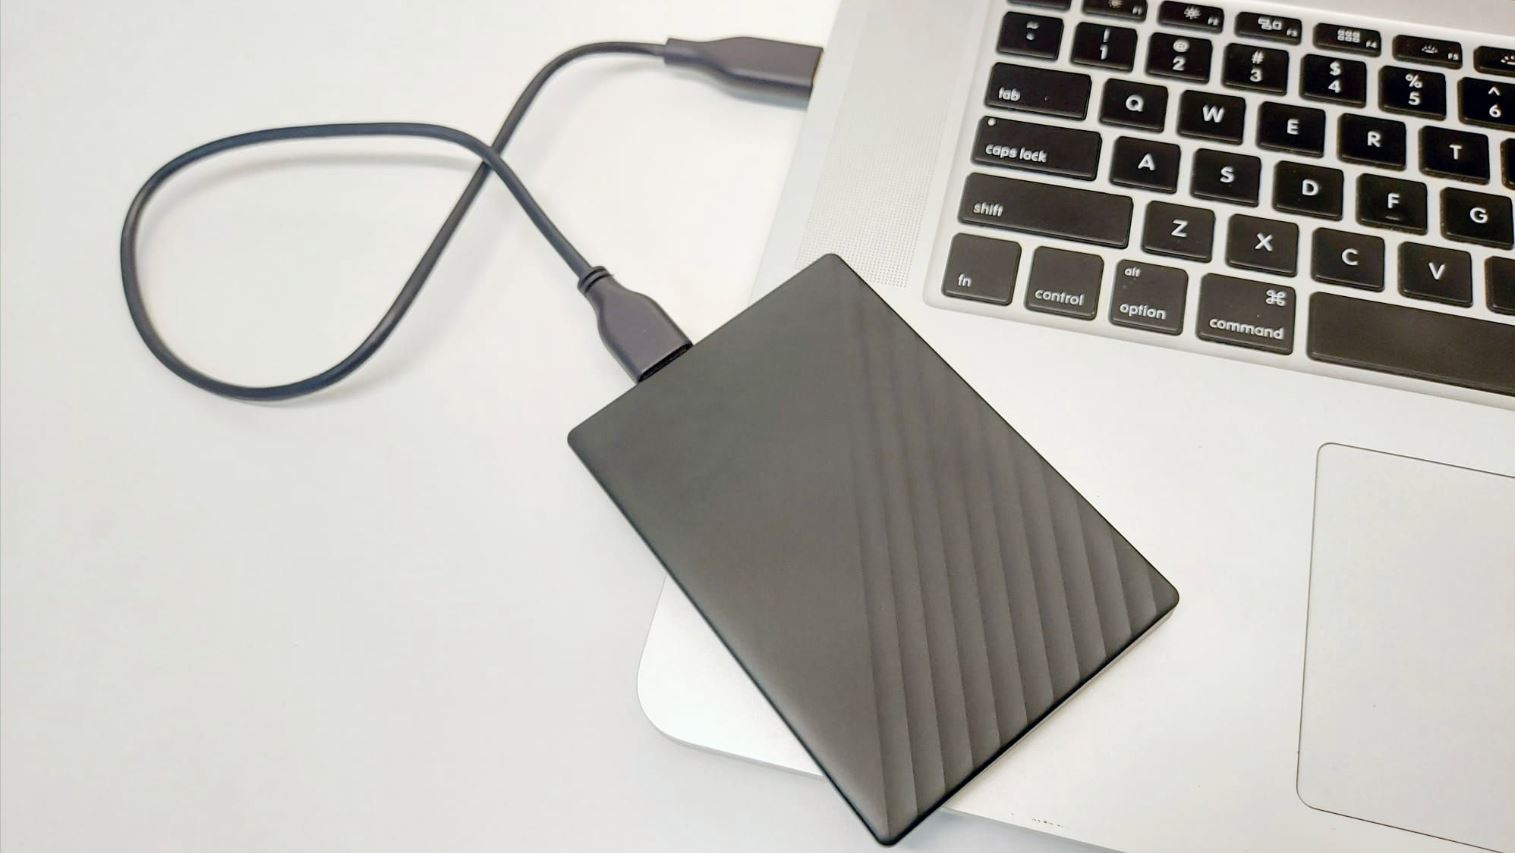
External hard drives are an incredibly useful tool for expanding storage capacity and backing up important files. They allow us to carry large amounts of data with us wherever we go. However, one frustrating issue that many users encounter is the inability to safely eject their external hard drives.
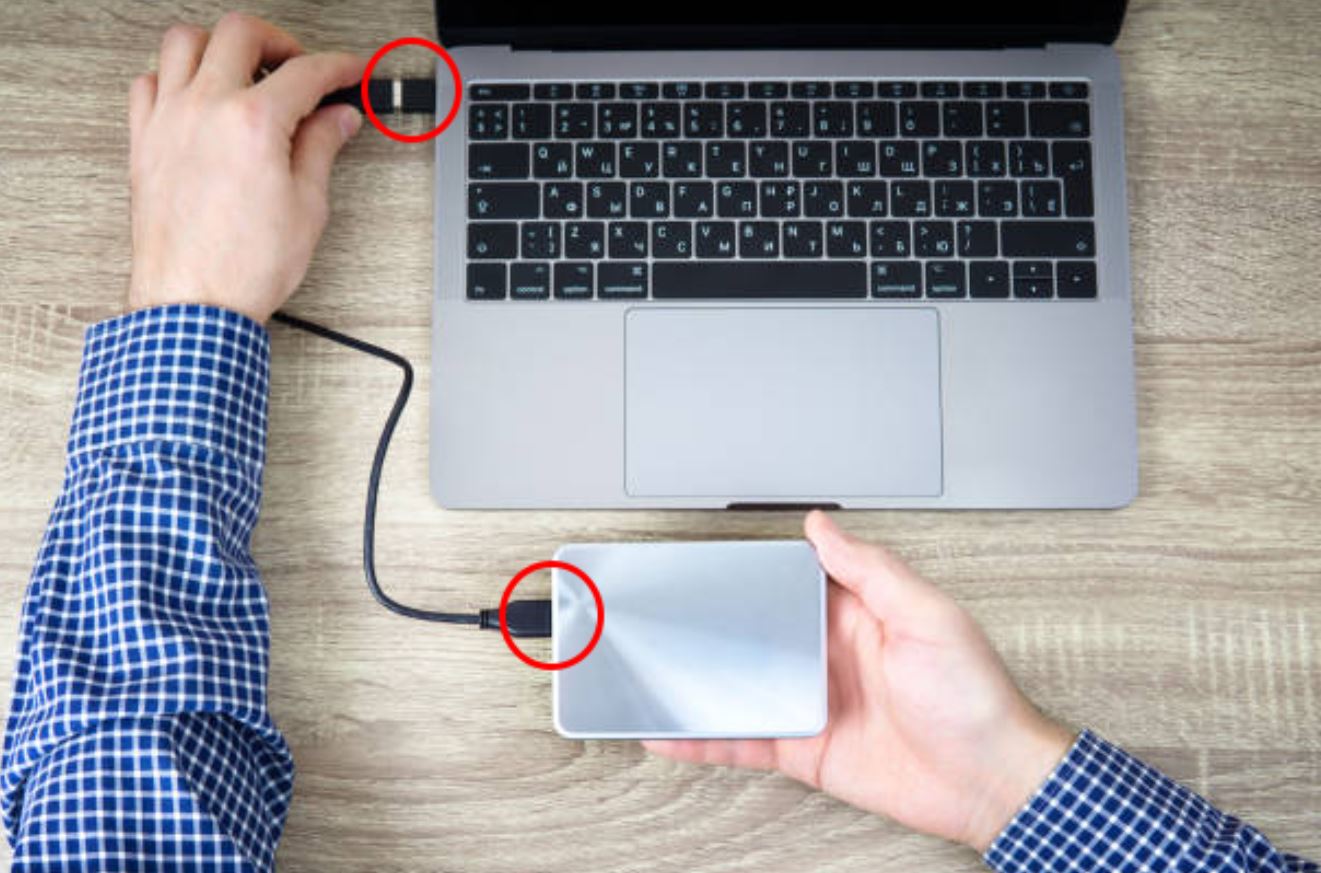
When you connect an external hard drive to your computer, it becomes an additional storage device that you can access and use. Just like any other device, it is essential to safely remove an external hard drive before disconnecting it from your computer. Failure to do so can result in data corruption, loss, or even damage to the drive itself.
So, why can’t you eject your external hard drive? There are several common reasons behind this issue, ranging from files or programs in use to system errors or hardware connectivity problems. Understanding these reasons can help you troubleshoot and resolve the problem effectively.
In this article, we will explore the most common reasons why you may be unable to eject your external hard drive. We will also provide you with some practical tips on how to safely eject your device to avoid any potential data loss or damage. Let’s dive in and find out what might be causing this inconvenience.
Common Reasons Why You Can’t Eject Your External Hard Drive
When you attempt to eject your external hard drive and encounter difficulties, there are several possible reasons for this issue. Let’s explore the most common ones:
- Files or Folders in Use: If any files or folders stored on your external hard drive are currently being accessed by an application or process, you won’t be able to eject the drive until those files are closed or the application is terminated.
- Programs or Applications Accessing the Drive: Sometimes, certain programs or applications on your computer may be utilizing the external hard drive, preventing you from ejecting it. Check for any open programs with files or processes on the drive and close them before attempting to eject.
- Background Processes or Services: Background processes or services, such as antivirus scans, scheduled backups, or indexing services, can also lock your external hard drive. Make sure to check for any running processes or services related to the drive and disable them before ejecting.
- System Errors or Glitches: Occasionally, system errors or glitches may occur that can interfere with the ejection process. Restarting your computer or troubleshooting the system’s USB ports can help resolve these issues.
- Improper Formatting or File System Issues: If your external hard drive is formatted incorrectly or has file system errors, it can cause problems when ejecting. Verifying the formatting and running a disk check utility can fix these issues.
- Hardware Connectivity Problems: Loose cables, faulty USB ports, or issues with the external hard drive enclosure can prevent proper communication and lead to ejection problems. Checking the hardware connections and troubleshooting any connectivity issues can resolve this.
- Write Caching Enabled: Write caching, a feature that improves performance by temporarily storing data in memory before writing it to the disk, can also prevent ejection. Disabling write caching for the drive can resolve this problem.
- Anti-virus Software or Security Tools: Anti-virus software or security tools may continuously scan your external hard drive, causing it to be locked and preventing ejection. Temporarily disabling or configuring the software to exclude the drive can help resolve this issue.
- Malware or Viruses: In some cases, malware or viruses on your computer can interfere with the ejection process. Scanning your system with updated antivirus software can help identify and remove any malicious programs causing this problem.
- Older Operating Systems: Older operating systems may lack proper support or compatibility for external devices, resulting in difficulties when ejecting. Updating your operating system to the latest version can often resolve this issue.
These are the common reasons why you may encounter difficulties when attempting to eject your external hard drive. By identifying the specific cause, you can take appropriate steps to troubleshoot and resolve the problem. In the next section, we will provide you with some helpful tips on how to safely eject your external hard drive.
Files or Folders in Use
One of the most common reasons why you may be unable to eject your external hard drive is if there are files or folders on the drive that are currently in use. When a file is open or being edited by an application, it creates a lock on that file, preventing the operating system from allowing you to eject the drive. Similarly, if a folder on the external hard drive is being accessed by any program or process, it can cause the same issue.
To resolve this problem, you need to identify which files or folders are currently in use and close the corresponding applications or processes. Here’s what you can do:
- Check for Open Files: Go through your open applications and see if any of them have files open from your external hard drive. Close these files and try ejecting the drive again.
- Force Quit Applications: If you are unable to close the files within the respective applications, you may need to force quit the applications themselves. On Windows, you can use the Task Manager (Ctrl + Shift + Esc) to terminate the application. On macOS, you can use the Activity Monitor (found in the Utilities folder within the Applications folder) to force quit the application.
- End Background Processes: Some processes or services may continue to access files on the external hard drive even when the associated applications are closed. Use the Task Manager (Windows) or Activity Monitor (macOS) to identify and terminate any relevant processes.
Once you have closed all applications and terminated any background processes that may be using files or folders on the external hard drive, you should be able to safely eject it without any issues. Remember to save any unsaved work before closing applications or processes to avoid data loss.
If you still encounter difficulties ejecting the drive even after following these steps, there may be other factors causing the problem. In the upcoming sections, we will explore additional common reasons and provide troubleshooting tips to help you safely eject your external hard drive.
Programs or Applications Accessing the Drive
Another common reason why you may experience difficulty ejecting your external hard drive is if there are programs or applications that are currently accessing the drive. These programs or applications may be using files or accessing data from the external hard drive, which can create a lock on the device and prevent it from being ejected.
To identify and resolve this issue, follow these steps:
- Close Relevant Programs: Take a look at the programs you currently have open and close any that may be accessing the external hard drive. For example, if you have a media player that is playing a file from the drive, close the media player before attempting to eject.
- Check System Tray or Menu Bar Icons: Some programs have background processes that can access the external hard drive without having a visible window open. Look for any icons in the system tray (Windows) or menu bar (macOS) that may indicate an application or process using the drive. Right-click or control-click on these icons and select “Exit,” “Quit,” or a similar option to close the program.
- Use Task Manager or Activity Monitor: If you’re unsure which program or application is accessing the external hard drive, you can use the Task Manager (Windows) or Activity Monitor (macOS) to identify and terminate the process. Look for any processes that have a high disk usage or are accessing the external drive, and end those processes.
After closing all relevant programs and terminating any associated processes that may be accessing the external hard drive, you should be able to eject the drive without any issues. However, if you still encounter difficulties, there may be other factors at play. In the next sections, we will explore additional common reasons and provide troubleshooting tips to help you safely eject your external hard drive.
Background Processes or Services
Background processes or services on your computer can also be a reason why you are unable to eject your external hard drive. These processes may be accessing files or resources on the drive, resulting in a lock that prevents ejection. It’s important to identify and stop these processes to safely disconnect your external hard drive.
Here are some steps you can take to address this issue:
- Check for Background Processes: Open the Task Manager (Windows) or Activity Monitor (macOS) to see if any processes related to the external hard drive are running in the background. Look for processes that are using significant CPU or disk resources, and end them to release the lock on the drive.
- Disable Background Services: Some background services, such as antivirus scans, backup utilities, or indexing services, may be accessing your external hard drive. Temporarily disabling these services can free up the drive for ejection. Refer to the documentation or settings of the specific service or utility to learn how to disable it temporarily.
- Check for Pending File Operations: There could be pending file operations, such as file copies, or downloads to or from the external hard drive. These operations can lock the drive and prevent ejection. Make sure all file operations are complete or canceled before attempting to eject the drive.
- Restart the Computer: If you’re unable to identify or stop the background processes or services causing the lock on the external hard drive, a simple restart of your computer can often resolve the issue. This will terminate all processes and services, allowing you to safely eject the drive afterwards.
By checking for and addressing any background processes or services that are accessing your external hard drive, you should be able to safely eject it without encountering any issues. However, if you still experience difficulties, there may be other factors at play. In the upcoming sections, we will explore additional common reasons and provide troubleshooting tips to help you disconnect your external hard drive safely.
System Errors or Glitches
System errors or glitches can often interfere with the ejection process of your external hard drive. These errors may prevent the operating system from properly releasing the lock on the drive, resulting in the inability to safely eject it. Resolving system errors or glitches can help you overcome this issue.
Here are some steps you can take to address system errors or glitches:
- Restart your Computer: A simple restart of your computer can sometimes fix system errors or glitches. Restarting will refresh the system and clear any temporary issues that might be preventing the ejection of your external hard drive.
- Update Device Drivers: Outdated or corrupted device drivers can cause system errors and affect the proper functioning of external devices. Check for driver updates for your external hard drive and install them if available.
- Check USB Port and Cable: Faulty USB ports or cables can lead to connectivity issues and system errors. Try using a different USB port or cable to connect your external hard drive and see if the ejection problem persists.
- Run Disk Check Utility: Running a disk check utility can help identify and fix any file system errors or inconsistencies on the external hard drive. On Windows, you can use the CHKDSK command in the Command Prompt. On macOS, you can use the Disk Utility application to run a First Aid scan on the drive.
- Reset USB Hub: If you’re using a USB hub to connect your external hard drive, there may be issues with the hub itself. Disconnect the external hard drive from the hub, close any programs or files associated with it, reset the hub, and then reconnect the drive to see if the ejection problem is resolved.
- Update your Operating System: Keeping your operating system up to date ensures that you have the latest bug fixes and improvements. Check for any available updates for your operating system and install them. This can potentially resolve any system-related issues causing difficulty with ejecting the external hard drive.
By following these troubleshooting steps and addressing any system errors or glitches, you should be able to safely eject your external hard drive. However, if you still encounter difficulties, there may be other factors at play. In the upcoming sections, we will explore additional common reasons and provide troubleshooting tips to help you safely disconnect your external hard drive.
Improper Formatting or File System Issues
Improper formatting or file system issues on your external hard drive can cause difficulties when trying to eject it. These issues can arise due to incorrect formatting, file system errors, or compatibility problems. Resolving these formatting or file system issues can help you safely disconnect your external hard drive.
Here are some steps you can take to address improper formatting or file system issues:
- Check File System Compatibility: Ensure that the file system used on your external hard drive is compatible with your operating system. Windows typically supports NTFS and exFAT file systems, while macOS works well with APFS and HFS+. If your external hard drive is formatted with a file system that is not compatible with your operating system, you may need to reformat it to a compatible file system.
- Reformat the External Hard Drive: If you determine that your external hard drive needs to be reformatted, keep in mind that this process will erase all data from the drive. Back up any important files beforehand. You can then reformat the drive using your operating system’s disk management tools or a third-party disk utility.
- Run Disk Utility (macOS) or Disk Management (Windows): Use the built-in disk utility tools on your operating system to check and repair any file system errors on the external hard drive. On macOS, use the Disk Utility application to run the First Aid function on the drive. On Windows, access the Disk Management tool and select the external hard drive to perform a disk check or repair.
- Use Third-Party Disk Repair Tools: If the built-in disk utility tools do not resolve the file system issues, you can try using third-party disk repair tools. These tools can help fix more complex file system errors on the external hard drive.
- Ensure Proper Ejection: Always ensure that you follow the appropriate steps to safely eject your external hard drive after using it. Improperly removing the drive without properly ejecting it can lead to file system corruption and subsequent difficulties when trying to disconnect it in the future.
By checking the compatibility of the file system, reformatting the external hard drive if necessary, and using disk utility tools to check and repair any file system issues, you should be able to safely eject your external hard drive. However, if you still encounter difficulties, there may be other factors at play. In the upcoming sections, we will explore additional common reasons and provide troubleshooting tips to help you disconnect your external hard drive safely.
Hardware Connectivity Problems
Hardware connectivity problems can also be a common reason behind difficulties in ejecting your external hard drive. These problems can stem from issues with the cables, USB ports, or the external hard drive enclosure itself. Identifying and resolving these hardware connectivity problems can help you safely disconnect your external hard drive.
Here are some steps you can take to address hardware connectivity problems:
- Check the USB Cable: Ensure that the USB cable connecting your external hard drive to your computer is securely plugged in at both ends. Sometimes, a loose or faulty USB cable can disrupt the connection, making it difficult to eject the drive. Try using a different USB cable to see if the issue is resolved.
- Try Different USB Ports: Connect your external hard drive to different USB ports on your computer. Sometimes, a problem with a specific USB port can prevent proper communication with the external drive. If the drive can be ejected successfully from other USB ports, it indicates that the original port may be faulty.
- Connect Directly to the Computer: If you’re using a USB hub or extension cable to connect your external hard drive, try connecting it directly to the computer’s USB port. USB hubs or extension cables can introduce connectivity issues, so bypassing them can help determine if they are causing the problem.
- Test with Another Computer: Connect your external hard drive to another computer to check if the problem persists. If the drive can be ejected successfully from another computer, it suggests that the issue may be specific to your computer’s hardware or settings.
- Check the External Hard Drive Enclosure: If none of the above steps resolve the connectivity problem, it’s possible that there is an issue with the external hard drive enclosure itself. In such cases, you may need to seek professional assistance or consider replacing the enclosure if it is no longer under warranty.
By checking the USB cable, trying different USB ports, connecting directly to the computer, testing with another computer, and investigating the external hard drive enclosure, you can overcome hardware connectivity problems and safely eject your external hard drive. However, if you still experience difficulties, there may be other factors at play. In the upcoming sections, we will explore additional common reasons and provide troubleshooting tips to help you safely disconnect your external hard drive.
Write Caching Enabled
Write caching is a feature that can enhance the performance of your external hard drive by temporarily storing data in memory before writing it to the disk. However, having write caching enabled can sometimes prevent you from safely ejecting the external hard drive. This is because the data may still be in the cache and not yet written to the disk when you attempt to eject it.
To resolve issues related to write caching, follow these steps:
- Eject Using the Safely Remove Hardware Function: Use the “Safely Remove Hardware” or “Eject” function provided by your operating system. This function ensures that any pending data in the write cache is properly flushed to the disk before ejecting the external hard drive.
- Disable Write Caching for the Drive: If you are consistently experiencing problems with write caching, you can disable this feature for the external hard drive. Access the device’s properties in your operating system’s device manager and navigate to the Policies tab. Disable the option for write caching and confirm the changes.
- Clear the Write Cache: If you’re unable to disable write caching or if the option is not available, you can try clearing the write cache manually. This can be done by restarting your computer, disconnecting the external hard drive, waiting for a few seconds, and then reconnecting it. This will force the data in the write cache to be written to the disk.
By safely removing the external hard drive using the provided function, disabling write caching for the drive (if necessary), or manually clearing the write cache, you should be able to safely eject the external hard drive without encountering any issues. However, if you still face difficulties, there may be other factors contributing to the problem. In the upcoming sections, we will explore additional common reasons and provide troubleshooting tips to help you safely disconnect your external hard drive.
Anti-Virus Software or Security Tools
Anti-virus software and other security tools play a crucial role in protecting your computer from malware and cyber threats. However, these programs can sometimes create conflicts and interfere with ejecting your external hard drive. The continuous scanning and monitoring of the drive by these security tools can result in a lock on the device, preventing proper ejection.
To address issues related to anti-virus software or security tools, consider the following steps:
- Temporarily Disable Real-Time Scanning: Most anti-virus software and security tools have an option to temporarily disable real-time scanning. Access the settings of your anti-virus software and look for an option to disable real-time scanning for external devices, including your external hard drive. Once disabled, attempt to safely eject the drive.
- Configure Exclusions for the External Hard Drive: Another approach is to configure your anti-virus software or security tool to exclude the external hard drive from scanning. This way, the drive will not be continuously monitored, allowing for easier ejection. Refer to the documentation or settings of your security software for instructions on how to configure exclusions.
- Disconnect from the Internet: Temporarily disconnecting from the internet while you attempt to eject your external hard drive can help reduce potential conflicts between the security software and the drive. This can prevent background processes or scans from interfering with the ejection process.
By temporarily disabling real-time scanning, configuring exclusions for the external hard drive, or disconnecting from the internet, you can work around any conflicts caused by anti-virus software or security tools and safely eject your external hard drive. However, if you still experience difficulties, there may be other factors contributing to the problem. In the upcoming sections, we will explore additional common reasons and provide troubleshooting tips to help you safely disconnect your external hard drive.
Malware or Viruses
Malware or viruses on your computer can significantly impact the functionality of various devices, including your external hard drive. These malicious programs may interfere with the ejection process and prevent you from safely disconnecting the drive. It’s crucial to address malware or virus infections to ensure smooth and secure usage of your external hard drive.
To address issues related to malware or viruses, follow these steps:
- Perform a Full System Scan: Use up-to-date anti-malware or antivirus software to perform a thorough scan of your entire system, including all connected drives. This scan will help identify and remove any malware or viruses present on your computer that may be affecting the ejection of your external hard drive.
- Quarantine or Delete Detected Threats: Once the scan is complete, follow the recommendations of your antivirus software to quarantine or delete any detected threats. Quarantining isolates the infected files, which prevents them from causing further harm. Deleting permanently removes the threats from your computer.
- Update and Patch System: Ensure that your operating system and all software installed on your computer are up to date with the latest security patches. Keeping your system updated helps protect against known vulnerabilities that can be exploited by malware or viruses.
- Be Mindful of Downloads and Email Attachments: Avoid downloading files or clicking on email attachments from untrusted or suspicious sources. These files can contain malware or viruses that can infect your computer and potentially impact the functions of your external hard drive.
- Change Passwords and Update Security Measures: In addition to addressing any malware or virus infections, it’s a good practice to change your passwords and update your security measures to protect your online accounts. Malware can sometimes capture sensitive information, so updating your credentials adds an extra layer of security.
By performing a full system scan, quarantining or deleting detected threats, updating and patching your system, being cautious with downloads and email attachments, and enhancing your overall security measures, you can mitigate the impact of malware or viruses on the ejection of your external hard drive. However, if you still encounter difficulties, there may be other factors contributing to the problem. In the upcoming sections, we will explore additional common reasons and provide troubleshooting tips to help you safely disconnect your external hard drive.
Older Operating Systems
If you’re using an older operating system, you may encounter difficulties when ejecting your external hard drive. Older operating systems may lack proper support or compatibility for external devices, leading to issues with ejection. It’s important to keep your operating system up to date or consider alternative solutions if you’re using an outdated system.
To address issues related to older operating systems, consider the following steps:
- Update your Operating System: If possible, update your operating system to the latest version. Operating system updates often include bug fixes, enhancements, and improved compatibility with external devices. Check for available updates and follow the instructions provided by your operating system’s manufacturer to install them.
- Check for Driver Updates: If updating your operating system is not an option, ensure that you have the latest drivers installed for your external hard drive. Visit the manufacturer’s website or use a driver update utility to check for driver updates specific to your device.
- Try on a Different Computer: If you have access to a different computer with a more recent operating system, try connecting your external hard drive to that computer. This can help determine if the issue arises from your older operating system or if the problem lies elsewhere.
- Consider Alternative Ejection Methods: If updating your operating system or using a different computer is not feasible, consider alternative methods for safely disconnecting your external hard drive. This may include using dedicated ejection software or following specific steps recommended by your external hard drive manufacturer.
- Upgrade your Operating System: If you consistently encounter compatibility issues with external devices, including your external hard drive, it may be time to consider upgrading your operating system. Upgrading to a newer version will provide better support and compatibility, ensuring smoother usage of your devices.
By updating your operating system, checking for driver updates, trying on a different computer, considering alternative ejection methods, or ultimately upgrading your operating system, you can address issues related to older operating systems and safely eject your external hard drive. However, if you still experience difficulties, there may be other factors at play. In the upcoming sections, we will explore additional common reasons and provide troubleshooting tips to help you disconnect your external hard drive safely.
How to Safely Eject an External Hard Drive
Safely ejecting an external hard drive is essential to prevent data corruption, loss, or damage to the drive itself. To ensure a smooth and safe ejection process, follow these steps:
- Close Files and Applications: Before ejecting the external hard drive, make sure to close any files or applications that are accessing or using the drive. This ensures that there are no active operations or processes that could interfere with the ejection process.
- Use the Safely Remove Hardware Option (Windows) or Eject Option (macOS): On Windows, locate the “Safely Remove Hardware” icon in the system tray at the bottom right corner of the screen. Click on the icon and select the external hard drive you want to eject from the list. On macOS, find the drive on the desktop or in the Finder sidebar, control-click on the drive, and select “Eject” from the context menu.
- Wait for Confirmation: After selecting the eject option, wait for the operating system to confirm that it is safe to remove the external hard drive. You may see a notification or pop-up message confirming that it’s okay to disconnect the device. Do not unplug the drive until you receive this confirmation.
- Physically Disconnect: Once you receive confirmation that it is safe to do so, gently and safely disconnect the external hard drive from the computer. Hold onto the drive itself and not the USB cable to prevent any accidental damage to the connectors.
Following these steps ensures that all active operations are completed, the file system is properly flushed, and the device is safely prepared for disconnection. By safely ejecting your external hard drive, you minimize the risk of data loss or damage.
Note that the specific steps for safely ejecting an external hard drive may vary slightly depending on the operating system and device. Be sure to consult the documentation or support resources provided by your operating system or external hard drive manufacturer for any specific instructions or recommendations.
In the next section, we will summarize the main points discussed and provide some concluding thoughts on safely disconnecting an external hard drive.
Conclusion
Ejecting an external hard drive may seem like a simple task, but it can sometimes present challenges. Throughout this article, we have explored the common reasons why you may be unable to safely eject your external hard drive and provided troubleshooting tips for each scenario.
We discussed the potential issues of files or folders in use, programs or applications accessing the drive, background processes or services, system errors or glitches, improper formatting or file system issues, hardware connectivity problems, write caching enabled, anti-virus software or security tools, malware or viruses, and older operating systems. By addressing these factors, you can overcome obstacles and safely disconnect your external hard drive.
Additionally, we provided a step-by-step guide on how to safely eject an external hard drive, emphasizing the importance of closing files and applications, using the safely remove hardware or eject option, waiting for confirmation from the operating system, and physically disconnecting the drive with care.
Remember to always prioritize the safety and integrity of your data. Regularly update your operating system, anti-virus software, and device drivers to ensure optimal compatibility and security. Be mindful of possible hardware issues and connectivity problems, and take necessary steps to rectify them.
If you continue to face challenges when ejecting your external hard drive, consult the documentation and support resources provided by your operating system and external hard drive manufacturer for further guidance. They can provide specific instructions tailored to your setup.
By following the troubleshooting tips and best practices outlined in this article, you can confidently and safely disconnect your external hard drive, protecting your data and ensuring the longevity of your device.