Reasons to Turn Off an External Hard Drive
An external hard drive is a valuable tool for storing and backing up important data. Whether you use it for work or personal files, there may be times when it’s necessary to turn off your external hard drive. Here are a few common reasons why you might want to do so:
- Saving energy: Leaving your external hard drive constantly powered on can consume unnecessary energy. By turning it off when not in use, you can reduce your environmental footprint and save on electricity costs.
- Preventing data corruption: Sudden power loss or improper disconnection of an external hard drive can result in data corruption or file system errors. Turning off the drive properly can help prevent these issues and ensure the integrity of your stored data.
- Minimizing wear and tear: Continuous use of an external hard drive can lead to wear and tear, potentially shortening its lifespan. By turning off the drive when it’s not actively needed, you can extend its durability and longevity.
- Enhancing system performance: Some external hard drives run background processes or software utilities that can consume system resources. Turning off the drive can free up these resources, allowing your computer to perform better.
- Protecting against security risks: If your external hard drive contains sensitive or confidential information, turning it off can add an extra layer of security. It minimizes the risk of unauthorized access or data breaches when the drive is not actively in use.
These are just a few reasons why you might consider turning off your external hard drive. However, it’s important to note that the decision ultimately depends on your specific needs and preferences.
Step-by-Step Guide to Turning Off an External Hard Drive
Turning off an external hard drive is a simple process that can be done in a few easy steps. Here’s a step-by-step guide to help you navigate the process:
- Save and close all files: Before you turn off your external hard drive, make sure to save and close any files or applications that you’re currently accessing from the drive. This ensures that you don’t lose any unsaved data.
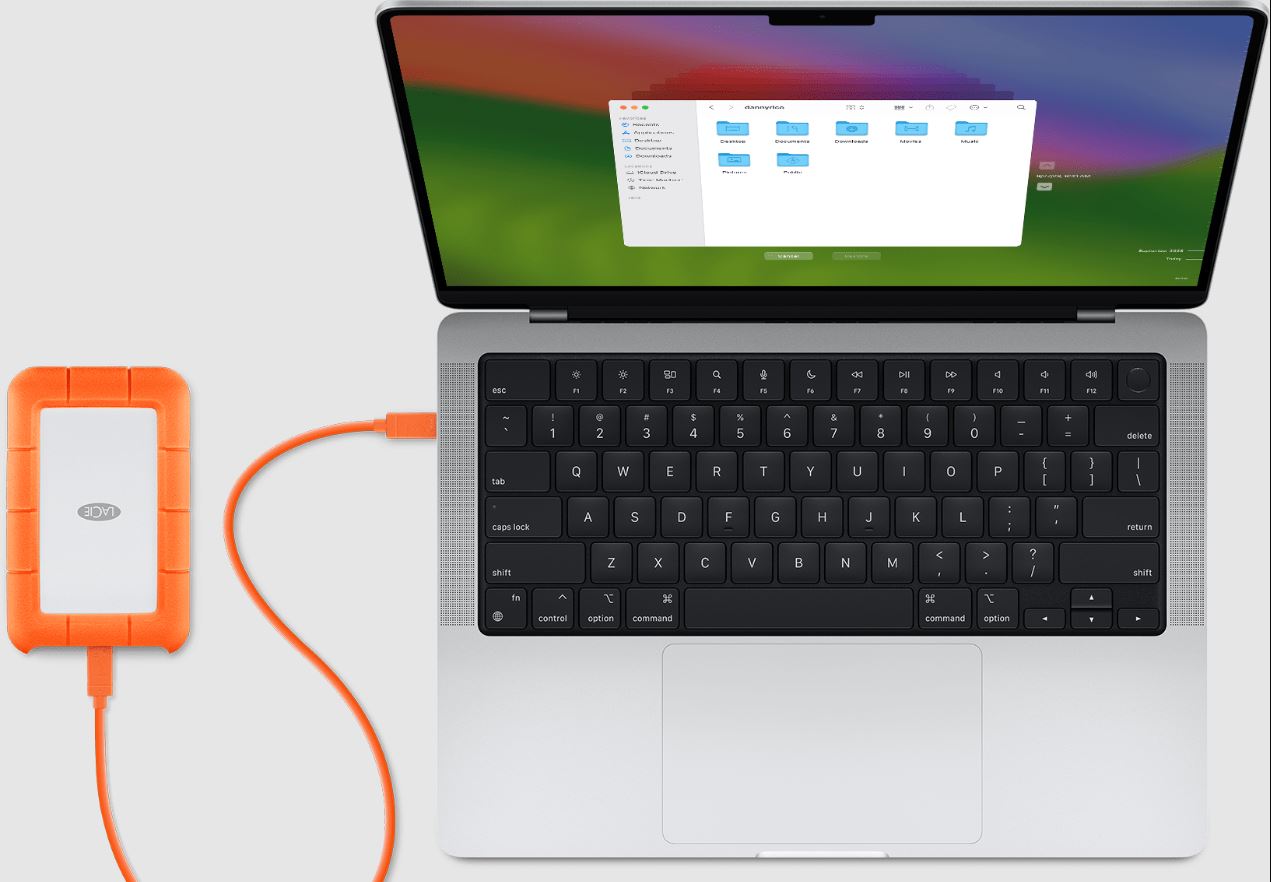
- Eject or unmount the drive: The first method to turn off an external hard drive is to safely eject or unmount it from your computer. On Windows, you can do this by right-clicking on the drive’s icon in the File Explorer, selecting “Eject” or “Safely Remove Hardware,” and waiting for the notification that it’s safe to remove. On Mac, you can either drag the drive icon to the trash or use the eject button next to the drive in Finder.
- Disconnect the cable: If you prefer a more direct approach, you can physically disconnect the cable connecting the external hard drive to your computer. Simply locate the cable ends, gently unplug them from the respective ports, and set the cable aside.
- Power off the drive: Some external hard drives have an independent power button that allows you to manually power off the drive. Locate the power button on the drive and press it to turn off the device. If your drive doesn’t have a dedicated power button, you can safely unplug it from the power source.
- Store the drive properly: Once your external hard drive is turned off, it’s important to store it in a safe and secure location. Protect it from dust, moisture, and extreme temperatures to prolong its lifespan and maintain data integrity.
Remember, it’s crucial to follow the correct steps to turn off your external hard drive to prevent data loss, corruption, or damage. By properly ejecting or disconnecting the drive, you ensure the safe and reliable operation of your storage device.
Option 1: Safely Eject the External Hard Drive
Safely ejecting the external hard drive is the recommended method to turn it off and ensure the integrity of your data. Following these steps will help you safely eject your drive:
- Save and close all open files: Before ejecting the external hard drive, make sure to save and close any files or applications that you’re accessing from the drive. This ensures that no data is lost or corrupted during the ejection process.
- Locate the drive icon: On your computer, navigate to the icon representing your external hard drive. On Windows, it is usually found in the File Explorer, while on Mac, it can be found in Finder.
- Right-click on the drive icon: On Windows, right-click on the icon of your external hard drive. A context menu will appear.
- Select “Eject” or “Safely Remove Hardware”: From the context menu, choose the option that says “Eject” or “Safely Remove Hardware.” This action prepares the drive for safe removal.
- Wait for confirmation: After selecting the appropriate option, wait for a notification or message confirming that it is safe to remove the drive. This indicates that all read/write operations have been completed, and the drive is no longer in use by the system.
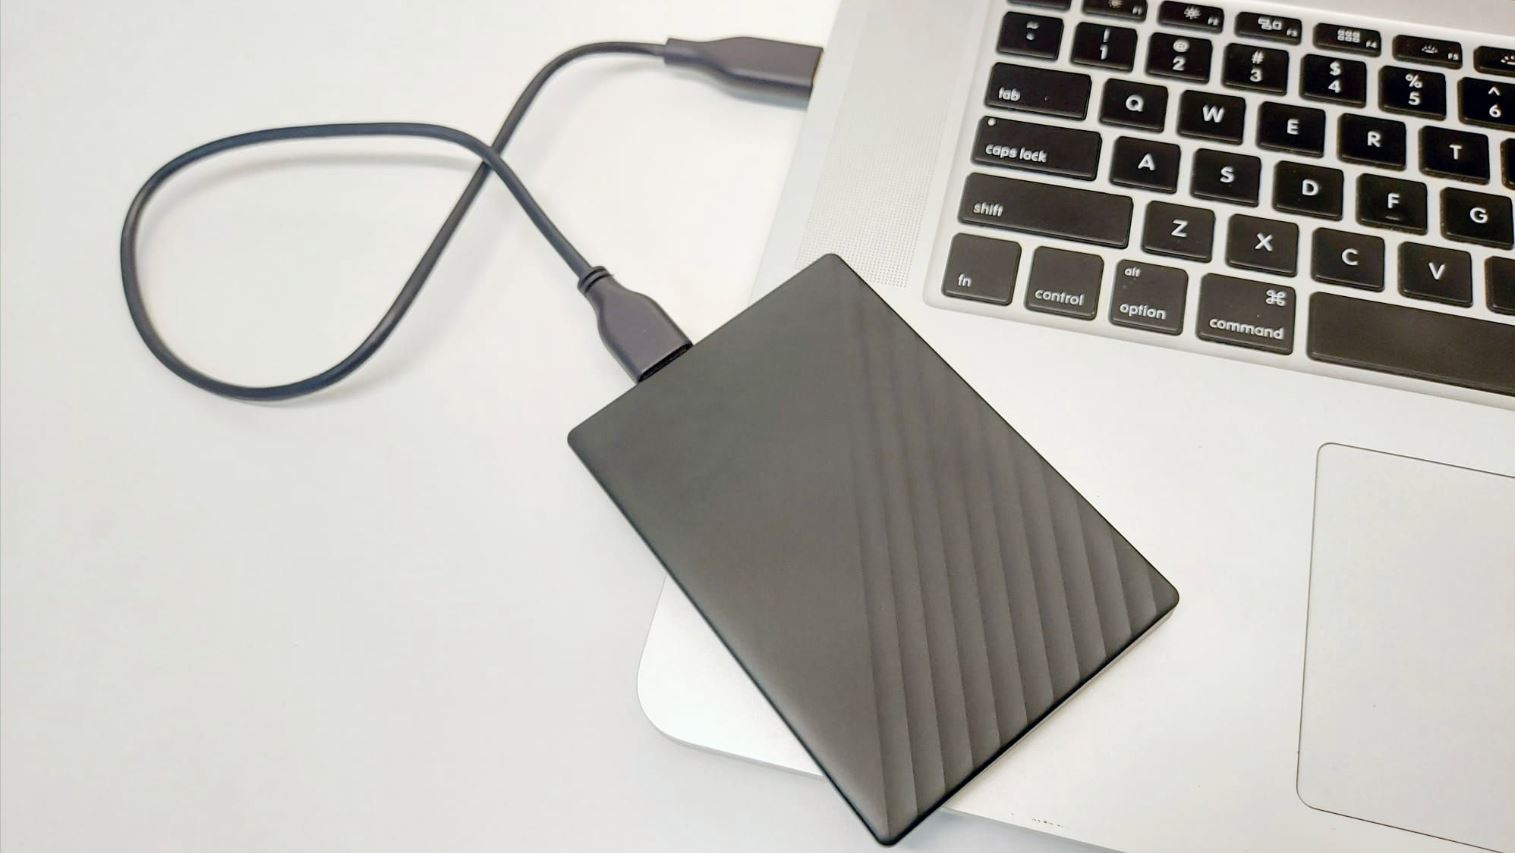
- Physically disconnect the drive: Once you receive the confirmation, you can proceed to physically disconnect the external hard drive from your computer. Gently remove the cable from the USB or Thunderbolt port, being careful not to tug or force it.
By following these steps, you can safely eject your external hard drive without risking data corruption or damage. Always remember to wait for the proper confirmation before physically removing the drive to ensure the safe disconnection of the device.
Option 2: Disconnect the External Hard Drive
If your external hard drive does not support the “Safely Eject” option or if you prefer a more direct approach, you can choose to disconnect the drive physically. Here’s how you can do it:
- Save and close all open files: Before disconnecting the external hard drive, ensure that you save and close any files or applications that you’re accessing from the drive. This prevents data loss or corruption.
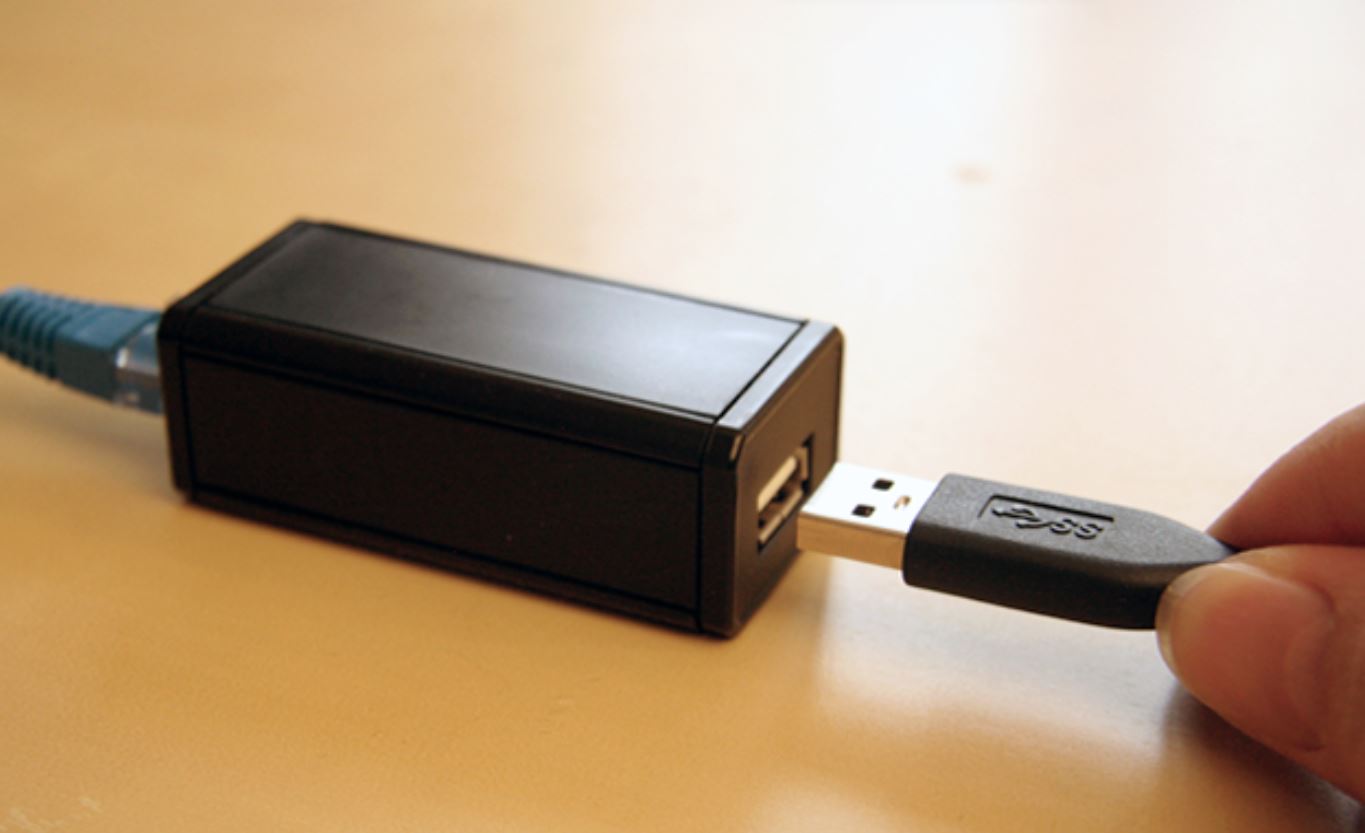
- Locate the USB or Thunderbolt cable: Identify the cable that connects the external hard drive to your computer. It is usually a USB or Thunderbolt cable.
- Gently unplug the cable: With a gentle hand, unplug the USB or Thunderbolt cable from the respective port on your computer. Avoid pulling on the cable forcefully, as this can damage the connectors or the drive itself.
- Wait for any ongoing transfers: If there are any ongoing transfers or operations, it’s advisable to wait for them to complete before disconnecting the drive. Look for any activity indicators on the drive, such as blinking lights, to ensure that all processes have finished.
- Store the cable securely: Once the external hard drive is disconnected, it’s important to store the cable properly. Coil it neatly to prevent tangled wires and store it in a safe location where it won’t get damaged.
By following these steps, you can safely disconnect your external hard drive without causing any harm to the device or risking data loss. However, keep in mind that simply disconnecting the drive without properly ejecting it may lead to data corruption or system errors. It’s always recommended to safely eject the drive when possible.
Option 3: Power Off the External Hard Drive
If your external hard drive has its own power source, you can choose to power it off directly. Here’s how you can do it:
- Save and close all open files: Before powering off the external hard drive, make sure to save and close any files or applications that you’re accessing from the drive. This helps prevent data loss or corruption.
- Locate the power button: Look for the power button on your external hard drive. It is typically located on the front or back of the drive.
- Press the power button: Once you have located the power button, press and hold it for a few seconds to initiate the power-off sequence.
- Wait for the drive to shut down: After pressing the power button, wait for the external hard drive to completely shut down. You may notice the drive’s lights turning off or hear the sound of the drive spinning down.
- Disconnect the drive (optional): Once the drive has powered off, you can choose to disconnect it physically by removing the power cable from the outlet or unplugging it from the power source.
- Store the drive safely: After powering off and potentially disconnecting the external hard drive, store it in a safe and secure location. Protect it from dust, moisture, and extreme temperatures to ensure its longevity.
This option provides a direct way to turn off the external hard drive and completely shut down its operation. Keep in mind that powering off the drive without properly ejecting or saving open files may result in data loss or corruption. It’s always recommended to follow the appropriate steps to ensure the safe usage of your external hard drive.
Tips for Safely Turning Off an External Hard Drive
While turning off an external hard drive may seem like a straightforward task, it’s important to follow some tips to ensure the safe and proper handling of your device. Here are some tips to keep in mind:
- Always eject the drive: Whenever possible, use the “Safely Eject” option to disconnect your external hard drive. This ensures that all read/write operations are completed and minimizes the risk of data corruption or loss.
- Wait for activity to finish: Before ejecting or disconnecting the drive, give your computer and the external hard drive some time to finish any ongoing processes. Look for activity indicators on the drive, such as blinking lights, and wait for them to stop before proceeding.
- Avoid sudden disconnections: Never unplug the external hard drive or turn it off abruptly while data is being transferred. This can lead to data corruption and file system errors. Wait for the transfer to complete or use the appropriate options to safely stop any ongoing processes.
- Protect against physical damage: Treat your external hard drive with care. Make sure to handle it gently when ejecting or disconnecting, and avoid dropping or exposing it to extreme temperatures or moisture. Physical damage can harm both the drive and the stored data.
- Regularly backup your data: To further protect your data, it’s recommended to maintain regular backups of your external hard drive. This ensures that even if something goes wrong during the turning off process, you won’t lose your important files or documents.
- Update your device drivers: Periodically check for and install any available updates for your external hard drive’s device drivers. Updated drivers often include improvements in performance, compatibility, and stability.
By following these tips, you can maintain the health and integrity of your external hard drive while ensuring the safety of your data. Properly handling and turning off your device contributes to its longevity and reliable performance in the long run.
Conclusion
Turning off an external hard drive is a simple yet important task to ensure the safety and longevity of your device and data. Whether you choose to safely eject the drive, disconnect it physically, or power it off directly, following the proper steps is crucial. By doing so, you can prevent data corruption, extend the lifespan of your drive, save energy, enhance system performance, and add an extra layer of security.
Remember to save and close all open files before turning off your external hard drive and wait for any ongoing processes to finish. Safely eject the drive whenever possible, and if it’s not an option, disconnect it with care to avoid any damage. Additionally, consider regularly backing up your data and keeping your device drivers up to date to ensure optimal performance.
By following the tips and steps outlined in this guide, you can confidently and safely turn off your external hard drive, knowing that you’re protecting your valuable data and maintaining the overall health of your device. Implementing these practices in your routine will help you get the most out of your external hard drive and ensure its reliability for years to come.