Introduction
Welcome to the digital age, where data storage has become an essential part of our lives. With the increasing need to store and access files on the go, cloud storage has gained immense popularity. However, relying solely on cloud services can have its drawbacks, including limited storage capacity and ongoing subscription fees. That’s where the concept of turning an external hard drive into cloud storage comes in.
Imagine having the convenience of cloud storage while retaining complete control over your data. By repurposing an external hard drive, you can create your own personal cloud storage solution, allowing you to store and access your files from anywhere with an internet connection.
This article will guide you through the process of transforming an external hard drive into cloud storage. We’ll explore the benefits, considerations, and step-by-step instructions to help you set up your own personalized cloud storage solution. Whether you’re a small business owner looking for a cost-effective storage solution or an individual seeking to keep your files secure, this guide will provide you with the knowledge you need to get started.
Before we dive into the technicalities, let’s explore the advantages of utilizing an external hard drive as your cloud storage solution. Understanding the benefits will help you make an informed decision and assess whether this approach is suitable for your needs.
Benefits of Using an External Hard Drive as Cloud Storage
Utilizing an external hard drive as your cloud storage solution offers several advantages over traditional cloud services. Here are some key benefits:
- Increased Storage Capacity: Unlike most cloud services that offer limited storage space, using an external hard drive as cloud storage allows you to expand your storage capacity based on your needs. Simply choose a high-capacity external hard drive, and you won’t have to worry about running out of space.
- Cost Savings: While many cloud storage services require a recurring subscription fee, repurposing an external hard drive eliminates the need for ongoing payments. Instead, you make a one-time investment in the external hard drive, providing a cost-effective storage solution in the long run.
- Full Control and Privacy: When using external hard drive cloud storage, you have complete control over your files and the privacy of your data. Unlike cloud services that store your files on external servers, your data remains within your possession, reducing the risk of unauthorized access or data breaches.
- Offline Access: One significant advantage of using an external hard drive as cloud storage is the ability to access your files offline. This is particularly useful in areas with limited or no internet connectivity. You can simply connect your external hard drive to your device and access your files whenever and wherever you need them.
- Fast Data Transfer Speeds: Transferring large files to and from cloud services can often be time-consuming, especially when dealing with limited internet speeds. By using an external hard drive, you can take advantage of high-speed USB 3.0 or Thunderbolt connections, enabling faster data transfers and saving you valuable time.
These benefits make utilizing an external hard drive as cloud storage an attractive option for individuals and businesses alike. Whether you require ample storage space, cost savings, data control, offline access, or fast data transfers, leveraging an external hard drive can provide a flexible and efficient solution.
Things to Consider Before Turning an External Hard Drive into Cloud Storage
Before embarking on the journey of turning an external hard drive into cloud storage, there are several important considerations to keep in mind. These considerations will help you make informed decisions and ensure that this approach aligns with your specific needs and requirements. Here are some key factors to consider:
- Storage Capacity: Assess your storage needs and determine the amount of storage capacity required. Consider not only your current needs but also potential future expansion. Choose an external hard drive with a capacity that can accommodate your files and provide room for growth.
- Redundancy and Backup: It’s crucial to have a backup plan in place. While utilizing an external hard drive as cloud storage provides an additional layer of redundancy, it’s still recommended to have a backup copy of your files stored elsewhere, such as another external hard drive or cloud service. This ensures the safety of your data in case of hardware failures or disasters.
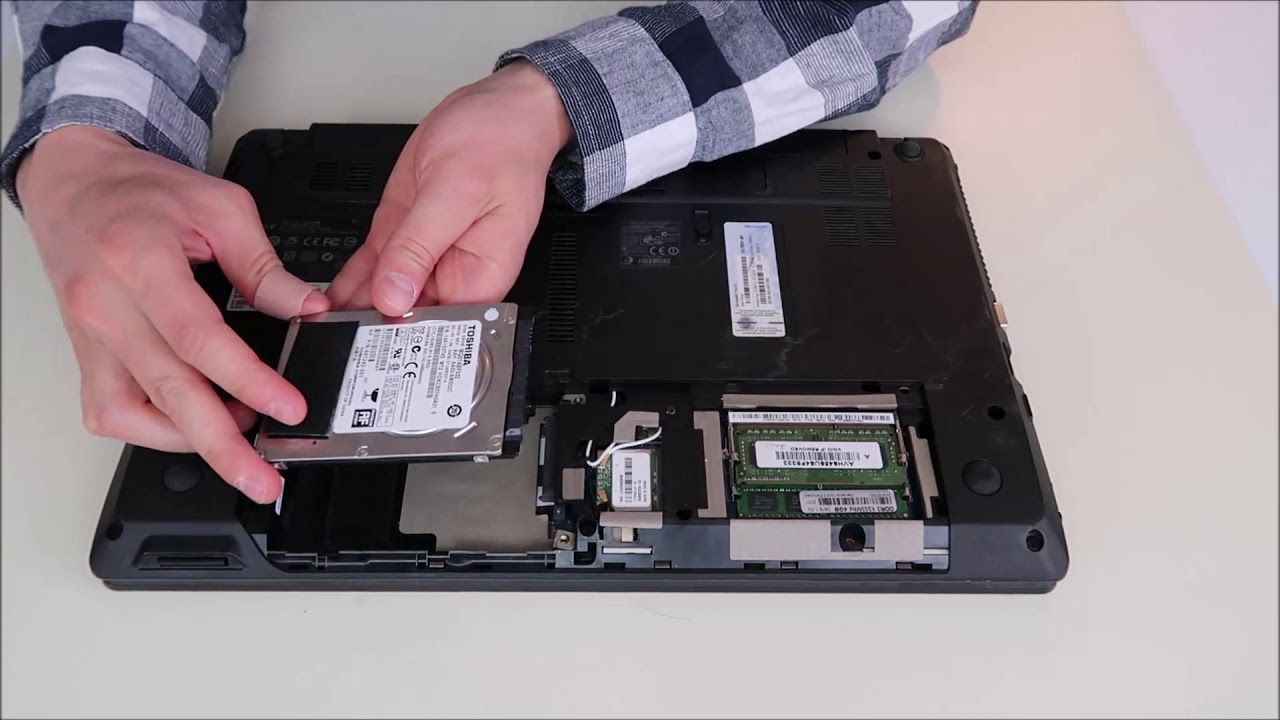
- Hardware Reliability: Invest in a reliable and durable external hard drive. Look for reputable brands known for their quality and longevity. It’s essential to choose a drive that can withstand continuous operation and protect your data from potential hardware failures.
- Network Setup: Ensure that your network infrastructure can support the setup of an external hard drive as cloud storage. Determine whether your router supports network-attached storage (NAS) functionality, as this will be necessary to host the external hard drive on your network.
- Internet Connection Speed: Assess the speed and stability of your internet connection. A fast and reliable internet connection is essential for seamless file access and transfers. If your connection is slow or unstable, it may affect the performance of your external hard drive cloud storage.
- Data Security: Consider implementing security measures to protect your data. Set up secure passwords and enable encryption to ensure the confidentiality of your files. Additionally, keep your network and devices updated with the latest security patches to safeguard against potential vulnerabilities.
By carefully considering these factors, you can determine whether using an external hard drive as cloud storage is the right solution for you. Taking the time to assess your storage needs, backup strategies, hardware reliability, network setup, internet connection speed, and data security will help you make an informed decision and ensure a successful implementation of your personalized cloud storage solution.
Step 1: Choosing the Right External Hard Drive
Choosing the right external hard drive is a crucial first step in turning it into cloud storage. Here are some factors to consider when selecting the external hard drive:
- Storage Capacity: Determine the amount of storage you require based on your current needs and future growth. Consider the types of files you’ll be storing, such as documents, photos, videos, or large software installations. It’s recommended to choose an external hard drive with ample storage capacity to accommodate your files and allow for future expansion.
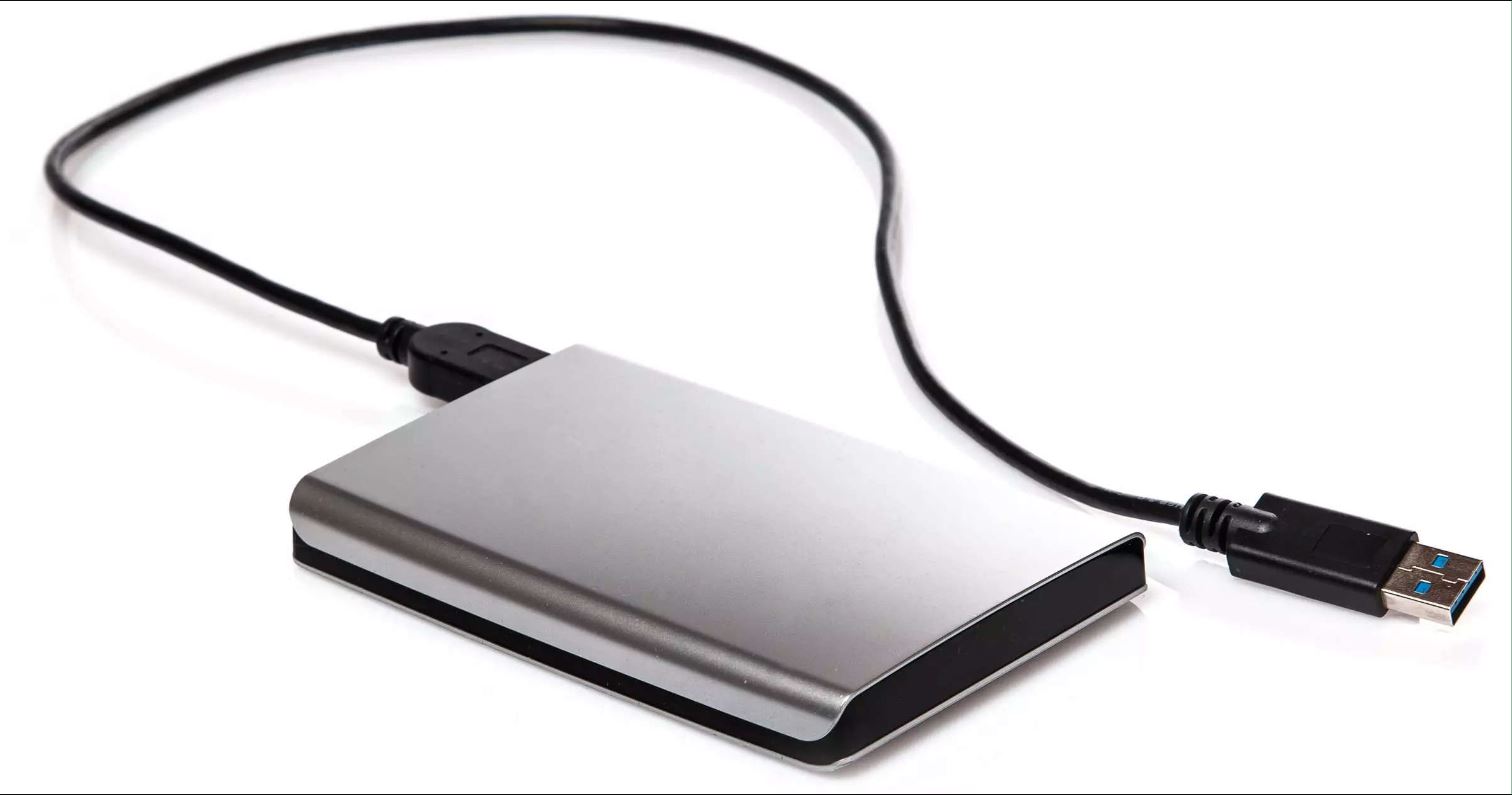
- Connectivity: Consider the type of connectivity options available on the external hard drive. The most common connectivity options are USB 3.0 and Thunderbolt. USB 3.0 provides faster data transfer speeds, while Thunderbolt offers even higher speeds for compatible devices. Choose a drive that has the appropriate connectivity option for your devices.
- Portability: If you plan on transporting your external hard drive frequently, look for a compact and lightweight option that is easy to carry. Portable drives are generally powered by USB connections and do not require an external power source, making them more convenient for on-the-go use.
- Reliability: Invest in a reliable external hard drive from a reputable brand known for their quality and durability. Look for drives that are designed for continuous operation and have good customer reviews for reliability. It’s important to choose a drive that can withstand regular use without compromising the safety and accessibility of your files.
- Backup Features: Some external hard drives offer built-in backup features, such as automatic backups or synchronization with cloud services. These features can provide an additional layer of data protection. Consider whether these backup features align with your backup strategy and if they are worth the extra cost.
- Price: Set a budget for your external hard drive purchase and compare prices across different brands and models. While it’s important to find a drive that meets your requirements, it’s also essential to consider the cost-effectiveness of the drive. Strike a balance between features, quality, and price to ensure you get the best value for your investment.
By considering these factors, you can choose an external hard drive that meets your storage needs, offers reliable performance, and aligns with your budget. Remember to prioritize storage capacity, connectivity options, portability, reliability, backup features, and price when making your selection. Once you have chosen the right external hard drive, you can move on to the next step of formatting it for cloud storage.
Step 2: Formatting the External Hard Drive
Once you have chosen the right external hard drive, the next step is to format it for cloud storage. Formatting the drive prepares it for storing and accessing files over your network. Here’s how you can format your external hard drive:
- Backup Your Data: Before formatting the external hard drive, make sure to backup any important data stored on it. Formatting erases all data on the drive, so it’s crucial to have a backup to avoid losing any valuable files.
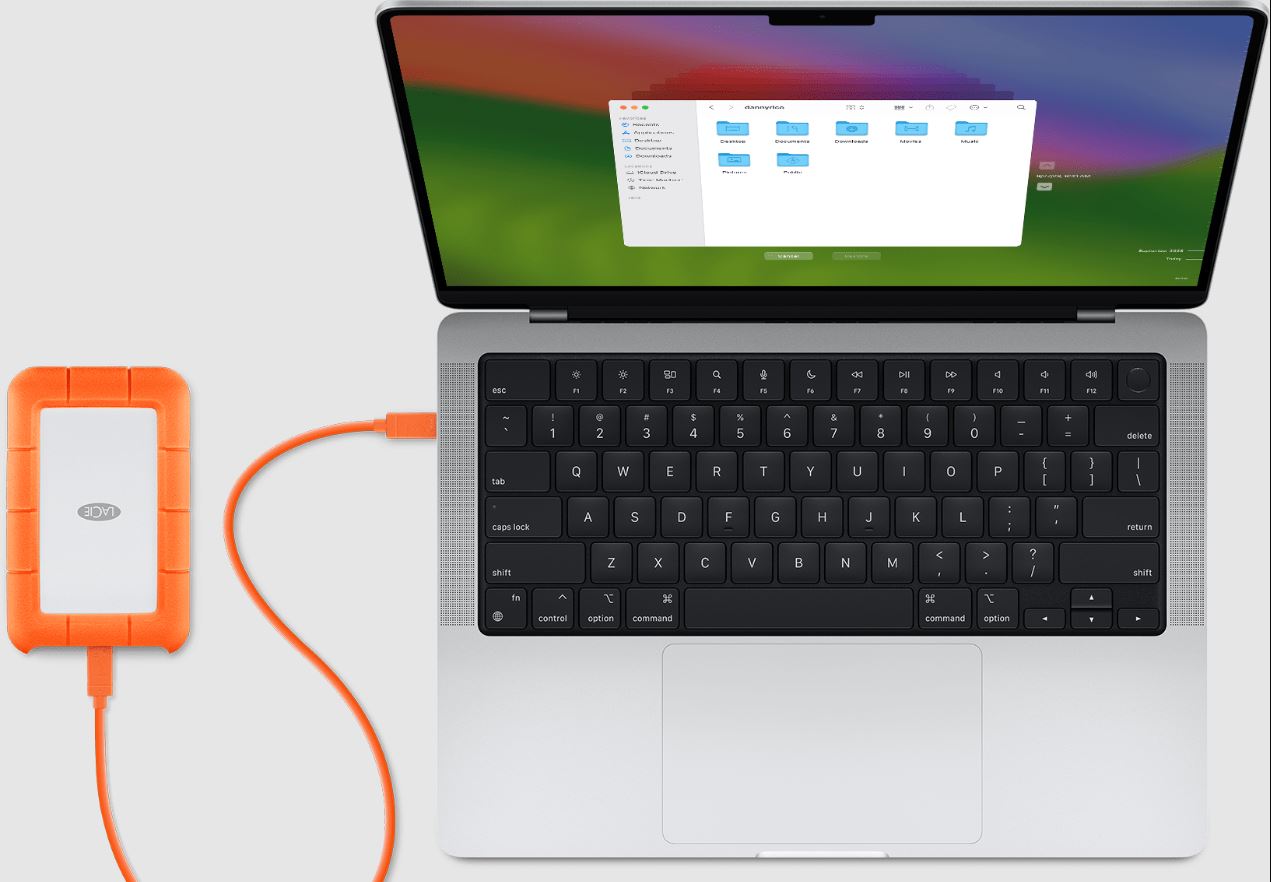
- Connect the External Hard Drive to Your Computer: Use the appropriate cable or adapter to connect the external hard drive to your computer. Make sure the drive is recognized by your operating system and appears in the file explorer or disk management utility.
- Open Disk Management: On Windows, press the Windows key + R, type “diskmgmt.msc,” and hit Enter. On macOS, open Finder, go to Applications > Utilities > Disk Utility.
- Select the External Hard Drive: In Disk Management or Disk Utility, locate the external hard drive from the list of connected drives. Be cautious to choose the correct drive to format and avoid accidentally formatting the wrong drive.
- Format the Drive: Right-click on the external hard drive and select the “Format” option (Windows) or click on the “Erase” tab (macOS). Choose a file system format compatible with both your operating system and network setup, such as exFAT or NTFS for Windows, or APFS or HFS+ for macOS.
- Assign a Drive Letter or Name: During the formatting process, you can assign a drive letter (Windows) or name (macOS) to the external hard drive for easy identification. Choose a unique and descriptive label that helps you distinguish the drive from other connected devices.
- Start the Formatting Process: Follow the on-screen prompts to start the formatting process. Depending on the size of the drive, it may take some time to complete. Once the formatting is finished, the external hard drive is ready to be set up as cloud storage.
Formatting the external hard drive prepares it for network use and ensures compatibility with your operating system and network setup. By following these steps, you can successfully format the drive and move on to the next step of connecting it to your network for cloud storage.
Step 3: Connecting the External Hard Drive to Your Network
After formatting the external hard drive, the next step is to connect it to your network. By doing so, you can access your cloud storage from any device within your network. Here’s how you can connect the external hard drive to your network:
- Ensure Network Compatibility: Check if your router supports network-attached storage (NAS) functionality. NAS support allows you to connect external storage devices, such as the formatted external hard drive, directly to your network. This functionality is typically available on most modern routers.
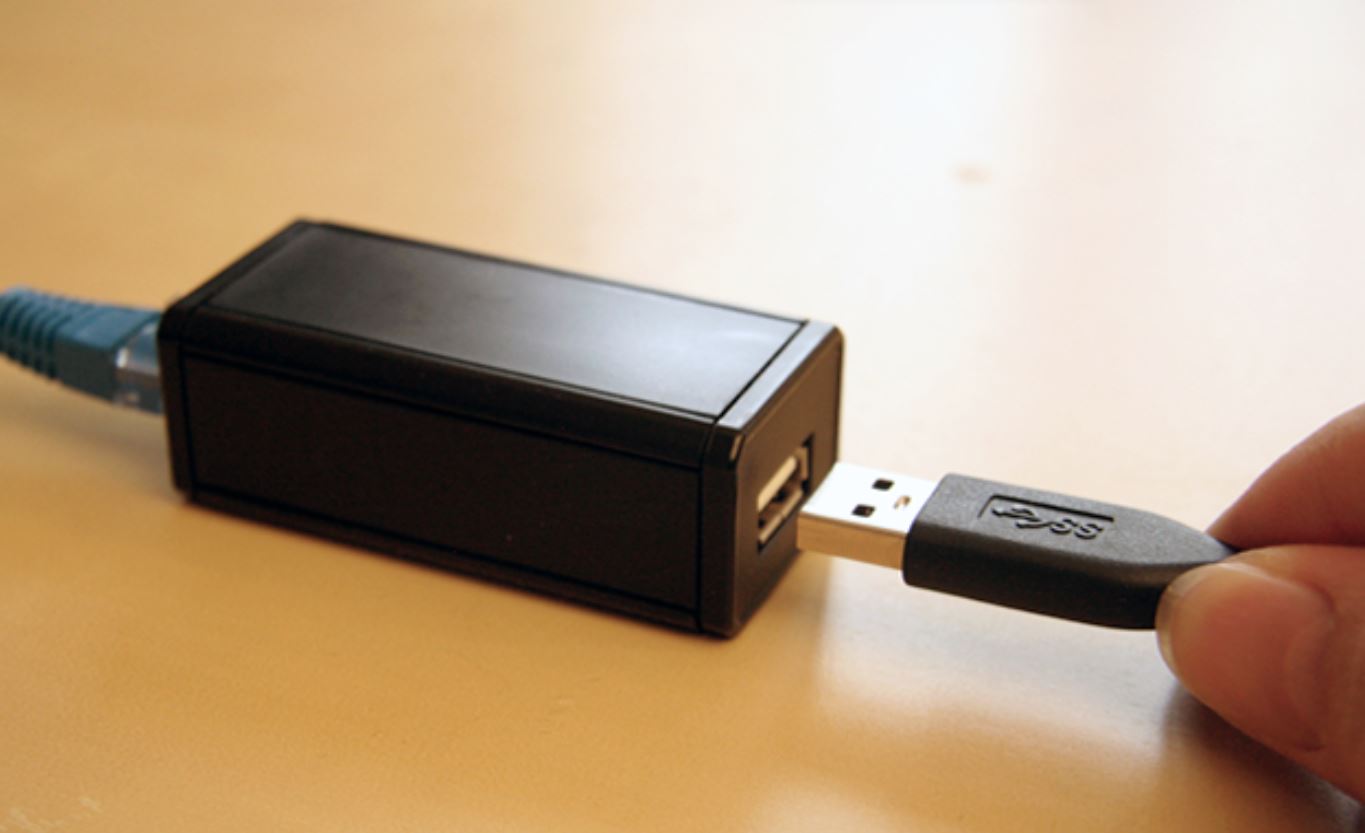
- Connect the External Hard Drive to Your Router: Connect the formatted external hard drive to one of the available USB ports on the router. Ensure a secure connection to avoid incompatibilities or intermittent disconnections.
- Power on the External Hard Drive: Make sure the external hard drive is powered on and functioning properly. Some drives might require a separate power adapter, while others draw power directly from the router via the USB connection.
- Access the Router’s Web Interface: Open a web browser on a device connected to your network and enter the router’s IP address in the address bar. This will allow you to access the router’s web interface and configure the settings related to the connected external hard drive.
- Find the NAS Settings: Look for the NAS or USB Storage settings within the router’s web interface. The location and naming of these settings may vary depending on the router model and manufacturer.
- Enable NAS Functionality: Enable the NAS functionality or USB storage support on your router. This setting allows the router to recognize and access the external hard drive connected to its USB port.
- Configure Network Sharing Options: Within the NAS or USB Storage settings, configure the necessary options for network sharing. This may include setting up permissions, access rights, and user accounts to control who can access and manage the cloud storage on the external hard drive.
- Save and Apply the Changes: Once you have configured the NAS settings, save and apply the changes within the router’s web interface. This will activate the network connection between the router and the external hard drive.
By following these steps, you can successfully connect the formatted external hard drive to your network. This network connection allows you to access the cloud storage on the external hard drive from any device within your network, giving you the flexibility and convenience of cloud storage without relying on external service providers.
Step 4: Creating a Network Share
Once the external hard drive is connected to your network, the next step is to create a network share. This share allows devices on your network to access and store files on the external hard drive. Here’s how you can create a network share:
- Access the Router’s Web Interface: Open a web browser on a device connected to your network and enter the router’s IP address in the address bar. This will allow you to access the router’s web interface and configure the network sharing settings.
- Locate the Network Share Settings: Navigate to the appropriate settings within the router’s web interface to configure network sharing. Depending on your router model and manufacturer, this setting might be labeled as “Network Share,” “Share,” or “Shared Folder.”
- Create a Shared Folder: Within the network share settings, create a new shared folder on the external hard drive. You can give the folder a descriptive name to easily identify its purpose or the type of files it will contain.
- Set Access Permissions: Configure the access permissions for the shared folder. You can choose to allow specific users or devices to have read and write access, or you can restrict access to specific users or devices. This ensures that only authorized individuals can access and modify the files stored in the network share.
- Save and Apply the Changes: Once you have configured the network share settings, save and apply the changes within the router’s web interface. This will activate the network share and make it available for devices on your network.
- Map the Network Share (Optional): On your computer or other connected devices, you can map the network share to assign it a drive letter or mount it as a network drive. Mapping the network share allows you to access it more easily, similar to how you would access a local drive on your computer.
- Test the Network Share: Confirm the network share is functioning correctly by accessing it from a device on your network. You can test both read and write access to ensure that devices can properly retrieve and store files on the external hard drive.
Following these steps will allow you to create a network share on the external hard drive, enabling devices within your network to access and store files seamlessly. This network share brings the functionality of cloud storage directly to your network, giving you more control over your data and reducing reliance on external cloud service providers.
Step 5: Setting Up Remote Access
Setting up remote access to your external hard drive cloud storage allows you to securely access your files from outside your home or office network. This enables you to retrieve, upload, and manage your files from anywhere with an internet connection. Here’s how you can set up remote access:
- Check Router’s Remote Access Capabilities: Ensure that your router supports remote access functionality. Some routers have built-in features for remote access, while others may require additional configuration or the use of third-party tools.
- Enable Remote Access on the Router: Access the router’s web interface and locate the remote access settings. Enable the remote access feature and configure the necessary options, such as port forwarding or dynamic DNS (DDNS) settings. These settings allow you to access your router remotely and establish a secure connection to your external hard drive.
- Set Up Port Forwarding (if required): If your router requires port forwarding to enable remote access, configure the necessary port forwarding rules. This allows incoming connections to reach your external hard drive securely.
- Configure Dynamic DNS (DDNS) (if required): If your router does not have a static public IP address, set up a dynamic DNS (DDNS) service. This service associates a domain name with your router’s IP address, allowing you to access your external hard drive using a custom domain regardless of IP changes.
- Set Up User Accounts: Create user accounts on your router and assign appropriate permissions for remote access. This ensures that only authorized individuals can access the external hard drive remotely.
- Set Up Security Measures: Implement security measures such as strong passwords and, if supported, enable encryption for remote access. These measures protect your data and prevent unauthorized access to your cloud storage.
- Test Remote Access: Once you have configured the remote access settings, test the connection by accessing your cloud storage from outside your network. Use a device or computer connected to a different network or mobile network to ensure that you can connect securely and access your files successfully.
By following these steps, you can configure remote access to your external hard drive cloud storage. This enables you to access and manage your files securely from anywhere, giving you greater flexibility and convenience in utilizing your personalized cloud storage solution.
Step 6: Security Measures for Your External Hard Drive Cloud Storage
Ensuring the security of your external hard drive cloud storage is essential to protect your data and maintain the integrity of your files. By implementing proper security measures, you can mitigate the risk of unauthorized access and potential data breaches. Here are some security measures to consider:
- Strong Passwords: Set strong and unique passwords for both your router and the user accounts associated with your external hard drive. Avoid using common or easily guessable passwords and consider using a password manager to securely store and manage your passwords.
- Encryption: If your router and external hard drive support encryption, enable it to enhance the security of your data. Encryption ensures that your files are stored and transmitted in an encrypted form, making it difficult for unauthorized individuals to access and interpret your data.
- Regular Firmware Updates: Keep your router’s firmware up to date to ensure you have the latest security patches and features. Similarly, check for firmware updates for your external hard drive, as manufacturers may release updates to address security vulnerabilities.
- Firewall Configuration: Configure your router’s firewall settings to block unauthorized incoming connections and allow only necessary traffic to access your external hard drive. This helps protect your cloud storage from external attacks and unauthorized access attempts.
- Backup and Redundancy: Maintain regular backups of your cloud storage data on another storage device or a different cloud service. This provides an additional layer of protection in case of hardware failure, accidents, or other unforeseen events that may compromise your files.
- Monitoring and Intrusion Detection: Consider implementing monitoring and intrusion detection systems to detect any suspicious activity or potential security breaches. These systems can help notify you of any unauthorized access attempts or unusual behavior to take appropriate action promptly.
- User Access Management: Regularly review and update user access permissions for your external hard drive cloud storage. Remove user accounts that are no longer needed and restrict access to only authorized individuals. This helps prevent unauthorized users from accessing your files.
- Physical Security: Ensure the physical security of the external hard drive by keeping it in a secure location. If possible, lock the storage device in a cabinet or safe to prevent unauthorized physical access.
By incorporating these security measures into your external hard drive cloud storage setup, you can significantly enhance the protection of your data and minimize the risk of unauthorized access. Remember to regularly review and update your security measures to stay ahead of evolving threats and ensure the ongoing security of your cloud storage solution.
Step 7: Accessing and Using Your Cloud Storage
Now that you have set up your external hard drive as cloud storage, it’s time to learn how to access and utilize your files stored in the cloud. Here’s how you can access and use your cloud storage:
- Locate the Network Drive: On your computer or device, open the file explorer or Finder, and you should see the network drive or shared folder representing your cloud storage. It will typically be listed under the network section or shared devices.
- Connect to the Cloud Storage: Double-click the network drive or shared folder to connect to your cloud storage. This establishes a connection between your device and the external hard drive, allowing you to access your files stored in the cloud.
- Browse and Manage Files: Once connected, you can browse through the files and folders stored in your cloud storage, similar to exploring files on a local drive. You can create new folders, rename files, delete files, and organize your files as needed.
- Upload and Download Files: To upload files to your cloud storage, simply drag and drop them from your device’s file explorer to the network drive or shared folder. Likewise, to download files from your cloud storage to your device, drag and drop them from the network drive or shared folder to a location on your device.
- Edit and Save Files: You can edit files stored in your cloud storage directly from your device. Open the file using the appropriate software, make your desired changes, and save the file. The updated version will be stored in your cloud storage, ensuring that you always have access to the most recent version of your files.
- Share Files: Utilize the sharing capabilities of your operating system or cloud storage software to easily share files and collaborate with others. You can generate shareable links, set permissions, or invite specific individuals to view or edit files stored in your cloud storage.
- Manage Storage Space: Regularly monitor your storage space to ensure you have sufficient capacity for your files. Delete unnecessary or outdated files to free up space, or consider expanding your storage capacity by adding additional external hard drives to your network.
- Ensure Regular Backups: Maintain regular backups of your cloud storage data, either on another external hard drive or a different cloud service. This provides an additional layer of protection in case of accidental deletion, hardware failure, or other unforeseen events.
By following these steps, you can easily access and utilize the files stored in your cloud storage. Take advantage of the flexibility and convenience offered by your personalized cloud storage solution to access, manage, and share your files securely from anywhere with an internet connection.
Conclusion
Transforming an external hard drive into cloud storage opens up a world of possibilities for storing, accessing, and managing your files. By following the step-by-step process outlined in this guide, you can create your own personalized cloud storage solution and enjoy the benefits it offers.
Utilizing an external hard drive as cloud storage provides numerous advantages, including increased storage capacity, cost savings, full control and privacy over your data, offline access, and fast data transfer speeds. These benefits make it an attractive option for individuals and businesses seeking a flexible and efficient storage solution.
However, before turning an external hard drive into cloud storage, it’s essential to consider factors such as storage capacity, backup strategies, hardware reliability, network compatibility, internet connection speed, and data security. These considerations ensure that you make informed decisions and tailor the setup to your specific requirements.
Once you have chosen the right external hard drive, formatted it, connected it to your network, set up remote access, implemented security measures, and learned how to access and use your cloud storage, you are ready to enjoy the convenience and flexibility it offers.
Remember to regularly review and update your security measures, monitor storage space, and maintain backups to ensure the ongoing integrity and accessibility of your cloud storage.
With your personalized external hard drive cloud storage, you can enjoy the benefits of the cloud while maintaining control over your data and reducing reliance on external service providers. So, take the leap and turn your external hard drive into a powerful and secure cloud storage solution today!