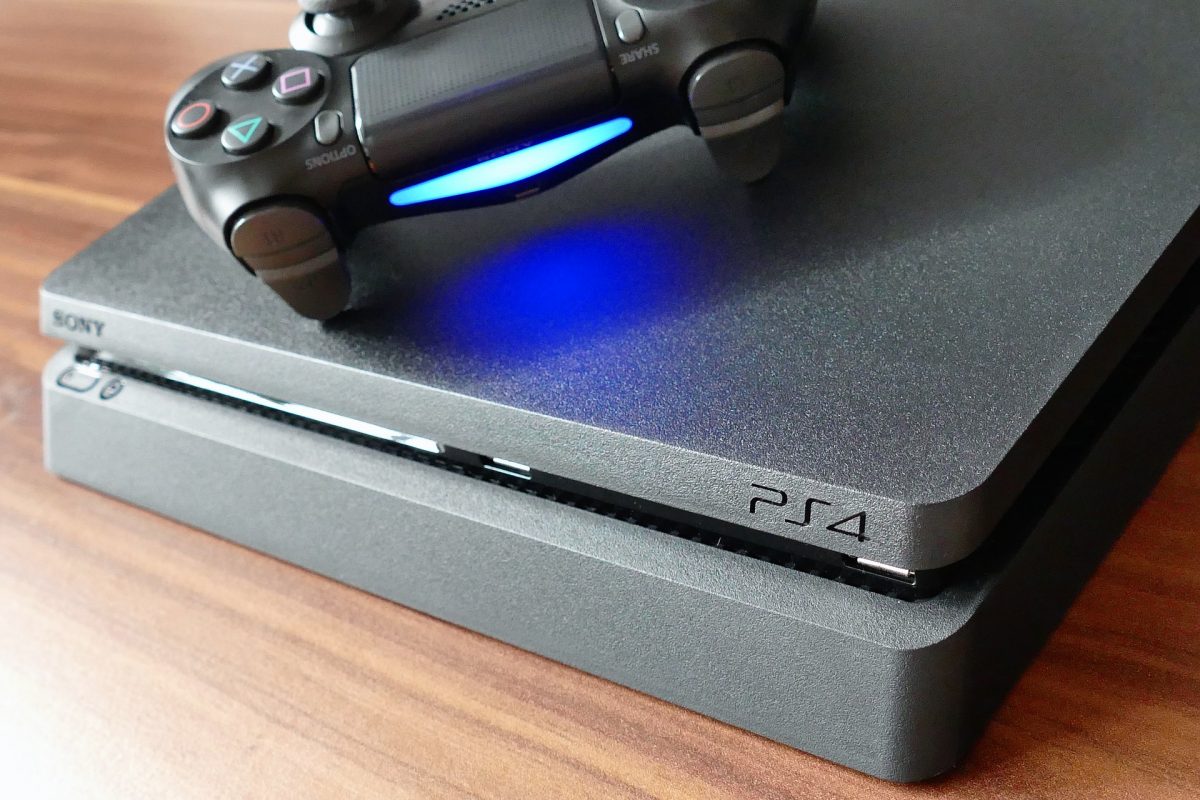
The PlayStation 4 is one of the best gaming consoles out there with one of the best game libraries you can find. Besides its impressive library, this console has comfortable wireless controllers and supports all of the best video streaming apps in the market. However, managing the storage of a PS4 hard drive can be troublesome and stressing like how you stress over your phone memory. The PS4 hard drive can be filled with screenshots, games, and many more after just having it for ten minutes. The growing library of your games can fill the storage accommodated by your hard drive. Your games and apps’ continuous updates because of the additional features eat up the spaces in your hard drive if you do not have enough.
Now, if you do not have the heart to dispose of your existing hard drive, upgrading the internal HDD of your PlayStation 4 is a simple process. All you need to do is to read the steps below to ensure a safe procedure. You can upgrade that by either replacing the internal hard drive or using an external hard drive.
Why Upgrade Your PS4 Hard Drive?
After playing for too long on PS4, there will come a time that you feel PS4 is not in top shape or has too many files. It becomes slow, and applications take forever to load. It may even crash, and the internal storage generates errors that make your console unplayable.
Most games have large files upon installation, and this could eat all the internal storage of your PS4’s memory. Updates and innovations are not included in the initial space memory allotted in the system, and additional features mean extra space. The additional storage will prevent you from limiting the number of games you can download and play.
It is highly recommended to at least upgrade your storage drive to ensure the best possible performance. The efficiency will significantly improve, together with its performance on games and apps.
The process might require hours of procedures, but this is all for the better performance of your console. And if you are still not satisfied with the upgrade, you can add an external drive to the mix. You’ll notice a significant improvement in performance after making the improvements. It will function more efficiently and smoothly since it has more space.
If you’re looking for the best external hard drives for any specific purpose, here is a list that can help you out. We also have guides on how to format hard drives and how to clean your PS4.
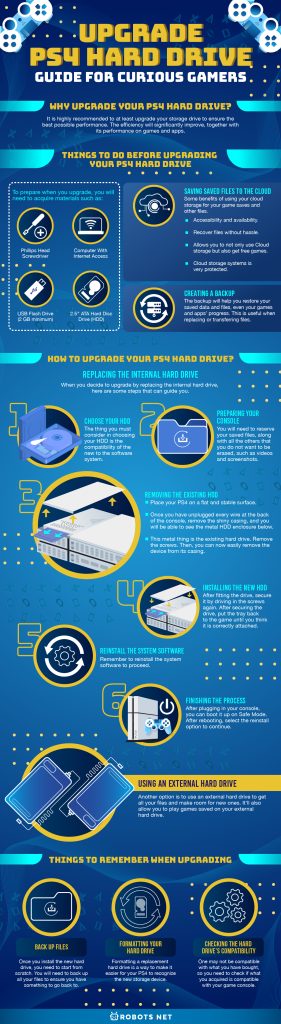
Things to Do Before Upgrading Your PS4 Hard Drive

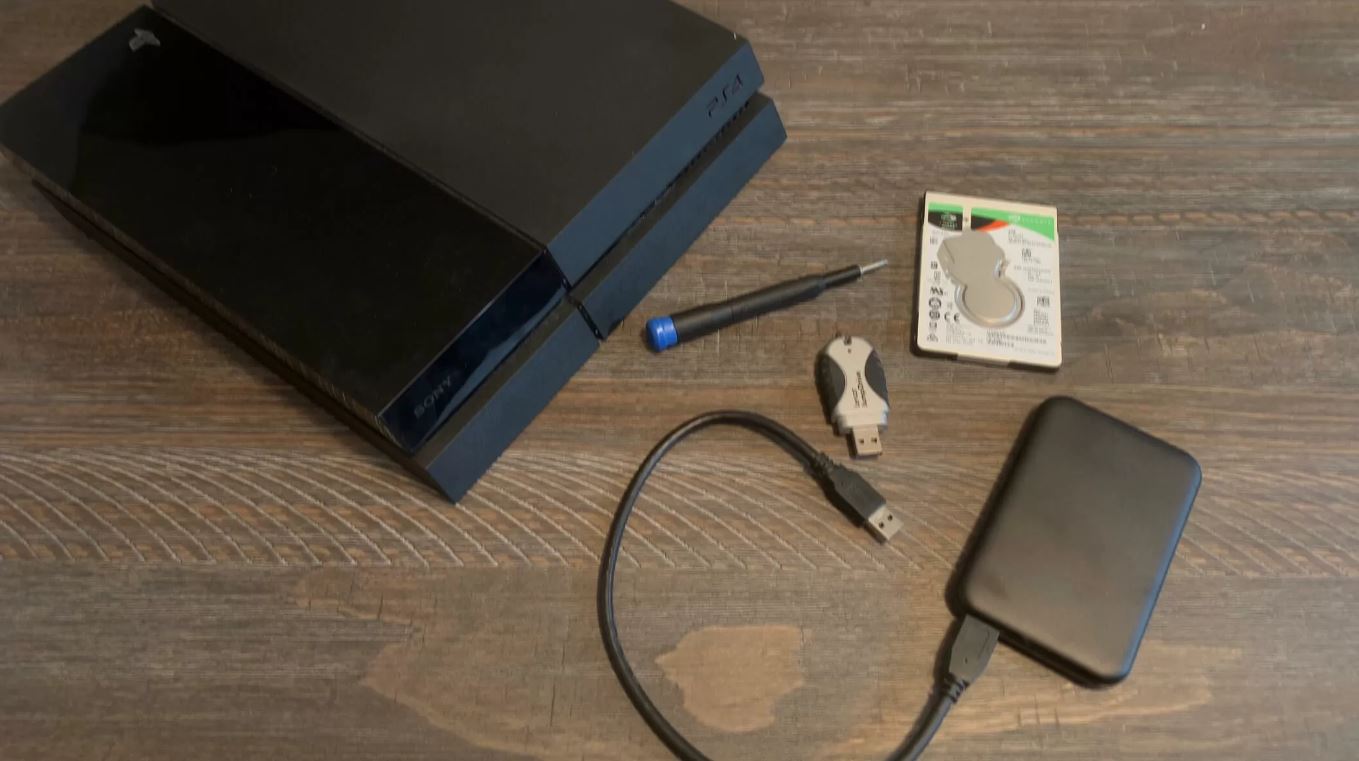
To prepare when you upgrade, you will need to acquire materials such as:
- Phillips head screwdriver
- Computer with internet access
- USB Flash Drive (2 GB minimum)
- 2.5″ ATA hard disc drive (HDD)
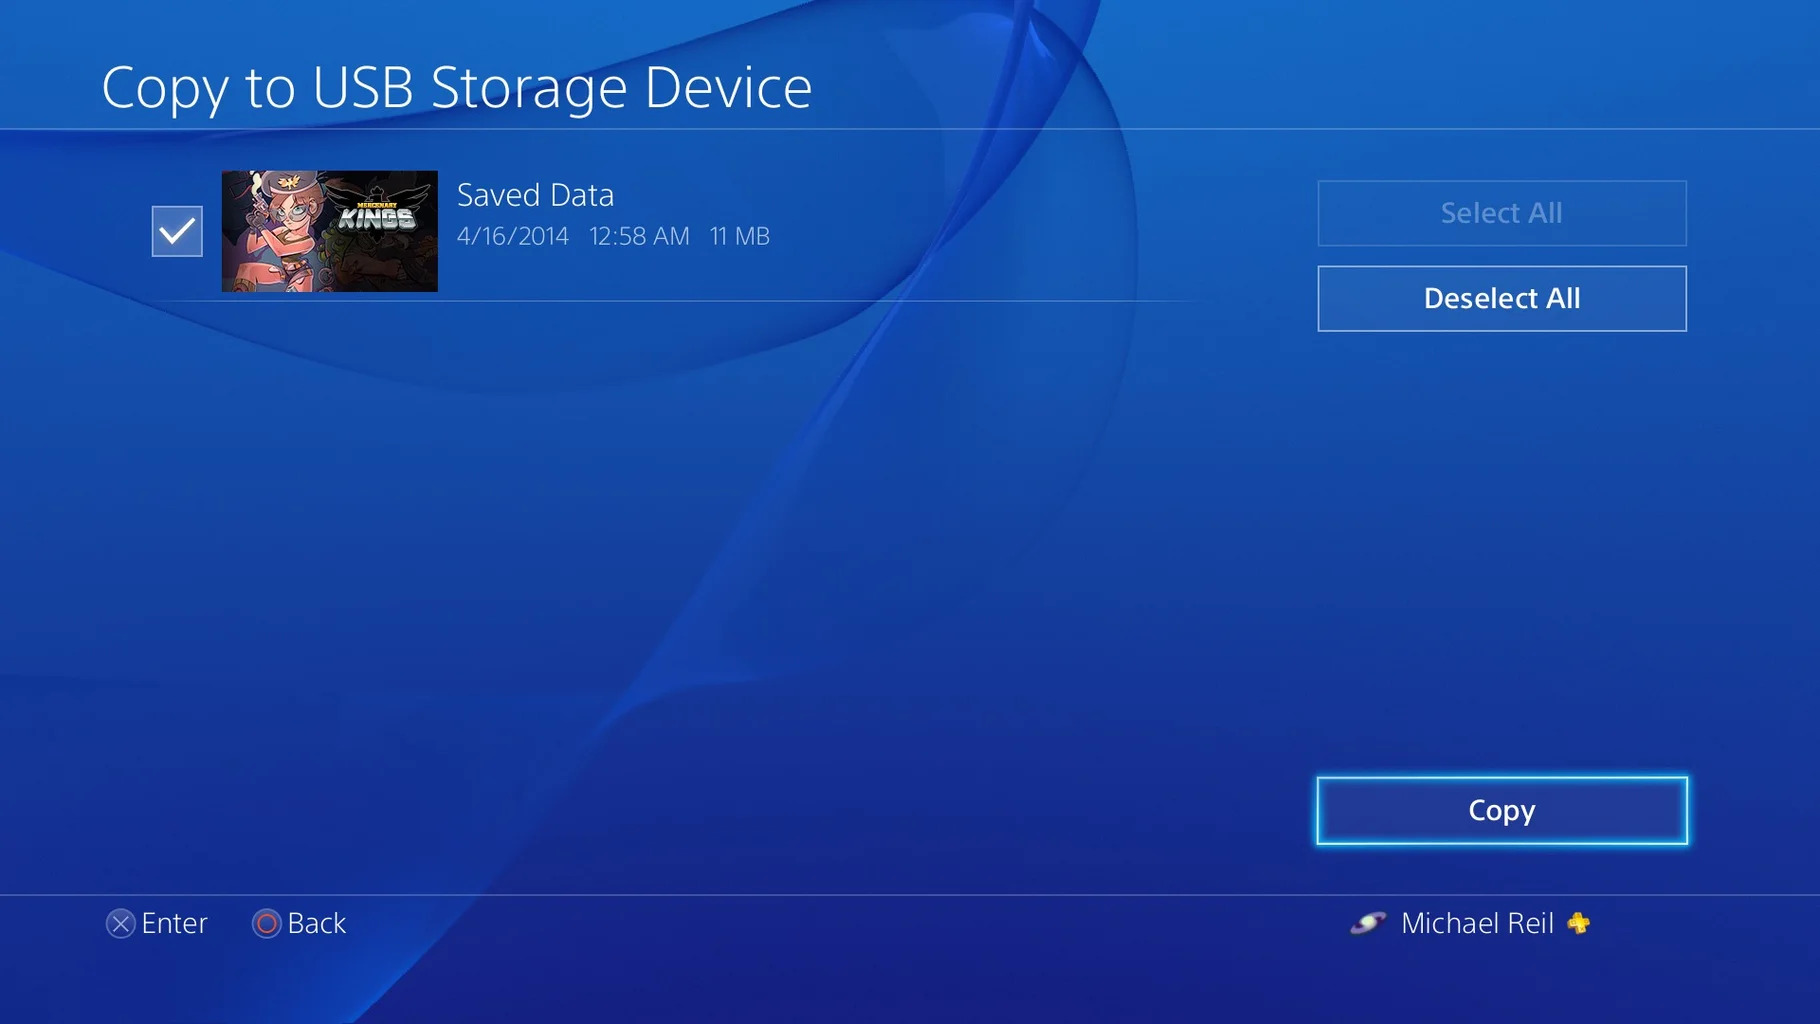
Saving Saved Files to the Cloud
Once you have decided to replace or upgrade your hard drive, saving the saved files, games, screenshots, etc., to your cloud would be a swift move since you will be removing the existing PS4 hard drive.
Saving files into your online storage has many positives. Below are some benefits of using your cloud storage for your game saves and other files.
- Accessibility and availability
- Recover files without hassle
- Having a PS+ account allows you to not only use Cloud storage but also get free games
- Cloud storage systems also give you peace of mind since it is very protected
If you are done saving everything, then it is as good as having a backup to everything.
Creating a Backup
Speaking of cloud storage, if you’re subscribed to PS Plus, you can create a backup of your files before upgrading your storage.
Creating a backup of your saved games, files and media must upgrade your PS4 hard drive since you will be back to zero with the new drive.
The backup will help you restore your saved data and files, even your games and apps’ progress. This is useful when replacing or transferring files. Choosing not to backup files will force you to download or reinstall all your games and apps and begin from the first level of everything.
In removing or replacing your hard drive, put it in mind that all files are stored in the hard drive. And if this concerns you, you might want to create a backup, then delete and erase everything from the replaced hard drive for security. If you plan to resell your old hard drive, this should be your first move, unless it is okay with you to just give with all the files and information you saved on the hard drive.
How to Upgrade Your PS4 Hard Drive?
Upgrading your PS4’s storage is not really that hard. You only need to have excellent knowledge of wires and everything. Plus, it won’t require you to use several tools at once. There are options to choose from on how to tackle this.
Replacing the Internal Hard Drive
If you look forward to benefiting from performance optimization and storage expansion, an internal hard drive upgrade is a top priority.
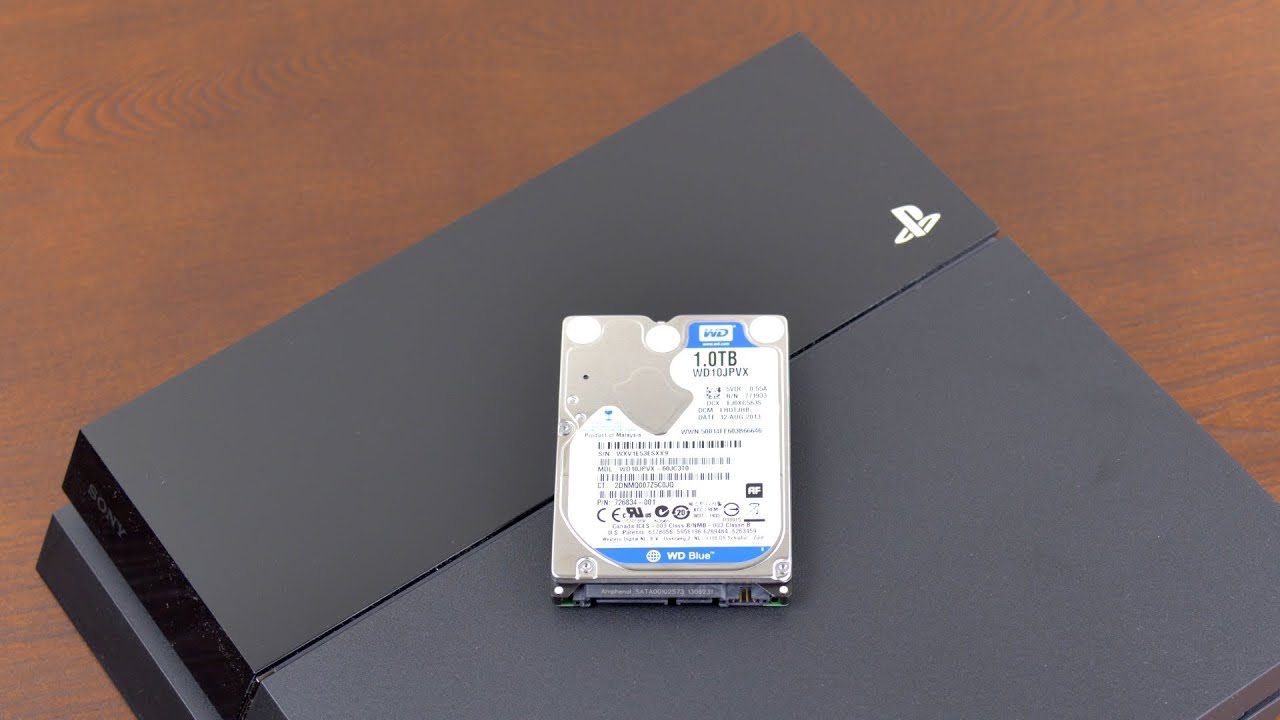
You can replace your current internal hard drive with a compatible drive. The PS4’s built-in drive is a 500GB 5400 RPM SATA II hard drive. This drive is no thicker than 9.5mm and has a storage space larger than 160GB. If not, it’ll probably fit your PS4’s storage slot.
When you decide to upgrade by replacing the internal hard drive, here are some steps that can guide you.
Choose Your HDD
The storage of a PS4 is relatively the same as the ones you’ll find on laptops. The thing you must consider in choosing your HDD is the compatibility of the new to the software system. If the system does not accept the newly-bought SSD, then it is useless.
Preparing Your Console
Choosing the best hard drive is a must if you want to have the best results with upgrading.
In preparing your game console, you will need to reserve your saved files, along with all the others that you do not want to be erased, such as videos and screenshots.
Removing the Existing HDD
Before removing your existing hard drive, remember to create a backup, or upload your files online.
When you are done preparing your game console, saving all the necessary files, turn off and unplug your PS4 completely. If the amber lights in the system are still blinking or still on, the system might be in standby mode.
Place your PS4 on a flat and stable surface. Preferably one that will allow you to place your tools for quick access. This will also help you when you are taking apart your PS4.
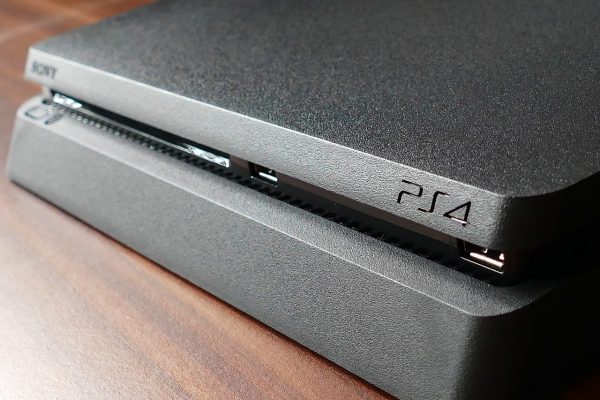
Once you have unplugged every wire at the back of the console, remove the shiny casing, and you will be able to see the metal HDD enclosure below. This metal thing is the existing hard drive. This is easily recognized because it has button symbols engraved on it and is fixed down by a large screw.
Once you see this, remove the screws. Then, you can now easily remove the device from its casing.
Installing the New HDD
After removing the existing drive, put the new drive into the tray. Make sure you hold on to the flat side of the tray. Also, remember that the side with all the components goes down. One helpful tip is to take a picture of things before disassembly. This will guide you once you are finishing up with the process.
After fitting the drive, secure it by driving in the screws again. After securing the drive, put the tray back to the game until you think it is correctly attached.
Reinstall the System Software
Congrats on your new and improved hardware drive! However, remember to reinstall the system software to proceed. The next step will need your computer and storage device with at least 1GB of free space. Yes, you can use the storage device you used to save your files.
Once you have prepared what is needed, you need to create a folder entitled PS4 and another folder with a folder name of UPDATE. If you are using an external hard drive, then the first folder will be automatically generated. If the filename is different, rename it back to the correct one before proceeding.
After creating the folder you’ll need a copy of the official update. Once that is done, highlight the file and place it in the “UPDATE” folder. As long as you downloaded the official update from the PlayStation website, you’re set to go.
Finishing the Process
Next is to plug all the various wires back into the PS4. After plugging in your console, you can boot it up on Safe Mode. To boot your PS4 in safe mode, just hold on to the power button of your PS4 as you turn it on. A beeping sound is an indicator of its launching into safe mode.
After rebooting, select the reinstall option to continue.
You can now login into your PSN account after resetting and reinstalling. Then, you can proceed to download all the files you’ve uploaded.
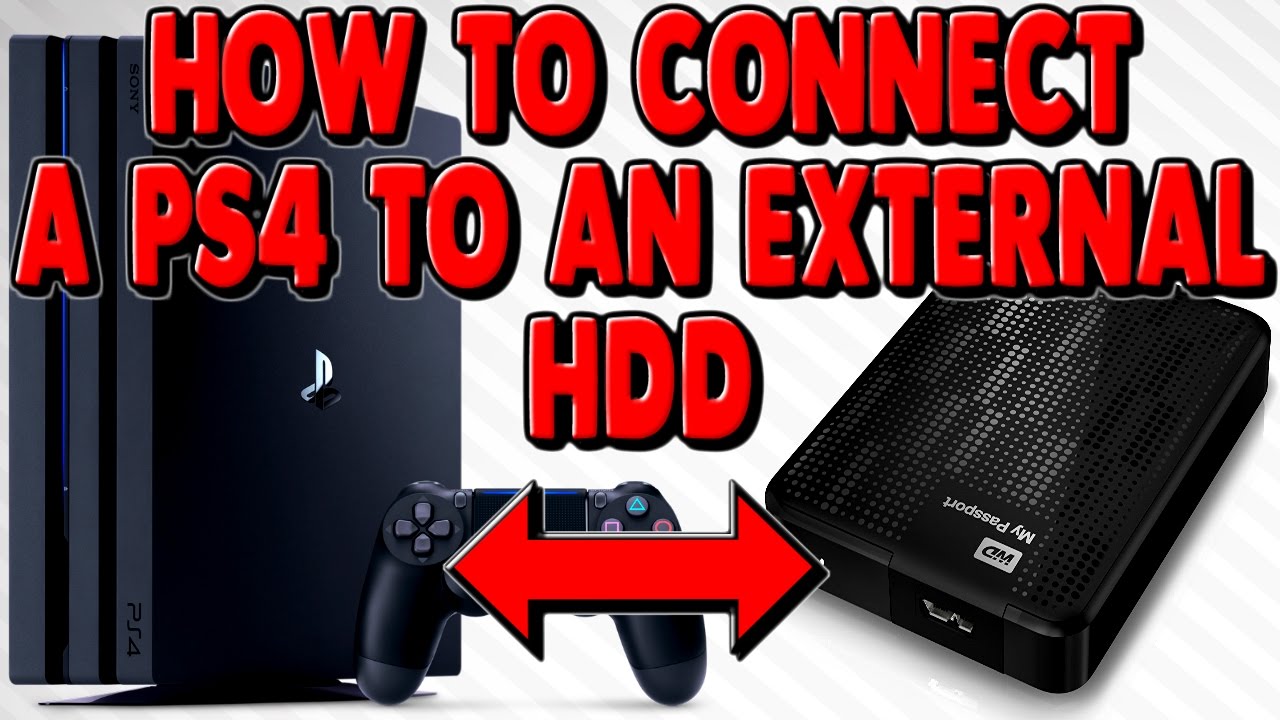
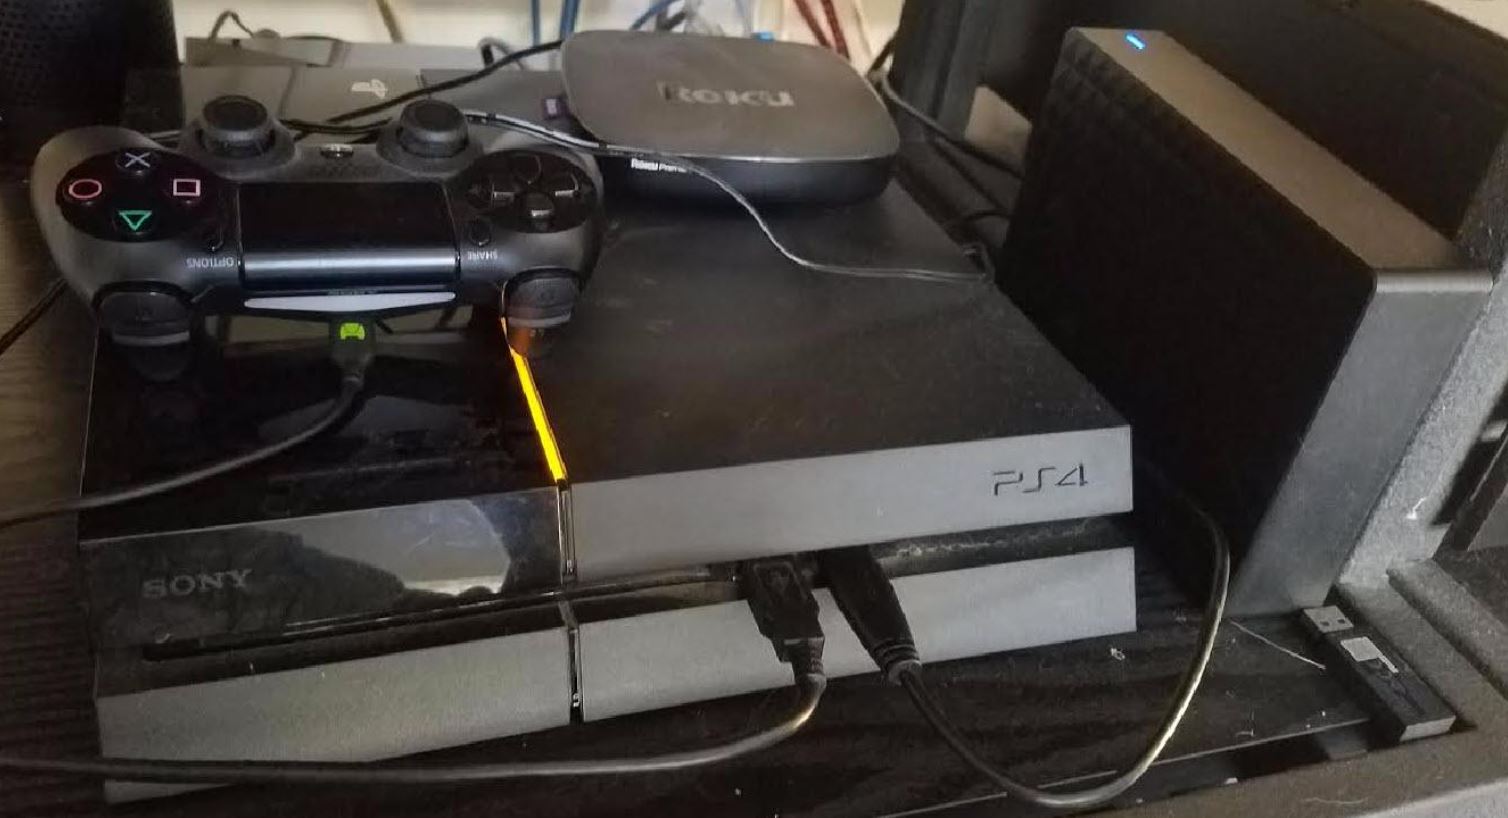
Using an External Hard Drive
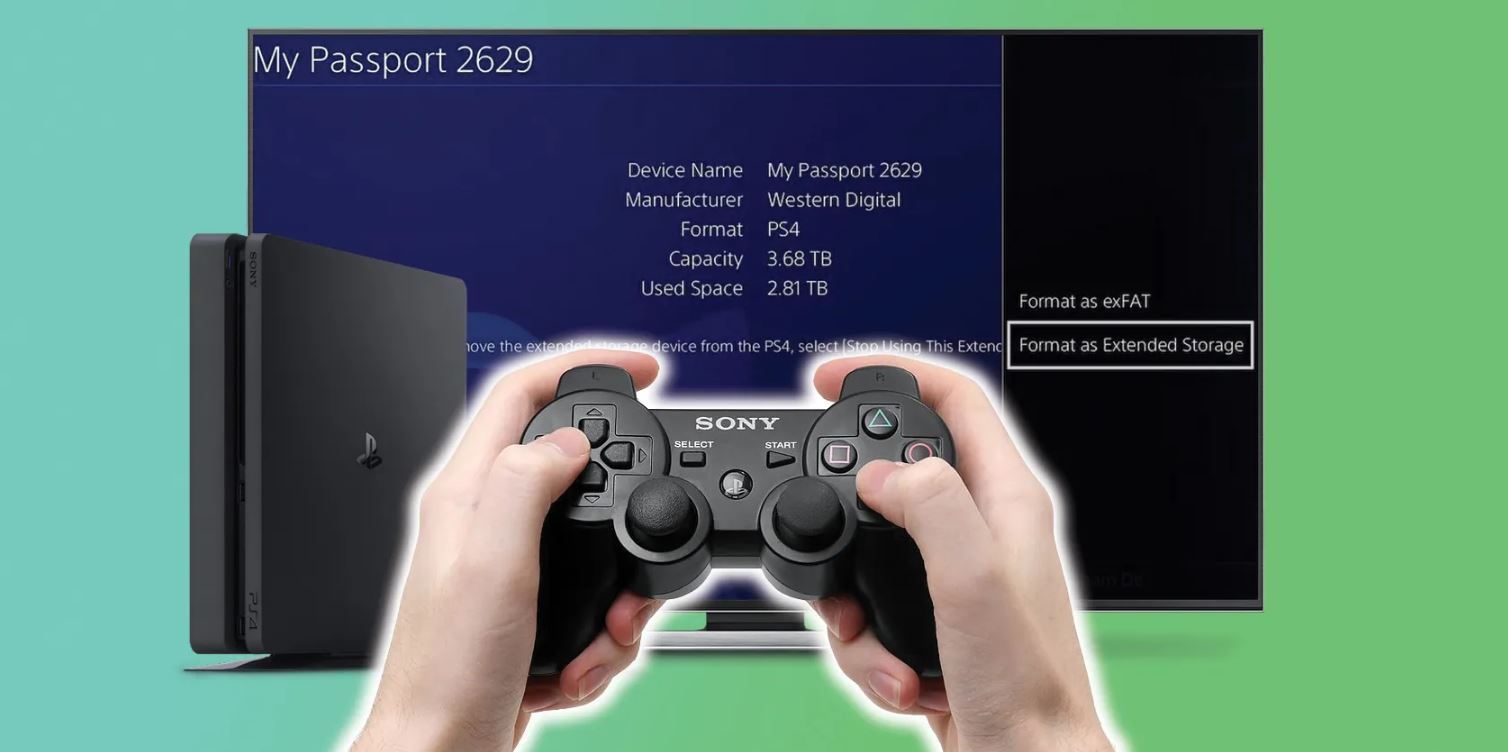
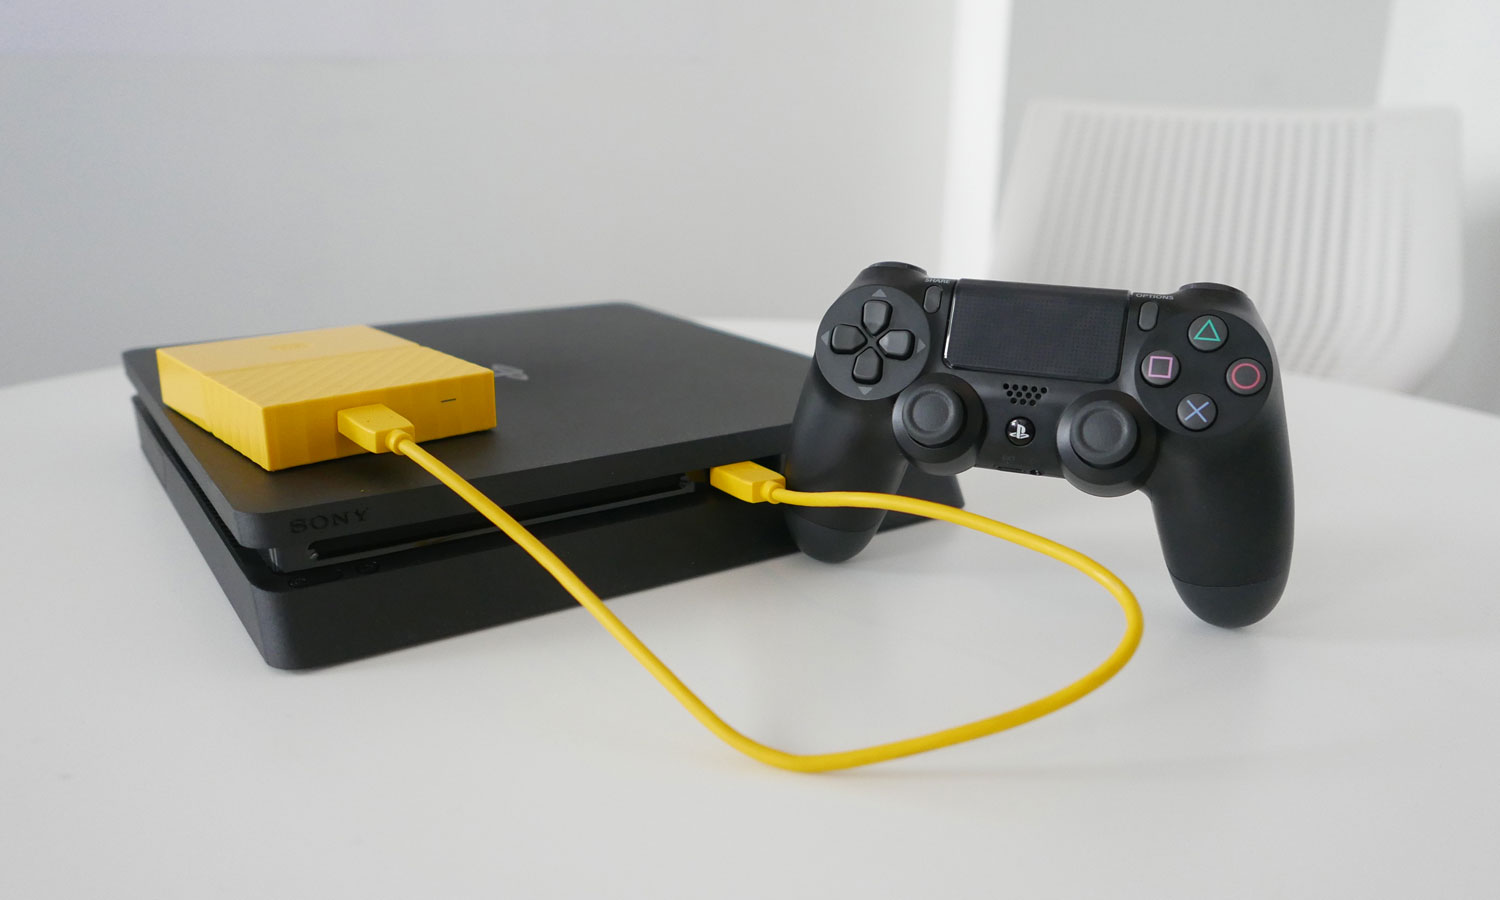
Another option is to use an external hard drive to get all your files and make room for new ones. The PlayStation 4 supports external hard drives and has two USB slots for you to plug hard drives into. It’ll also allow you to play games saved on your external hard drive.
If you need more space aside from the console’s storage, you can extend your storage through an external hard drive. To change the install location to an external hard drive, go to your Settings. Look for Storage and select Options. Lastly, go to App Install Location and choose the Extended Storage option.
Things to Remember When Upgrading
Back Up Files
Once you install the new hard drive, you need to start from scratch. You will need to back up all your files to ensure you have something to go back to. The hard drive may also crash and generate errors; the safest way to solve both issues is to perform full-formatting.
Backing up your files also gives you additional storage for your system and can increase your hard drive’s performance speed or level. Your two options are via an external hard drive or through cloud storage.
If you forgot to create a backup, you run the risk of losing all your files.
Formatting Your Hard Drive
Formatting your replacement hard drive can be a lifesaver for users. Especially those who wish to keep their built-in hard drive due to costs or other reasons.
Formatting the hard drive is needed to ensure your hard drive is in top shape. The PS4 hard drive performance can degrade, and the hard drive will not function as fast as when it was new.
As you replace the hard drive, unless you’re planning to reuse it, remember to delete all important files. You can reset it via a system reset but you might want to reformat it for added peace of mind.
Formatting a replacement hard drive is also a way to make it easier for your PS4 to recognize the new storage device.
All in all, to keep your hard drive running on its peak performance level, an annual or twice a year full-formatting can be your choice.
Checking the Hard Drive’s Compatibility
Internal hard drives have standards in upgrading. One may not be compatible with what you have bought, so you need to check if what you acquired is compatible with your game console.
An external hard drive will not be compatible with a PS4 unless it also meets the required standards. The compatibility is a must since the game console might not accept the hard drive and will not work, worse be destroyed.
After checking and completing the steps, manually installing the software system will be your last step since your PS4 is dealing with a new hard drive. Reinstall the software system, and you are ready to be immersed again with your game console.
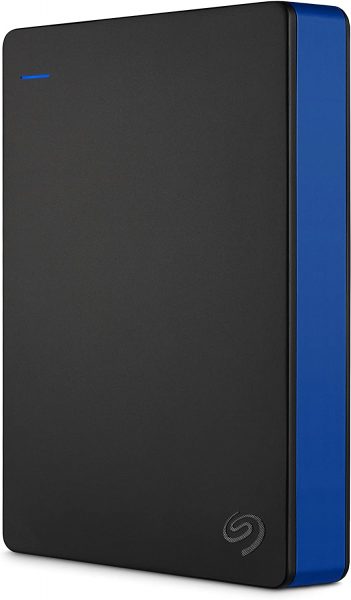
Check out this Seagate product today and upgrade your PS4’s storage capacity.
Pros and Cons of Updating Your PS4 Hard Drive
Replacing or updating your PS4 hard drive comes with its pros and cons:
Pros
- Additional space for games, saves, and apps
- Improved performance
- Flexibility with saved data
Cons
- You’ll need to back up your files