Dust, dirt, and grime are everywhere. They are unavoidable and can easily stick to the things around us. Fortunately, it’s not particularly hard to get rid of them. Nevertheless, cleaning electronic devices like the PS4 can become cumbersome after a while. If you don’t regularly clean your PS4, its performance will be affected, and it could eventually be broken. For this reason, you need to learn how to clean your PS4 to maintain its optimal performance.
To keep your PS4 in good condition, it’s a must that you clean it once in a while. Also, you must know what are the things can make it dirty and give it enough room to breathe and operate.
In this article, we will discuss the reasons why you should clean your PS4, the ways you can clean it, and the tools that can help you achieve this task.
Why Should You Clean Your PS4?
There are different reasons as to why you should clean your PS4. The dirt, grime, dust, and any particles that float in the air can build up in your PS4 and trap heat. With that, the fan in your system will work harder than necessary. It can lead to overheating, malfunctioning, and and eventual shutting down if not addressed.
Sometimes, you might notice that your PS4 is working loudly and slowly. This is because of the dust build-up that clogs the heat sink and makes the fan work double time. Routinely dusting and cleaning your PS4 will help extend its lifespan. Also, a clean PS4 ensures that you only focus on playing your favorite games.
Before you continue reading this article, we also have other guides for other PS4 concerns. We have articles that talk about why your PS4 controller is not charging, how to gameshare on PS4, and how to conduct a PS4 rebuild database.
Possible Consequences Of A Dirty PS4
Dust, grime, and dirt on the cover of your PS4 won’t affect it. However, as time goes by, they will be sucked up into your system that will eventually build up and covers the circuitry. This will be the reason for your PS4 to make a loud noise, become hotter, and overheat later on. These reasons can also lead your system to malfunction, shut down, and not work at all.
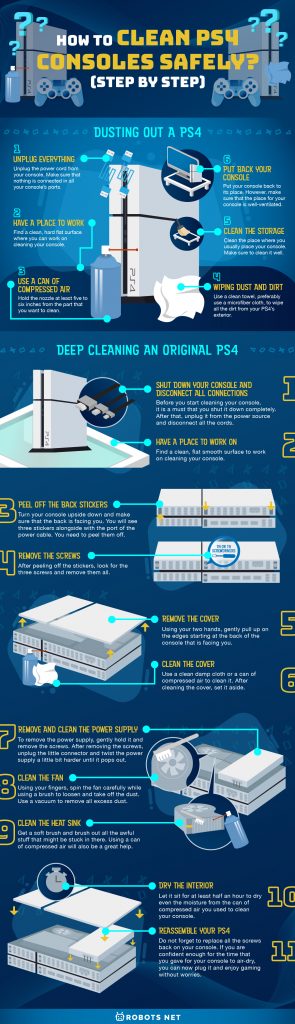
Dusting Out A PS4
One of the main reasons why your PS4 overheat is dust build-up. In order to prevent this, regular cleaning of your PS4 is a must. Here are the steps on how you can achieve a dust-free PS4.
Unplug Everything
Unplug the power cord from your console. Disconnect all the controllers from your console and make sure that nothing is connected in all your console’s ports.
Have A Place To Work
Find a clean, hard flat surface where you can work on cleaning your console. This is to make sure that your console won’t get dirty during and after cleaning it.
Use A Can Of Compressed Air
A can of compressed air will be very helpful in the cleaning process. Before using it, bear in mind that you need to take extra precautions with it. You need to hold it upright to lessen the possibility of releasing moisture inside the can. Hold the nozzle at least five to six inches from the part that you want to clean. Then blow the compressed air around areas that you would like to clean. Continue blowing for short bursts and gently go through the remaining surfaces of your console.
Wiping Dust And Dirt
Use a clean towel, preferably use a microfiber cloth, to wipe all the dirt from your PS4’s exterior. Make sure that you pay attention to the light sensor so the dust won’t be stuck on it. Start from the left side then move towards the right side. When you see that your cloth is already soiled, fold it and use the clean side.
Clean The Storage
Set aside your console, and clean the place where you usually place your console. Make sure to clean it well. Repeat the cleaning process if necessary.
Put Back Your Console
Put your console back to its place. However, make sure that the place for your console is well-ventilated. Do not place it against the wall and make sure that its sitting place does not attract dust or dirt.
Dusting the Vents
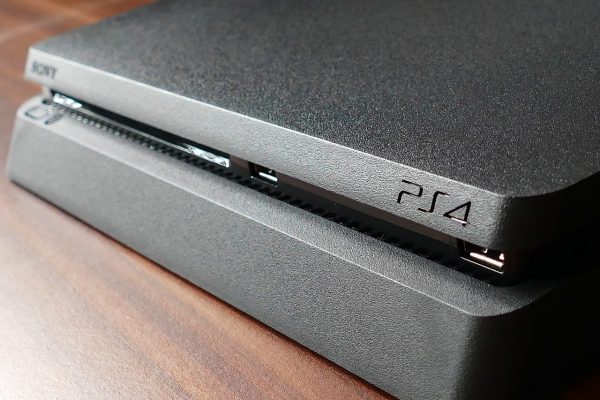
Your PS4 has lots of vents that you will see at the front, sides, and back. Make sure to clean all these air intake spaces.
- Turn off your PS4 console and disconnect all cables.
- Find a clean, hard surface to work on cleaning your console.
- Check all the vents for dust buildup. You can use a brush and run it through the sides paying attention to every angle to make sure that you get the loosened dust and dirt.
- Use a vacuum or a can of compressed air to blow away dirt. Point its nozzle at the vents keeping a distance of about one to two inches away.
- Hold the can upright to avoid the moisture from going in your console.
- Spray on a short burst while continuously checking the vents to make sure that you get rid of the dust.
- Use a microfiber cloth to clean all the residue on the console. Use the clean side of the cloth when you see that it’s soiled.
- When you’re already satisfied with your cleaning, put back the console in its proper place.
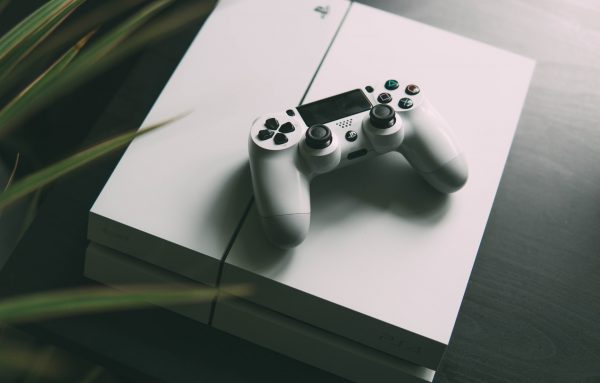
Deep Cleaning An Original PS4
Shut Down Your Console and Disconnect All Connections
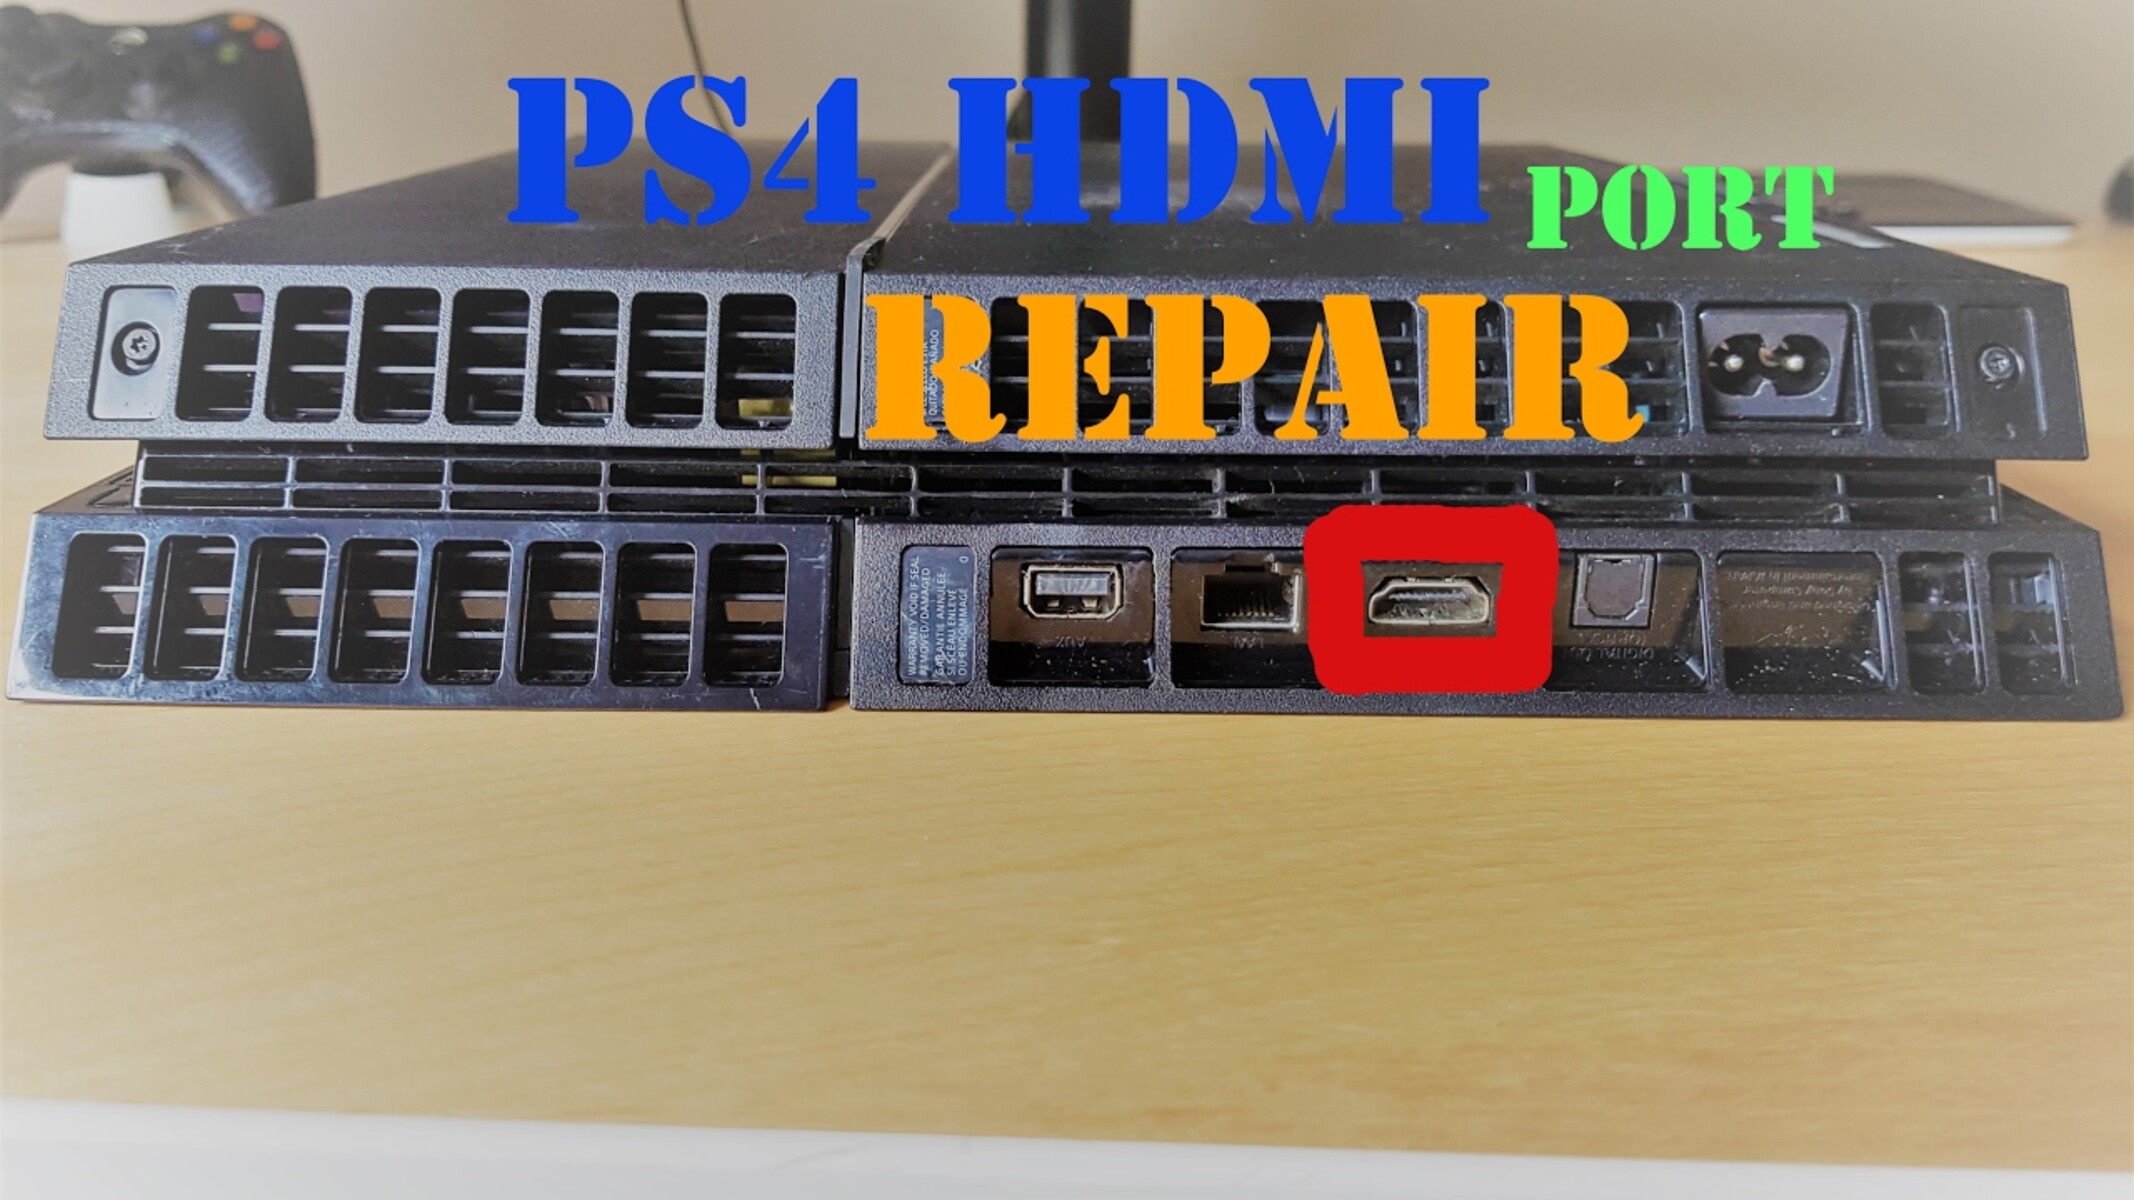
Before you start cleaning your console, it is a must that you shut it down completely. After that, unplug it from the power source and disconnect the HDMI cord and all the cords and connectors connected to it.
Have a Place to Work On
Find a clean, flat smooth surface to work on cleaning your console. Since you are going to remove the screws, the place should be safe and static-free.
Peel Off the Back Stickers
Turn your console upside down and make sure that the back is facing you. You will see three stickers alongside with the port of the power cable. You need to peel them off. However, you need to remember that peeling off those stickers will make the console’s warranty void. The stickers are a bit thick, so you need to take extra effort to peel them off. You might also need a sharp tool or a utility knife to peel back the corner of the stickers. Be extra careful while using a knife as you might scratch your console or injure yourself.
Remove the Screws
After peeling off the stickers, look for the three screws and remove them all. You can see them at the bottom half of your console. T8 or T9 screwdrivers are the best tools to get the job done. The screws are short, so removing them doesn’t require much effort. Be mindful where you place your screws so they won’t lose them when you’re assembling it back together.
Remove the Cover
After removing the screws and setting them aside, you can now easily remove the cover. Using your two hands, gently pull up on the edges starting at the back of the console that is facing you. Use a small amount of pressure, and it would come free.
Clean the Cover
When you look at the cover that you removed, you will see that it is dirty. You can use a clean damp cloth or a can of compressed air to clean it. After cleaning the cover, set it aside.
Remove And Clean the Power Supply
The next thing that you need to do is to remove and clean the power supply. Removing the power supply can give you access to the heat sink and lets you thoroughly clean your console. However, it is important to clean the power supply because the dust and dirt serve as a blanket covering the components inside your console, making it run harder and shortening its lifespan.
To remove the power supply, gently hold it and remove the screws. There are five screws to be removed, including three TR9 security screws and two Phillips head screws. After removing the screws, unplug the little connector and twist the power supply a little bit harder until it pops out. To clean the power supply, get your can of compressed air and blow a small burst of air.
Clean the Fan
After cleaning the power supply, move to the fan. Using your fingers, spin the fan carefully while using a brush to loosen and take off the dust. To clean the fan blades, use a cotton swab to gently remove dirt from each blade. Use a vacuum to remove all excess dust. Tweezers can also be a great help in removing clumps of dirt and dust from the blades.
Clean the Heat Sink
To clean the heat sink, get a soft brush and brush out all the awful stuff that might be stuck in there. Using a can of compressed air will also be a great help.
Blow the Dust Out
After cleaning the fan and the heat sink, clean the surrounding areas using a brush, a can of compressed air, or a small vacuum. Check the corners for hidden dust with a flashlight. For stubborn dirt and dust, you can use a cotton swab to get rid of it.
Dry the Interior
Even though you didn’t use a wet cloth in cleaning your console, let it sit for at least half an hour to dry even the moisture from the can of compressed air you used to clean your console.
Reassemble the Power Supply
To reassemble the power supply, plug the connector back in. Make sure that you securely replace all the five screws, the three security screws, and the two head screws with clips.
Reassemble Your PS4
If you’re satisfied with the thorough cleaning you just gave your console, it is now time to reassemble your PS4. It’s suggested you start reassembling your PS4 by putting the back cover. Press it down lightly to be sure that it is secured. Do not forget to replace all the screws back on your console as well. If you are confident enough for the time that you gave for your console to air-dry, you can now plug it and enjoy gaming without worries.
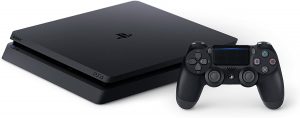
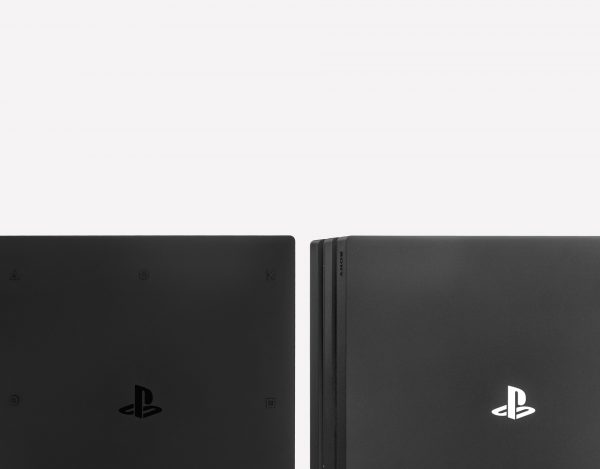
How To Clean PS4 Pro and PS4 Slim
With the PS4 Pro and PS4 Slim models, you don’t need to worry about the warranty because you can thoroughly clean it without voiding it. Also, there are no tools required in opening your machine to clean its fan.
Remove the top cover to easily access the PS4 Pro’s fan. While removing the cover, you will hear some clicking. Don’t worry about things breaking in your PS4 Pro; it just means that the clips are coming loose. After that, lift it up and pull it back to completely remove the cover to make the PS4 Pro’s fan accessible. You can use a soft brush or a toothbrush to clean it. You need to run the brush through the sides, paying attention to every angle so you don’t miss a single speck.
After that, blow the dirt and dust with canned air. After the cleaning, you can now put the top cover back on. Make sure that the front is pointed towards the front. Start at the back since it is the first one to be put on first. Slide the cover on towards the front using your fingers. When you hear a snap, it is now in place.
What Tools Can Help You Clean Your PS4?
If you want to thoroughly clean your PS4, here are some of the tools that are needed:
- TR9 Torx security bit screwdriver. This screwdriver is needed since PS4 uses T9 security screws.
- Standard Phillips-head screwdriver. Some of the screws in PS4 require this screwdriver to remove them. If you have a smaller screwdriver, it can also do the job.
- Utility knife or any sharp object. This can help to peel off the warranty stickers attached to the screws.
- Can of compressed air or canned air. This is an ideal tool to blow out the dirt and dust.
- Cotton swabs or cotton balls. This can be used to remove stubborn dirt that a can of compressed air can’t get rid of.
- A clean towel or microfiber cloth. This is what you’ll use to wipe dust off your PS4’s exterior. It can also be used as a safe place to put your screws.
- A brush or a toothbrush. You can use it to brush off the dust and dirt on the edges and the air intakes.
- Tweezer. This can be used to remove clumps of dirt from the blades of the fan.
- Flashlight. It can help check the corners for hidden dust or dirt.
How to Prevent Dust Buildup on Your PS4
You can’t avoid dust or dirt to get into your PS4. However, there are ways on how you can minimize or lessen amount of dust or dirt coming into it. Below are some tips on how to keep your gaming console clean.
- Keep your console away from your pet animals since their fur can be easily carried by air and get trapped in your console.
- Do not set up your console on glass tables or centers. Glass can easily attract dust that can also get trapped in your console.
- Always place your console in an open area. Dust easily gather in cramp spaces, so you can expect dirt buildup in your console if you place it in a corner.
- Do not smoke near your console or while you are using it. Cigarette smoke can easily cause dirt to collect on surfaces.
- Wipe your console using a microfiber cloth before and after using it.
Have Peace of Mind While Cleaning Your PS4
As you use and store your PS4 over the years, you can’t avoid dust and dirt to get trapped into it. You might be worried when you hear a loud sound coming from your console. The loud sound can be caused by dust buildup inside your console.
We just provided you some of the ways to clean your console properly However, there are crucial steps that you need to do in order to clean your PS4 properly. You just have to make research on the specifics of your console and follow the given steps to a T. Also, you need to prepare the materials needed to do the cleaning.
Cleaning a PS4 is very easy. You just have to be watchful, have the presence of mind, and be patient in completing this task.