Introduction
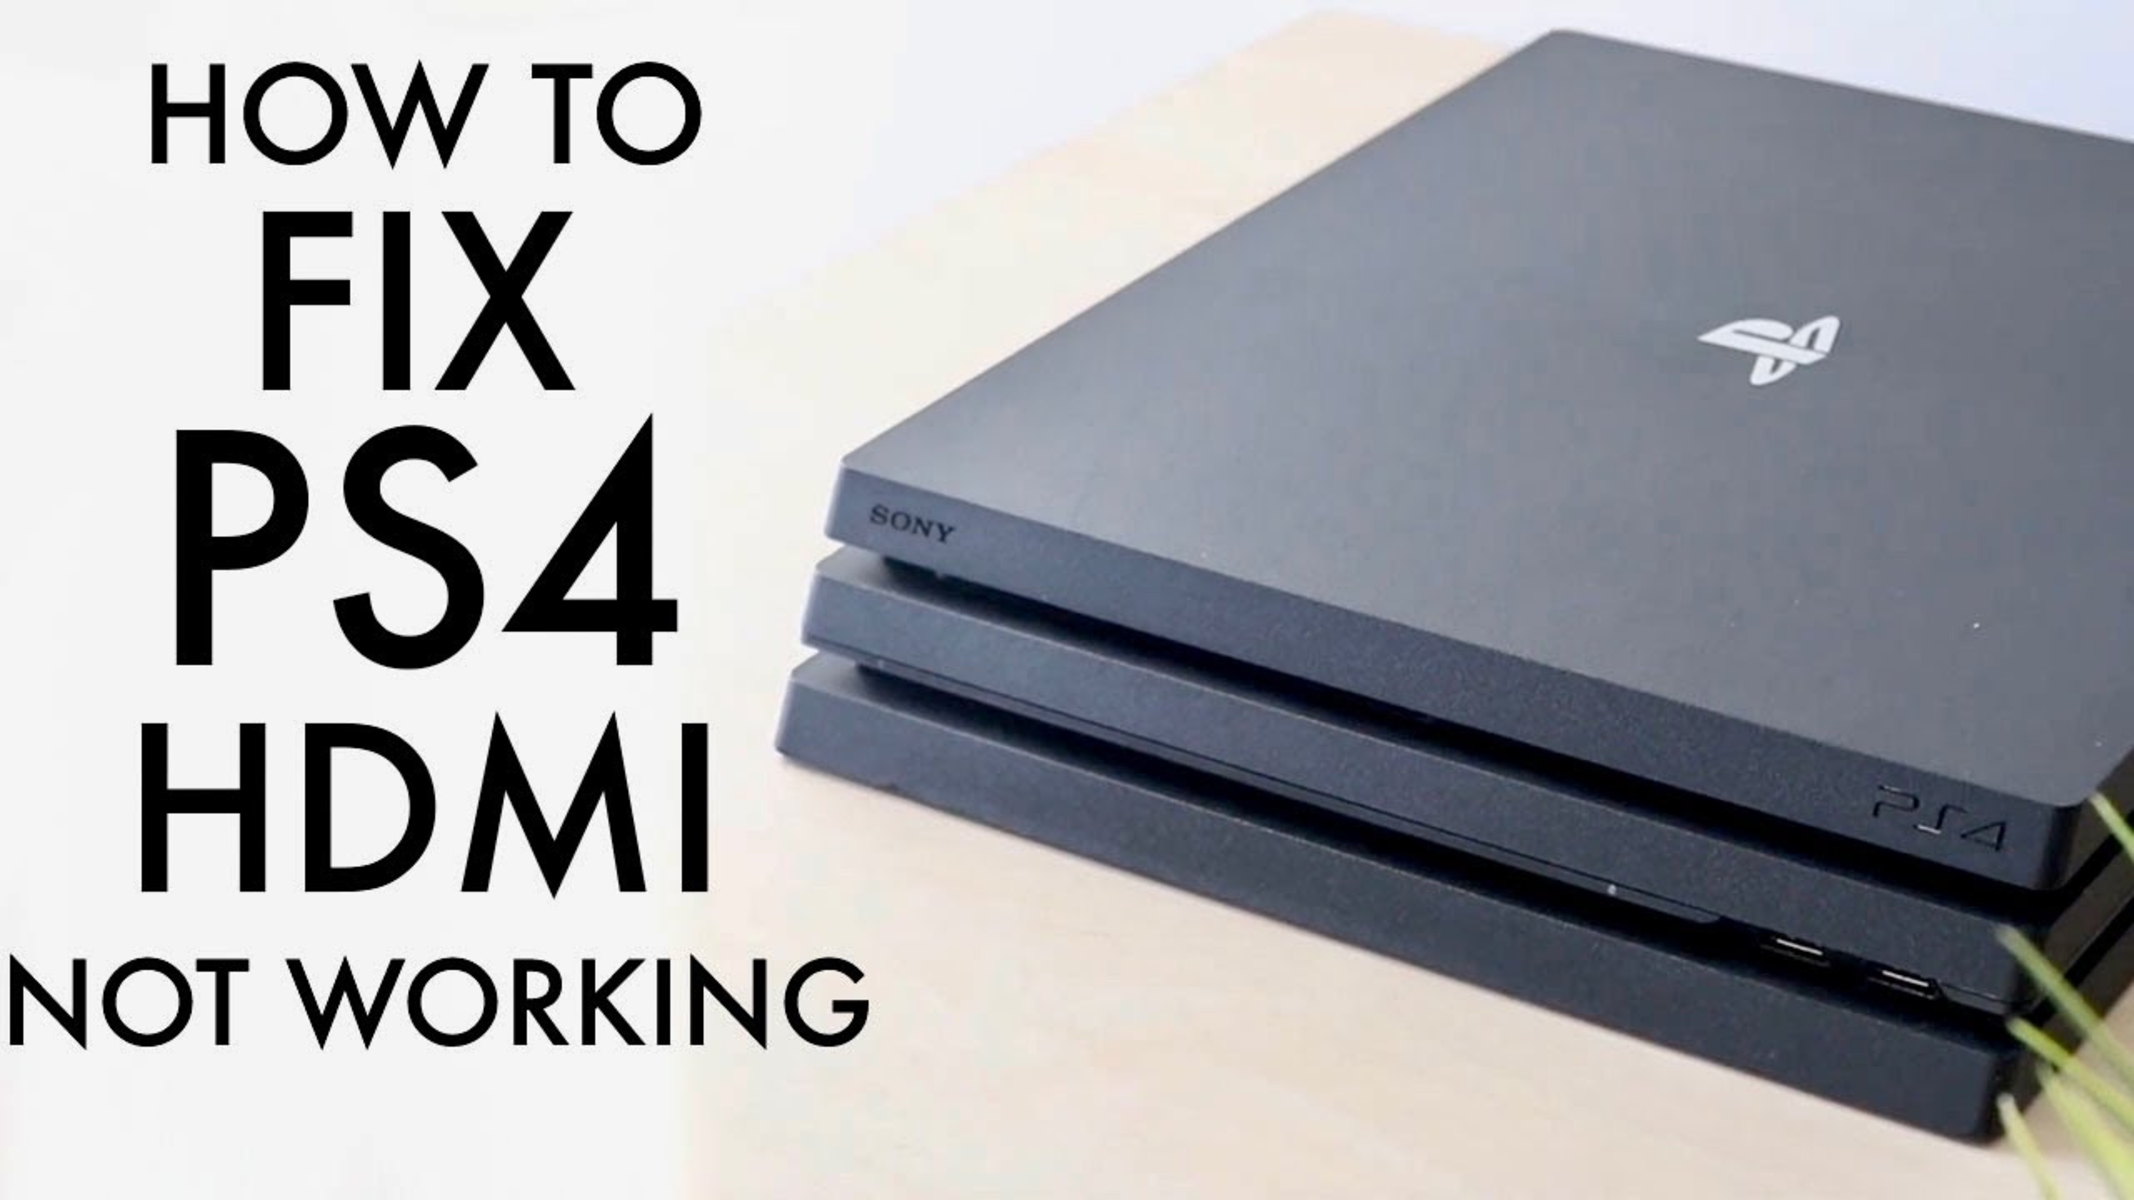
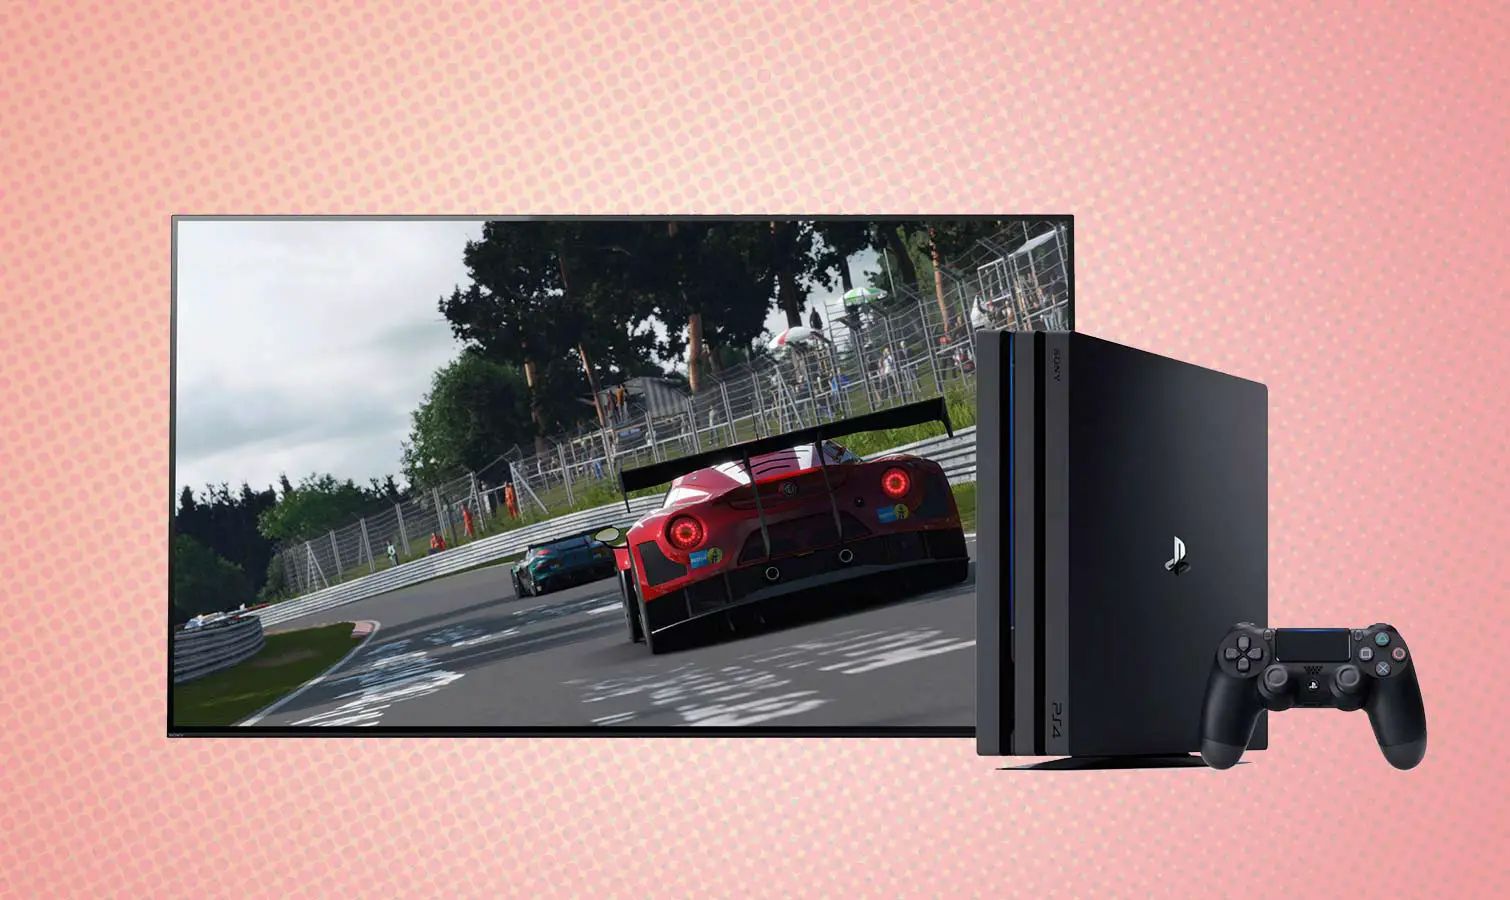
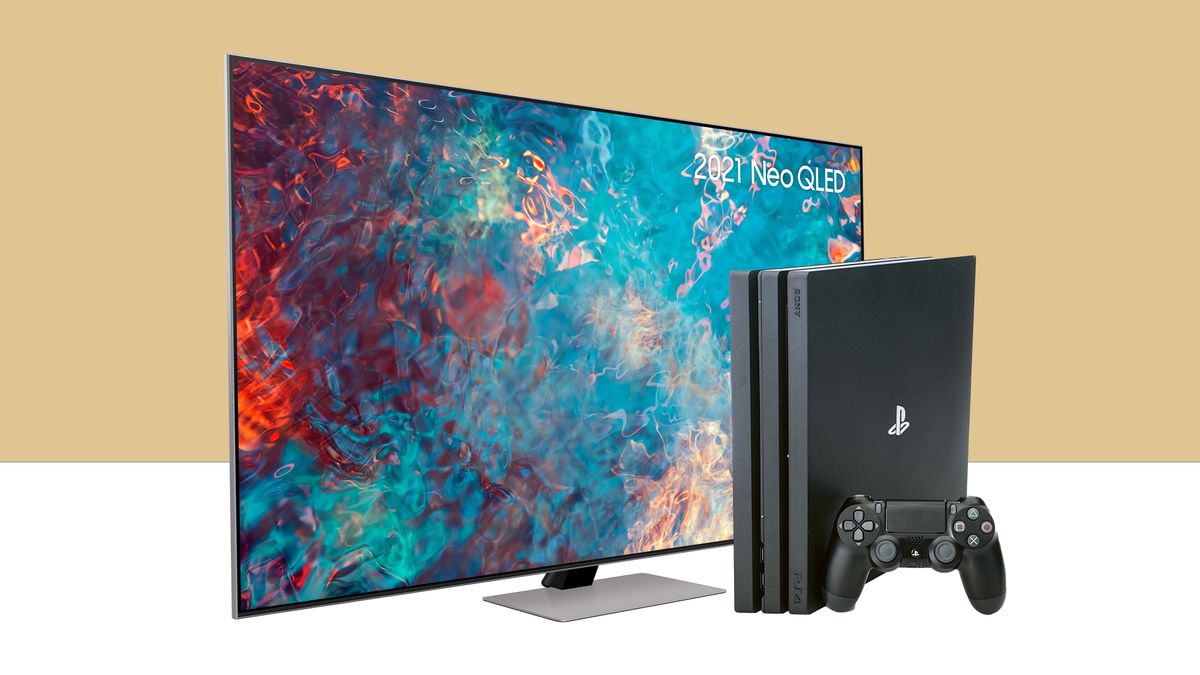
Welcome to the guide on how to fix the HDMI port on your PlayStation 4 (PS4) console. The HDMI port is a crucial component that allows you to connect your PS4 to your TV or monitor, enabling you to enjoy the immersive gaming experience.
Over time, the HDMI port may encounter issues such as poor connection, loose connection, or even damage. These issues can result in a loss of audio or video display, which can be frustrating, especially when you’re in the middle of an intense gaming session.
But don’t worry! In this guide, we will walk you through the necessary steps to fix your PS4 HDMI port and get you back to gaming in no time. Whether you’re experiencing a complete loss of signal or a flickering screen, this guide will provide you with the solutions you need.
Please note that fixing the HDMI port requires some basic knowledge of electronics and the use of tools. If you’re not comfortable performing these steps yourself, it’s always a good idea to consult a professional technician who specializes in console repairs.
Before we get started, let’s make sure you have everything you need:
- PS4 console
- HDMI cable (preferably a high-speed HDMI cable)
- Microfiber cloth or soft-bristle brush
- Isopropyl alcohol (70% concentration or higher)
- Compressed air can or air blower
- Small screwdriver (usually a Phillips or Torx)
Once you have these tools ready, let’s move on to the steps to fix your PS4 HDMI port. Power down your PS4, disconnect all cables, and let’s get started!
Step 1: Gather the necessary tools
Before you embark on fixing your PS4 HDMI port, it’s essential to gather the necessary tools. Having the right tools on hand will make the process smoother and more effective. Here’s what you’ll need:
- PS4 console: Ensure that you have your PS4 console ready for troubleshooting.
- HDMI cable: Use a high-quality HDMI cable to ensure a stable and reliable connection.
- Microfiber cloth or soft-bristle brush: These tools will help you clean the HDMI port without causing any damage.
- Isopropyl alcohol (70% concentration or higher): This alcohol solution will serve as a cleaning agent to remove dirt or debris.
- Compressed air can or air blower: Use this tool to blow away any dust or particles from the HDMI port.
- Small screwdriver: Depending on your PS4 model, you may need a Phillips or Torx screwdriver to access the HDMI port.
Having these tools readily available will save you time and allow you to proceed smoothly through the troubleshooting process. If you don’t have any of the tools mentioned, you can easily find them at an electronics or hardware store.
It’s important to note that using the appropriate tools and techniques during the HDMI port repair process is crucial to avoid causing further damage to your console. If you’re unsure about any aspect of the repair or lack the necessary tools, it’s advisable to seek professional assistance.
Now that you’ve gathered all the required tools, you’re ready to move on to the next step: powering down your PS4 console. Follow along closely to ensure a successful repair!
Step 2: Power down the PS4
Before you begin working on the HDMI port of your PS4, it’s crucial to ensure that the console is completely powered down. This will protect you from any potential electrical shocks and prevent any damage to the console or yourself. Here’s how to power down your PS4:
- Make sure your PS4 console is turned on and connected to your TV or monitor via the HDMI cable.
- On your PS4 controller, press and hold the PlayStation button located in the middle of the controller.
- A quick menu will appear on your TV screen. Scroll down and select “Power” from the menu options.
- In the Power menu, choose “Turn Off PS4” and press the X button to confirm.
- Your PS4 console will now begin the power-down process. Wait until the power indicator light on the console turns off completely.
- Remove the HDMI cable from the PS4 and disconnect any other cables connected to the console.
By following these steps, you will ensure that your PS4 is safely powered down, ready for the HDMI port repair process. Remember, it’s essential to be patient and allow the console to completely power down before proceeding to the next step.
Now that your PS4 console is powered down, you can move on to the next step: disconnecting all cables. Make sure to carefully follow the instructions to avoid any accidental damage.
Step 3: Disconnect all cables
Now that your PS4 console is powered down, it’s time to disconnect all cables connected to it. This step ensures that there are no power sources or potential interferences during the HDMI port repair process. Follow these instructions to disconnect the cables:
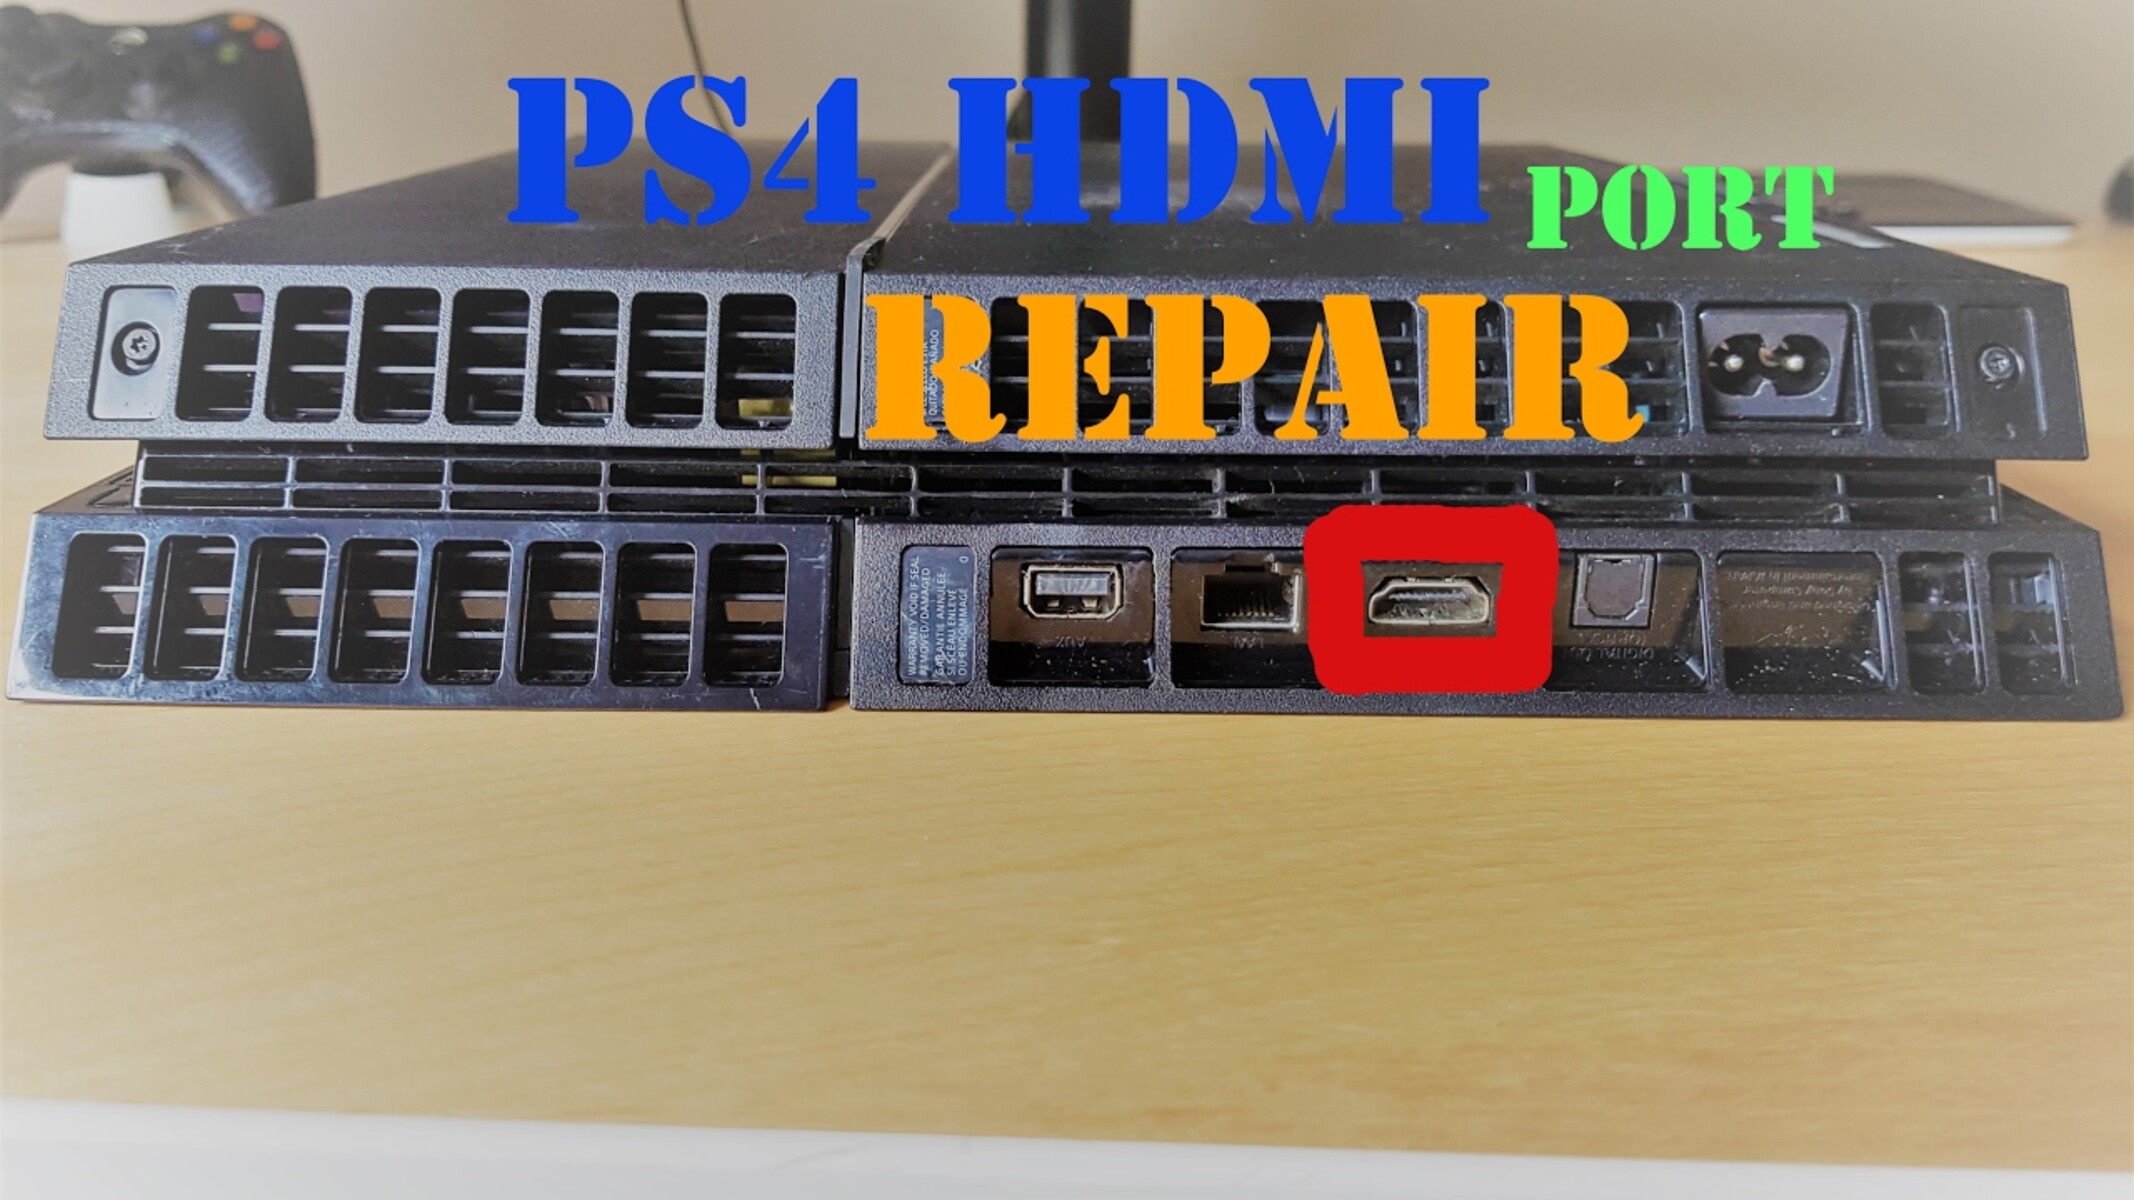
- Locate the HDMI cable connected to your PS4 and gently unplug it from the HDMI port.
- Take a moment to inspect the HDMI cable for any signs of damage, such as frayed wires or bent connectors.
- If you notice any issues with the HDMI cable, consider replacing it with a new one to ensure a stable connection.
- Next, disconnect any additional cables connected to your PS4, such as the power cable and any USB cables.
- Inspect the cables for any visible damage and replace or repair them if necessary.
It’s important to be gentle when disconnecting the cables to prevent any accidental damage to the ports or the cables themselves. Take your time and ensure a smooth removal of each cable.
Once all the cables are disconnected, you can proceed to the next step: inspecting the HDMI port itself. This step will allow you to identify any visible issues or debris that might be causing the HDMI connection problem.
Take a deep breath and get ready to examine the HDMI port closely. The solution to your HDMI issue may be just a few steps away!
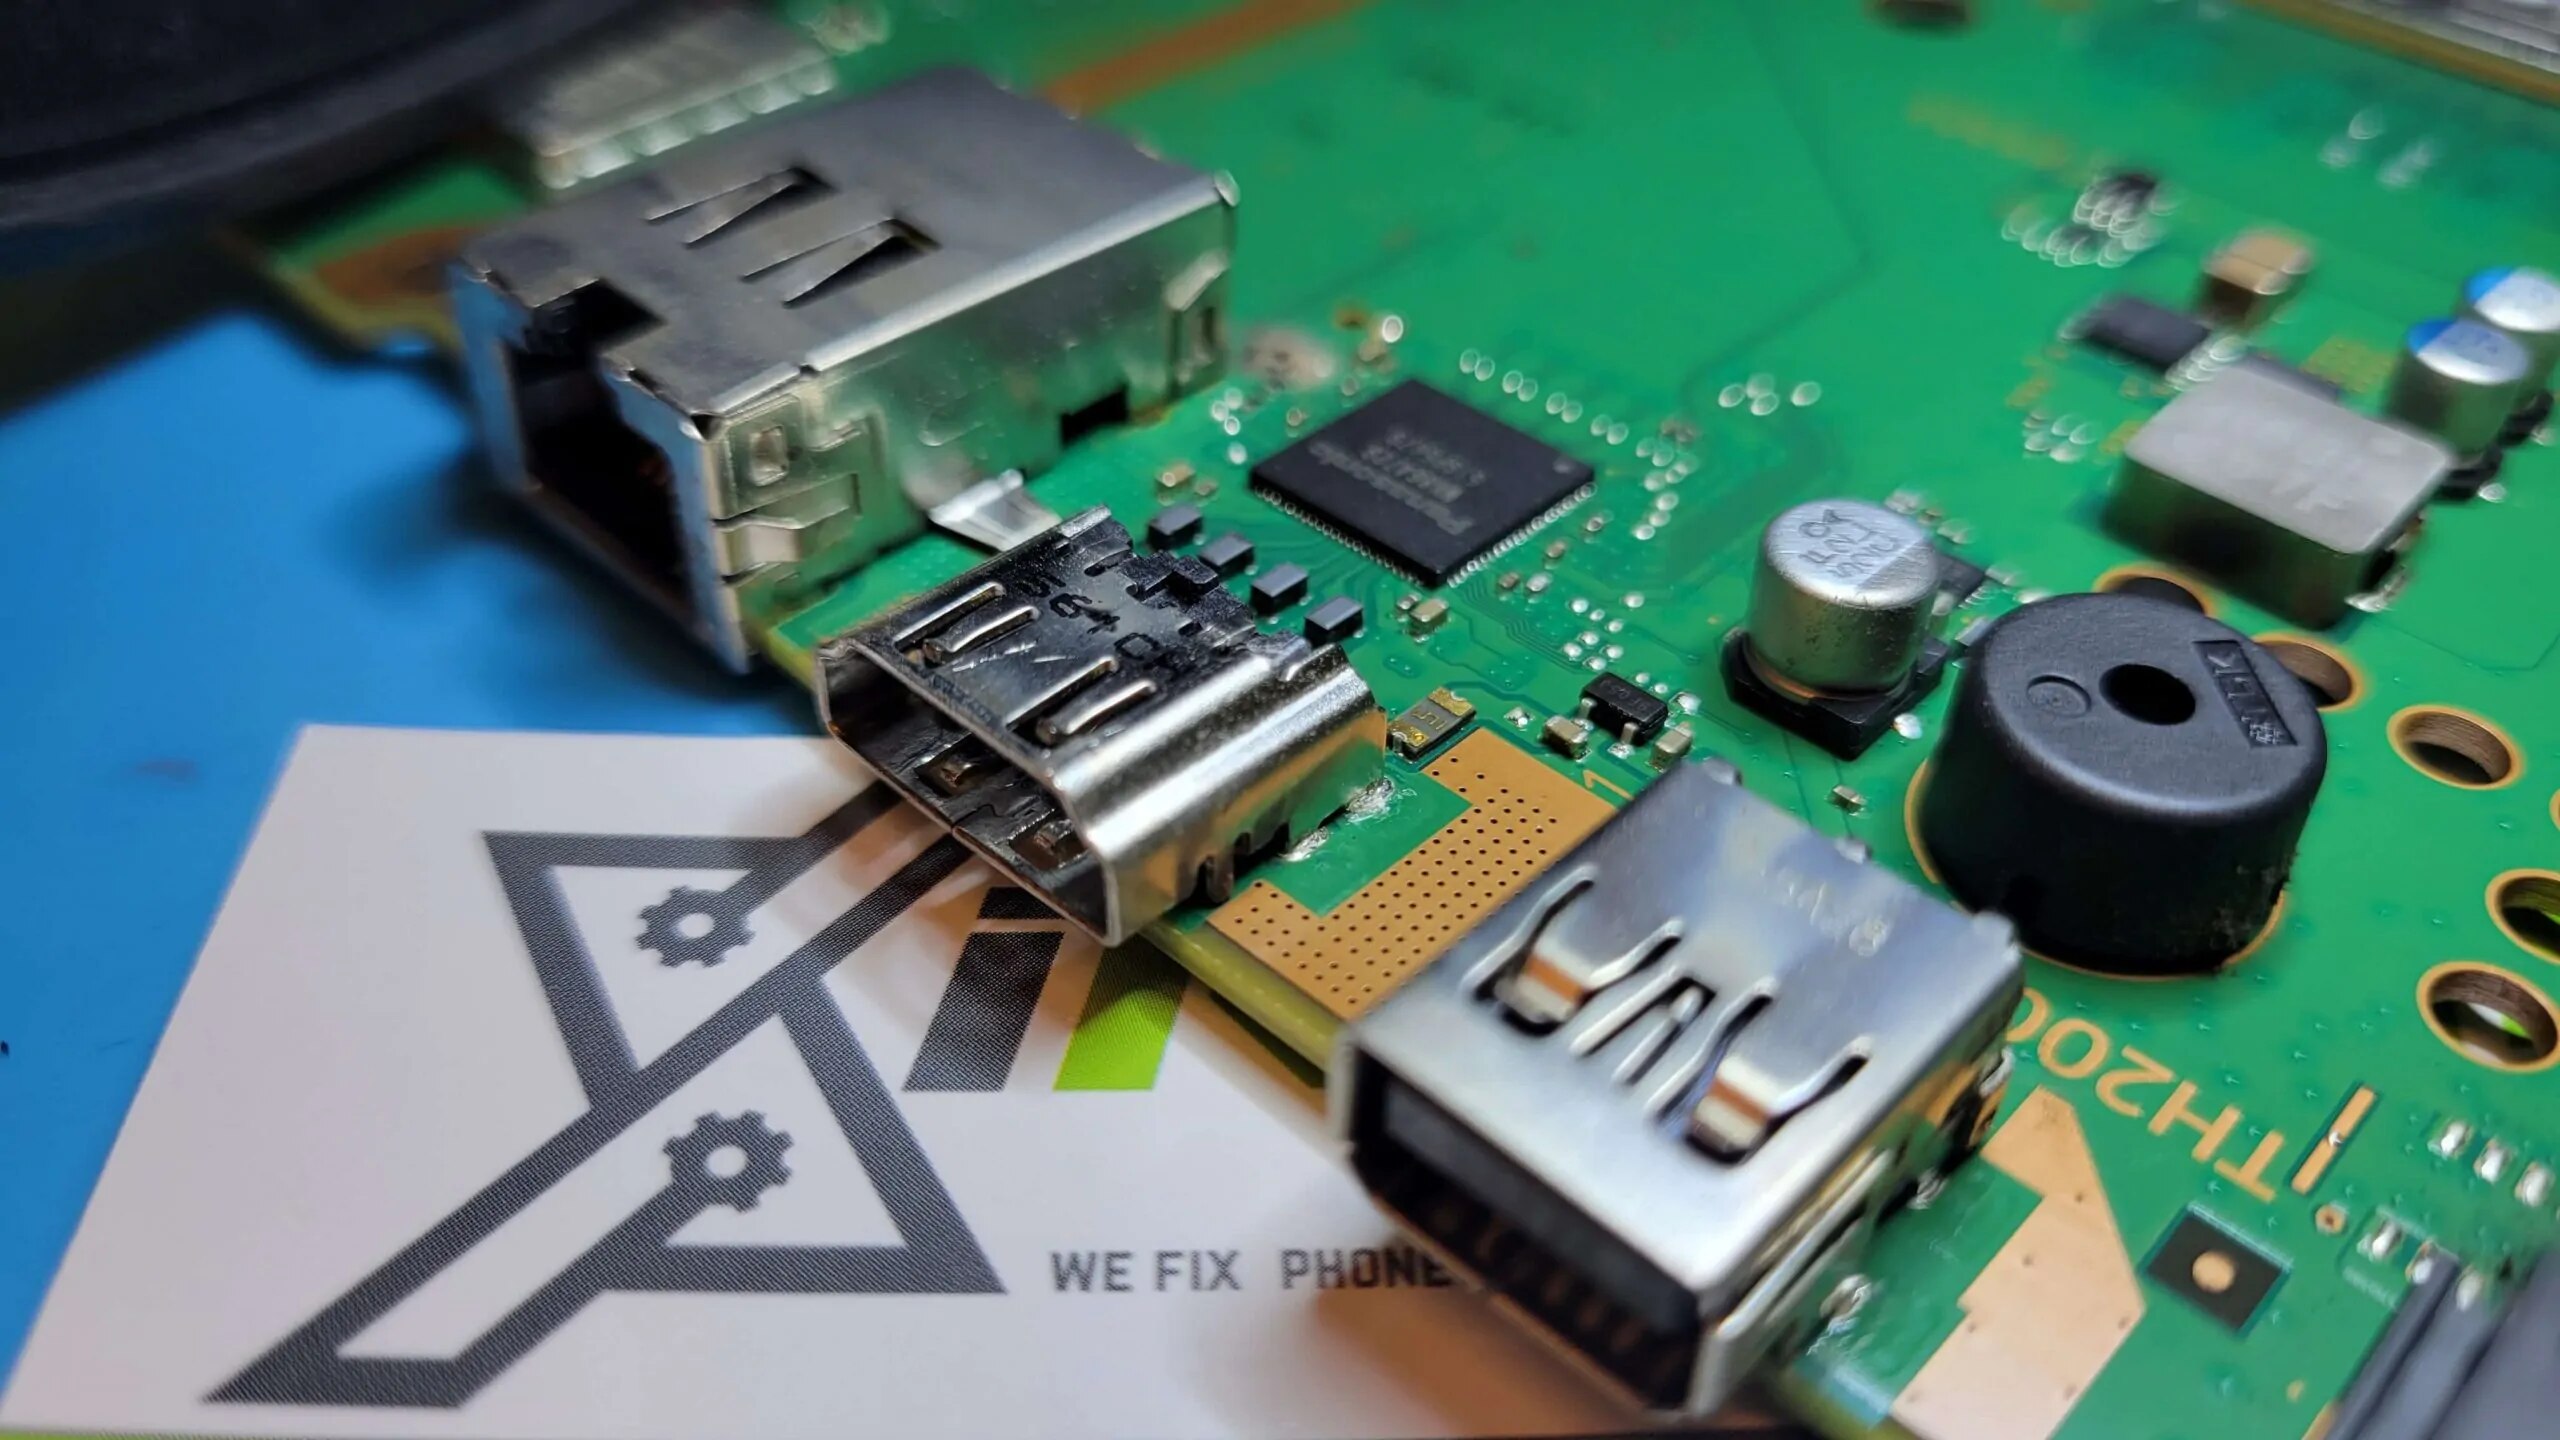
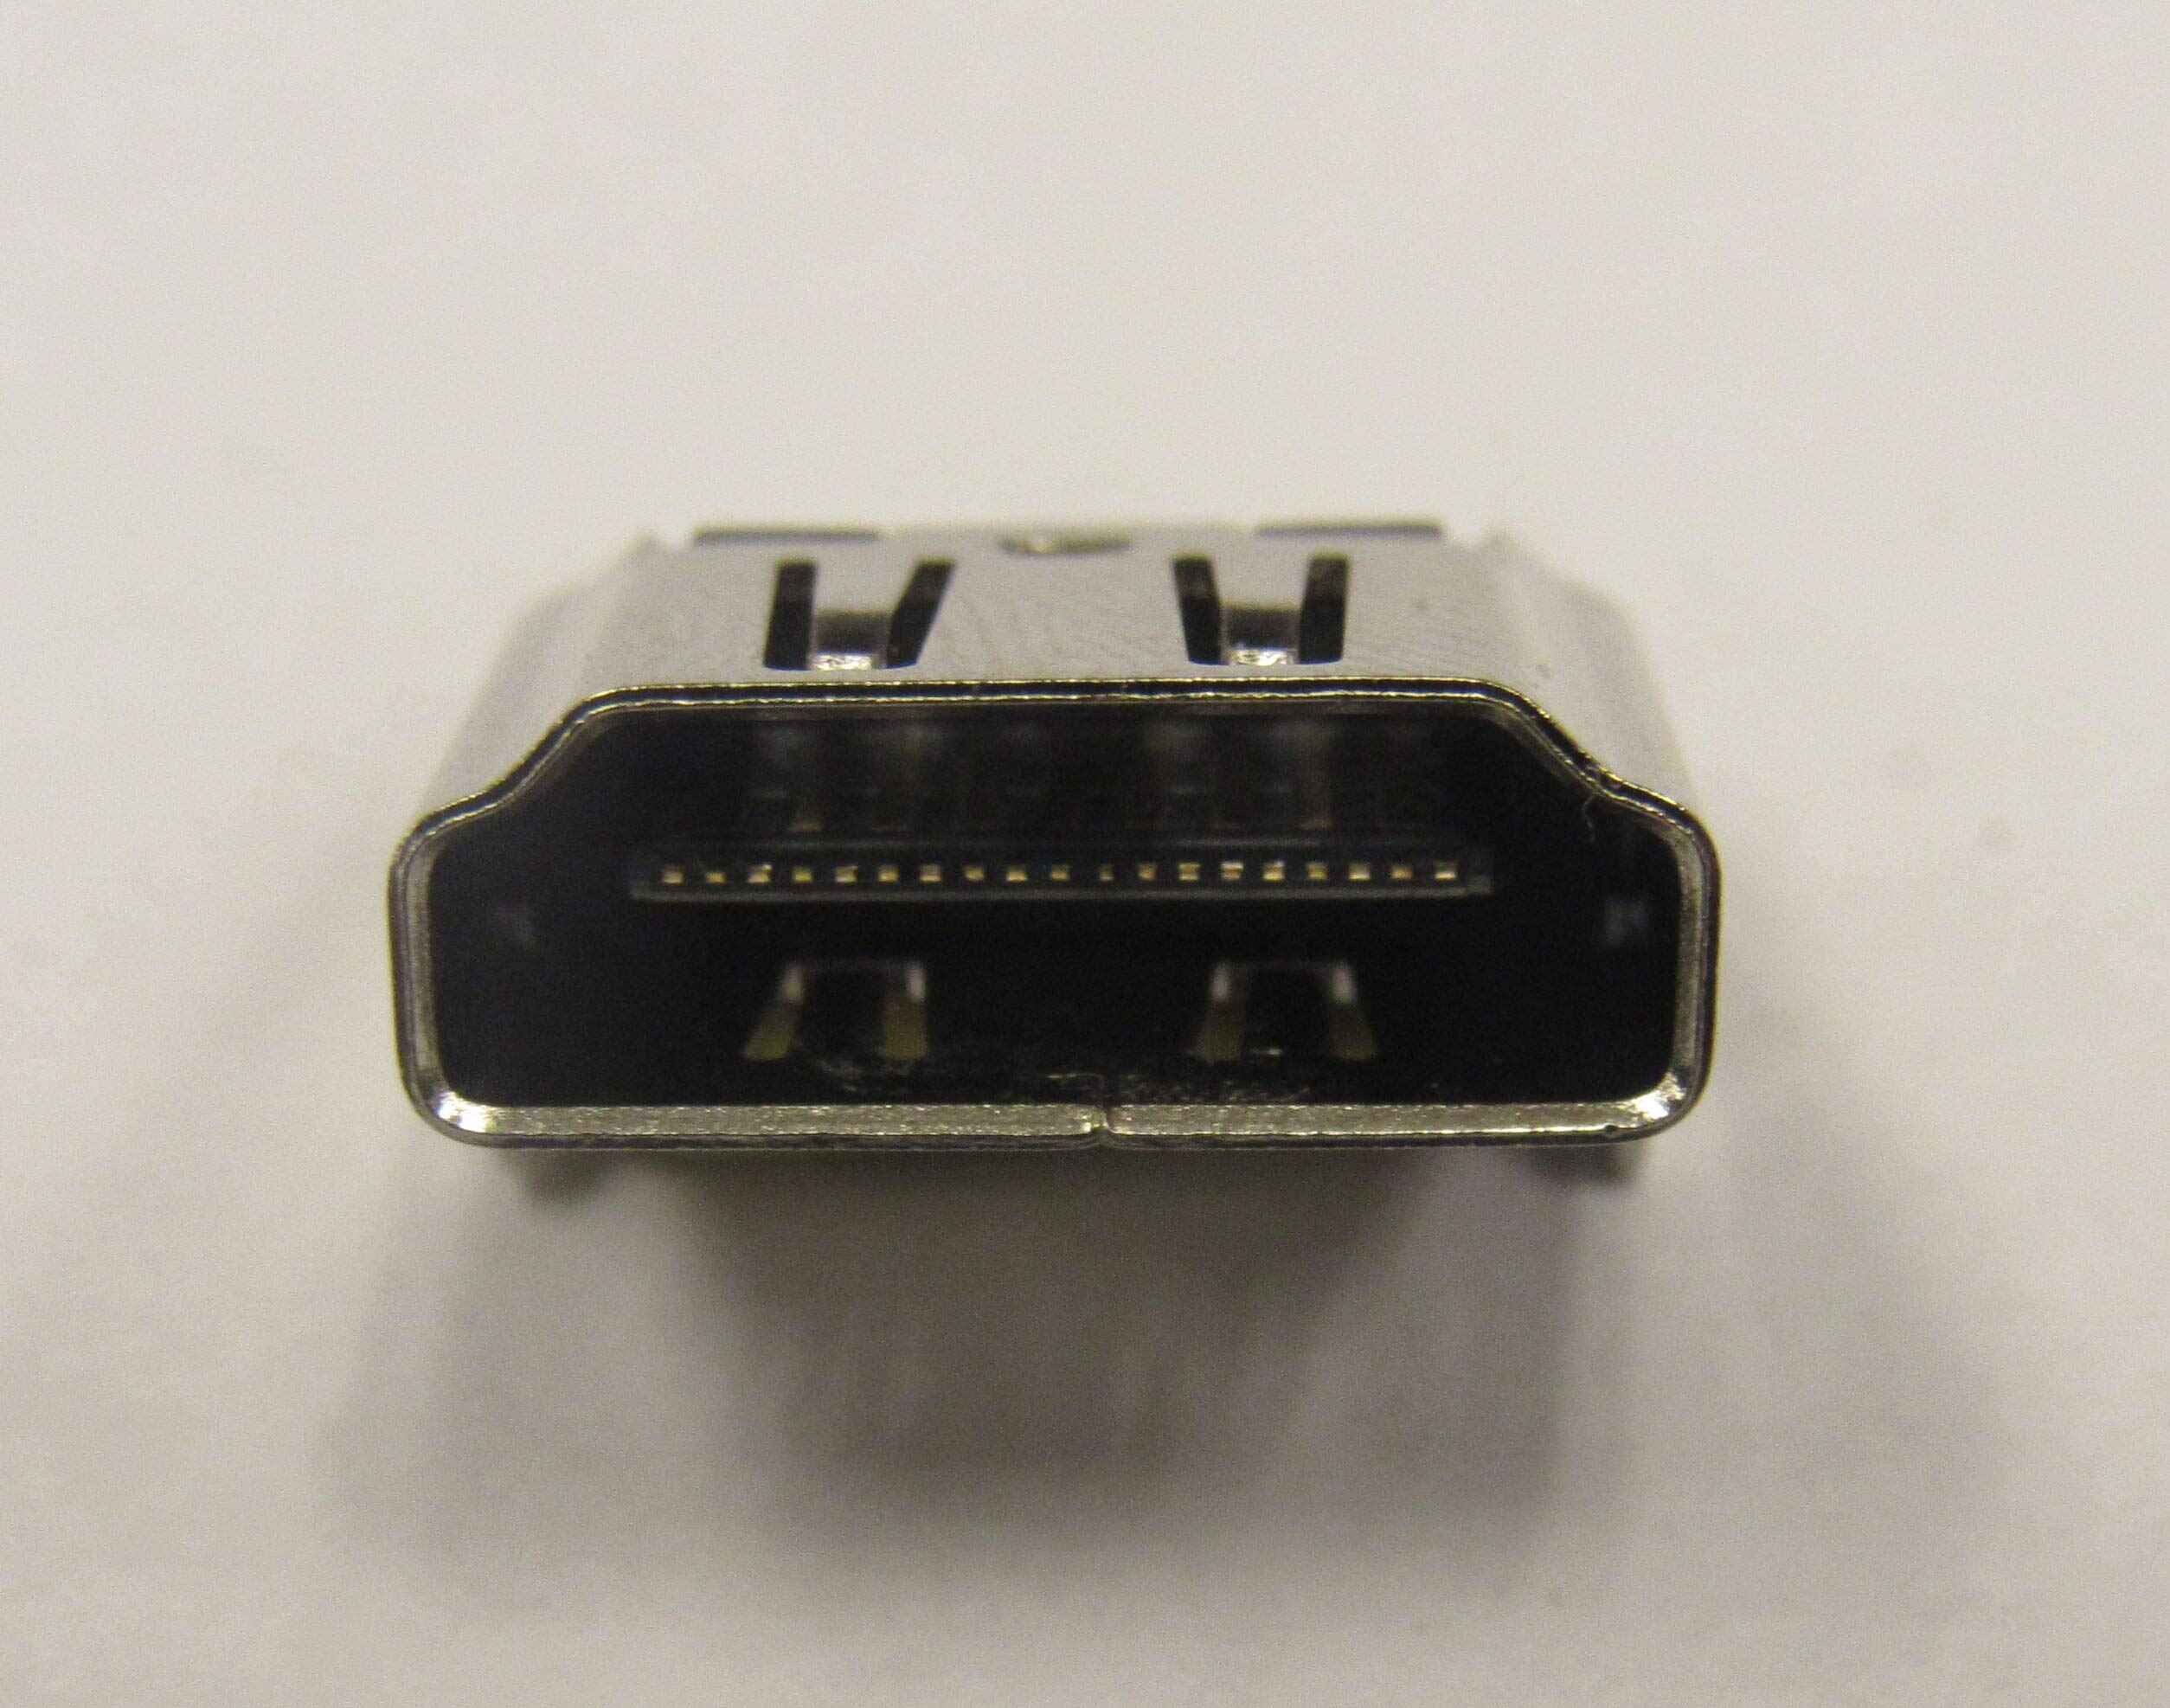
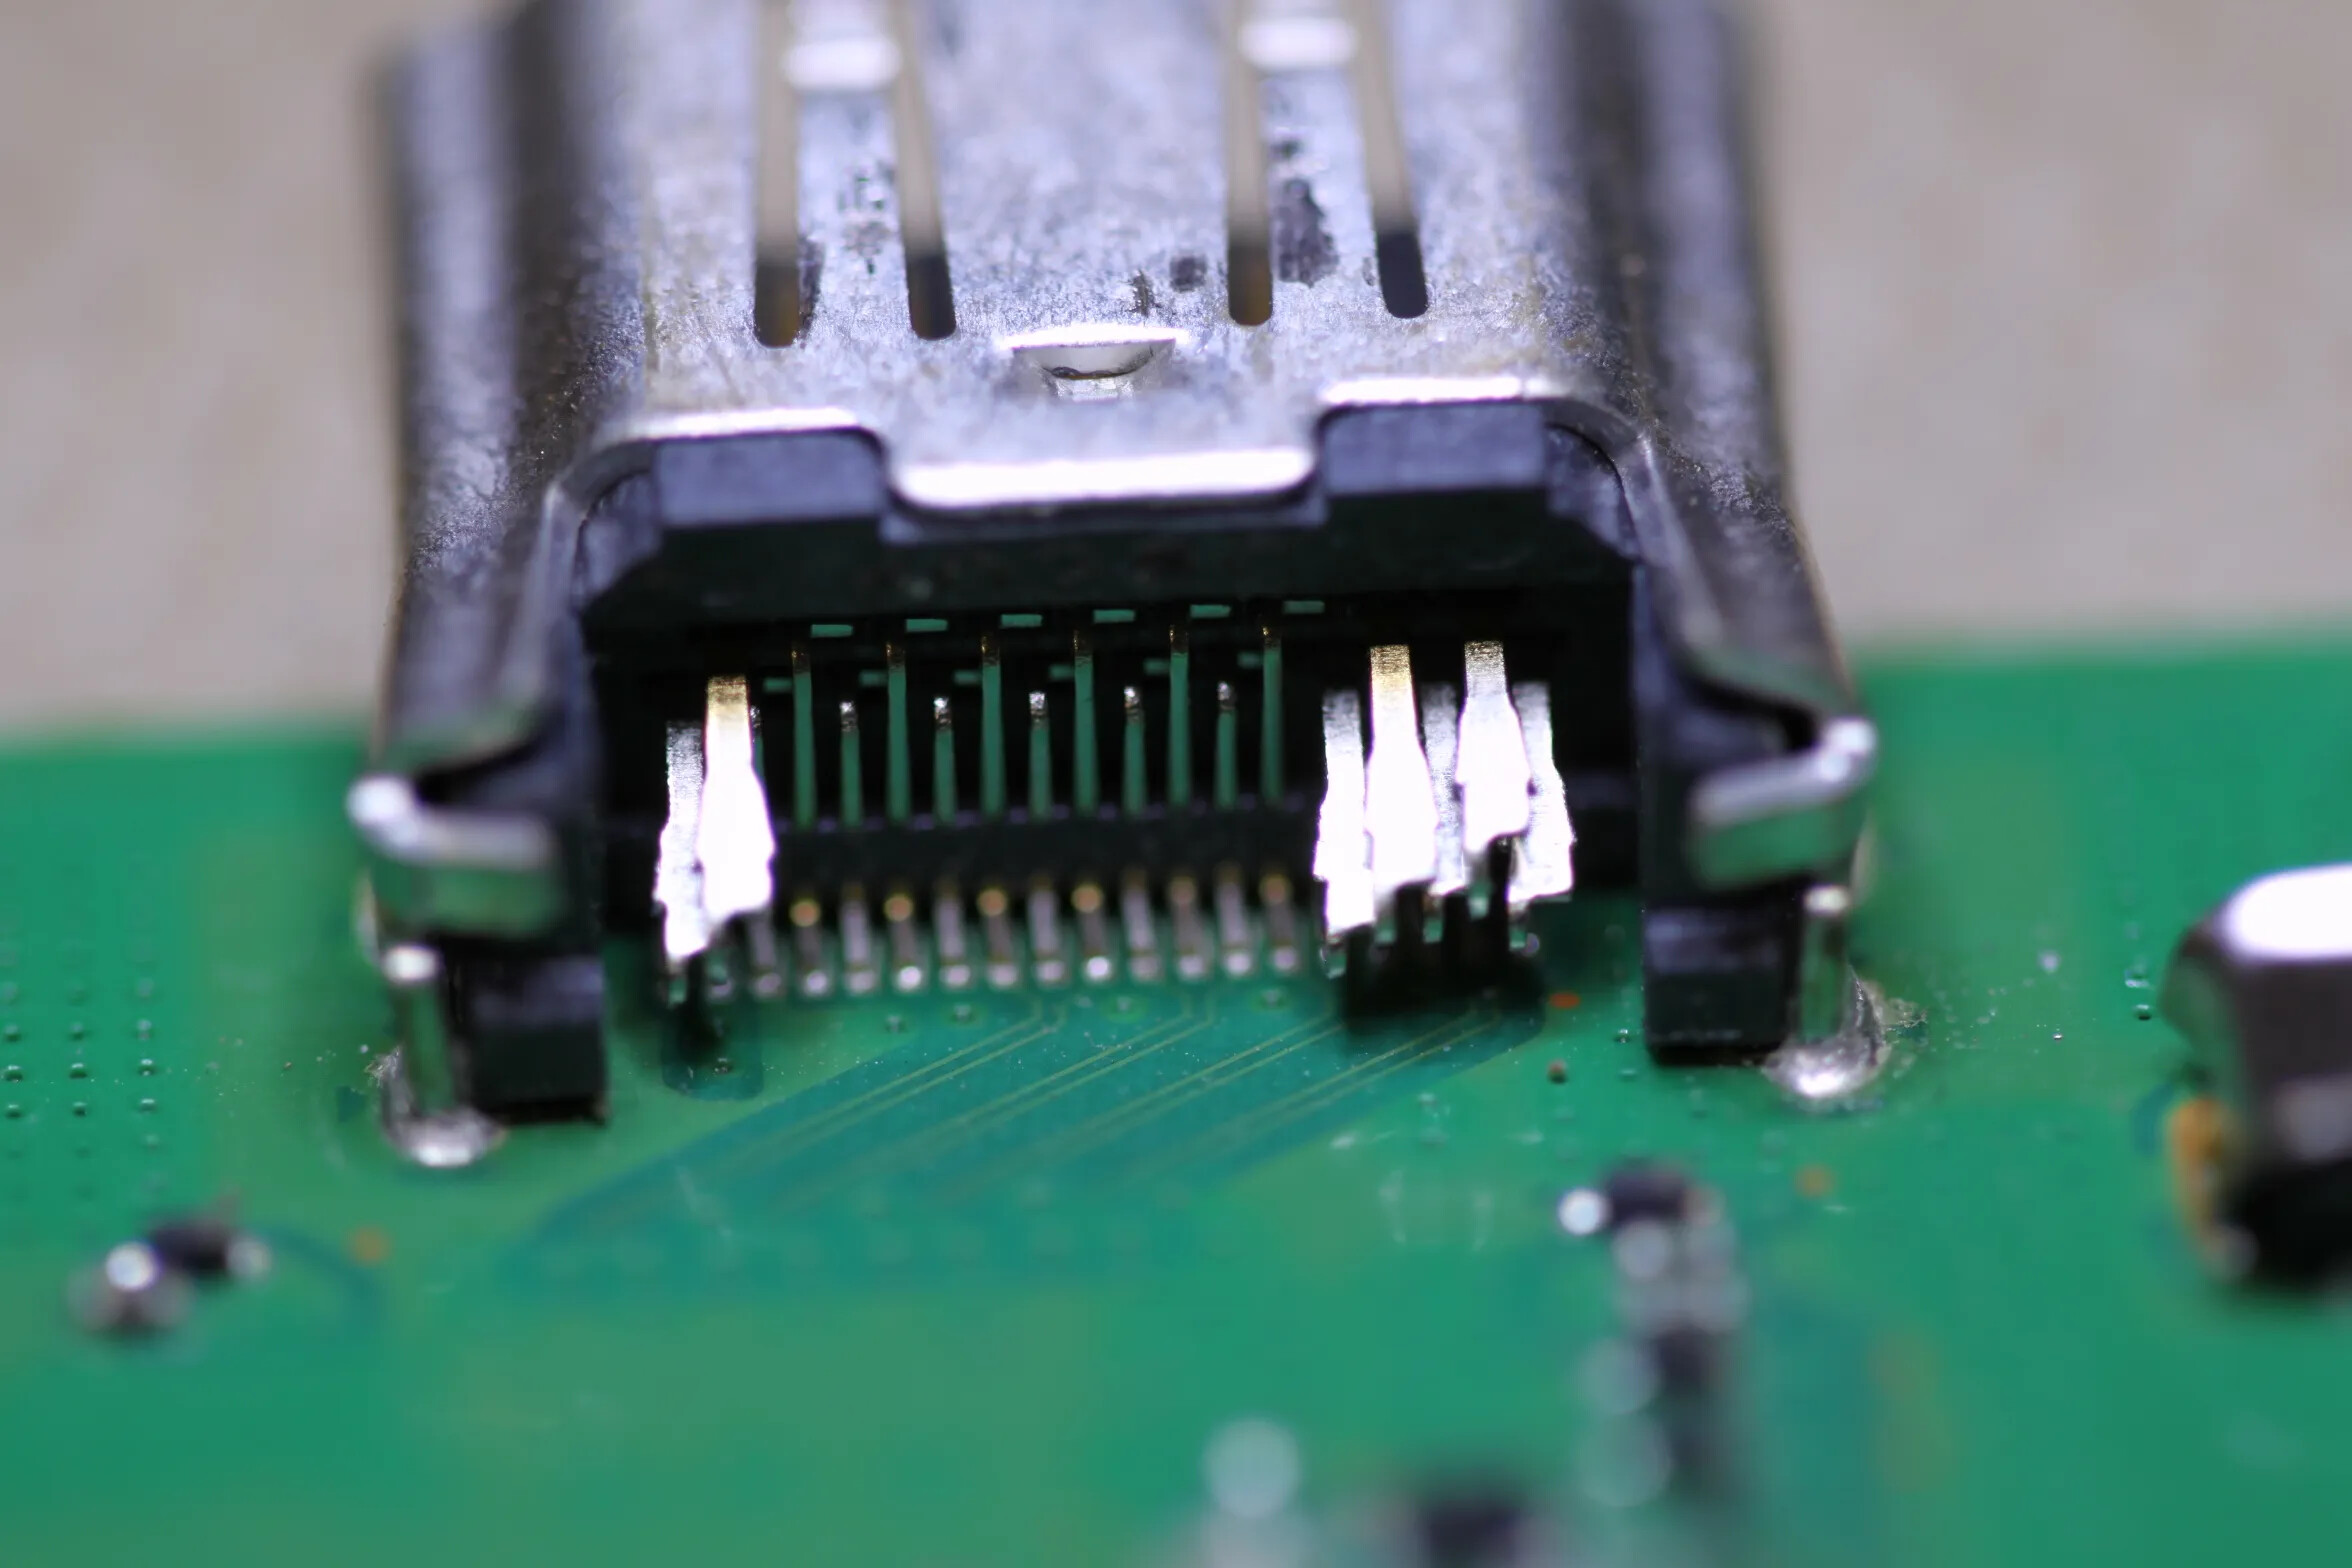
Step 4: Inspect the HDMI port
Now that all cables are disconnected from your PS4 console, it’s time to take a closer look at the HDMI port itself. This step will help you identify any visible issues or debris that may be hindering the proper functioning of the port. Here’s how to inspect the HDMI port:
- Position your console in a well-lit area, ensuring that you have a clear view of the HDMI port.
- Get a magnifying glass or a flashlight to better examine the port for any signs of damage or debris.
- With a careful eye, inspect the inside of the HDMI port for bent pins, dirt, or any other obstructions that may affect the connection.
- If you notice any bent pins, you can attempt to gently straighten them using a small, non-conductive tool such as a toothpick or a plastic pin straightener.
- Use caution when straightening the pins to prevent causing further damage.
- If you notice any debris, use a can of compressed air or an air blower to blow away the dirt or particles that may be lodged in the port.
- Alternatively, you can also use a soft-bristle brush or a cotton swab lightly dampened with isopropyl alcohol to clean the port.
- Be careful not to use excessive force or liquid when cleaning to avoid damaging the port.
By thoroughly inspecting the HDMI port, you can identify and address any visible issues that may be causing the HDMI connection problem. Cleaning and straightening the port if necessary can often resolve the issue and restore a proper connection.
Once you have completed the inspection and cleaning process, you can move on to the next step: cleaning the HDMI cable itself. This step ensures that the cable is free from any debris or dirt that may interfere with the connection.
Stay focused and meticulous as you inspect the HDMI port, as the solution to your HDMI problem may be just moments away!
Step 5: Clean the HDMI port
Now that you have inspected the HDMI port on your PS4 console and identified any visible issues or debris, it’s time to clean the port. Cleaning the HDMI port is crucial as it helps to remove any dirt, dust, or particles that might be interfering with the connection. Follow these steps to clean the HDMI port:
- Ensure that your console is still powered off and all cables are disconnected.
- Take a can of compressed air and gently blow into the HDMI port to remove any loose dirt or dust. Make sure to hold the can upright and avoid tilting it too much, as this can cause moisture to escape and potentially damage the port.
- If there are any stubborn particles or dirt remaining in the port, use a soft-bristle brush or a cotton swab lightly dampened with isopropyl alcohol to carefully clean the port.
- Gently brush or swipe inside the port to remove the remaining debris. Be careful not to apply excessive pressure or use excessive liquid, as this may damage the delicate pins inside the port.
- Allow the HDMI port to air dry for a few minutes before proceeding to the next step.
By cleaning the HDMI port, you are ensuring optimal contact between the console and the HDMI cable, which can help restore a stable and reliable connection for your PS4. Remember to be patient and take your time during this process to avoid any accidental damage.
Once the HDMI port is cleaned, you can move on to the next step: checking the HDMI cable itself. This will help determine if the cable is causing the issue and whether a replacement is needed.
Stay focused and meticulous as you clean the HDMI port, as a clean and well-maintained port is a key component in restoring your PS4’s HDMI connection!
Step 6: Check the HDMI cable
Now that you have cleaned the HDMI port on your PS4 console, it’s time to check the HDMI cable itself. The HDMI cable plays a crucial role in establishing a stable connection between your console and the TV or monitor. Here’s how you can check the HDMI cable:
- Inspect the HDMI cable for any visible signs of damage such as frayed wires, bent connectors, or kinks in the cable.
- If you notice any damage, it is recommended to replace the HDMI cable with a new one. A damaged cable can cause intermittent or no signal transmission, resulting in display issues.
- If there is no visible damage, try using the HDMI cable with another device such as a different TV or another console if available. This will help determine if the issue lies with the cable itself or the console.
- Test the alternate HDMI cable with your PS4 console on a different TV or monitor. If the issue persists, it might indicate a problem with the console’s HDMI port or internal components.
- Alternatively, if the alternate HDMI cable works successfully with another device, it suggests that the original HDMI cable may have been causing the problem.
Checking the HDMI cable allows you to identify if the cable itself is causing the HDMI connection issue. Sometimes, even a slightly damaged cable can disrupt the signal transmission and result in no display or poor quality visuals.
If the HDMI cable is determined to be the culprit, remember to purchase a high-quality HDMI cable that is compatible with your console and supports the necessary specifications. This will help guarantee a reliable connection and optimal performance.
By assessing the HDMI cable, you are bringing us closer to resolving the HDMI connection problem. Now, let’s move on to the next step: testing the HDMI port to confirm if the issue has been resolved.
Step 7: Test the HDMI port
After cleaning the HDMI port on your PS4 console and checking the HDMI cable, it’s time to test the HDMI port to confirm if the issue has been resolved. Testing the HDMI port will help determine if the cleaning and cable inspection have successfully restored the connection. Here’s how you can test the HDMI port:
- Ensure that your console is still powered off and all cables are disconnected.
- Connect the HDMI cable securely to both the HDMI port on your PS4 console and the HDMI input on your TV or monitor.
- Double-check that the TV or monitor is set to the correct input source, typically labeled as “HDMI”.
- Power on your console and wait for it to fully boot up.
- If everything was done correctly, you should see the PS4 display on your TV or monitor.
- Test the HDMI port by launching a game or playing a video to ensure that both audio and video are transmitting properly.
- If the display is stable, there are no audio or video issues, and the connection is reliable, then it indicates that the HDMI port is functioning correctly.
- If the issue persists or you continue to experience problems with the HDMI port, it may be necessary to consult a professional technician to further diagnose and address the issue.
By testing the HDMI port, you can verify if the cleaning and cable inspection efforts have resolved the connection problem. A successful test will confirm that your PS4 console is ready to deliver the immersive gaming experience you desire.
If the issue still persists, don’t get discouraged. Sometimes, more complex internal problems may require professional expertise. Reach out to a qualified technician who specializes in console repairs for further assistance and guidance.
Now that you have tested the HDMI port, let’s move on to the final step: consulting a professional technician if the issue persists or to seek further help if needed.
Step 8: If the issue persists, consult a professional technician
If, after following the previous steps, you find that the issue with your PS4 HDMI port persists, it may be necessary to seek the assistance of a professional technician. While many HDMI port issues can be resolved through basic troubleshooting methods, there are situations where more advanced repairs are required. Here’s what you should do if the issue continues:
- Reach out to a reputable console repair service or contact the manufacturer’s support team for further assistance.
- Explain the steps you have already taken to troubleshoot the HDMI port, including cleaning the port, checking the HDMI cable, and testing with alternate devices.
- Provide as much information as possible about the issue you are facing, including any error messages, error codes, or specific symptoms you have observed.
- Follow the guidance provided by the professional technician or support team. They may request additional information, suggest further troubleshooting steps, or advise you to send in your console for repair.
- If your console is still under warranty, check if the issue qualifies for warranty service. Follow the warranty claim process outlined by the manufacturer to have your console repaired or replaced.
- Consider the cost of repair versus the value of the console. In some cases, it may be more cost-effective to replace the console rather than investing in extensive repairs.
A professional technician has the expertise and tools necessary to diagnose and address complex issues with your PS4 console. They can provide specialized repair services tailored to the specific problem you are facing, ensuring a proper and reliable fix.
Remember, attempting DIY repairs beyond basic troubleshooting can void your warranty or potentially cause further damage to your console. Seeking professional help is the safest and most effective way to resolve persistent HDMI port problems.
Now, armed with your troubleshooting knowledge and the option of professional assistance, you can proceed with confidence in resolving any HDMI port issues with your PS4 console.
Conclusion
Dealing with a faulty HDMI port on your PS4 console can be frustrating, but with the right steps and troubleshooting techniques, you can resolve the issue and get back to enjoying your gaming experience. Here’s a quick recap of the steps we covered:
- Gather the necessary tools.
- Power down the PS4.
- Disconnect all cables.
- Inspect the HDMI port.
- Clean the HDMI port.
- Check the HDMI cable.
- Test the HDMI port.
- If the issue persists, consult a professional technician.
Throughout this guide, we emphasized the importance of being careful, patient, and thorough when performing these troubleshooting steps. It’s crucial to handle your PS4 and its components with care to avoid causing further damage.
Remember, if the issue persists even after following all the steps, don’t hesitate to reach out to a qualified technician or the manufacturer’s support team. They have the expertise and resources to help you resolve complex HDMI port problems or provide guidance on further steps to take.
By following the steps outlined in this guide, you have taken the necessary measures to identify and potentially fix HDMI port issues with your PS4. Whether it was a simple cleaning or a more involved repair, you can now enjoy a stable connection and immerse yourself in your gaming adventures once again.
If all else fails, it is important to weigh the cost of repairs against the value of your console. Sometimes, investing in a replacement may be a more practical option.
We hope that this guide has provided you with the information and guidance you need to tackle HDMI port issues on your PS4. Happy gaming!