Introduction
Welcome to the ultimate guide on how to transfer your PS4 data to an external hard drive! If you’re running out of storage space on your PlayStation 4 and don’t want to delete any of your games or saved data, transferring your files to an external hard drive is the perfect solution. Whether you’re looking to free up space for new games or simply want to ensure the safety of your precious game progress, this step-by-step guide will walk you through the process.
One of the standout features of the PS4 console is its massive library of games, ranging from indie titles to AAA blockbusters. However, with game file sizes increasing and frequent updates being released, the built-in storage of the PS4 can quickly fill up. Running out of space on your console can be frustrating, especially if you have to delete older games or progress to make room for new ones.
Fortunately, Sony allows users to seamlessly transfer their data to an external hard drive, offering a simple, convenient, and effective solution to the storage problem. By following a few easy steps, you can safeguard your precious game saves, install larger games without worrying about space limitations, and enjoy the seamless gaming experience you love.
In this guide, we will take you through the entire process of transferring your PS4 data to an external hard drive. We will cover everything you need to know, including checking compatibility, preparing your hard drive, formatting, backing up your data, and restoring it back to your PS4. By the end of this guide, you’ll be well-equipped to make the most out of your gaming experience without worrying about storage limitations.
So, without further ado, let’s dive in and learn how to transfer your PS4 data to an external hard drive!
Why Transfer PS4 Data to an External Hard Drive?
There are several compelling reasons why transferring your PS4 data to an external hard drive is a wise choice. Let’s explore some of the key benefits:
- Expanded Storage Space: One of the primary reasons for transferring data to an external hard drive is to free up space on your PS4. With the ever-increasing game sizes and frequent updates, the standard internal storage of the console can quickly become inadequate. By utilizing an external hard drive, you can significantly expand your storage capacity, allowing you to install and enjoy a larger library of games without the need for constant deletion of older titles.
- Backup and Security: Another crucial advantage of transferring your PS4 data to an external hard drive is the added security it provides. Game saves, achievements, and progress can be irreplaceable, representing countless hours of dedication and enjoyment. By backing up your data to an external hard drive, you safeguard it from any potential corruption, console malfunctions, or accidental deletions. This ensures that your valuable gaming history remains intact, giving you peace of mind and the ability to restore your progress to any PS4 console in the future.
- Portability and Convenience: Transferring your PS4 data to an external hard drive offers the convenience of portability. You can easily disconnect the drive and take your gaming experience to a friend’s house or another PS4 console without the hassle of re-downloading or re-installing games. This flexibility allows you to continue your gaming adventures seamlessly and saves you time and bandwidth.
- Improved Performance: As your PS4’s internal storage gets filled up, it can start to impact the overall performance of the console. By transferring games and data to an external hard drive, you can alleviate the strain on the console’s internal storage, resulting in improved loading times and smoother gameplay experiences.
- Future-Proofing: With the release of the PS5, many gamers are considering upgrading their hardware. By transferring your PS4 data to an external hard drive, you can easily migrate your games, saves, and progress to the new console without starting from scratch. This ensures a seamless transition and allows you to continue your gaming journey on the next generation of PlayStation consoles.
By now, you should have a clear understanding of why transferring your PS4 data to an external hard drive is advantageous. Whether it’s expanding storage space, backing up your valuable game saves, or enjoying the convenience of portability, the benefits are hard to ignore. So, let’s proceed with the next steps to successfully transfer your PS4 data to an external hard drive.
What You Will Need
Before you begin transferring your PS4 data to an external hard drive, there are a few essential items you will need to ensure a smooth and successful process. Here’s a list of the things you should have:
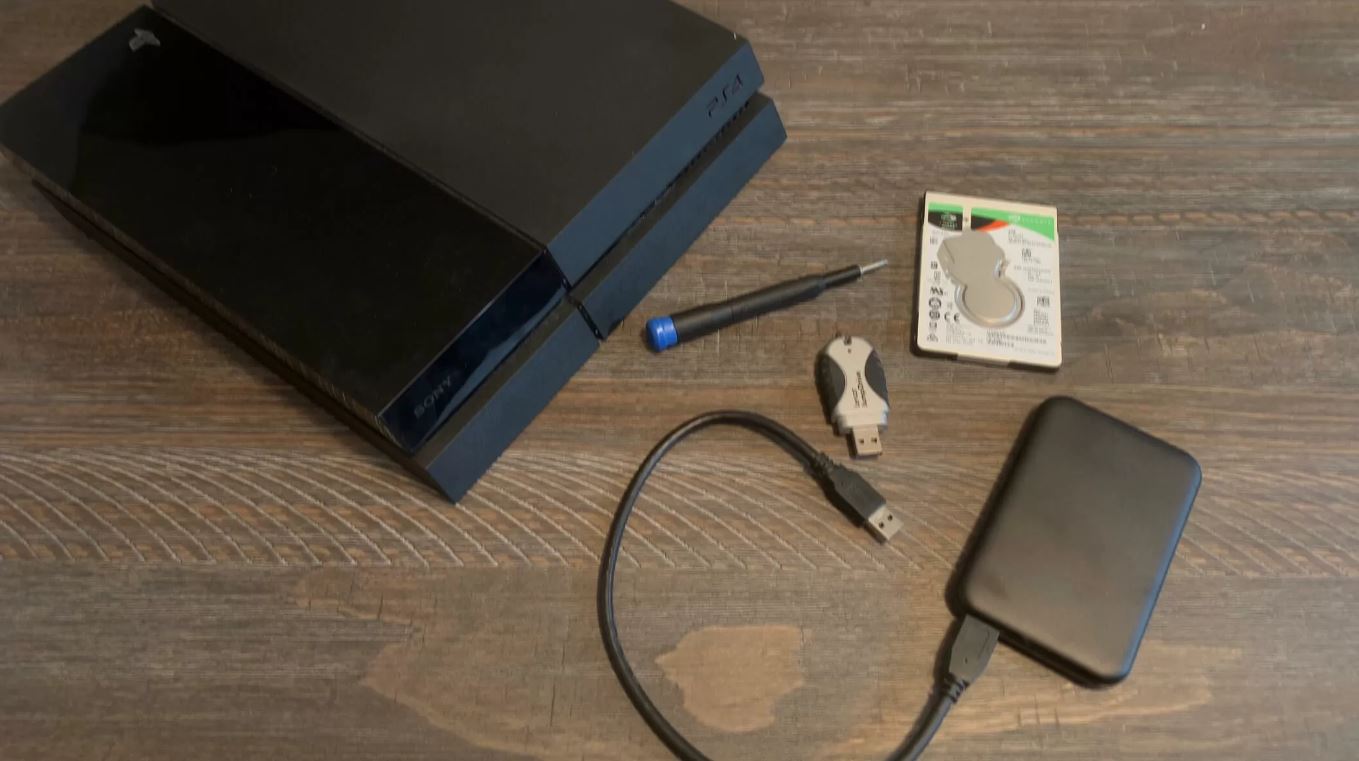
- PS4 Console: Naturally, you will need your PS4 console to initiate the data transfer. Make sure your console is in good working condition and connected to a power source.
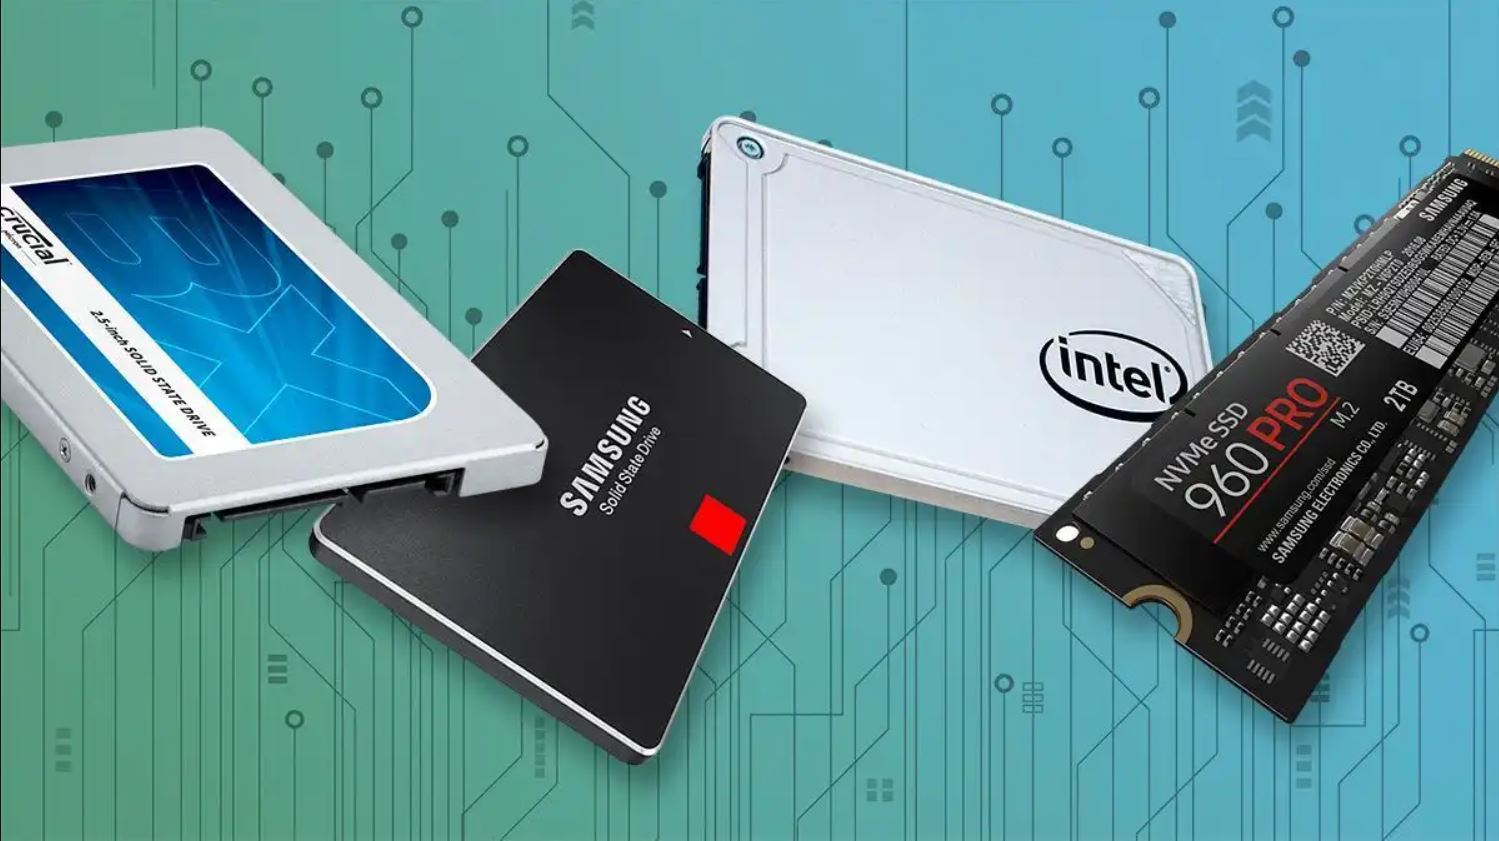
- External Hard Drive: Choose a reliable external hard drive with sufficient storage capacity to accommodate your PS4 data. Ensure that the hard drive is compatible with the PS4 console (we’ll cover compatibility in the next step).
- USB Cable: You will need a USB cable to connect your external hard drive to the PS4 console. Make sure the cable is in good condition and supports data transfer.
- Internet Connection: An active internet connection is recommended to ensure the smooth installation and updating of games after the data transfer is complete.
- Computer: While not mandatory, having a computer can be beneficial for certain steps in the process, such as formatting the external hard drive. A computer will also come in handy if you want to back up or restore data from your external hard drive.
- Backup Storage: If you want to create a backup of your PS4 data before transferring it, you’ll need a separate storage device, such as a USB flash drive or another external hard drive. This backup storage is optional but highly recommended for extra security and peace of mind.
By having these items ready, you’ll ensure a smooth and hassle-free experience while transferring your PS4 data to an external hard drive. Take a moment to gather everything you need before moving on to the next steps.
Step 1: Ensure Your External Hard Drive is Compatible with PS4
Before you begin the process of transferring your PS4 data to an external hard drive, it’s important to ensure that the hard drive you intend to use is compatible with your PS4 console. Follow these steps to check compatibility:
- USB 3.0: Confirm that your external hard drive supports USB 3.0. The PS4 requires USB 3.0 for data transfer, as it provides faster speeds than USB 2.0. Although USB 2.0 drives may physically fit into the PS4’s USB ports, they won’t work for data transfer.
- Storage Capacity: Ensure that your external hard drive has sufficient storage capacity to accommodate your PS4 data. Most games these days require significant space, so it’s advisable to choose a hard drive with ample capacity to avoid running out of space in the future.
- Drive Format: Check the file system format of your external hard drive. The PS4 only supports the FAT32 and exFAT formats, so ensure that your hard drive is formatted in one of these formats. If your hard drive is not formatted correctly, you may need to reformat it later in the process.
- Drive Enclosure or Adapter: If you’re using an internal hard drive with a USB enclosure or adapter, ensure that it is compatible with the PS4. Some enclosures or adapters may not work properly or provide the required power for the hard drive.
Checking compatibility is crucial to ensure that your external hard drive will work seamlessly with your PS4. If you’re uncertain about whether your hard drive meets the requirements, consult the manufacturer’s website or contact their customer support for assistance.
Once you’ve confirmed that your external hard drive is compatible, you’re ready to move on to the next step: preparing your external hard drive for data transfer.
Step 2: Prepare Your External Hard Drive
Now that you have ensured that your external hard drive is compatible with your PS4, it’s time to prepare it for the data transfer process. Follow these steps to get your external hard drive ready:
- Backup Important Data: If your external hard drive already contains data that you want to keep, make sure to back it up to a separate storage device or your computer. The data on the hard drive will be formatted during the PS4 data transfer process, so it’s essential to save any important files elsewhere.
- Connect the External Hard Drive to Your Computer (Optional): If you want to back up any existing data or reformat the external hard drive, connect it to your computer using the appropriate USB cable. This step is optional and only necessary if you need to perform additional tasks such as formatting.
- Format the External Hard Drive (If Required): If your external hard drive is not already formatted in either the FAT32 or exFAT format, you will need to reformat it. Connect the hard drive to your computer and follow the instructions provided by your operating system to format the drive to the supported file system format. Keep in mind that formatting will erase all existing data on the hard drive, so make sure you have backed up any important files.
- Remove any Partition (If Required): In some cases, the external hard drive may have multiple partitions. If this is the case, it is recommended to remove all partitions and create a single partition for the PS4 data transfer. This can help avoid any potential compatibility issues. You can use disk management tools in your operating system to remove partitions and create a new one.
- Eject the External Hard Drive: Once you have completed the necessary preparations on your computer, safely disconnect the external hard drive from your computer. This ensures that the drive is ready for connection to your PS4 console.
By following these steps to prepare your external hard drive, you’ll ensure that it is formatted correctly and ready to go for the PS4 data transfer process. This preparation will help streamline the transfer and minimize any potential issues along the way.
Now that your external hard drive is prepared, it’s time to move on to connecting it to your PS4 console in the next step.
Step 3: Connect Your External Hard Drive to the PS4
With your external hard drive prepared, it’s time to connect it to your PS4 console. Follow these steps to connect the external hard drive to your PS4:
- Turn off Your PS4: Ensure that your PS4 console is powered off completely before proceeding with the connection.
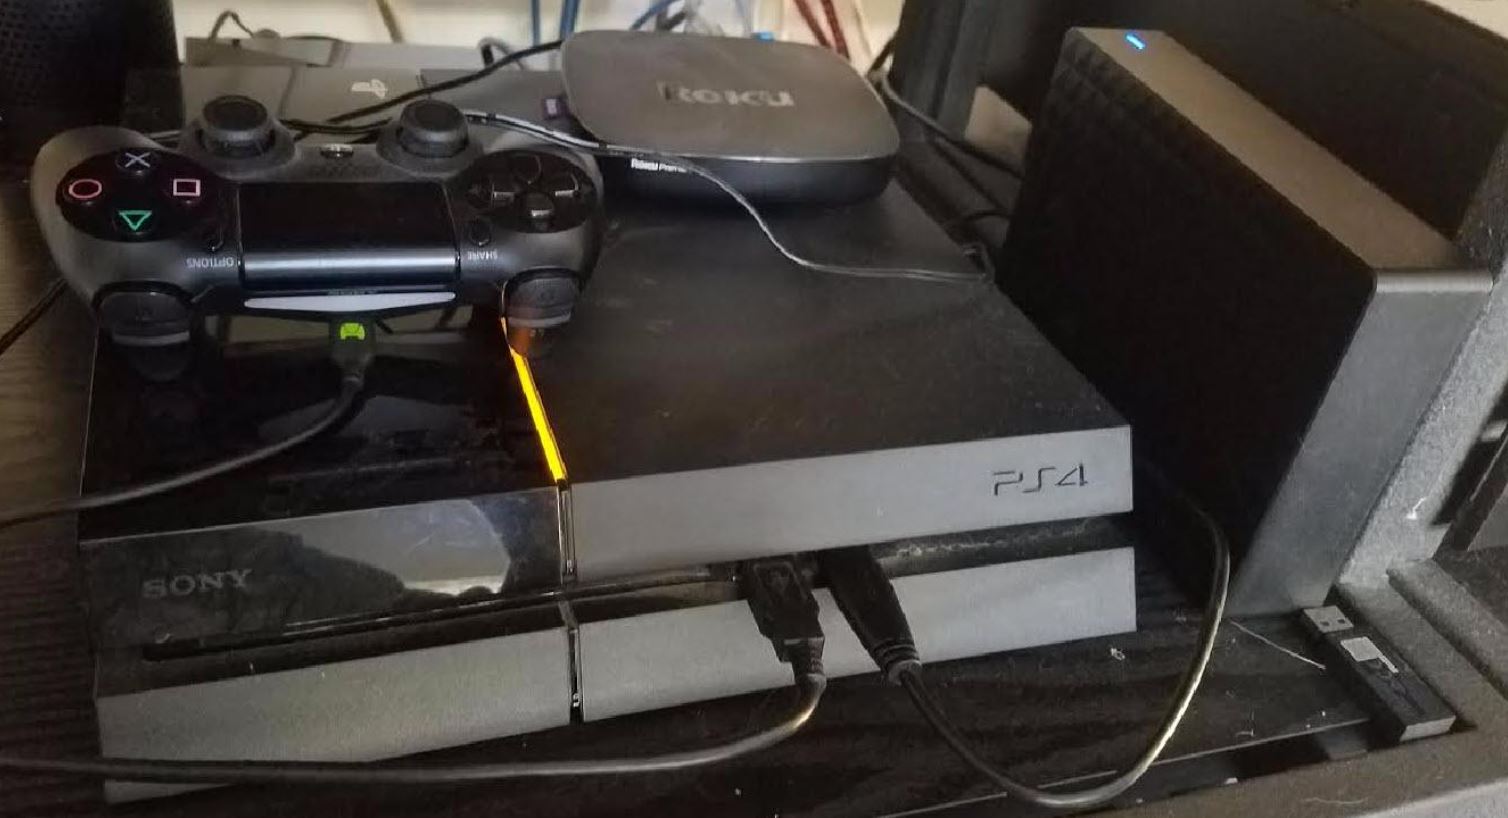
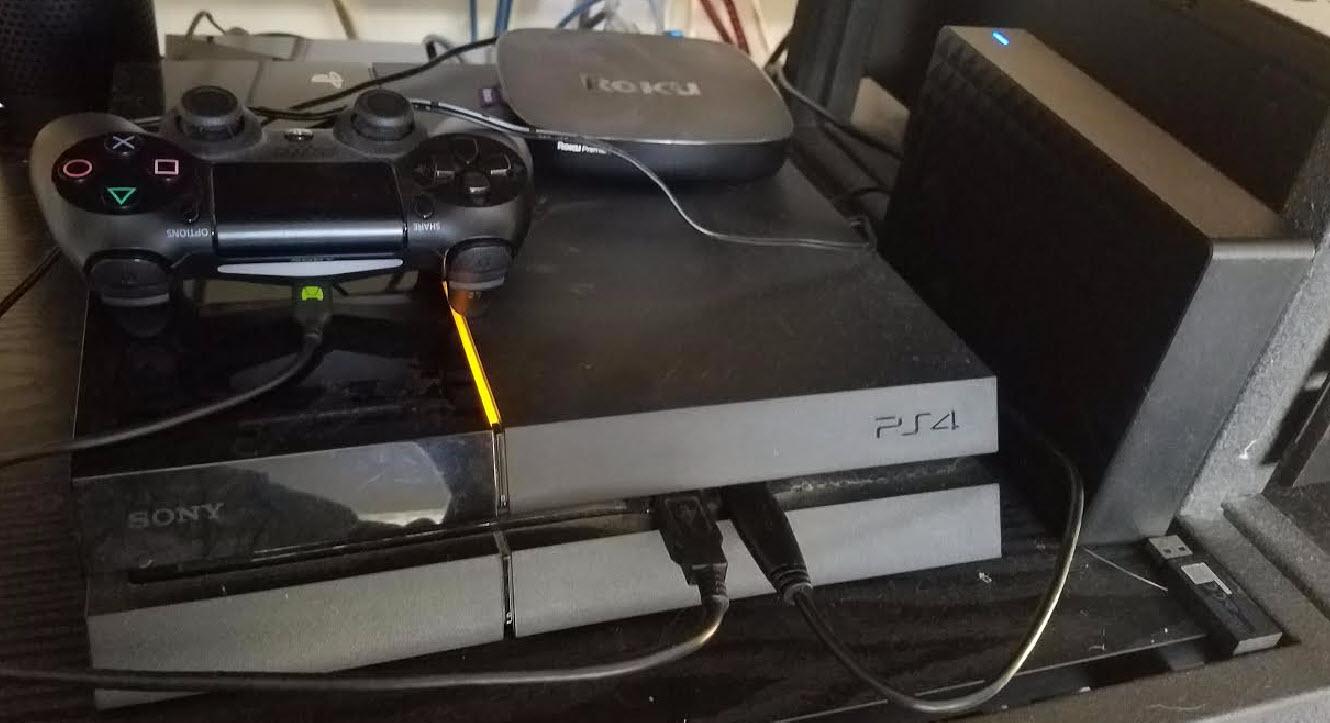
- Locate the USB Ports: Locate the USB ports on your PS4 console. Depending on the model, these ports can be found on the front, back, or sides of the console.
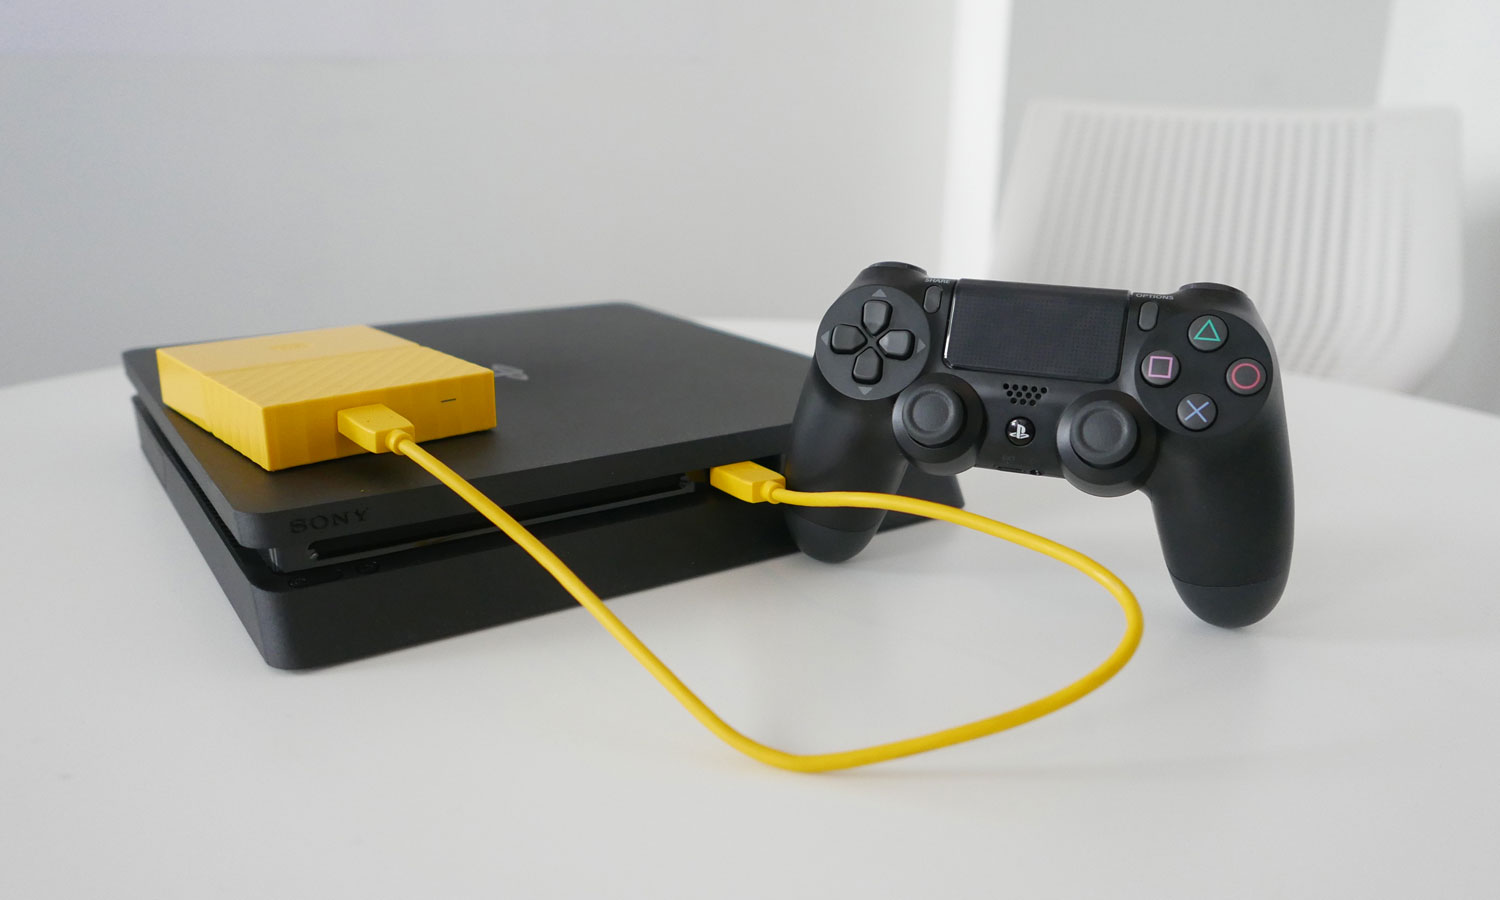
- Connect the USB Cable: Take the USB cable that came with your external hard drive and connect one end to the USB port on the console.
- Connect the External Hard Drive: Connect the other end of the USB cable to the USB port on your external hard drive. Ensure a secure connection is made.
- Power on Your PS4 Console: Once the connections are made, power on your PS4 console. The console should recognize the connected external hard drive.
Once you’ve successfully connected your external hard drive to your PS4, you’re ready to proceed with the next step: formatting the external hard drive to make it compatible with your console’s file system.
Note: If your PS4 doesn’t recognize the external hard drive, ensure that the drive is properly connected and try using a different USB port on your console. If the issue persists, refer to the troubleshooting section provided by your external hard drive’s manufacturer for further assistance.
Step 4: Format the External Hard Drive
Once your external hard drive is connected to your PS4, you will need to format it to make it compatible with the console’s file system. Follow these steps to format the external hard drive:
- Access the Settings Menu: On the PS4 home screen, navigate to the top menu and select “Settings”.
- Select “Devices”: In the settings menu, scroll down and select the “Devices” option.
- Select “USB Storage Devices”: Within the “Devices” menu, select “USB Storage Devices” to access the connected external storage options.
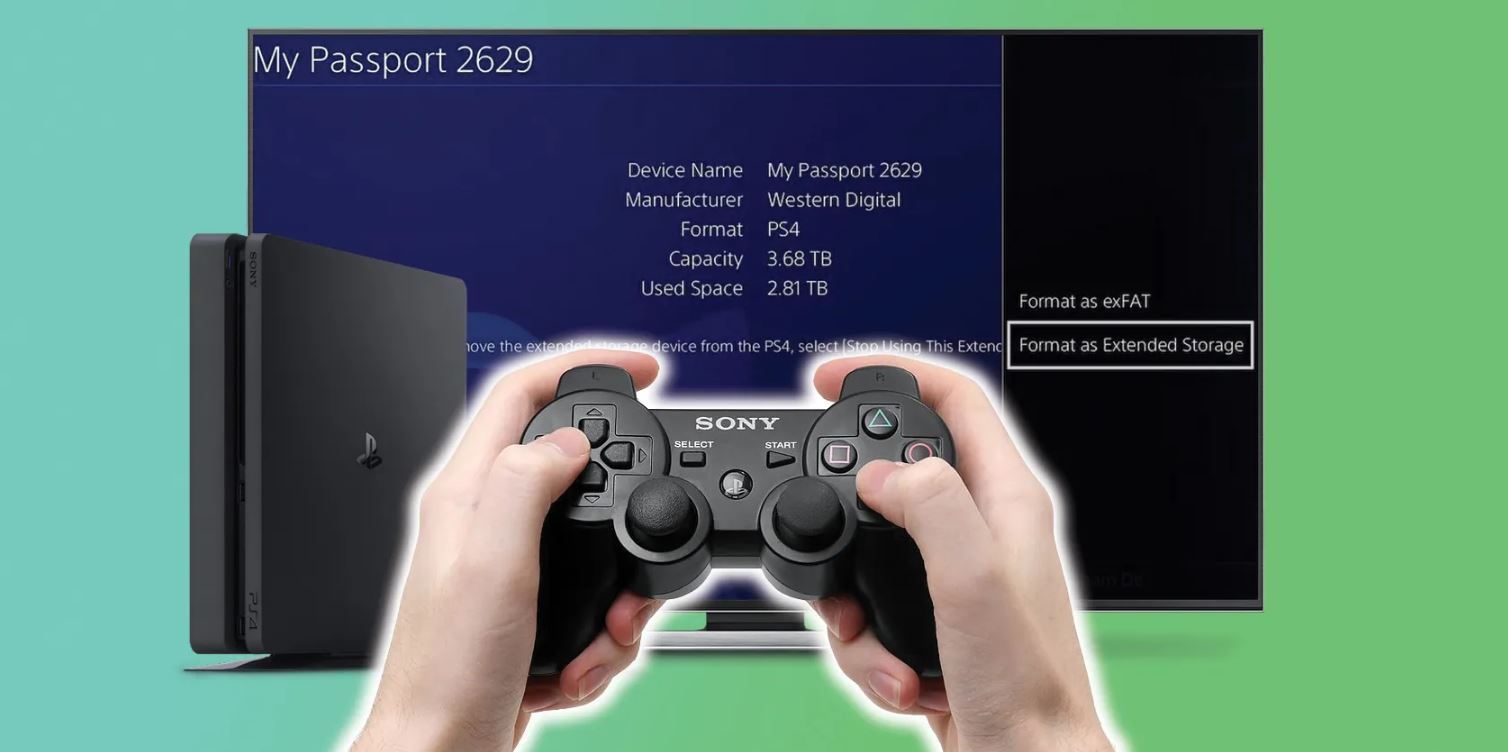
- Select Your External Hard Drive: From the list of connected USB storage devices, choose the external hard drive that you want to format for use with your PS4 console.
- Select “Format as Extended Storage”: Once you have selected your external hard drive, choose the “Format as Extended Storage” option. This will initiate the formatting process.
- Confirm the Format: A confirmation message will appear, informing you that all data on the external hard drive will be erased during the formatting process. Read the message carefully and select “Format” to proceed.
- Wait for the Format to Complete: The PS4 will begin formatting the external hard drive. The time it takes will depend on the size of the drive. Be patient and do not disconnect the hard drive or power off the console during the formatting process.
- Formatting Complete: Once the formatting is complete, a notification will appear on-screen. Your external hard drive is now formatted and ready to use as extended storage on your PS4.
With the external hard drive formatted, you can now use it to store and run games, save files, and other data on your PS4. The increased storage capacity will allow you to install and enjoy a larger library of games without worrying about space limitations.
Formatting your external hard drive also ensures compatibility with the PS4 file system, allowing for seamless data transfer and installation processes. Now, onto the next step: backing up your PS4 data to the external hard drive.
Step 5: Backup Your PS4 Data to the External Hard Drive
Now that your external hard drive is properly formatted and connected to your PS4, it’s time to back up your PS4 data to the external hard drive. Follow these steps to create a backup:
- Access the Settings Menu: From the PS4 home screen, navigate to the top menu and select “Settings”.
- Select “System”: In the settings menu, scroll down and select the “System” option.
- Select “Back Up and Restore”: Within the “System” menu, select “Back Up and Restore” to access the backup options.
- Select “Back Up PS4”: From the backup options menu, choose “Back Up PS4” to initiate the backup process.
- Select “Next”: On the next screen, select “Next” to continue.
- Choose Data to Backup: You will now be presented with options to choose the data you want to back up. You can select all data or choose specific categories such as games, saved data, screenshots, and more. Make your selection and select “Next”.
- Choose External Storage: The PS4 will prompt you to select the external storage device for the backup. Choose your connected external hard drive and select “Next”.
- Start the Backup: Review the summary of the backup settings and select “Start” to begin the backup process. The PS4 will start copying your selected data to the external hard drive. The time it takes will depend on the size of the data being backed up.
- Backup Complete: Once the backup process is finished, a notification will appear on-screen. Your PS4 data is now safely backed up to the external hard drive.
By backing up your PS4 data to the external hard drive, you ensure that your game saves, settings, and other data are safely stored in case of any unexpected events or the need to transfer your data to a different console. This backup will serve as a restore point for your data in the future.
Now that your PS4 data is backed up, you’re ready for the final step: restoring your data from the external hard drive to your PS4, if needed.
Step 6: Restore Your PS4 Data from the External Hard Drive
If you need to restore your PS4 data from the external hard drive, follow these steps:
- Connect the External Hard Drive: Ensure that your external hard drive is connected to your PS4 console.
- Access the Settings Menu: From the PS4 home screen, navigate to the top menu and select “Settings”.
- Select “System”: In the settings menu, scroll down and select the “System” option.
- Select “Back Up and Restore”: Within the “System” menu, choose “Back Up and Restore” to access the restore options.
- Select “Restore PS4”: From the restore options menu, choose “Restore PS4” to initiate the restoration process.
- Select “Next”: On the next screen, select “Next” to continue with the restoration process.
- Select “Back Up”: You will now be presented with a list of available backups on the external hard drive. Choose the backup you want to restore from and select “Next”.
- Select Data to Restore: Choose the specific data or select “Select All” to restore everything from the backup. Select “Next” to proceed.
- Confirm the Restoration: Review the summary of the restoration settings and select “Start” to begin the restoration process. The PS4 will start restoring the selected data from the external hard drive. The time it takes will depend on the size of the data being restored.
- Restoration Complete: Once the restoration process is finished, a notification will appear on-screen. Your PS4 data has been successfully restored.
By restoring your PS4 data from the external hard drive, you can bring back your game saves, settings, and other data to your PS4 console. This allows you to pick up right where you left off, ensuring a seamless gaming experience without losing any progress or valuable data.
It’s important to note that the restoration process will overwrite any existing data on your PS4 console. Make sure to double-check that you are restoring the correct backup and be aware that any changes made to the console since the backup was created will be lost.
With your PS4 data successfully restored from the external hard drive, you can now enjoy your games, continue your progress, and have peace of mind knowing that your valuable data is safely preserved.
Conclusion
Congratulations! You have successfully learned how to transfer your PS4 data to an external hard drive. By following the steps outlined in this guide, you can expand your storage capacity, ensure the safety of your game saves, and enjoy the convenience of portability.
Transferring your PS4 data to an external hard drive offers numerous benefits. It allows you to install and enjoy a larger library of games without worrying about limited space on your console. Backing up your data provides a safety net in case of console malfunctions or accidental deletions, ensuring your valuable progress is preserved. The convenience of carrying your external hard drive to different consoles allows you to seamlessly continue your gaming experience wherever you go.
Remember to check the compatibility of your external hard drive with the PS4 and prepare it properly by formatting if necessary. Connect the external hard drive to your PS4 and format it as extended storage. Backup your PS4 data to the external hard drive for peace of mind. If needed, you can restore your data from the external hard drive back to your PS4.
With this knowledge, you can make the most out of your gaming experience and enjoy a vast collection of games without worrying about storage limitations. Whether you’re a casual gamer or a hardcore enthusiast, transferring your PS4 data to an external hard drive is a valuable skill to have in maximizing your gaming enjoyment.
Thank you for following this guide, and happy gaming!