Introduction
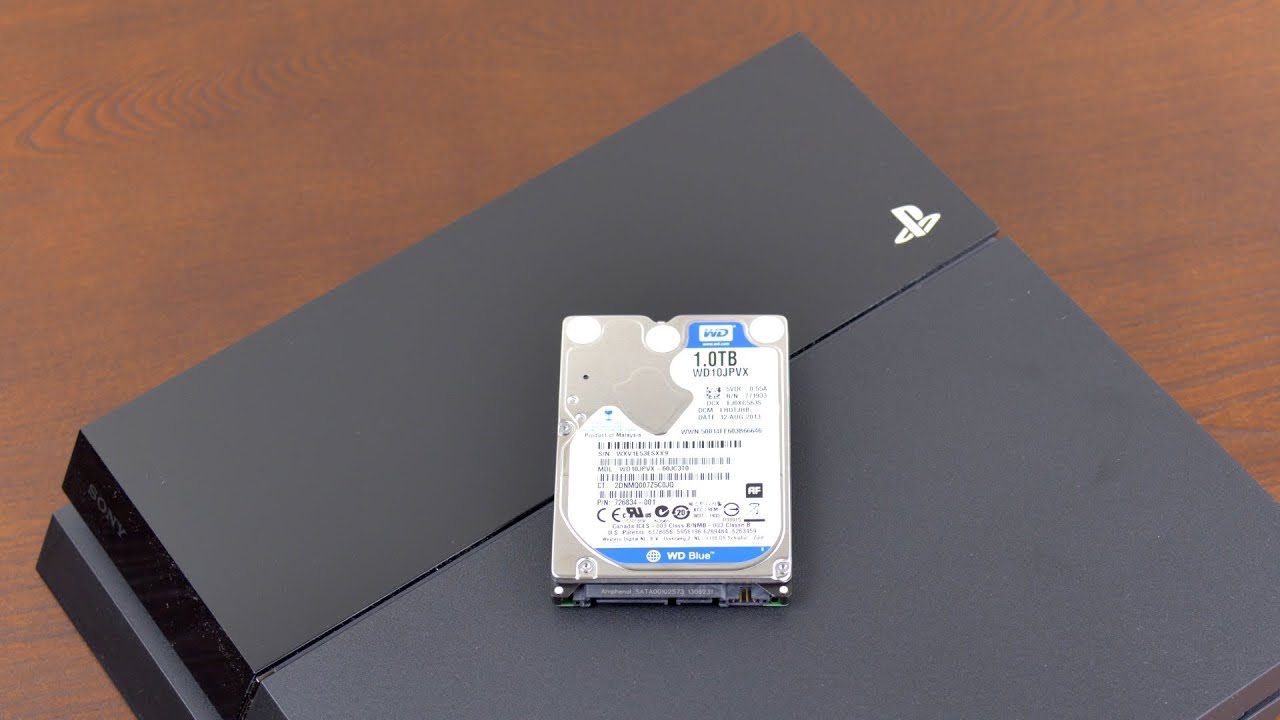
Welcome to our guide on how to safely remove an external hard drive from your PS4 console. Using an external hard drive with your PS4 can provide you with additional storage space for your games, saves, and media files.
Properly disconnecting the external hard drive from your PS4 is crucial to prevent data corruption or loss. Improperly removing the drive while it is still in use can lead to various issues and potentially damage both the hard drive and the console.
In this article, we will walk you through the necessary steps to safely remove an external hard drive from your PS4. By following these instructions, you can ensure a smooth and hassle-free disconnection process.
Before we begin, it’s important to note that this guide assumes you have already set up your external hard drive with your PS4 console and have been using it successfully. If you haven’t done so yet, you can refer to the user manual or the manufacturer’s website for instructions on how to properly connect and configure the external hard drive with your PS4.
Step 1: Check if the external hard drive is in use
Before disconnecting your external hard drive from the PS4, it is essential to ensure that it is not actively in use. Removing the drive while it is still being accessed can result in data loss or corruption.
To check if the external hard drive is in use, follow these steps:
- Make sure your PS4 console is turned on and fully operational.
- From the PS4 home menu, navigate to the settings by scrolling right to the “Settings” icon and pressing X on your controller.
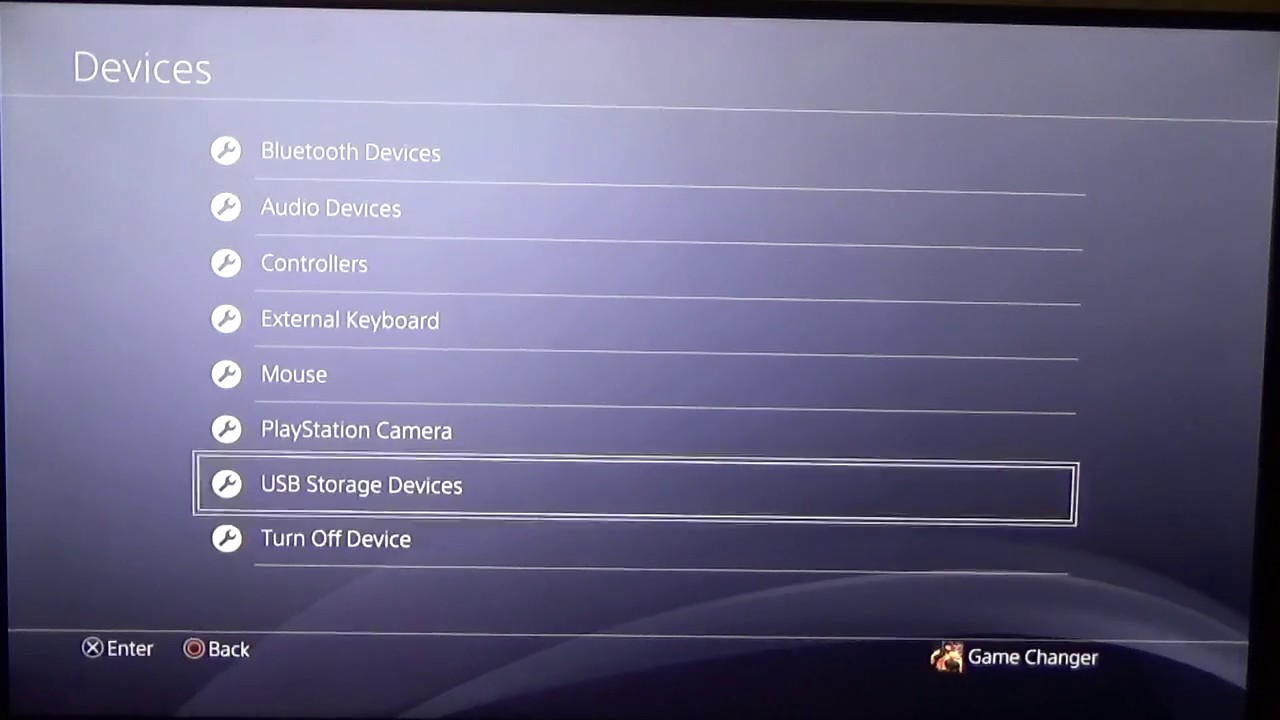
- In the settings menu, scroll down and select “Devices” and press X.
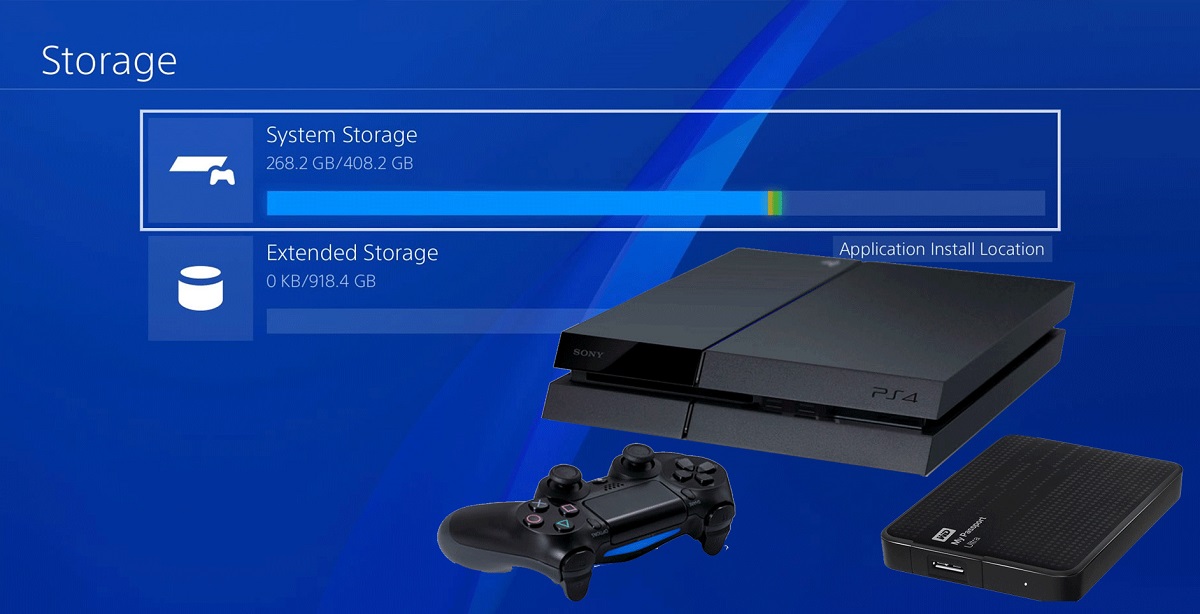
- Choose “USB Storage Devices” and press X.
- A list of connected USB storage devices will be displayed. Look for the specific external hard drive that you want to disconnect.
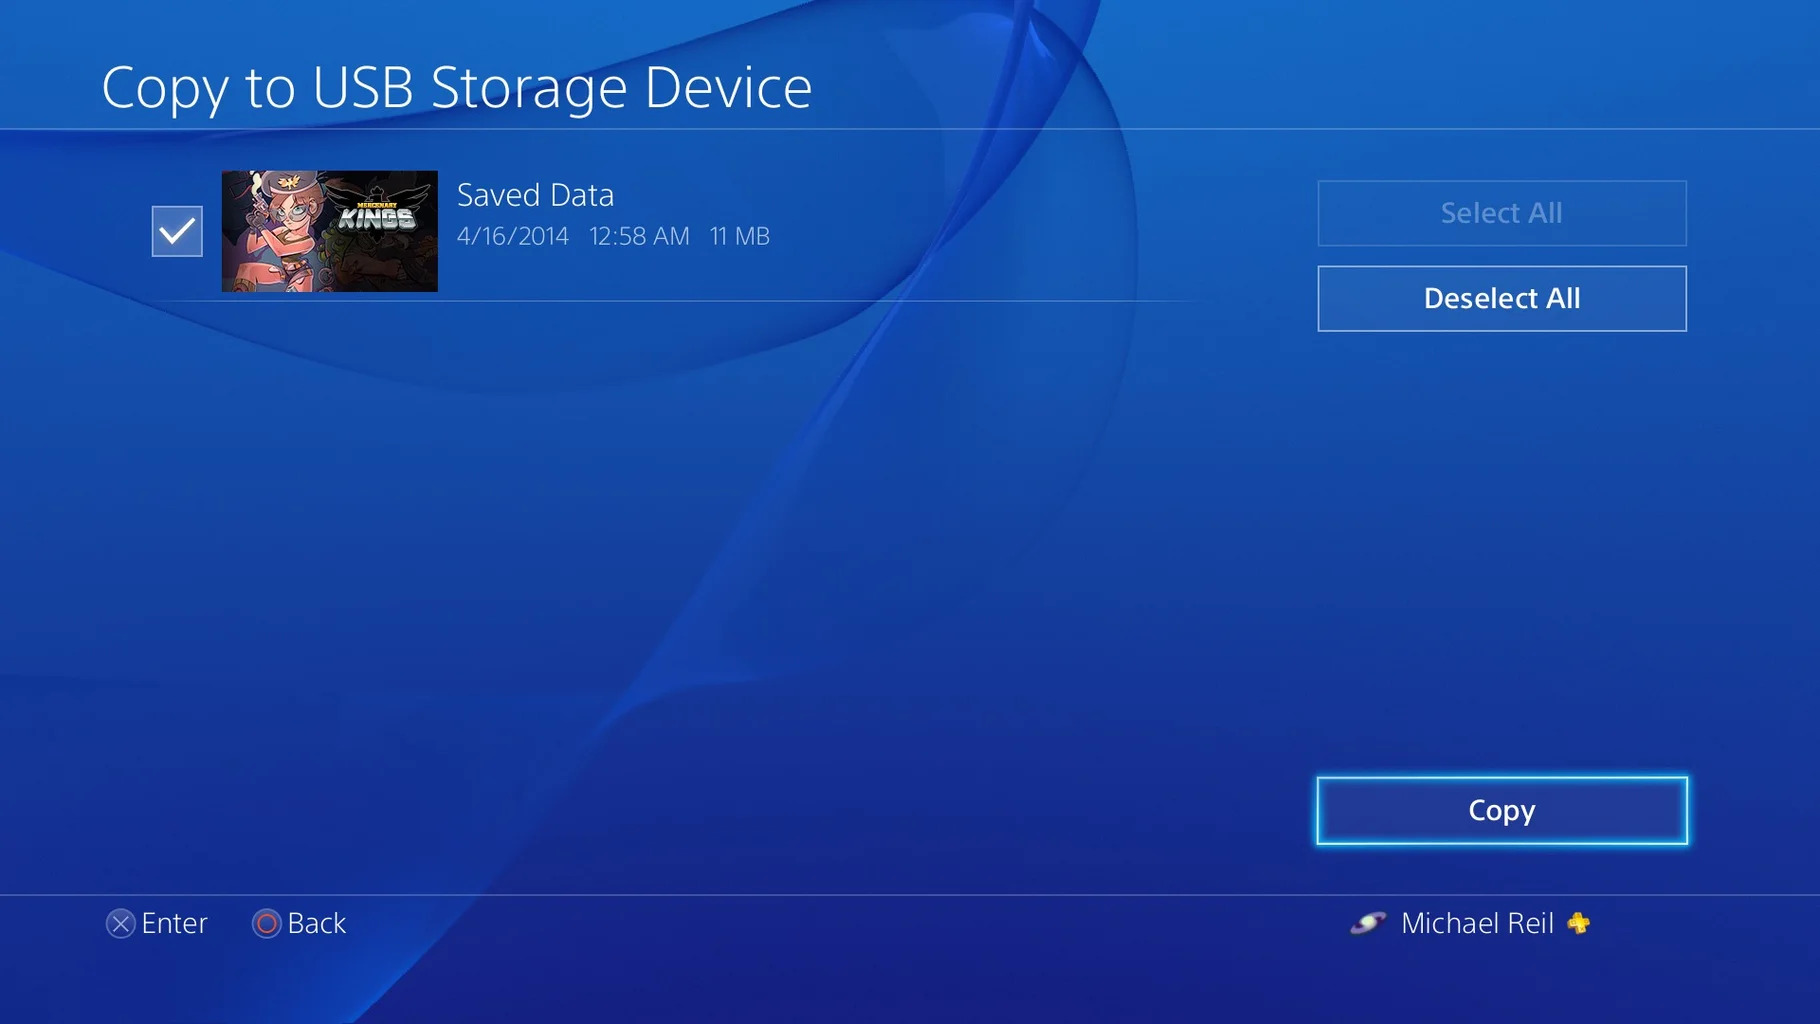
- Select the external hard drive from the list and press the “Options” button on your controller.
- From the options menu, choose “Stop Using This Extended Storage” and confirm your selection.
By following these steps, you are ensuring that the PS4 is no longer accessing the content on the external hard drive. It is crucial to wait for the process to complete before proceeding with the disconnection.
Once you have confirmed that the external hard drive is no longer in use, you can safely proceed to the next step to eject it from the PS4 console.
Step 2: Safely eject the external hard drive from the PS4
Now that you’ve ensured that the external hard drive is no longer in use by your PS4 console, it’s time to safely eject it. Properly ejecting the drive ensures that all data has been written and prevents any potential data integrity issues.
To safely eject the external hard drive from your PS4, follow these steps:
- Make sure your PS4 console is turned on and operational.
- From the PS4 home menu, navigate to the settings by scrolling right to the “Settings” icon and pressing X on your controller.
- In the settings menu, scroll down and select “Devices” and press X.
- Choose “USB Storage Devices” and press X.
- A list of connected USB storage devices will be displayed. Locate the external hard drive that you want to eject.
- Select the external hard drive from the list and press the “Options” button on your controller.
- From the options menu, choose “Eject” and confirm your selection.
The system will now safely eject the external hard drive from the PS4. It is important not to disconnect the drive physically until the ejection process is complete. During this time, you may notice a brief display message indicating that the drive is being ejected.
Note that the eject process may take a few seconds, depending on the size and amount of data stored on the external hard drive. Patience is key here to ensure a successful and safe ejection.
Once the ejection process is complete, you can proceed to the next step to power down your PS4 console before physically disconnecting the external hard drive.
Step 3: Power down the PS4 console
Before physically disconnecting the external hard drive from your PS4, it is important to power down the console properly. This ensures that all system processes are stopped, reducing the risk of data corruption or hardware damage.
To power down your PS4 console, follow these steps:
- Ensure that no games or applications are actively running on your PS4.
- Press and hold the power button on the front of the console for approximately 7 seconds.
- The PS4 console will emit a beep sound and enter into sleep mode.
- Unplug the power cord from the console to completely power it off.
This step is crucial as it allows the external hard drive to properly disengage from the system before physical removal. It also helps to prevent any potential damage to the drive or the console itself.
Be patient and wait for the console to fully power down before proceeding to the next step. Rushing the process can lead to unexpected issues and potential data loss.
Now that your PS4 console is powered down, you can move on to the final step of physically disconnecting the external hard drive from the console.
Step 4: Physically disconnect the external hard drive from the PS4
Now that you have powered down your PS4 console, it is safe to physically disconnect the external hard drive from the system. This final step allows you to remove the drive without any risk of data loss or damage to the hardware.
To physically disconnect the external hard drive from your PS4, follow these steps:
- Ensure that your PS4 console is completely powered off.
- Locate the USB cable connecting the external hard drive to the PS4 console.
- Gently and firmly grip the USB connector and carefully unplug it from the PS4 console.
- Set the external hard drive aside in a safe place.
When removing the USB cable, it’s important to handle it with care and avoid applying excessive force. This helps prevent any accidental damage to the USB port on the PS4 or the connector on the external hard drive.
It is also advisable to store the external hard drive in a safe and secure location to protect it from any potential physical damage or data loss.
By following these steps, you have successfully and safely disconnected the external hard drive from your PS4 console. You can now use the drive on other devices or safely store it until you’re ready to use it again with your PS4.
Remember to follow the same steps in reverse when reconnecting the external hard drive to your PS4, ensuring that the console is powered off before physically connecting the drive.
Conclusion
Removing an external hard drive from your PS4 console may seem like a simple task, but it is essential to follow the proper steps to avoid data loss or hardware damage. By checking if the drive is in use, safely ejecting it, powering down the console, and then physically disconnecting the drive, you can ensure a smooth and secure disconnection process.
Remember that patience is key throughout this process. Rushing or abruptly disconnecting the external hard drive can lead to unexpected issues, corrupt data, or even hardware failure. Take the time to ensure that the console is not accessing the drive, properly eject it, power down the PS4, and then disconnect the drive with caution.
By following these steps, you can safely remove your external hard drive from your PS4 and protect your valuable data. It’s also important to store the external hard drive in a secure and safe location when not in use, to prevent any physical damage or loss.
Always remember to power down your PS4 console before physically connecting or disconnecting any external device. This ensures a smooth transition and minimizes the risk of data corruption or hardware issues.
We hope this guide has been helpful to you in safely removing your external hard drive from your PS4 console. By following these steps, you can enjoy the flexibility and convenience of using an external hard drive with your PS4 while maintaining the integrity of your data.
Thank you for reading, and happy gaming!