Introduction
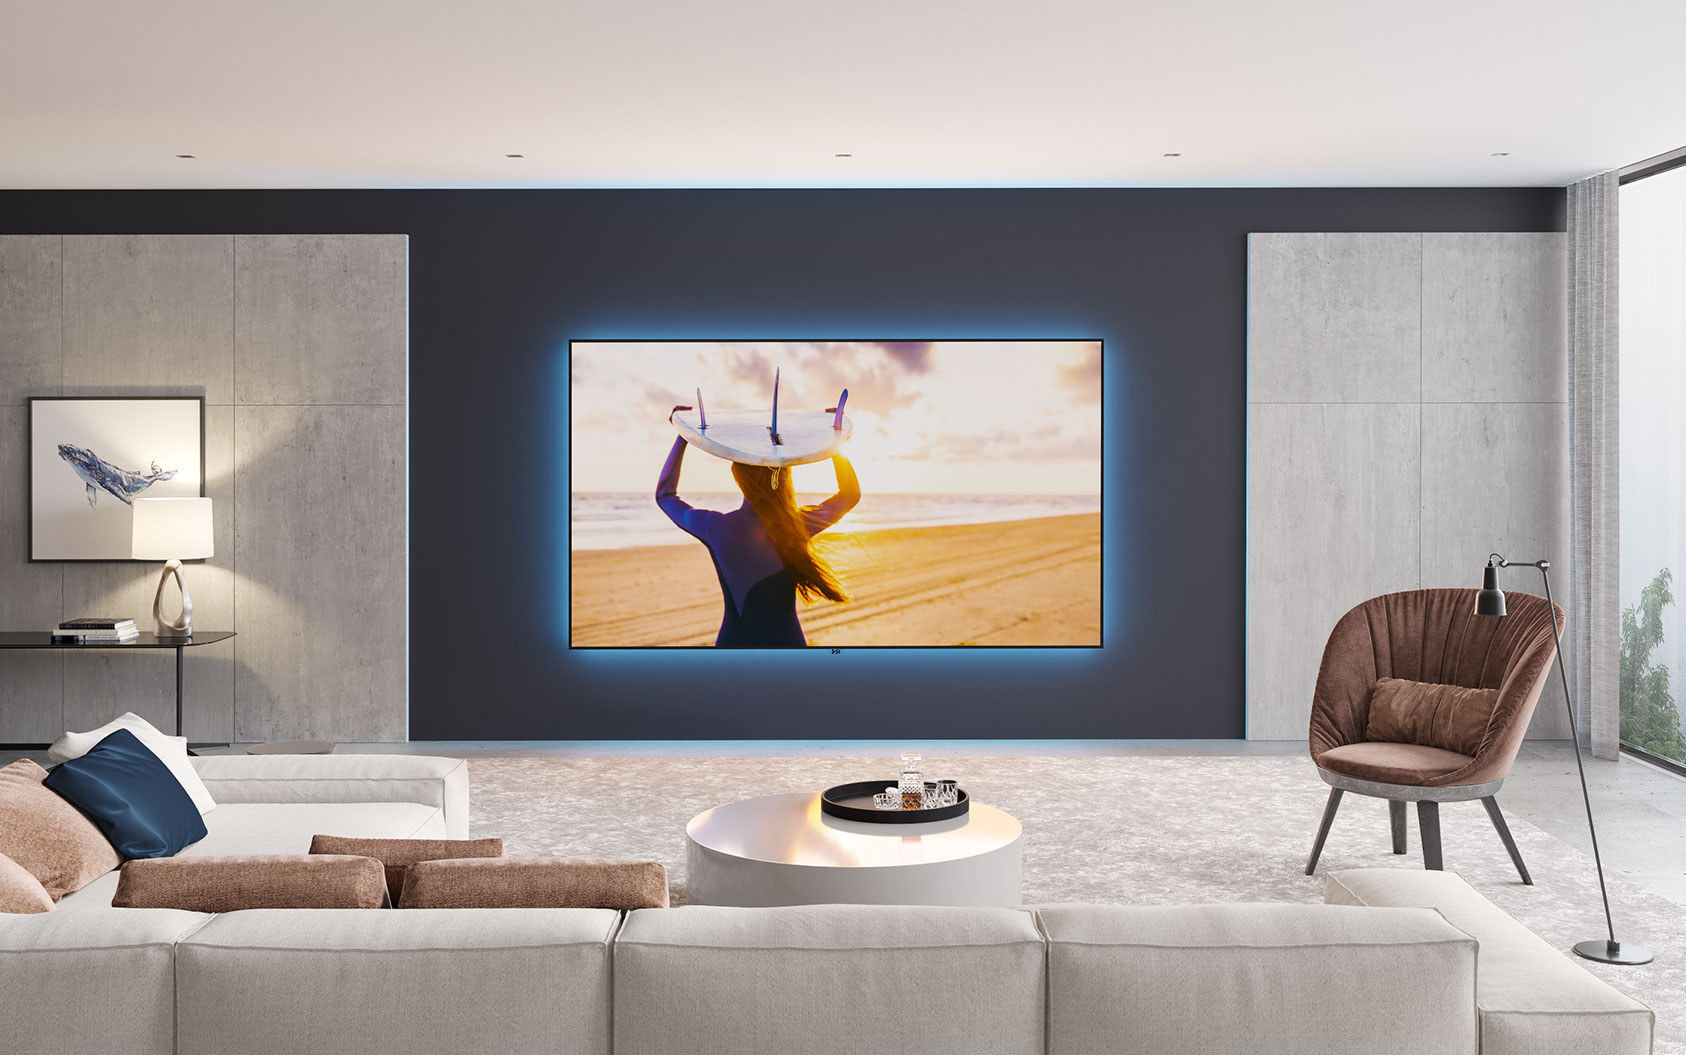
Are you ready to take your home entertainment to the next level? Installing a projector screen on your wall can transform your living room, media room, or even your backyard into a cinematic oasis. Whether you’re a movie enthusiast, a sports fan, or a gaming aficionado, having a dedicated space to enjoy your favorite content is a game-changer.
But how do you go about hanging a projector screen on the wall? Don’t worry, we’ve got you covered. In this step-by-step guide, we’ll walk you through the process of installing a projector screen, from choosing the right location to mounting the screen securely. So grab your tools and let’s get started!
Before we dive in, it’s worth noting that the specific steps may vary depending on the type of projector screen you have and the mounting system it requires. Make sure to consult the manufacturer’s instructions for any specific guidelines or precautions. Now, let’s begin the journey to a cinematic experience in your own home.
Step 1: Choose the Right Location
The first step in hanging a projector screen on the wall is to choose the perfect location. Consider factors such as the room layout, viewing angles, and ambient light conditions to ensure an optimal viewing experience. Here are some things to keep in mind:
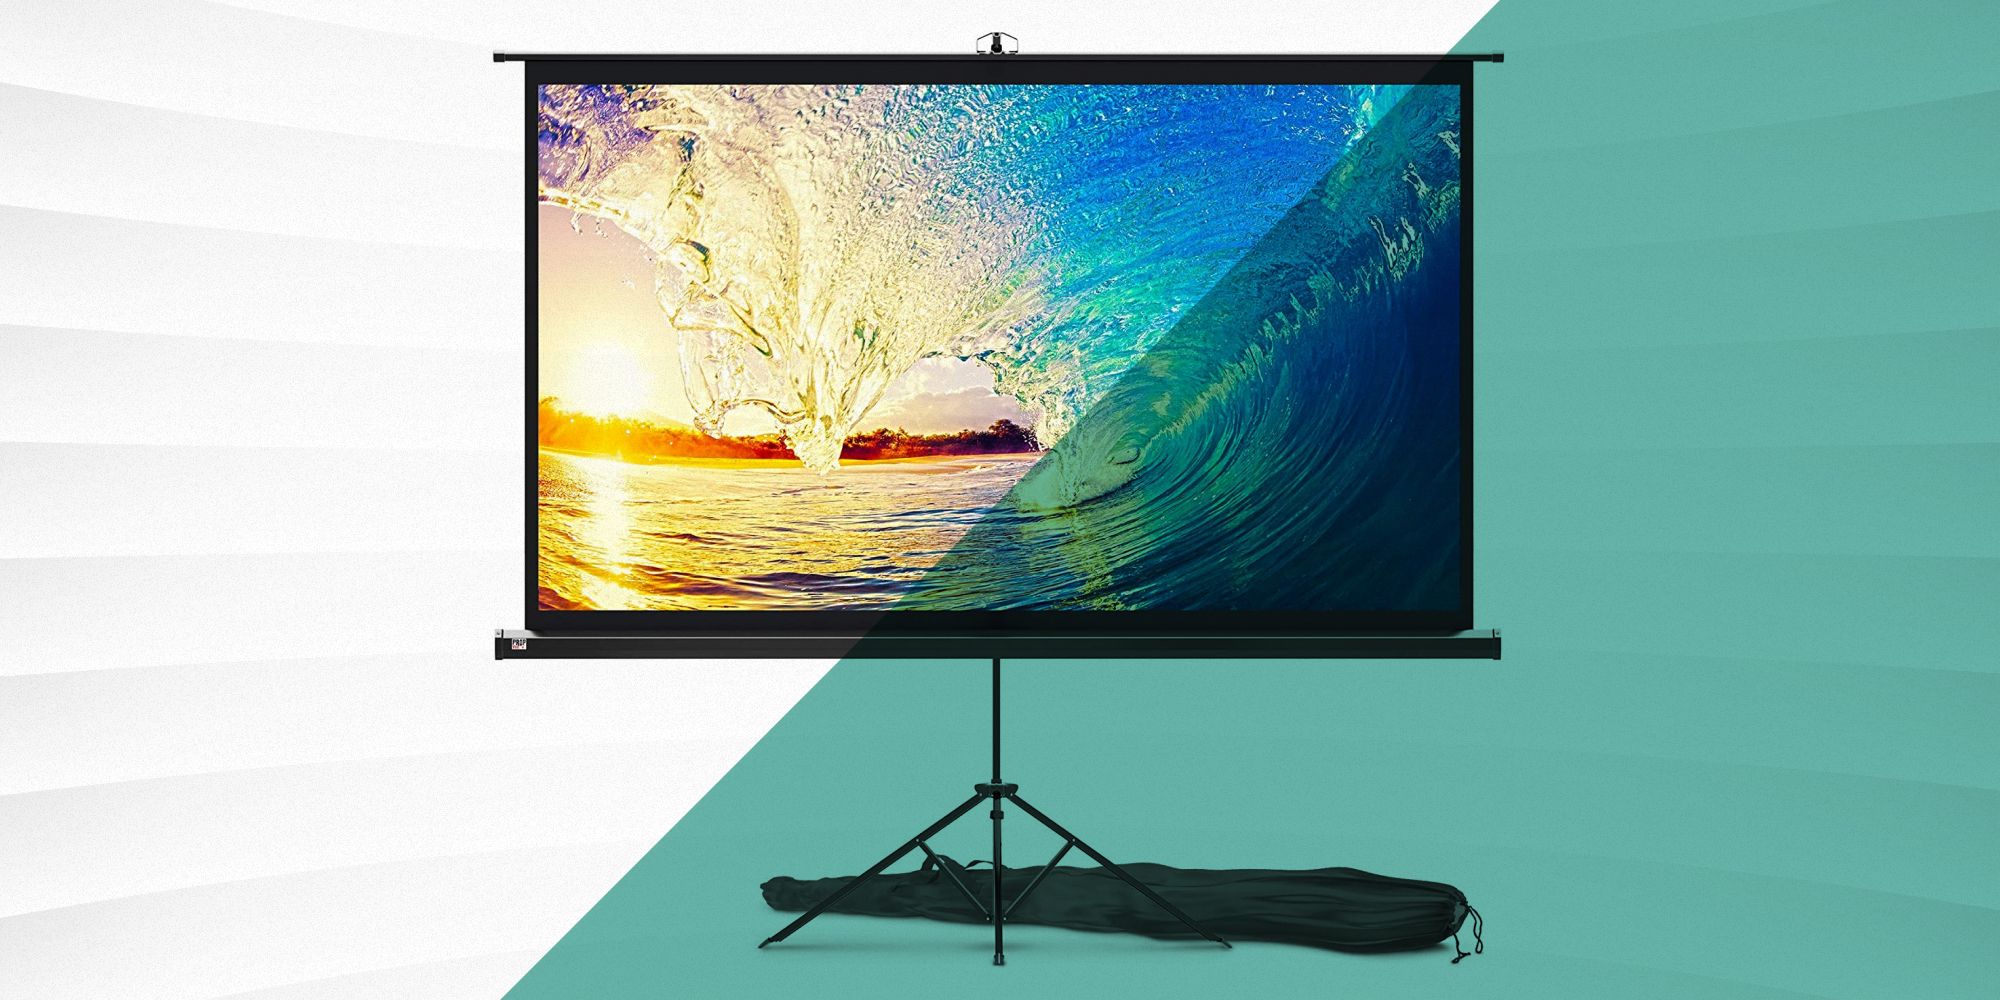
- Room Size and Layout: Take some time to evaluate the size and layout of the room where you plan to install the projector screen. Consider the viewing distance from the screen to the seating area. Make sure there is enough space for the screen to comfortably fit without obstructing furniture or other objects.
- Wall Surface: The wall where you will mount the projector screen should have a smooth and flat surface. Avoid textured or uneven walls, as they can distort the image quality. If your wall is not suitable, you may need to use a wall mount or install a projection screen enclosure.
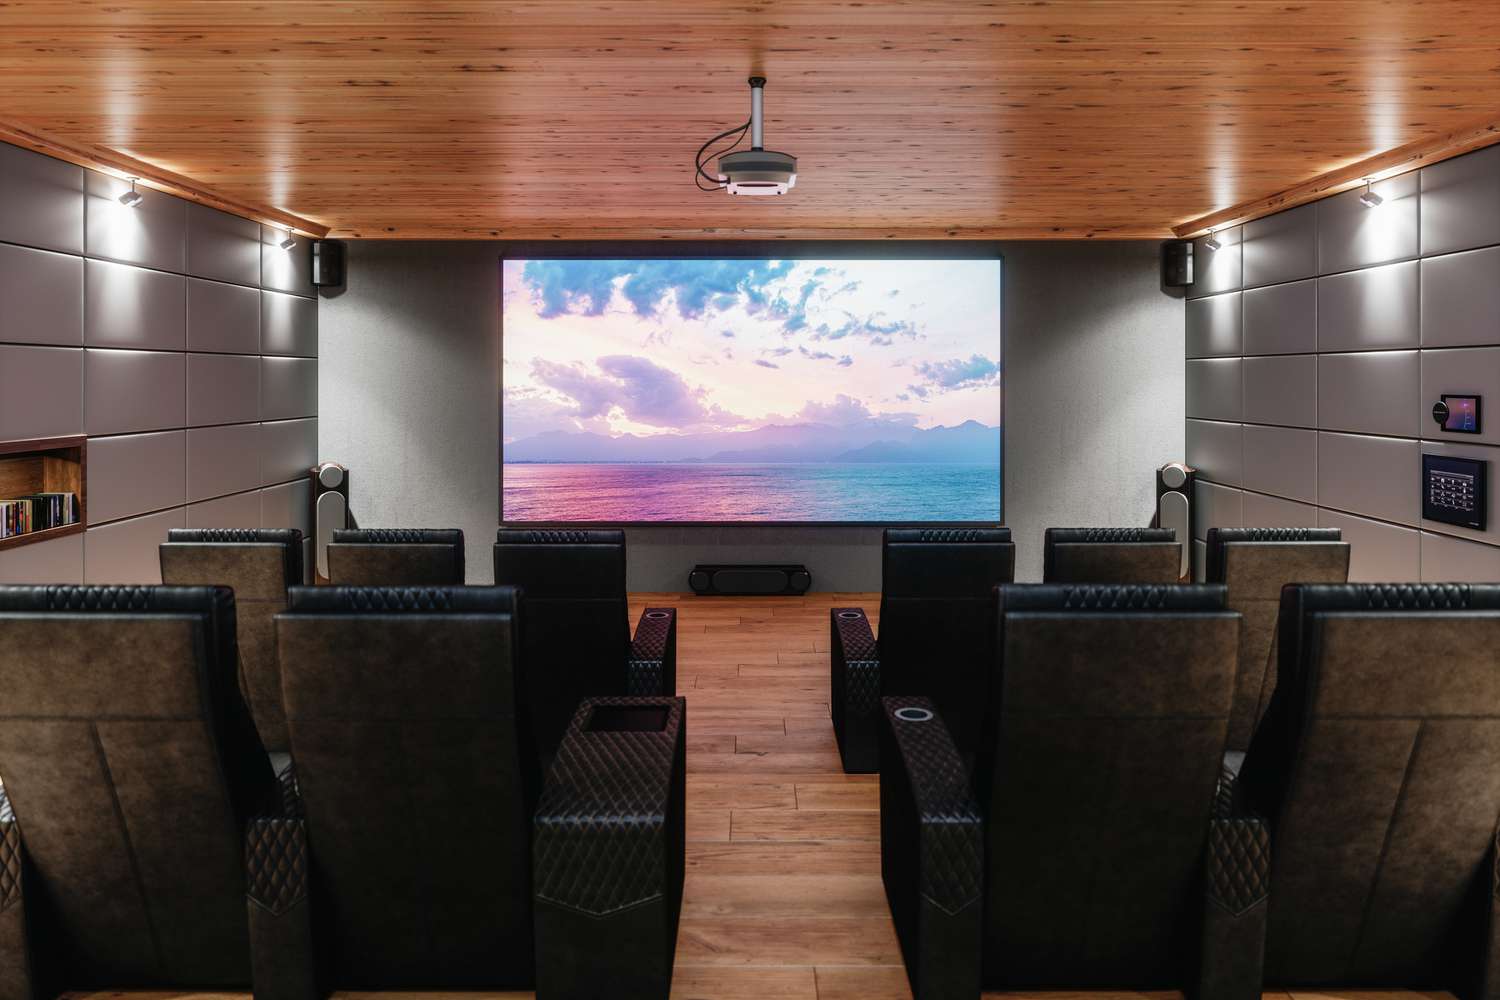
- Viewing Angles: Take into account the seating arrangement and the viewing angles from different seats in the room. You want to ensure that everyone in the room has a clear and unobstructed view of the screen. Consider the height and placement of the screen to achieve optimal viewing angles.
- Ambient Light: The amount of natural and artificial light in the room can impact the projection quality. Ideally, choose a location with minimal glare and ambient light. If your room has windows or bright light sources, consider using blackout curtains or blinds to control the amount of light entering the room.
By carefully considering these factors, you can select the perfect location for your projector screen and create an immersive viewing environment in your home. Once you have identified the ideal location, it’s time to move on to the next step: measuring and marking the wall.
Step 2: Measure and Mark the Wall
Now that you have chosen the right location for your projector screen, it’s time to measure and mark the wall to ensure accurate installation. Follow these simple steps:
- Measure the Screen Size: Measure the width and height of your projector screen. This information is crucial for determining the placement of the brackets and ensuring that the screen is centered. Keep in mind that the screen size may differ from the actual viewing area, so refer to the manufacturer’s specifications for accurate measurements.
- Find the Vertical Center: Use a tape measure or a level to find the vertical center of the wall where the screen will be mounted. Mark this point with a pencil.
- Mark the Bracket Positions: Measure the distance from the top of the screen to the top of the brackets. Use this measurement to mark the bracket positions on the wall, ensuring they are aligned with the vertical center mark. Double-check the measurements and use a level to ensure that the brackets will be straight.
- Mark the Screen Borders: Extend the bracket marks to create the outer borders of the screen. This will help you visualize the final position of the screen on the wall. Make sure the screen is centered within these borders.
After marking the wall, take a step back and assess the placement. Ensure that the marked position provides a comfortable and optimal viewing experience for everyone in the room. If you’re satisfied with the measurements and markings, you’re ready to move on to the next step: installing the brackets.
Step 3: Install the Brackets
With the measurements and markings in place, it’s time to install the brackets for your projector screen. The brackets will provide the necessary support to securely mount the screen on the wall. Follow these steps:
- Gather Your Tools: Before you begin, gather the necessary tools such as a drill, screws, anchors (if needed), and a screwdriver. Ensure that you have the correct tools and hardware as specified by the manufacturer.
- Pre-Drill Holes: Using a drill bit appropriate for your screws, pre-drill holes at the marked positions for the brackets. This will prevent the wall from splitting or cracking when the screws are inserted.
- Mount the Brackets: Attach the brackets to the wall using screws. Ensure that the brackets are securely and evenly fastened. Use a level to double-check the alignment and make any adjustments if necessary.
- Test the Bracket Stability: Once the brackets are installed, give them a gentle shake to ensure they are stable. If they feel loose or wobbly, tighten the screws or consider using additional anchors for added stability.
It is crucial to follow the manufacturer’s instructions when installing the brackets, as different models may have specific requirements. Additionally, it is always a good idea to have a second person assisting you during the installation process, especially when handling larger screens.
Once the brackets are securely installed, you can proceed to the next step: mounting the projector screen.
Step 4: Mount the Projector Screen
Now that the brackets are securely installed, it’s time to mount your projector screen on the wall. Here’s how:
- Prepare the Screen: Make sure the projector screen is clean and free from any dust or debris. If required, refer to the manufacturer’s instructions for any specific cleaning recommendations.
- Attach the Screen Hooks: Most projector screens come with hooks or tabs that need to be attached to the screen. Follow the instructions provided by the manufacturer to connect these hooks securely. This may involve sliding them into designated slots or tightening screws.
- Hang the Screen: With the help of another person, carefully lift the projector screen and hook it onto the brackets installed on the wall. Ensure that the hooks align properly with the brackets, and the screen is evenly balanced.
- Secure the Screen: Once the screen is hanging from the brackets, fasten any locking mechanisms or security features provided by the manufacturer. This will ensure that the screen remains firmly in place and does not accidentally fall or move during use.
Double-check that the screen is level and centered within the marked borders on the wall. If needed, make any adjustments to ensure it is positioned correctly. Step back and admire your newly mounted projector screen!
Remember, it’s essential to handle the projector screen with care during this step to avoid any damage. Additionally, refer to the manufacturer’s instructions for any specific guidance related to your screen model.
Now that the projector screen is securely mounted, it’s time for the final step: testing and adjusting the screen position.
Step 5: Test and Adjust the Screen Position
With the projector screen mounted on the wall, it’s time to test and fine-tune its position for optimal viewing. Follow these steps:
- Connect Your Projector: Connect your projector to a suitable source, such as a Blu-ray player, gaming console, or streaming device. Ensure that all necessary cables are properly connected.
- Adjust the Throw Distance: Depending on your projector, you may need to adjust the throw distance to achieve the desired screen size. Consult your projector’s manual or use the on-screen menu to make the necessary adjustments.
- Test the Image Quality: Power on your projector and project an image onto the screen. Check the image quality, clarity, and brightness. Make any necessary adjustments to the projector’s position, lens focus, or settings to optimize the picture quality.
- Evaluate the Viewing Experience: Sit in different seating positions within the room and assess the viewing experience. Ensure that the screen is comfortably visible from all angles without any obstructions. Make any adjustments to the screen’s height or position if needed.
- Consider Ambient Lighting: Pay attention to the ambient lighting conditions in the room. Adjust the curtains or blinds, or use appropriate lighting fixtures to create an ideal viewing environment with minimal glare.
Take your time to experiment and find the best screen position based on your preferences and room layout. It may require minor adjustments until you achieve the desired viewing experience.
Remember, every room is unique, and personal preferences may vary. Don’t hesitate to make small adjustments to achieve the perfect screen position for the ultimate cinematic experience in your home.
Once you are satisfied with the screen position, sit back, relax, and enjoy your favorite movies, TV shows, sports events, or gaming sessions on your newly mounted projector screen!
Conclusion
Installing a projector screen on the wall can elevate your home entertainment experience to new heights. By following these step-by-step instructions, you can successfully hang a projector screen and create a captivating cinematic atmosphere in your own home.
In the first step, you learned the importance of choosing the right location for your projector screen, considering factors like room size, wall surface, viewing angles, and ambient light conditions. Then, in step two, you measured and marked the wall to ensure accurate installation.
Step three guided you through the process of installing the brackets, providing stability and support for the projector screen. In step four, you mounted the screen onto the brackets, ensuring it was securely positioned and centered within the marked borders.
Finally, in step five, you made adjustments, tested the screen position, and optimized the viewing experience. By considering factors such as projector throw distance, image quality, seating positions, and ambient lighting, you fine-tuned the screen position to your liking.
Now, it’s time to sit back, relax, and enjoy countless hours of immersive entertainment on your newly installed projector screen. Whether you’re watching movies with family, hosting a game night with friends, or cheering for your favorite sports team, your home theater experience will never be the same.
Remember, each projector screen installation may have specific requirements or manufacturer instructions, so be sure to consult the relevant guidelines. With a little patience and attention to detail, you can create a stunning visual centerpiece in your home that will impress and entertain everyone who experiences it.