Introduction
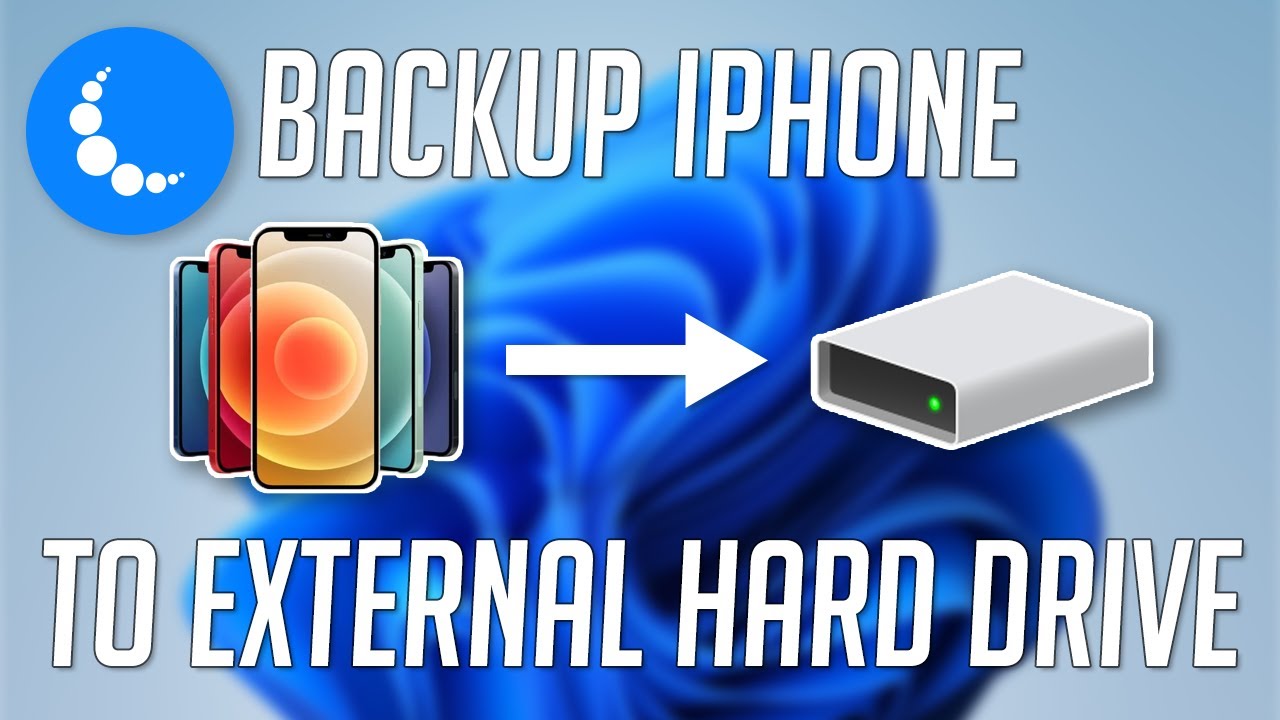
Welcome to our comprehensive guide on how to backup your iPhone to an external hard drive using Windows. With limited storage capacity on our devices, it’s crucial to have a reliable backup solution to safeguard our precious photos, videos, contacts, and other data. By following these simple steps, you can free up valuable space on your iPhone and ensure that your data is protected.
Backing up your iPhone to an external hard drive offers several advantages. Firstly, it provides an additional layer of security in case your iPhone gets lost, damaged, or stolen. Secondly, it allows you to free up space on your device, which can improve its performance and responsiveness. Lastly, having a backup on an external hard drive gives you more control over your data, enabling you to easily transfer and access it on different devices.
In this guide, we will walk you through the process of backing up your iPhone to an external hard drive using Windows. Whether you are using an older iPhone or the latest models, the steps outlined here are applicable to all versions. Rest assured, we will provide you with clear and concise instructions to ensure that you can successfully complete the backup process.
Please note that this guide assumes you have an external hard drive and a Windows computer. If you are using a Mac or have a different operating system, the steps may vary slightly. However, the fundamental principles should remain the same, and you can adapt the instructions to suit your specific setup.
Before we dive into the specifics, it’s essential to emphasize the importance of regularly backing up your iPhone. Technology is not infallible, and unexpected events can lead to data loss. By creating a backup on an external hard drive, you can safeguard your valuable information and have peace of mind knowing that it is protected.
Now that we understand the significance of iPhone backups and why external hard drives are a reliable option, let’s proceed to the next step: connecting the external hard drive to your Windows computer.
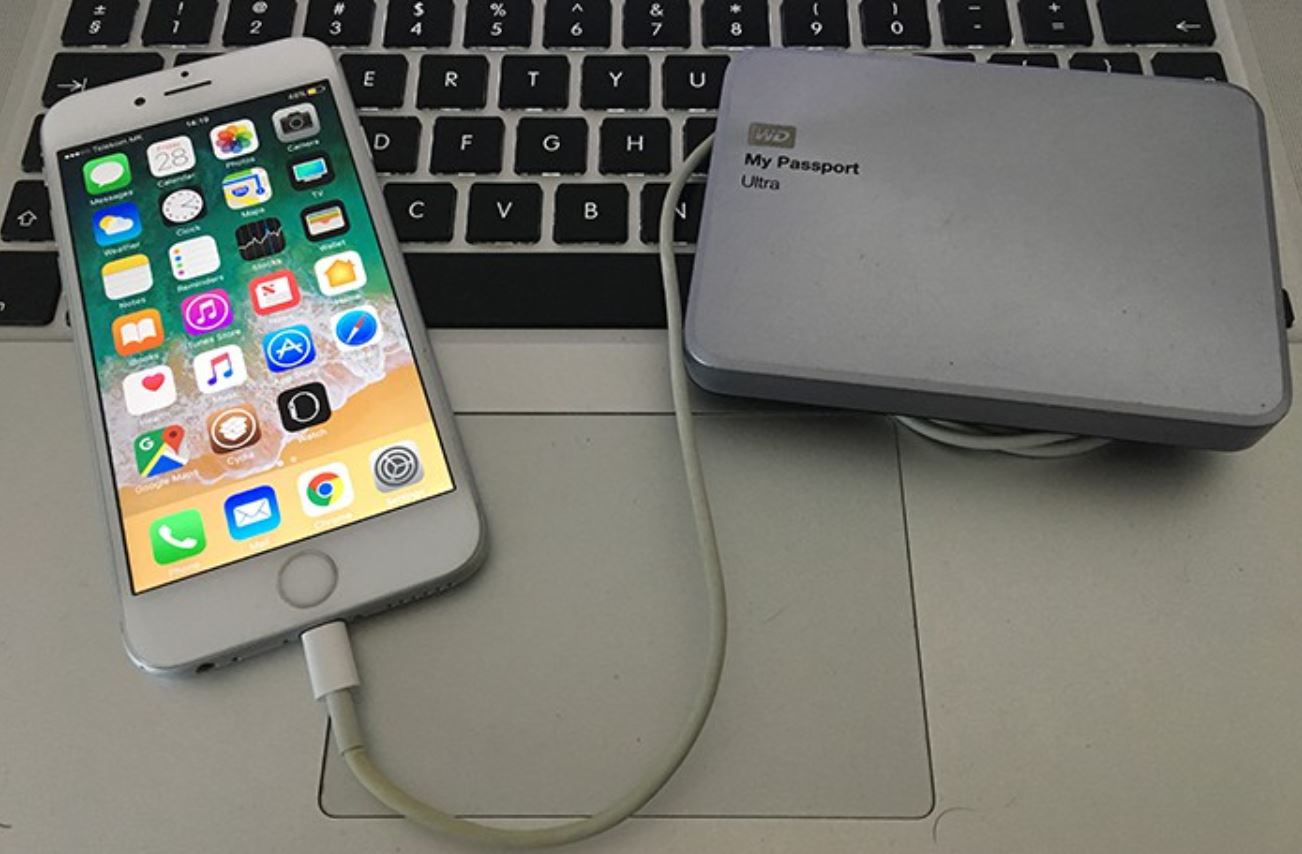
Step 1: Connect the External Hard Drive to Windows
The first step in backing up your iPhone to an external hard drive is to establish a physical connection between the hard drive and your Windows computer. Here’s how you can do it:
- Ensure that your external hard drive is compatible with your Windows computer: Check the specifications and compatibility requirements of your hard drive and your computer. Ensure that they are compatible, both in terms of hardware connections (USB, Thunderbolt, etc.) and file system compatibility (NTFS, exFAT, FAT32, etc.).
- Connect the external hard drive to your computer: After confirming compatibility, use the appropriate cable or port to connect the external hard drive to your Windows computer. Most external hard drives use the USB interface, so connect the USB cable to an available USB port on your computer.
- Wait for the computer to recognize the external hard drive: Once you’ve connected the external hard drive, give your computer a few moments to detect and recognize it. Windows should display a notification or an icon indicating the successful connection of the external device. It may also install the necessary drivers automatically.
It’s worth noting that if you are using a new external hard drive for the first time, you may need to format it before you can use it. Formatting erases all the data on the drive, so ensure that you have backed up any important files before proceeding.
Once you have successfully connected the external hard drive to your Windows computer and it is recognized by the system, you’re ready to move on to the next step: creating a new folder on the external hard drive to store your iPhone backups.
Step 2: Create a New Folder on the External Hard Drive
In this step, we will create a new folder on the external hard drive where your iPhone backups will be stored. Follow these instructions to create a new folder:
- Locate the external hard drive on your computer: Open the File Explorer on your Windows computer by clicking on the folder icon in the taskbar or pressing the Windows key + E. Look for the external hard drive in the list of available drives. It is usually labeled with a letter (e.g., E:, F:, etc.).
- Open the external hard drive: Double-click on the external hard drive to open it and view its contents.
- Create a new folder: Right-click anywhere inside the external hard drive window and select “New” from the context menu. Then, choose “Folder” from the submenu.
- Name the new folder: Once the folder is created, you will see a highlighted text box, ready for you to enter a name. Give the folder a descriptive name that will help you identify it easily. For example, you can name it “iPhone Backups” or “Backup Files.”
- Press Enter or click away: After naming the folder, press Enter on your keyboard or click away from the text box to save the folder name.
Congratulations! You have successfully created a new folder on your external hard drive. This folder will serve as the designated location for storing your iPhone backups. It’s important to keep this folder organized and dedicated solely to iPhone backups to ensure easy access and management of your backup files.
Now that you have set up the folder, it’s time to proceed to the next step: installing iTunes on your Windows computer.
Step 3: Install iTunes on Windows
In order to backup your iPhone to an external hard drive on Windows, you will need to have iTunes installed on your computer. iTunes is a media management software developed by Apple that allows you to sync and backup your iOS devices. Follow these steps to install iTunes:
- Visit the Apple website: Open your web browser and navigate to the Apple website at www.apple.com/itunes/download/.
- Select the appropriate version: On the Apple website, you will find the available versions of iTunes for Windows. Choose the version that is compatible with your Windows operating system and click on the “Download” button.
- Run the installer: Once the iTunes installer has finished downloading, locate the installer file (usually in your “Downloads” folder) and double-click on it to run the installation process.
- Follow the installation prompts: The iTunes installer will guide you through the installation process. Read and accept the license agreement, choose the installation options (such as the destination folder), and click on the “Install” or “Next” button to proceed.
- Wait for the installation to complete: The installation process may take a few minutes to complete. During this time, avoid interrupting the process or closing any windows related to the installation. Once the installation is finished, you will see a confirmation message on your screen.
After successfully installing iTunes on your Windows computer, you are now ready to proceed to the next step: opening iTunes and connecting your iPhone to your computer.
Note: If you already have iTunes installed on your computer, ensure that it is updated to the latest version before proceeding. This will help ensure compatibility and access to the latest features and improvements.
Step 4: Open iTunes and Connect iPhone to Windows
Now that you have installed iTunes on your Windows computer, it’s time to open the application and connect your iPhone. Follow these steps:
- Launch iTunes: Locate the iTunes icon on your desktop or open it from the Windows Start menu. Alternatively, you can search for “iTunes” in the search bar and click on the application when it appears in the search results.
- Connect your iPhone to your computer: Use the USB cable that came with your iPhone to connect it to an available USB port on your computer. Ensure that both ends of the cable are securely plugged in.
- Trust the computer: If this is the first time you are connecting your iPhone to the computer, you may see a prompt on your iPhone asking if you trust this computer. Tap “Trust” to continue.
- Unlock your iPhone: On your iPhone, enter your passcode or use Face ID/Touch ID to unlock it. This is necessary to establish a connection with iTunes.
- Allow access to your iPhone: If another prompt appears on your iPhone asking if you allow the connected computer to access your iPhone, tap “Allow” to proceed.
- Wait for iTunes to recognize your iPhone: After establishing the physical connection and granting access on your iPhone, wait for iTunes to detect and recognize your device. You should see your iPhone’s icon appear in the top-left corner of the iTunes window.
Once your iPhone is successfully connected to iTunes, you are now ready to proceed to the next step: enabling iTunes Wi-Fi Sync.
Note: If iTunes does not recognize your iPhone, ensure that you have the latest version of iTunes installed. You can also try using a different USB cable or USB port on your computer. Restarting your iPhone or computer can also sometimes resolve connectivity issues.
Step 5: Enable iTunes Wi-Fi Sync
iTunes Wi-Fi Sync allows you to sync and backup your iPhone wirelessly, without the need for a physical connection. Enabling this feature will make it convenient to backup your iPhone to an external hard drive in the future. Follow these steps to enable iTunes Wi-Fi Sync:
- Ensure both your iPhone and computer are connected to the same Wi-Fi network: To enable Wi-Fi Sync, your iPhone and computer must be connected to the same Wi-Fi network. Make sure they are connected to the same network before proceeding.
- Connect your iPhone to your computer using a USB cable: Although iTunes Wi-Fi Sync is a wireless feature, the initial setup requires a physical connection. Connect your iPhone to your computer using the USB cable.
- Launch iTunes and select your iPhone: Open iTunes on your computer and click on the iPhone icon in the top-left corner of the iTunes window. This will take you to the Summary page for your iPhone.
- Enable Wi-Fi Sync: In the Summary tab of iTunes, scroll down to the Options section. Check the box next to “Sync with this iPhone over Wi-Fi” to enable Wi-Fi Sync. If the option is already checked, you can skip this step.
- Apply the changes: Click on the “Apply” or “Sync” button at the bottom-right corner of the iTunes window to apply the changes and enable Wi-Fi Sync for your iPhone. iTunes will sync your iPhone and make it ready for wireless syncing.
- Disconnect your iPhone: After enabling Wi-Fi Sync, safely disconnect your iPhone from your computer by unplugging the USB cable. Your iPhone will now be set up for wireless syncing.
With Wi-Fi Sync enabled, you can now wirelessly backup your iPhone to your external hard drive without the need for a physical connection. This makes it convenient and hassle-free to keep your data safe and updated.
Next, we’ll move on to the crucial step of backing up your iPhone to the external hard drive. Make sure to complete the previous steps successfully before proceeding to this next step.
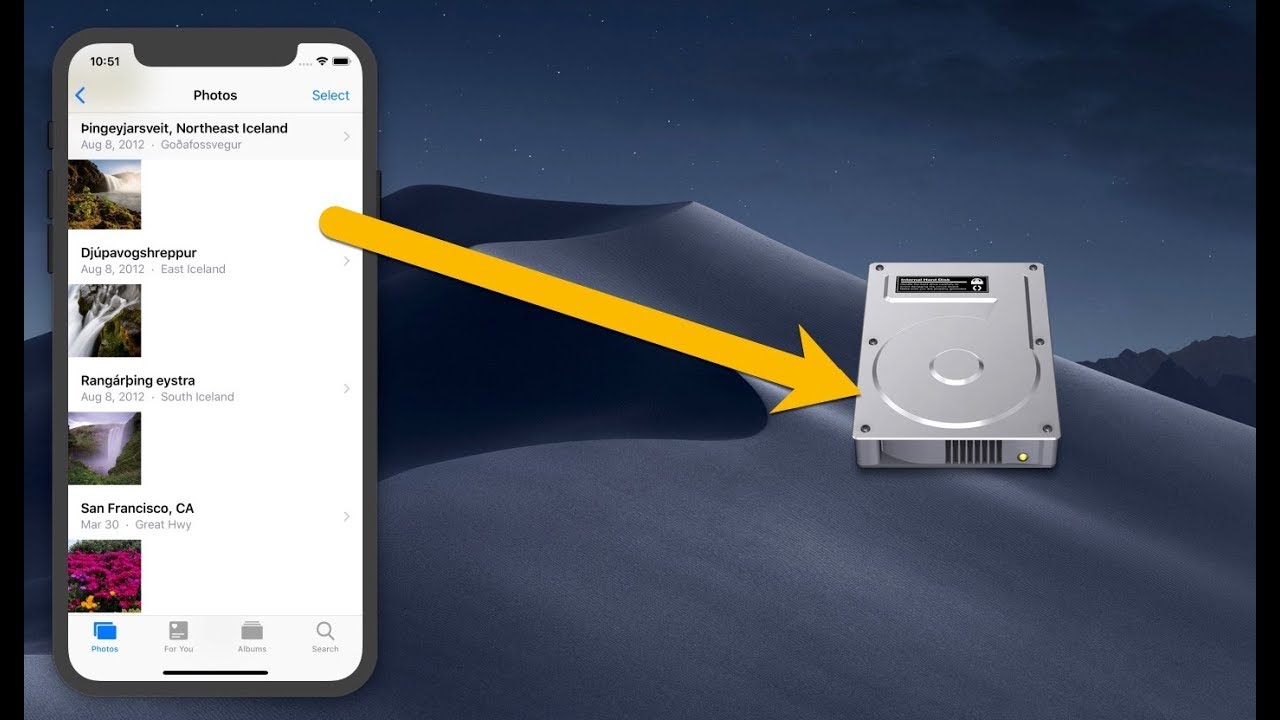
Step 6: Backup iPhone to External Hard Drive
Now that you have successfully enabled Wi-Fi Sync, it’s time to backup your iPhone to the external hard drive. Follow these steps to complete the backup process:
- Ensure that your external hard drive is connected to your computer: Make sure that the external hard drive is still connected to the computer and recognized by the system. You should see the drive listed in the File Explorer or My Computer.
- Launch iTunes on your computer: Open iTunes on your computer by either double-clicking on the iTunes shortcut or accessing it from the Start menu. Make sure that your iPhone is connected to the same Wi-Fi network as your computer.
- Select your iPhone in iTunes: In the iTunes window, look for your iPhone icon in the top-left corner and click on it. This will take you to the Summary page for your iPhone.
- Initiate the backup process: On the Summary page for your iPhone, click on the “Back Up Now” button under the Backups section. iTunes will start the backup process, which may take a few minutes depending on the amount of data on your iPhone.
- Monitor the backup progress: While the backup is in progress, you will see a progress bar indicating the percentage completed. You can also check the status in the iTunes status bar at the top of the iTunes window.
- Verify the backup on the external hard drive: Once the backup is complete, you can verify that the backup files are saved on your external hard drive. Open the external hard drive in the File Explorer or My Computer and locate the backup folder. You should see backup files with the name of your iPhone and the backup date.
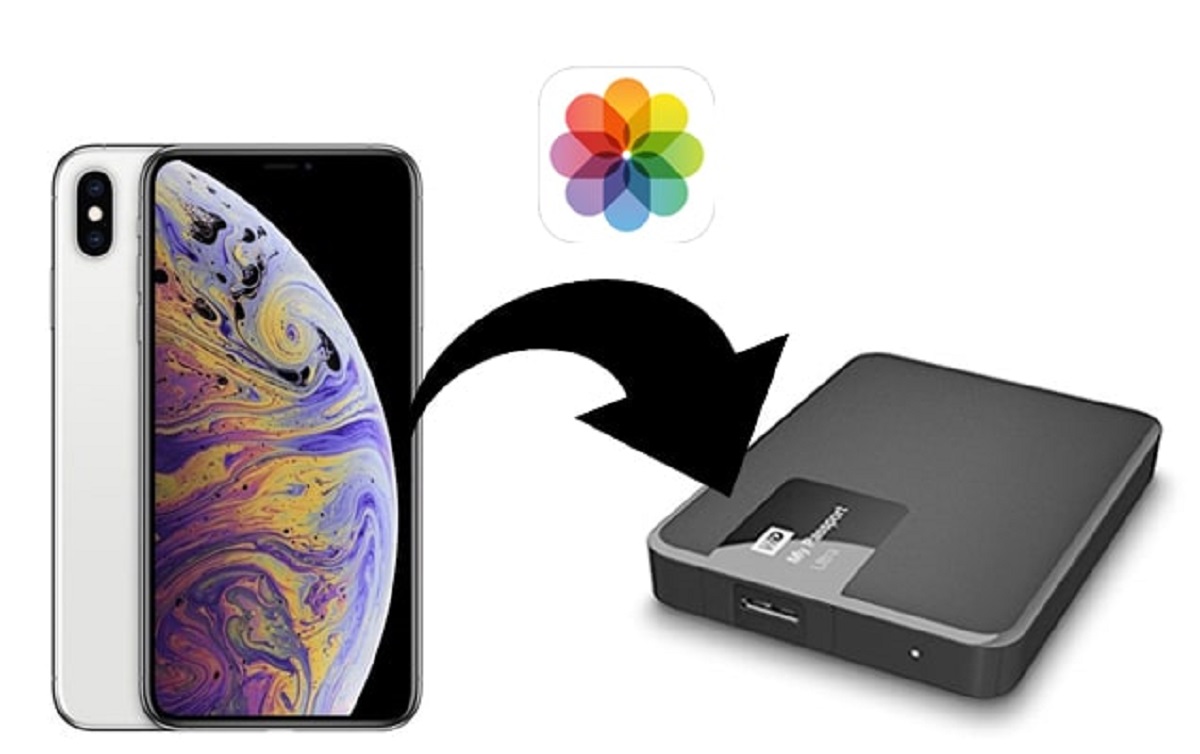
Congratulations! You have successfully backed up your iPhone to the external hard drive. This ensures that your important data, including contacts, photos, videos, and settings, is safely stored in a separate location.
It’s crucial to regularly update your backup to ensure that you have the most recent version of your data. You can manually initiate a backup at any time by following the same steps.
Now that your iPhone is backed up to the external hard drive, you can have peace of mind knowing that your data is protected. Our final step will involve verifying the backup on the external hard drive.
Step 7: Verify the Backup on External Hard Drive
After completing the backup process, it’s important to ensure that the backup on your external hard drive is valid and accessible. Verifying the backup will give you the confidence that your data is securely stored. Follow these steps to verify the backup on your external hard drive:
- Open the external hard drive in the File Explorer or My Computer: Locate your external hard drive in the list of available drives on your computer. Double-click on its icon to open it in a new File Explorer or My Computer window.
- Navigate to the backup folder: Depending on your backup settings, the backup folder may have a specific name or follow a specific structure. Look for a folder that corresponds to the name of your iPhone and the date of the backup. Enter the folder to access its contents.
- Check the backup files: Once you are inside the backup folder, verify that the files and folders match the data on your iPhone. You should see items such as app data, photos, videos, contacts, and settings.
- Open a few files to confirm accessibility: To further ensure the integrity of the backup, randomly select a few files from different categories and open them to confirm accessibility. For example, try opening a photo, playing a video, or viewing a document. If the files open without any issues, it indicates that the backup is valid and functioning correctly.
- Compare the backup size: Take note of the size of the backup folder on your external hard drive. Compare it with the expected size, considering the size of the data on your iPhone. While the sizes may not match exactly due to compression and storage optimizations, the general size range should align with your expectations.
Verifying the backup ensures that you have a reliable copy of your iPhone data on the external hard drive. It provides peace of mind knowing that you can restore your iPhone with confidence should the need arise.
Remember to periodically verify and update your backup to include any new data that has been added to your iPhone. It is recommended to perform regular backups to keep your data as up-to-date as possible.
With the backup verified, you have successfully completed all the necessary steps to backup your iPhone to an external hard drive using Windows. By following this guide, you have taken proactive measures to protect your valuable information and ensure its availability in case of any unforeseen circumstances.
Conclusion
Congratulations! You have successfully learned how to backup your iPhone to an external hard drive using Windows. By following the step-by-step guide provided in this article, you have taken a significant step towards protecting and securing your valuable data.
We started by connecting the external hard drive to your Windows computer and creating a dedicated folder to store your iPhone backups. Then, we installed iTunes and established a connection between your iPhone and computer.
Next, we enabled iTunes Wi-Fi Sync, allowing you to backup your iPhone wirelessly. This eliminates the need for a physical connection and provides convenience in accessing and managing your backups.
With iTunes set up, we walked you through the process of backing up your iPhone to the external hard drive. We ensured that you verified the backup on the external hard drive, assuring the integrity and accessibility of your data.
Regularly backing up your iPhone to an external hard drive is essential for protecting your data from unforeseen events like device loss, damage, or software issues. It also helps you free up valuable space on your phone, enhancing its performance and responsiveness.
Remember to continue updating your backup regularly to include any new data that has been added to your iPhone. This will ensure that your backup remains up-to-date and comprehensive.
By following the steps outlined in this guide, you have taken proactive measures to safeguard your important files, photos, videos, contacts, and settings. You can now have peace of mind, knowing that your data is securely stored on your external hard drive.
Thank you for following this guide, and we hope that it has been helpful in assisting you with backing up your iPhone to an external hard drive using Windows. Stay vigilant and maintain a regular backup routine to protect your valuable data for years to come.